Microsoft launched a whole new idea of “Enterprise Content Management” with the introduction of Modern Team Sites, Communication Sites, and the ability to add Modern Pages to the ‘old’ Classic sites within Office 365. Sites are designed to be beautiful and responsive. Pages may be built and changed in a far more user-friendly manner. The many types of Modern Sites each have their own function, but they also present distinct ways of navigating across the site. This blog article will go through the various navigation choices. When you establish a new Communication Site, top navigation is automatically added to the site. Technically, the top navigation is the site’s local navigation (quick launch). On the pages you build, there is no option for left-side navigation. The top navigation is a fixed set of headers and sublinks that can be divided into two levels. When new pages are added to the site, no new navigation item for this page is added. As a result, maintaining navigation is a manual task. Follow through to see how you can add a page to the navigation in SharePoint Online.
- What happens to the navigation when you add a page
- Add a page to the navigation using the “Site information” panel
- Add a page by using the menu itself
- Navigation options in modern SharePoint sites
The aforementioned points are all you need to learn about the navigation in SharePoint, both the helpful points as well as the shortcomings. Follow through and gather as much information as you require and it will help you to navigate the navigation like a pro.
–
What happens to the navigation when you add a page
What really happens when you add a page, aside from creating a new URL and an extension on your site, nothing happens to the menu. Unfortunately, they are not added in automatically, you need to assign them in the navigation manually. Follow through to see what happens when you add a page in SharePoint.
Navigation after a page is added
- First sign in to Office 365.
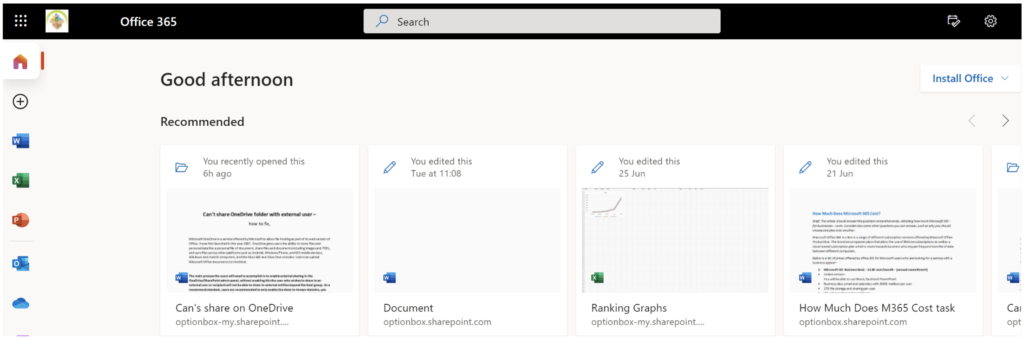
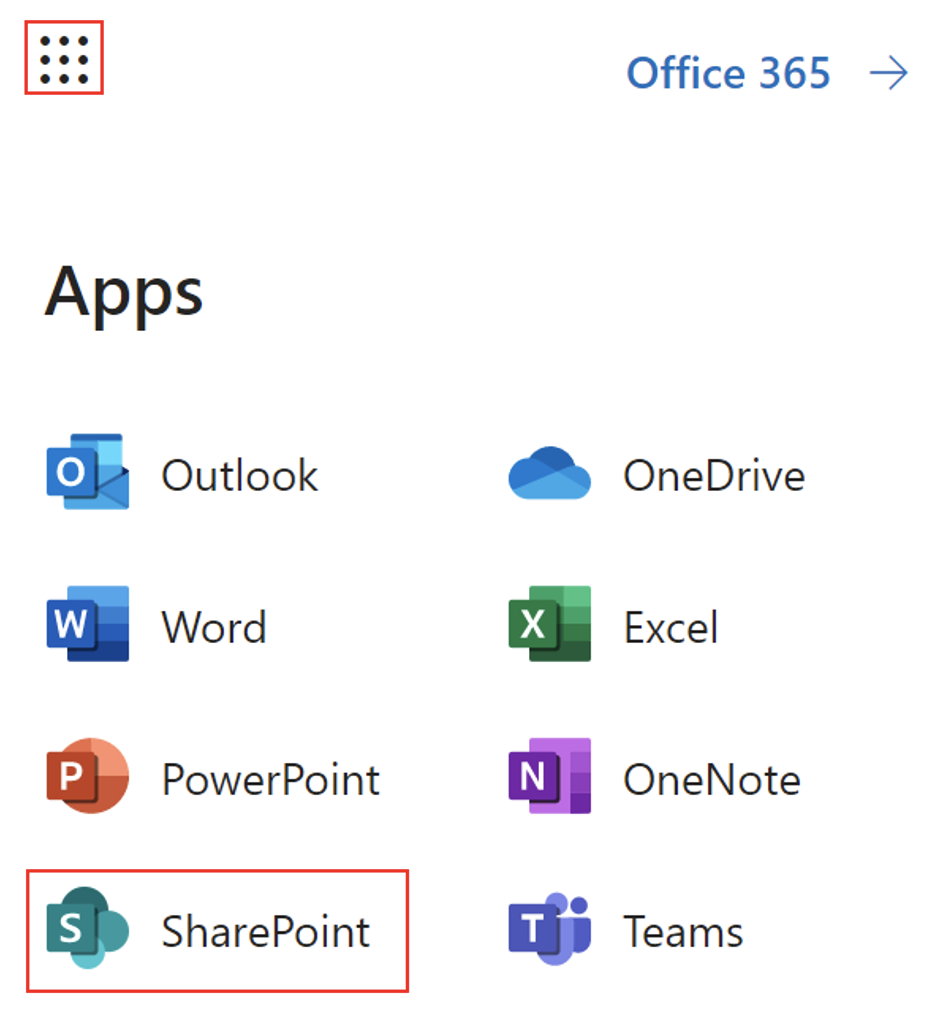
- Use the app launcher and navigate to “SharePoint”, and click on it.
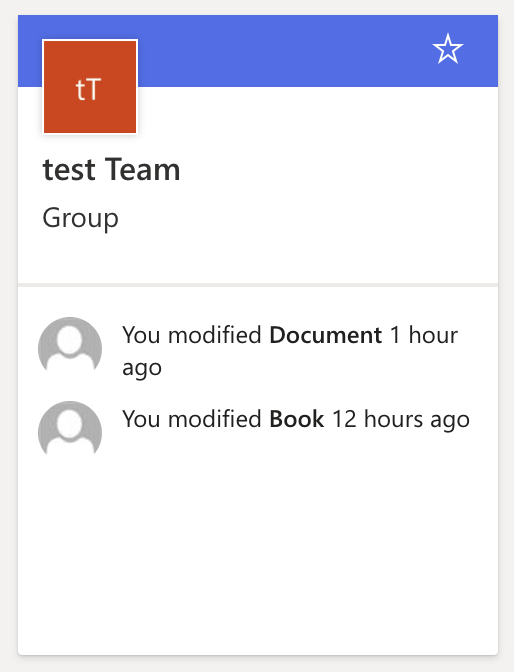
- In SharePoint go to your site.
- On the site click on “New” followed by “Page”.
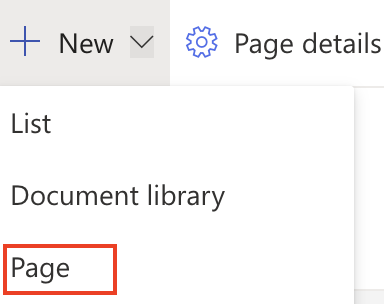
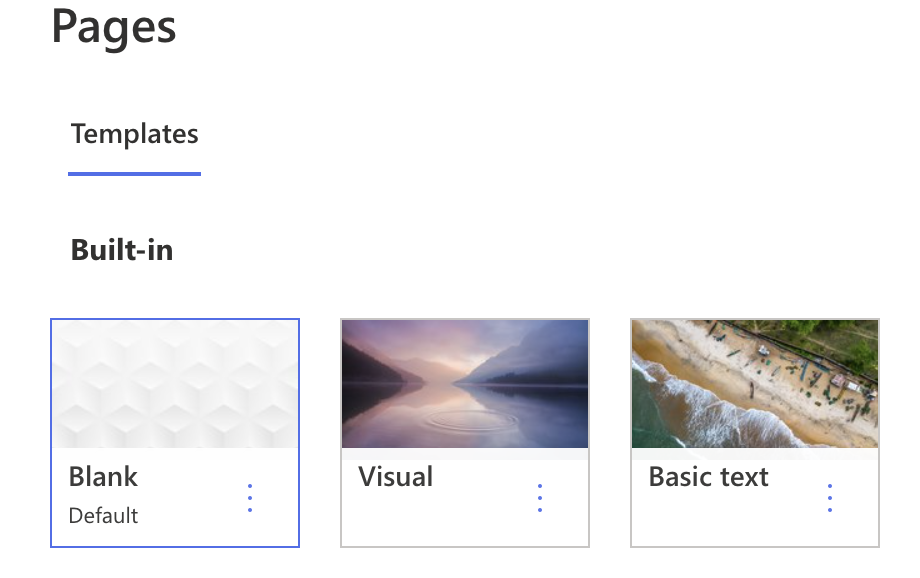
- Select the page you want (There are some templates available so you can have the structure just edit it).
- Now click on “Create page”.

As you can clearly see the page has been inserted, I’ve named it “Test page”, however, it doesn’t show in the menu. The URL to that page is assigned to this page, and the SEO is now ready to be indexed on to search engines. However, it won’t show on the menu. How can we can our new page to the navigation?
–

Add a page to the navigation using the “Site information” panel
Multiple ways you can do this, however, I’ll go over the 2 methods that will work best with all the sites you may have. The first one is this, the backend editor where you go and fiddle with the settings behind the site to edit the content. Pretty much all sites have this feature embedded within the site info panel. Follow through for more information on how you can do this.
Step by step process Add a page to the navigation using the “Site information” panel
- On your site click on “Settings”.
- Click on ”Site information”.
- Click on “View all site settings”.
- Under “Look and Feel”, click on “Quick launch”.
- To add a page to the menu click on “New Navigation Link”.
- Fill out page information
- And Boom, the page has been added to the menu, go back to the site to see if changes have been reflected.
The page is added the second page from the top, it’s really as simple as that.
The page has been added to the menu successfully, give yourself a pat on the back for a job well done. However, that’s not the only way, why not save the back end trouble and edit from the front end. That’s right, with new updates you can edit the menu from the front of the site. With an edit, tab added it’s quite simple really. However, on the classic site, you will need to use the method above to edit the site navigation.
–
Add a page by using the menu itself
The front end editing, the editing of the modern world, such a clean and pleasing aesthetic, minimal with no intimidating codes or scripts, a huge transition to a CSS friendly iteration, where editing is as visually pleasing as the site itself, with clean transition and even cleaner lines, shapes and event texts. Follow through to see how you can edit using the front end.
Step by step process Add a page by using the menu itself
- In your site navigation, click on “edit”.
- Bit of a fiddley step, but between the 2 pages there will be a “+”, symbol, click on it.
- Now you will be presented with the information panel that needs filling out.
- Don’t forget to click on “Save” to save the changes.
And there you have it the new page is added to the navigation, feel free to edit its position on the menu, you can even edit the details if you want, not go ahead and craft the page to the style you want. For the final part, I will go over some of the options in the modern SharePoint sites.
–
Navigation options in modern SharePoint sites
Navigation in the communication site
When you establish a new Communication Site, top navigation is automatically added. The top navigation is the site’s local navigation (quick launch). On the pages you build, there is no left-side navigation option. The top navigation is a static list of headers and sublinks that might have two levels. When new pages are added to the site, no new items for this page are added to the navigation. As a result, maintaining the navigation is a manual operation.
When you go to the site options page, there is a site feature named ‘Quick launch’ that allows you to keep the navigation. This may also be done by clicking the ‘Edit button next to the page’s menu elements.
Navigation in the modern Team site
When you establish a new Modern Team Site—an Office 365 Group linked site—by default, just the left side menu (fast launch) is included. This left-side navigation is likewise a static list of headers and sublinks with a maximum of two levels.
When you go to the site settings page, you’ll notice two options. The same ‘Quick start’ option as in Communication Sites, as well as the ‘Navigation Elements’ choice. This ‘Navigation Elements’ setting allows you to enable or disable the Quick launch. The left-side navigation will be hidden if the Quick Launch option is disabled. Because the left side navigation area remains, there is no choice for a full-width page with this.
Conclusion
The available navigation choices for the new Modern sites vary depending on the type of site you select. Communication websites only feature top navigation. On Modern Team sites, the navigation is exclusively on the left side. When you enable Modern pages on a Classic site, the Classic site’s navigation options are used. This might result in top and left-side navigation. With the announced Hub sites in 2018, we will have additional top navigation. This top navigation is consistent and accessible across all related sites.
That’s it for this Blog thank you for taking time out to read our content, please feel free to email our team about how it went if you followed the steps or if you need more help with the questions we answered in this Blog.