Subsites in SharePoint are similar to ordinary sites except that they are contained within a site. Technically, the only sites that cannot be called subsites are those at the top of the hierarchy, which is often found in the root. You may be asking what’s the difference between a subsite and a regular SharePoint site? In a nutshell, there is no distinction between a SharePoint site and a SharePoint subsite. They are interchangeable. We believe the confusion stems from the fact that the two names are used interchangeably in SharePoint, leading you to feel there is a distinction between the two. In actuality, it is only a matter of language. Any site you build in SharePoint is a subsite since it will be located beneath another site in your site hierarchy. Because it does not show beneath any other sites, the only site that is a real site and not a subsite is the very top site of the site collection.
In this blog, we will show you how to delete a subsite in SharePoint Online. We will cover various different methods as well as some issues you could possibly face when you delete a subsite.
- Delete a subsite natively
- Delete a Sharepoint online subsite with the help of other sites and workspaces
- Delete a subsite using Powershell
After an extensive amount of research, we compiled a list of different methods you can use to delete a SharePoint subsite, follow through and see which one is the most applicable to you. It may be worthwhile to go in order as each one has different benefits over the other, for instance, PowerShell is more complex to operate however can overuse permission locks if they are enabled, and the native feature is simple and straightforward, with minimal chances of something going wrong same with point number three.
–
Delete a subsite natively
- First sign in to Office 365.
- Use the app launcher and navigate to “SharePoint”, and click on it.
- In SharePoint go to the Sub-site which you want to delete.
- Now click on “Settings” (gear icon).
- After that click on “Site settings”.
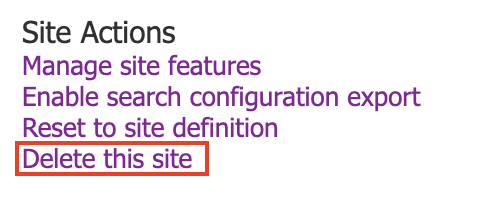
- Now click on “Delete this site”, under site actions.
- This will bring you to the “Delete this site” page. Click the “Delete” button to confirm the deletion of the subsite.
- Finally, you’ll see the warning “Your Web site has been removed”.
Summary
Once this is complete, your site will be deleted, this does not mean it’s gone forever unless you have a policy that instantly removed the site indefinitely, an admin user can navigate to the “Deleted sites” page in the admin section and can retrieve the site for up to 90 days since the deletion. This brings us back to the disadvantages of using the native method. The site while deleted still lingers for 90 days until it’s finally fully deleted unless it’s retained by a retentions policy set by an admin user. Retention policies help admin users keep data from being deleted, this includes subsites which will remain even after deletion if an admin has placed those specific restrictions on your site.
Alternatively, you can go to “Settings” >> “Site information” >> “Delete site”, to completely delete your site. Make sure you have the modern iteration of SharePoint online to ensure this method works correctly.
–

Delete a Sharepoint online subsite with the help of other sites and workspaces
To fully appreciate the capabilities of Windows SharePoint Services, you must first comprehend how SharePoint sites manage and access the material. A SharePoint site is a website that serves as the foundation for all of your work with Windows SharePoint Services. SharePoint sites enable you to collaborate on documents, arrange meetings, and manage the information and ideas of your team. You may use Windows SharePoint Services to develop sites for both internal and external use. A site can be either a team site or a workspace in the context of Windows SharePoint Services. Users may collaborate on projects with the help of team sites. Workspaces are intended to support more specialized tasks, such as document review or meeting planning.
Step by step process – Delete a Sharepoint online subsite with the help of other sites and workspaces
Step by step breakdown:
- First sign into Office 365.
- Use the app launcher and navigate to “SharePoint”, and click on it.
- In SharePoint go to the Sub-site which you want to delete.
- Now click on “Settings” (gear icon).
- After that click on “Site settings”.
- Under “Site Administration” click on “Sites and workspaces”.
- Click the “Delete” icon next to the subsite to be removed on the Sites and Workspaces page.
Once you have implied those steps your site will be deleted. This is the workspace zone of your site and curating the site deletion from here not only allows you to refine what gets deleted it also allows you to be more specific with what needs deleting, for instance, if you have a subsite under the subsite you can delete it here rather than the entire site. The listing you see onboard is for one subsite, each serves its own purpose on the site and has its own independent structure which means it can be deleted independently as well.
It is worth noting that the team site is organized into numerous discrete content zones, allowing for simple navigation and organizing. Each content zone comprises items that are connected to one another. The left-most zone, for example, is blue and contains navigation links, but the central zone has two Web Parts (Announcements and Events). You may structure your site in the way that best suits your team.
–
Delete a subsite using Powershell
How do I use PowerShell to remove a subsite in SharePoint Online? While uninstalling subsites in SharePoint Online using the web browser UI is pretty straightforward, we may require PowerShell in some circumstances, such as:
- When you need to remove many subsites at once.
- If you try to delete a sub-site that includes child-subsites, you will receive the following error: “There was a difficulty removing Web site “/sites/Sales/apac.” Sites with subsites or specific applications cannot be removed. Please try again after eliminating all subsites and applications.”)
| #Load SharePoint Online Assemblies Add-Type -Path “C:\Program Files\Common Files\Microsoft Shared\Web Server Extensions\16\ISAPI\Microsoft.SharePoint.Client.dll” Add-Type -Path “C:\Program Files\Common Files\Microsoft Shared\Web Server Extensions\16\ISAPI\Microsoft.SharePoint.Client.Runtime.dll” #Variables for Processing $SiteUrl = “https://btp.sharepoint.com/sites/Sales/apac/” $UserName=”[email protected]” $Password =”Password goes here” try{ #Setup Credentials to connect $Credentials = New-Object Microsoft.SharePoint.Client.SharePointOnlineCredentials($UserName,(ConvertTo-SecureString $Password -AsPlainText -Force)) $context = New-Object Microsoft.SharePoint.Client.ClientContext($SiteUrl) $context.Credentials = $credentials #get the subsite $web = $context.Web $context.Load($web) $context.ExecuteQuery() #sharepoint online powershell remove subsite $web.DeleteObject() $context.ExecuteQuery() Write-Host “SubSite Deleted:” $web.Title -foregroundcolor Green } catch{ write-host “Error: $($_.Exception.Message)” -foregroundcolor Red } |
Run this command in Windows PowerShell and it will remove the site with those exact preferences, the structural approach is HTML basically uses a string of blocked text to initiate commands. You just need to change of the variables for processing to the site references you have. Ensure each piece of detail is correct to ensure the PowerShell command runs correctly. If the input is incorrect, PowerShell will fail and you may cause damage to your existing Office account, putting your company network in harm’s way.
Step by step – process use PowerShell to delete a subsite
- To extend the list of programmes installed on your computer, click the Start button and then “All Apps.”
- Scroll down to the “Windows PowerShell” folder, then click “Windows PowerShell” to open it.
- To launch PowerShell as an administrator, right-click the icon and select “Run as Administrator” from the context menu that displays.
- Click “Run as Administrator” after right-clicking “Windows PowerShell.”
In depth – step by step process – Delete a subsite natively
Step by step breakdown:
- First sign into Office 365.
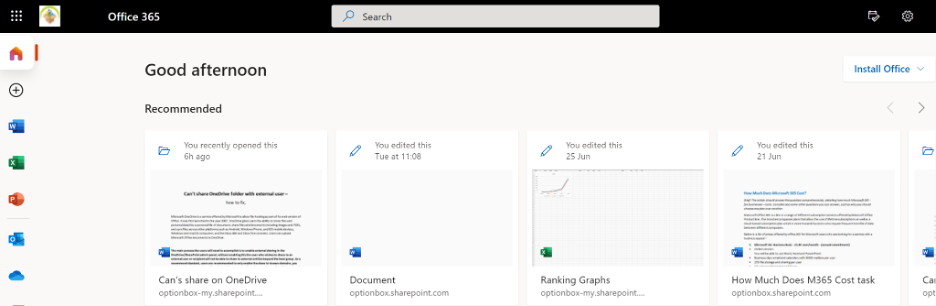
Use your account details or if you have a current Skype account with the Office account in question, you can use this.
- Use the app launcher and navigate to “SharePoint”, and click on it.
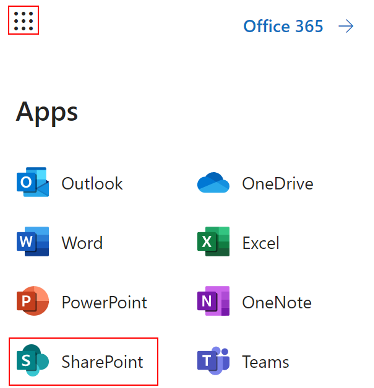
You can access the SharePoint application however this is for individuals who only have a SharePoint plan, A larger group of individuals have SharePoint in Office 365.
- In SharePoint go to the Sub-site which you want to delete.
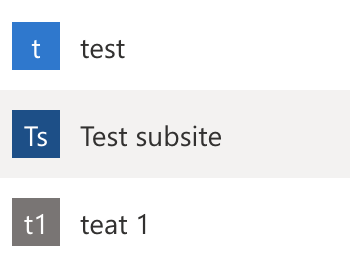
In this example, the site above called “Blog Demo” will be used to create the preview.
- Now click on “Settings” (gear icon).

- After that click on “Site settings”.

- Now click on “Delete this site”, under site actions.
- This will bring you to the “Delete this site” page. Click the “Delete” button to confirm the deletion of the subsite.
- Finally, you’ll see the warning “Your Web site has been removed”.
That’s it for this Blog thank you for taking time out to read our content, please feel free to email our team about how it went if you followed the steps or if you need more help with the questions we answered in this Blog.