While SharePoint is great at getting content across, it’s even better at managing content security, by both restriction site access, file and folder access, or complete access. You can manage who gets restricted to what content and who has access to what files and what they can do with it — for instance, whether to edit or just view the file. Some material on a company’s site should presumably not be accessible to all visitors. For example, only those with a need to know should have access to proprietary technical knowledge. Only full-time workers should have access to an intranet portal for employee perks, whereas anonymous clients can view the front page. Default permission levels are predetermined sets of rights that you may apply to individual users, groups of users, or security groups based on the users’ functional needs and security concerns. Permission levels for SharePoint are set at the site collection level and are inherited by default from the parent object. In this blog, we will go over the permissions available for users and see how an admin can use these settings to their advantage. We will also go over how to assign permissions and set them for users.
- Three permission prerequisites – Owners, members, and visitors
- Default permissions
- Permission inheritance
- Sharing Externally
After conducting an extensive amount of research, we have compiled a blog with all the required information you need to ensure you have full knowledge about the permissions of SharePoint.
–
Three permission prerequisites – Owners, members, and visitors
Every new SharePoint site comes with three permissions groups: Owners, Members, and Visitors. Sticking to these is a smart idea. You are allowed to establish new SharePoint groups whenever you want, but this adds unnecessary complexity. It may feel wonderful to establish a new SharePoint group in some circumstances, but you should always battle the impulse and convince yourself that you need one. Every additional organization adds to the complexity of a site, making future ownership transfers more complicated.
Permissions levels
- Site Visitors
- Your “read-only” users are your site visitors. Only reading and downloading are available to these users.
- Site Members
- Your “add/edit/delete” users are called Site Members. These users have the ability to view and download content, as well as add, edit, and remove it (documents, pages, announcements, events). They have the ability to share stuff with others as well.
- Site owners
- Your “full control users” are Site Owners. These users have access to all of the same features as Visitors and Members, as well as the ability to maintain site security, create extra web components, and control navigation.
Owners have “Full Control,” Members have “Edit,” and Visitors have “Read” access by default. Of course, you may edit them; in fact, we urge that you do so for the Members group on each site. Otherwise, I’d leave them as is since, once they’re easier to work with and, two when someone takes over for you, you want the transition to be as smooth as possible. Permissions settings that are very difficult are not enjoyable for a new Owner. Follow through to see how you can edit those permission settings.
Step by step process – Edit the three permission prerequisites – Owners, members, and visitors
Step by step breakdown of Sharepoint permission levels:
- First, sign in to Office 365.
Use your account details or if you have a current Skype account with the Office account in question, you can use this.
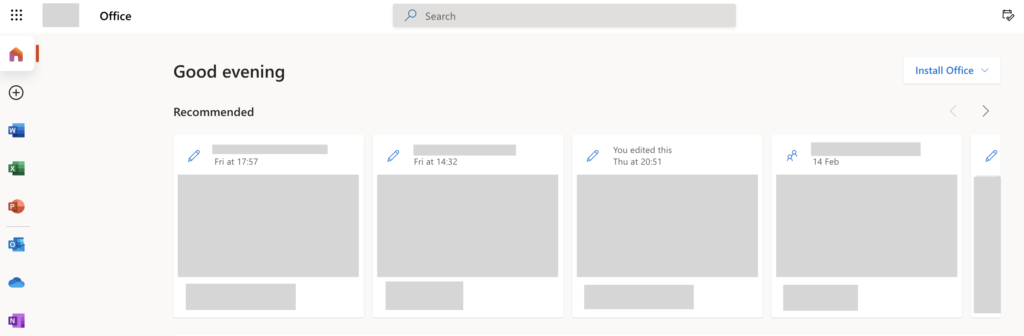
- Use the app launcher and navigate to “SharePoint”, and click on it.
You can access the SharePoint application however this is for individuals who only have a SharePoint plan, A larger group of individuals have SharePoint in Office 365.
- In SharePoint go to the Site where your files are located.
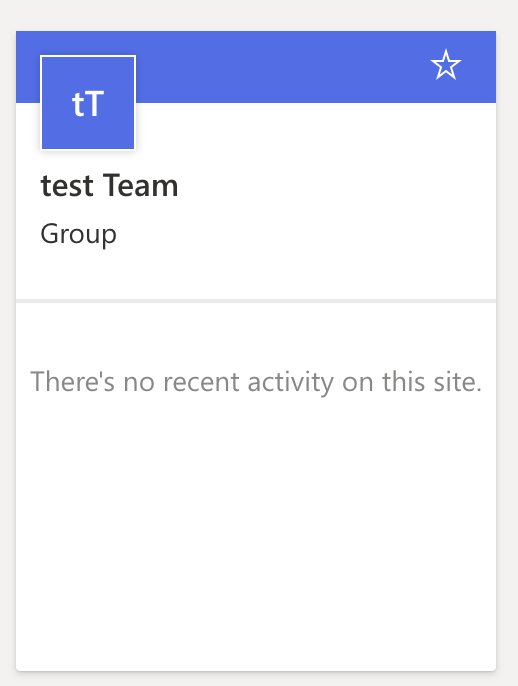
In this example, the site above called “test Team” will be used to create the preview.
- In the menu bar, find and click on your document library.
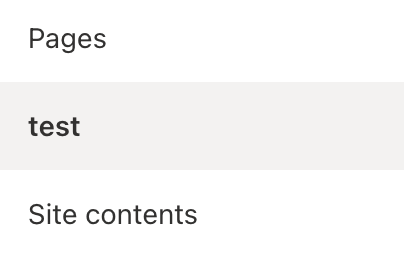
In this example, we will be using the document site called “test blog” to alter the permissions.
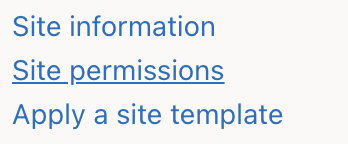
- Now click on “Settings”.
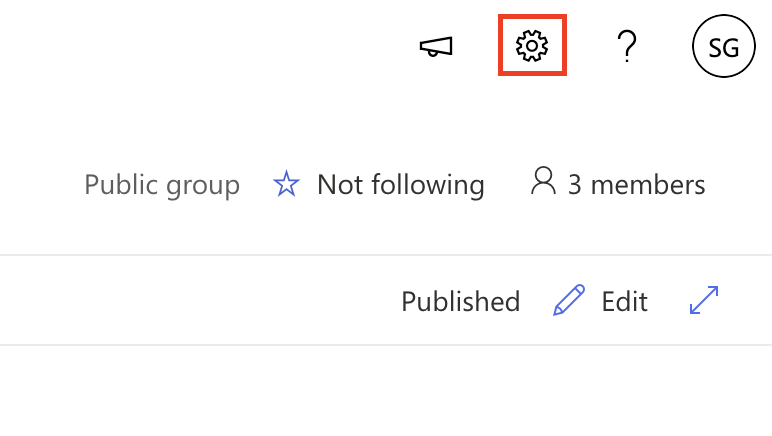
- Now click on “Site permission”.
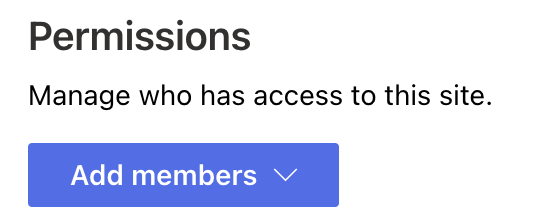
- Click on “Add member” to either add a new member or edit the preexisting settings of your current members.
–

Default permissions
While the prerequisites are are all you may require, you can go one step further and edit permissions with even more complexity. SharePoint makes it such that the permissions can be refined to exactly what’s required by the admin to delegate permissions to other members within the organization. There are five main ones that control pretty much all access.
List of default permissions
Full control
If you have the ability to update the site’s content and settings, you are a member of the Owners group, which has the “Full Control” access level. Managing permissions is one of the most typical duties that a site owner conducts.
Design
If you belong in the member’s group or higher, you can also have this permission enabled. The “Design” permission allows you to change the visual aesthetics of the site, however, you can edit the site content, lists, and other library settings currently imposed. You can change the view, color, fonts, and other factors related to design aesthetics.
Edit
This permission similar to design allows you to edit the site, you can go one step further and edit the site contents and library settings that are set as default if you are a design member you can only edit aesthetics. This permission is more suited for site editors visual directors who can really benefit from the extra control access.
Read
You belong to the Visitors group, which has the “Read” permission level if you can browse the site but not make changes to it or its content. The “Read” permission level, for example, allows you to visit a site but not alter any of its documents.
View/Contribute
You belong to the Members group, which has the “Contribute” access level, if you can see the site and alter the content but not make modifications.
Ste by step process – Edit default permissions
- First sign in to Office 365.
- Use the app launcher and navigate to “SharePoint”, and click on it.
- In SharePoint go to the Site where your files are located.
- In the menu bar, find and click on your document library.
- Now click on “Settings”(Gear icon).
- After that click on “Advanced permissions settings”.
- Select the user(s) by checking the box next to their name.
- Now click on “Edit User Permissions”.
- Select the correct permissions and click on “Save”.
Summary
The way you distribute rights on a SharePoint site should be determined by the site’s intended usage. If you’re in control of a site that stores final, published content — say, your HR department’s intranet site — you should allow a lot of people read access, very few edit access, and even fewer ownership access. If you have a team site, you should largely give out edit access; folks have jobs to do, so let them. If at all possible, avoid giving out read access and restrict the number of owners. It’s entirely up to you for other forms of ad hoc sites.
–
Permission inheritance
You can break inheritance between various web pieces and a site itself, much as you may break inheritance between subsites and parent sites. Let’s say you need to conceal or make a document library read-only for Site Members. You can break the inheritance from a library to the site and give it its own security. While this may be essential at times, it should be the exception rather than the rule.
“Object-level permissions” are one of SharePoint’s most powerful features. This is a clever way of saying “with SharePoint, you may offer access to certain things without giving access to the entire site or system.” In SharePoint, it’s a tremendous benefit.
All of your site’s content inherits rights from the site itself by default. As a result, access to file A, file B, library X, list Y, and the entire site is the same. You can make access to a file, library, list, or anything else in that site unique by breaking inheritance.
This is quite appealing and can be very beneficial. However, breaking inheritance may be quite risky because it dramatically increases the complexity of your rights arrangement. That’s not a terrible thing, but you must be prepared to maintain control once you have it. Thankfully, you can identify who a file, list, library, or other object is “Shared With” in SharePoint 2013, 2016, and Online. This option may be found in the ribbon of any library, list, item, or document; see the screenshot below. That wasn’t the case in earlier versions of SharePoint, thus permissions were a complete mess.
Inheritance recommendations
However, when it comes to breaking inheritance and offering distinct rights depending on particular elements, you must proceed with caution.
- Keep your visits to libraries and websites to a minimum:
- If you need to disrupt inheritance, do it at the group level rather than at the individual file level. Place those files in a folder, library, or even a different website, and manage rights from there.
- Use SharePoint groups to your advantage:
- Individual permissions should not be broken by granting access to individuals. Instead, make a SharePoint group for the event and use it. It’s easier to edit a SharePoint group in one place and then enjoy every item that automatically pulls that group’s rights in than it is to make changes all around your business when someone joins or departs.
- Caution is advised:
- I’m not suggesting that you don’t use object-level rights. I use it on a regular basis. However, there is a need for risk awareness. Things get difficult, and it’s easy to lose track of your objectives.
–
Sharing Externally
One of the most compelling features of the professional tool SharePoint is its capacity to work with other content creators within the company or even individuals from outside the company, such as clients. SharePoint is a valuable tool for businesses and organizations of all sizes because of this capability. Users inside an organization can connect successfully with external members of the group when they have the capacity to distribute material outside with the help of SharePoint. So, who is an external user that one would like to add to the organization or company?
Step by step process – Edit share permissions for external members
- Firstly, sign in to Office 365 and go to “Admin”.
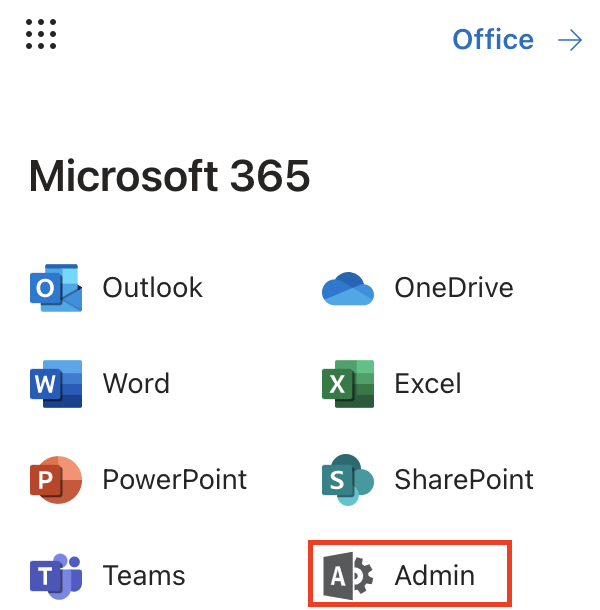
First, the company member or admin needs to login into their Microsoft account then access the app launches panel as can be seen on the screenshot below.
- Now click on “Show all”.

Once users have accessed the verified admin panel to change content and edit settings they can now edit the share feature by clicking show more in the side panel which will show extra features relevant to the share settings.
- After that click on “SharePoint”.
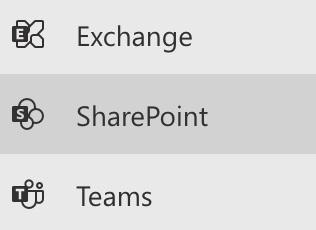
In the admin center, you click SharePoint to allow editing of the sharing feature present within SharePoint.
- Under “Policies” click on “Sharing”.
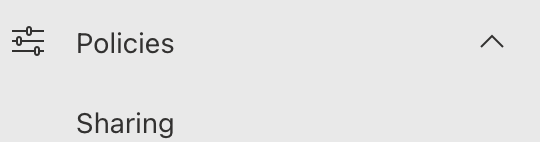
Once SharePoint is enabled you can now access the share center by clicking on the “Sharing” button.
- Use the slides to refine the permissions.
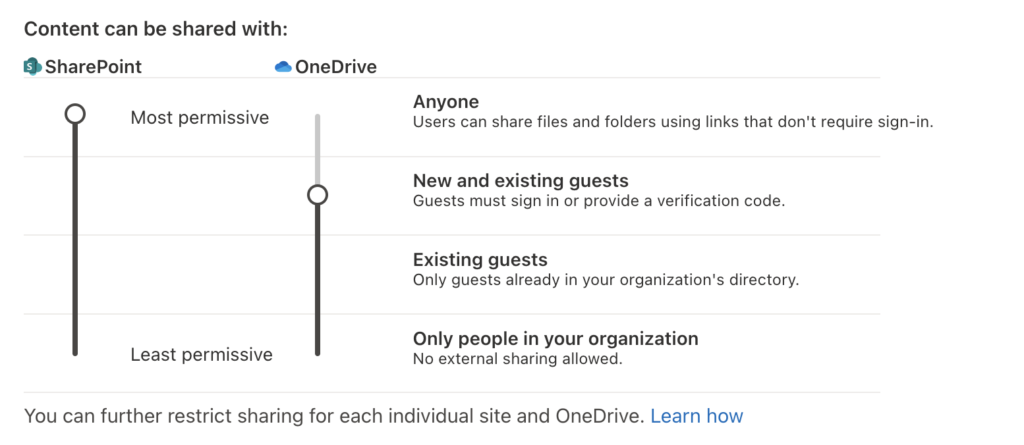
Once the sharing panel is open the users can access the permission center where individuals who can see the content can be edited in or out depending on what settings are required.
- Finally, click on “Send”.
Once the appropriate settings have been associated you can now click save and it will save the file.
How to attain a share link to send across to external users:
- When you hover over a file in the Microsoft account you can see the share icon which will allow the user to get a link to share across with members as you can see below.
- Once you click the share button you can now access the share panel which will allow you to get the link and share it across.
- In addition to the keyboard copy and paste shortcuts available you can use the Copy button to copy the selected link text and paste it in an email, blog, document, or any text-based readable file.
That’s it for this Blog thank you for taking time out to read our content, please feel free to email our team about how it went if you followed the steps or if you need more help with the questions we answered in this Blog.