Many Microsoft Teams users will have to undertake consistent meetings with other members of staff and employers. It would stand to reason that most people will want to check that their audio is working, especially if they’re new to Teams. Many users will do this before entering a meeting to avoid embarrassment.
There are a few ways to test your audio on Microsoft Teams— this involves using the Microsoft Teams app, going to the device settings and going into a test call, or creating a meeting to check if it works. These methods can be used on Mac and Windows but only in the Teams app.
How to use a test call to check your audio
- Open Microsoft Teams.
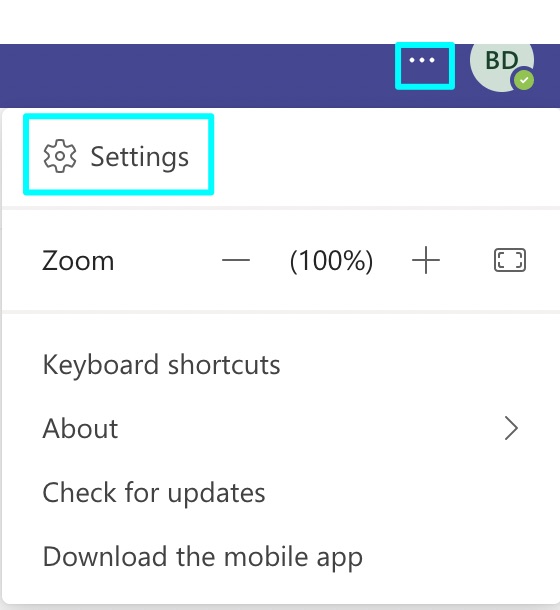
- Press the “…” icon next to your profile icon.
- Click “Settings.”
- Go to “Devices.”
- Click “Make a test call.”
- Record a voice clip and see if you like it.
Content list
- How to change your audio options in Microsoft Teams
- How to test your audio in a Microsoft Teams test call
- How to test your audio in a Microsoft Teams test meeting
- How to test your camera before a meeting
- Conclusion
How to change your audio options in Teams
Choosing the correct audio for your system can be straightforward or tricky, depending on whether you have a work device or a device with a few audio options. One thing you should do before you try to test your audio options in a test call or meeting is to check the device settings on Teams; here, you would be able to check the input and output devices that you want to use in a meeting. This should be done before you try to join a meeting, as it will guarantee that the audio won’t work if the selected options are wrong.
For this guide, I will show how to get to these options on a Mac; however, this will work the same on the Windows app.
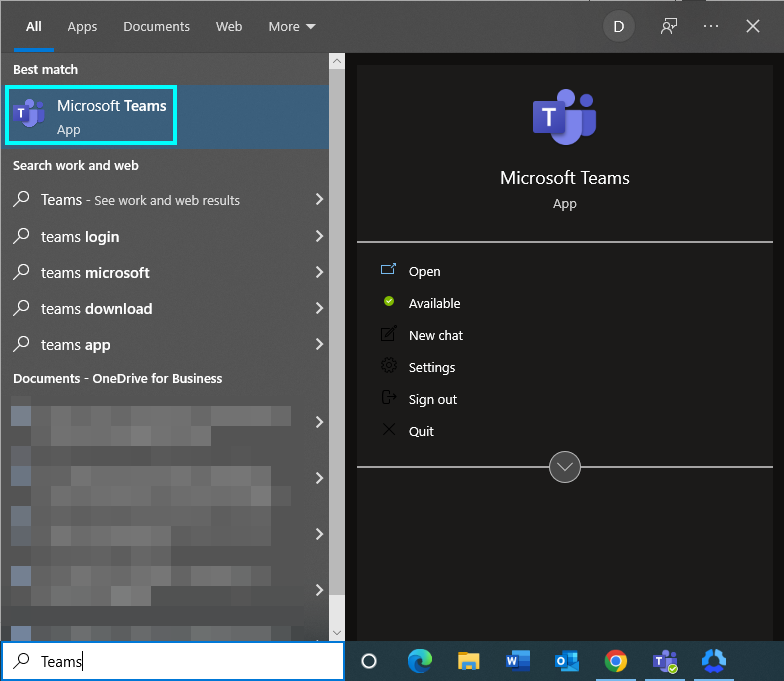
- Open Microsoft Teams using the search bar; after Microsoft Teams has loaded, go to the “…” icon next to your profile, then click “Settings.”
- After reaching the settings window, go from “General” to the “Devices” section.
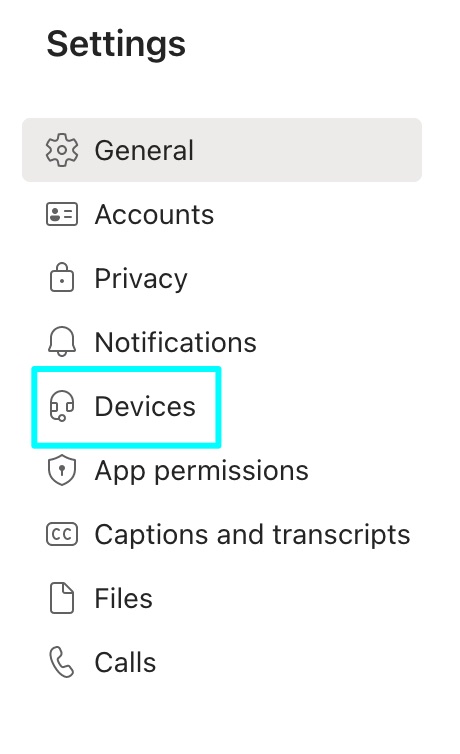
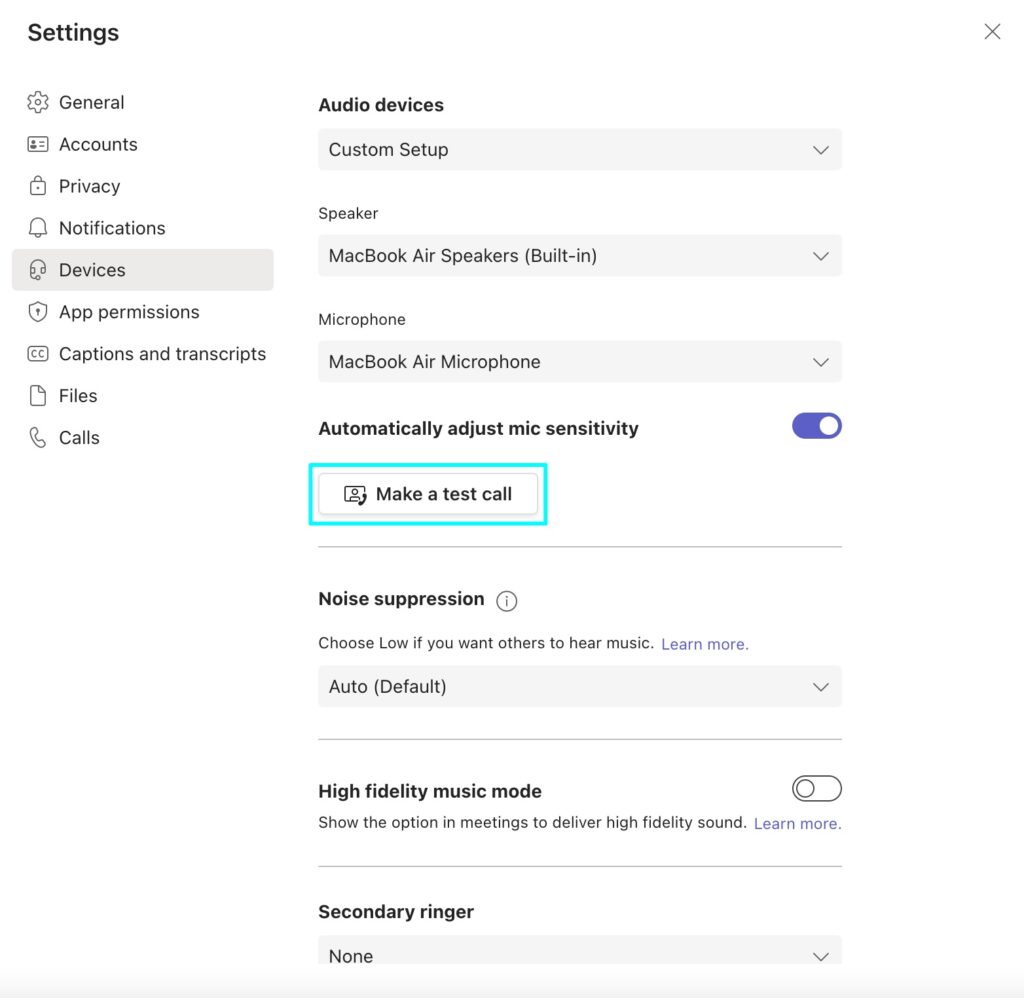
- On the “Devices” section of Microsoft Teams settings, you can look over the audio device options that you have selected or change to something else.
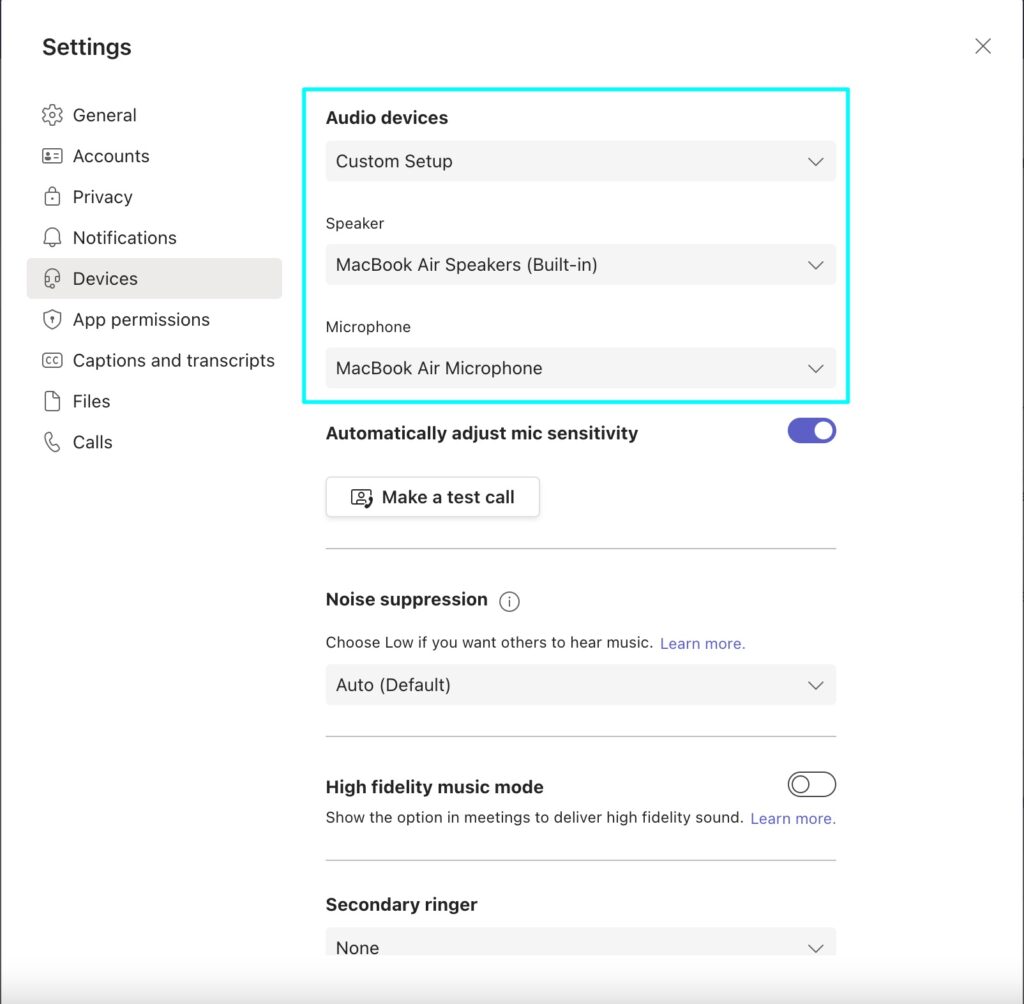
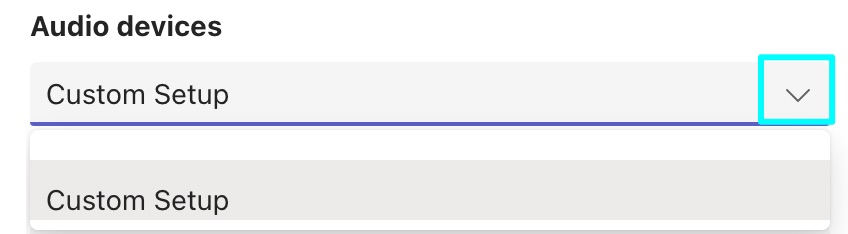
- When going through the audio options, the first option is under “Audio devices,” this allows you to see if there are any setup choices. For most people, there would be one called “Custom Setup.” This wouldn’t have to be changed as it contains the options for input and output devices they chose.
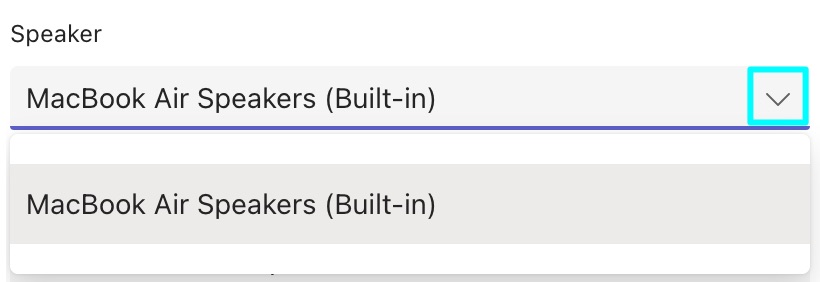
- Next, click on the “Speaker” dropbox; this is where you can choose the output device you will use for any calls or meetings you will take part in. Depending on what system or equipment you are using, it will display different options; as I did this guide on a Mac, it will use built-in speakers.
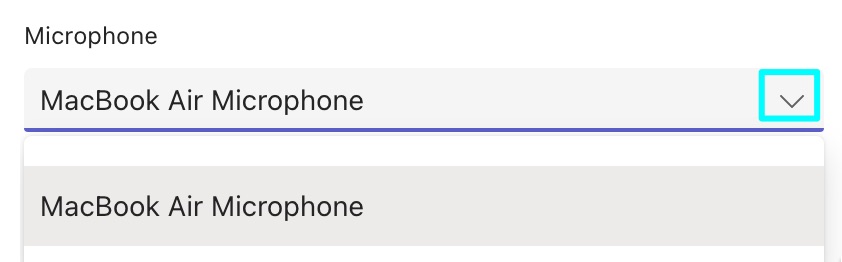
- Then you need to choose the input device you will use to speak with. If you are using a laptop, it should show a built-in microphone option, but if you are using a headset, it should show that option once it has been plugged in.
After choosing the audio options you want to set, you can have a meeting without worrying that the options aren’t what you want them to be.

How to test your audio in a Microsoft Teams test call
The method for testing your audio on Microsoft Teams can only be done in the Microsoft Teams desktop app, not on the browser version, and it also works the same on Mac and Windows.
- Open Microsoft Teams, and click “…” for the settings options.
- Once you reach “Settings,” go to “Devices.”
- After reaching “Devices,” look below the audio choices to see the option called “Make a test call.” You need to click on this as it will allow you to test your voice by recording a message, and it will play it back, which will allow you to see if it works correctly.
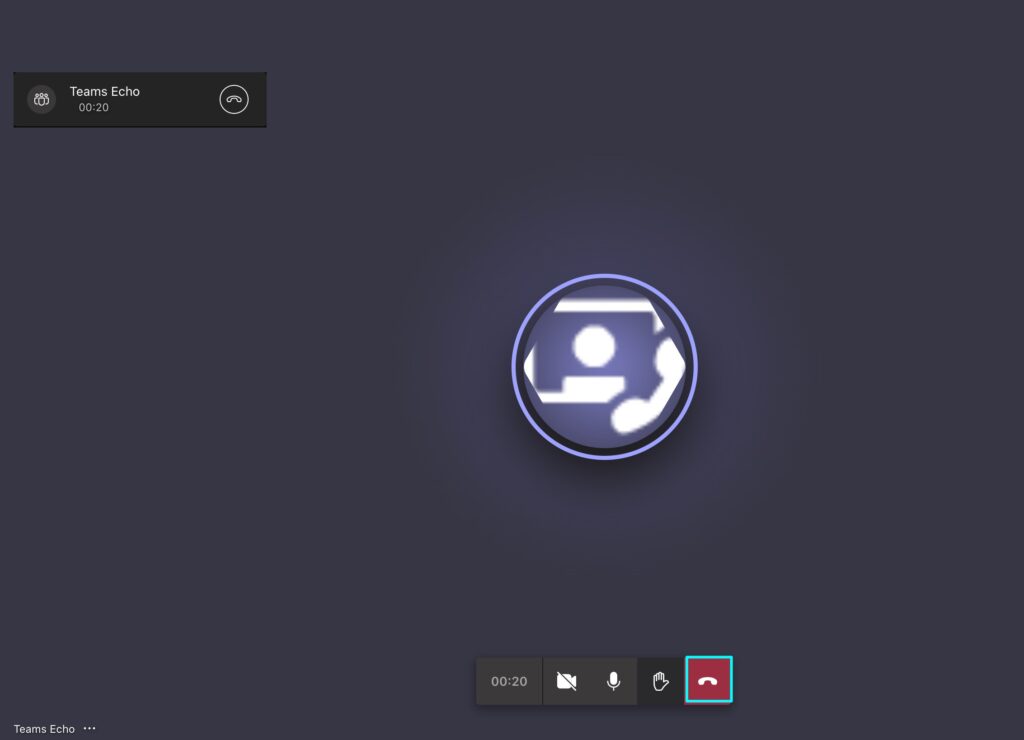
- Pressing this option will start a test call with “Teams Echo,” this is a testing feature that acts similar to a voicemail system as you can record a message that you can then hear back.
This is how you can test your audio in Microsoft Teams before you need to go into a meeting.
How to test your audio in a Microsoft Teams test meeting
Another way to test your audio set-up is to start a test meeting by yourself or with another user before you need to go into the real thing. Doing this allows you to either take a recording of the meeting or listen to another person and base the quality on that— you can do this in a few places on Teams, but for this, I will start a meeting in the calendar section. I have done this here instead of the Team or a chat section to avoid confusion with the call option. This method is the same on Mac and Windows, and I have made a short guide below.
- Open Microsoft Teams
- After loading Microsoft Teams, go to “Calendar” on the left sidebar; here, you will see two options in the top right called “Meet now” and “+ New meeting.”
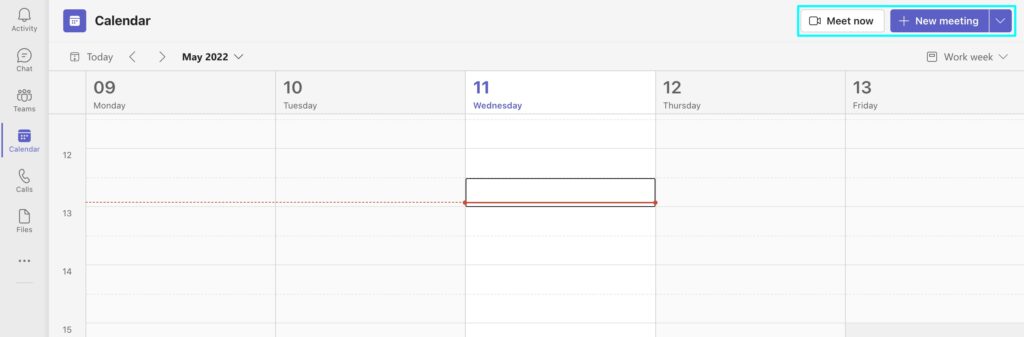
- These two options end with the same result; however, the difference between them involves whether you want to create a meeting now or set a time to test your mic later. You can also choose to invite another user to this meeting or not, which will allow you to test your audio and theirs.
I will show what happens when you click both these options below; it should be noted if you create a meeting for a later date and choose to add participants to it, they will receive an email or notification about this.
Meet Now
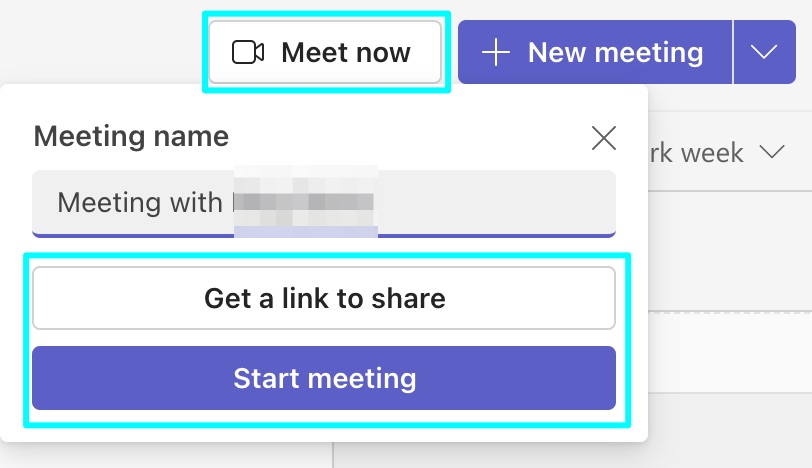
By clicking on “Meet now,” you can either start the meeting by yourself and do things once you are in it, or you can choose to get a link to the meeting that you can distribute to someone if you want to test your equipment with other users.
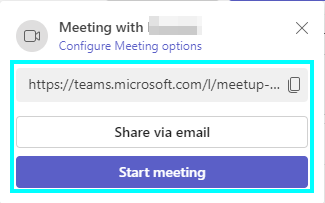
If you click “Get a link to share,” it will show a link to be copied onto your clipboard that you can then copy and paste to someone. The “Get a link to share” option will then be replaced with a “Share via email” option so you can choose to send it to anyone you need to.
+ New meeting
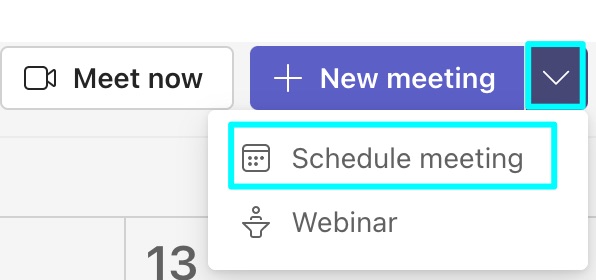
Clicking on “+ New meeting” will go straight to the page for making a new meeting, but hitting the drop arrow will the options “Schedule meeting” and “Webinar,” you want to click “Schedule meeting” for this. This option would be used if you want to set a meeting in the future before you need to go into an actual meeting, so you have time to test your audio.
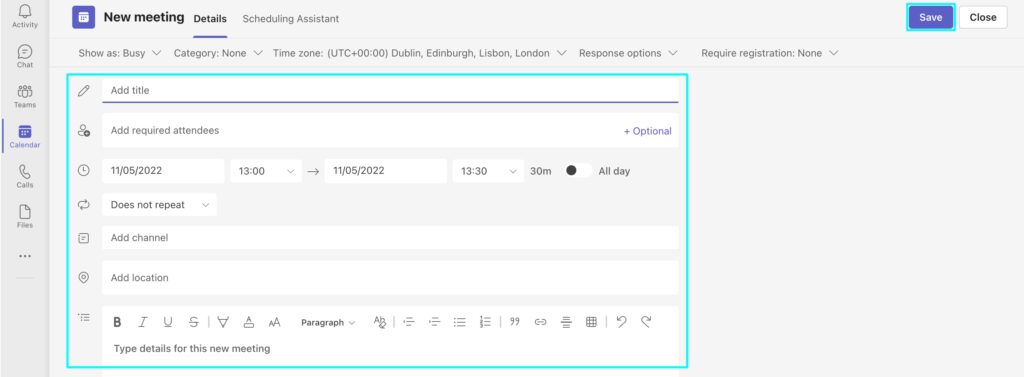
- Bringing up the new meeting menu will allow you to input anything you need for yourself and anyone else you want to join. You will need to enter a name, the name of anyone who needs to attend, the data and the time of this meeting, and other details if you think they are necessary.
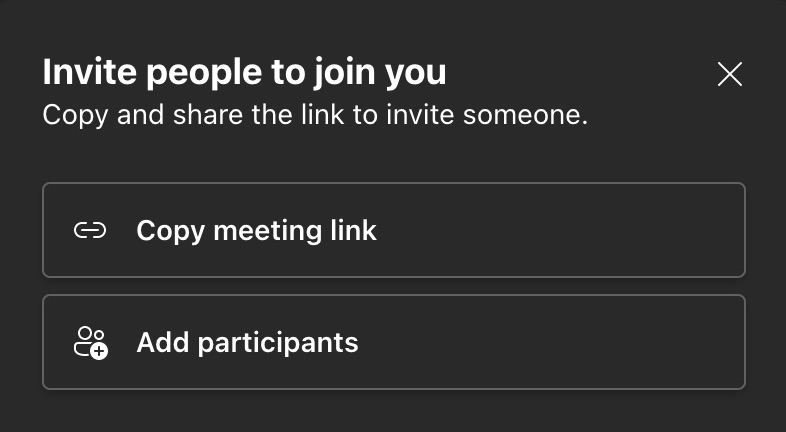
- Once you have set up a meeting, when you do join it, the meeting will show a box asking you to invite people to the meeting if you want.
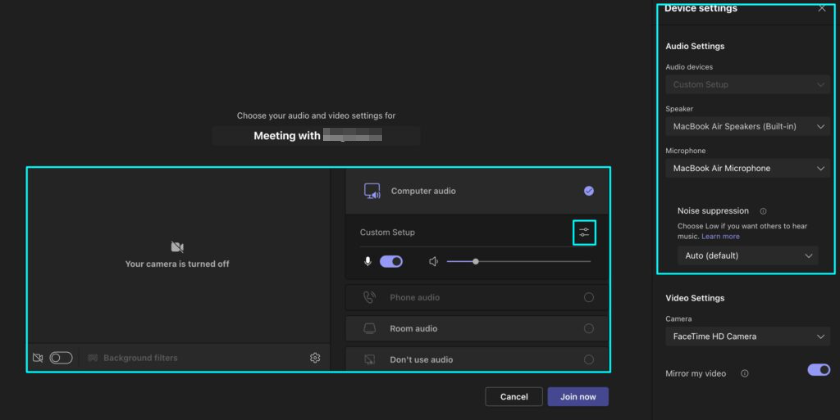
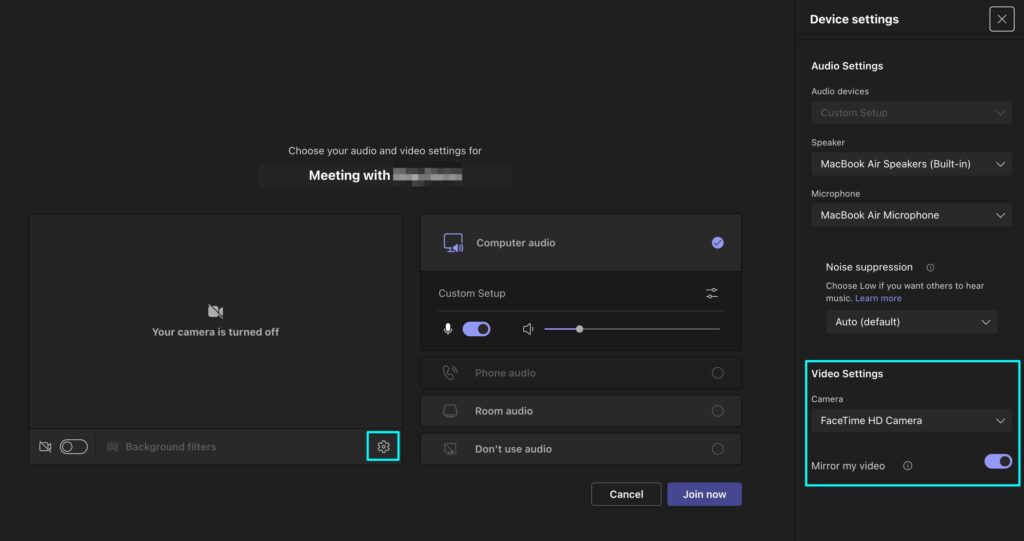
Before the meeting starts, Teams allows you to choose and view your audio set-up depending on what you have plugged in.
- Once the meeting is underway, you can press “…” for more options; this is where the option to record a meeting is located. You can also turn your microphone on here to record the audio.

For privacy reasons, the meeting room will display a warning telling users that the meeting is being recorded.

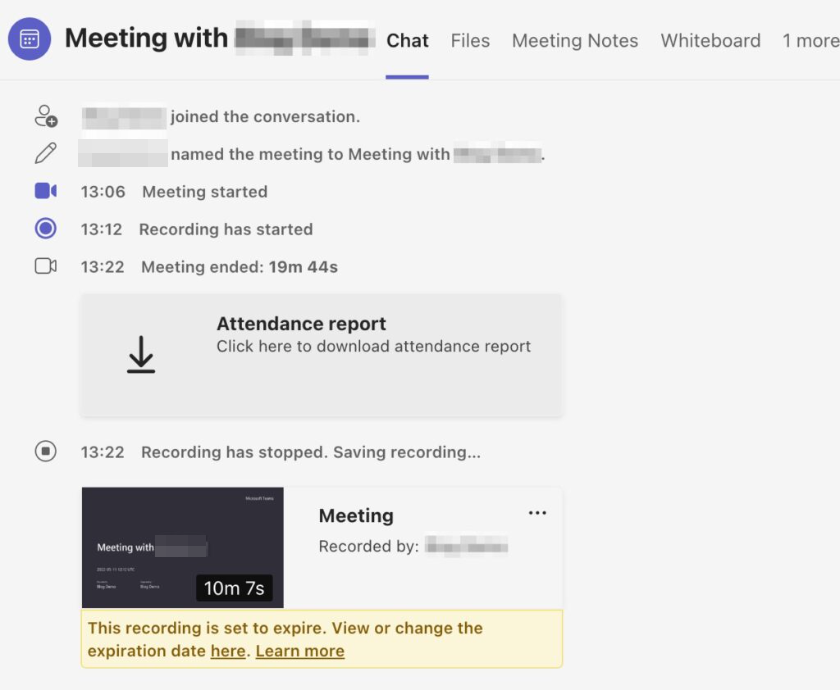
You can end the meeting whenever you want, and your recording will appear; you may have to wait a couple of minutes for this to show up.
How to test your camera before a meeting
If you are taking part in a meeting, you should probably check if your camera works and your audio setup, as it is likely, that you will be required to turn it on when asked in the meeting. Checking your camera is as straightforward as setting up your audio options; I have created a short guide below to show the two methods for looking at this, which work on Mac and Windows devices.
Testing camera in a test call
- To start, open Microsoft Teams.
- Go to “…” found next to your profile icon, then click “Settings.”
- Once on the settings page, click on “Devices” for options related to equipment.
- We want to use the test call option, this is the same place you can test your audio, and it also lets you check if your camera works.
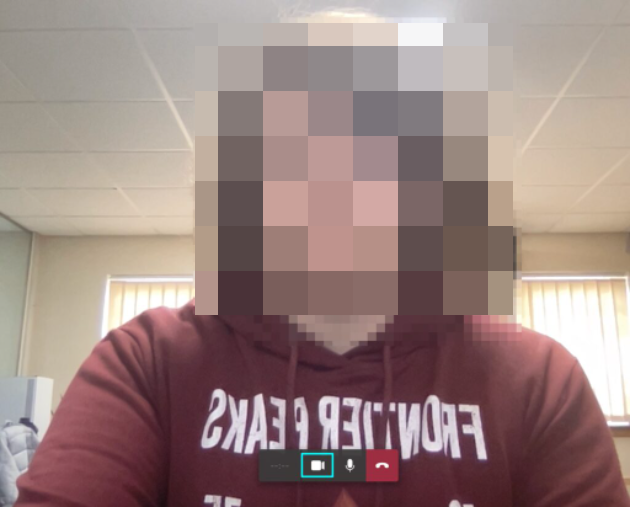
- Once you click this, if you are using a device with a camera like a laptop, it will turn on, and if it works, it will show you like it would in a meeting.
Alternatively, you can also set up a meeting like earlier in the guide and test your camera/video settings while setting it up.
- Go to “Calendar”
- Press “Meet now” or enter the options for the meeting you will have later.
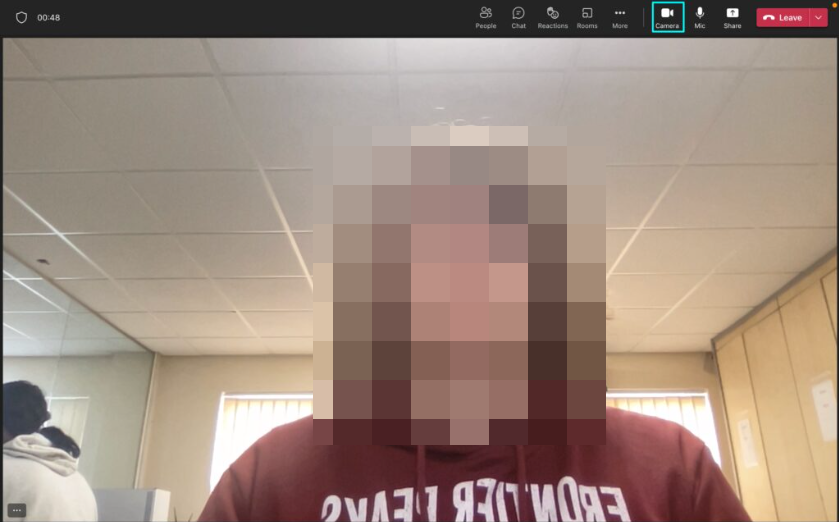
- Then, join the meeting and choose the settings.
- If your settings are correct, you can press the camera and mic buttons to turn them on and off to see if they work.
Conclusion
It is vital that you set things correctly so your meeting goes smoothly and you can avoid any embarrassment on your end. If you need to test your audio before you go into a meeting, there are a few methods that you can use to check that your sound is working correctly. These methods involve either using a test call or starting a meeting, and you can use either of them to see if you are happy with this.