With Staff Notebooks, you can easily manage your staff and create a shared workspace for collaboration. If you have students and staff, try Class Notebook instead, which has many of the same features and can be downloaded as an add-in for the app version of OneNote.
How to manage a team in OneNote (web version):
- Create a Staff Notebook.
- Open your notebook in the web version.
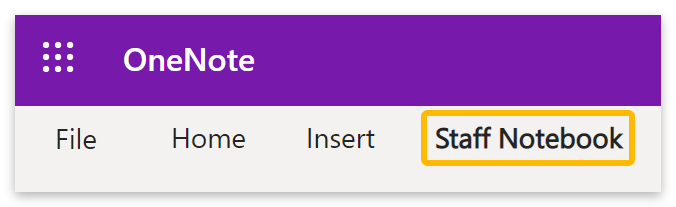
- Click on ‘Staff Notebook’ at the top to distribute new sections and manage users.
How to manage a team in OneNote (app version):
- Create a Staff Notebook.
- Open your notebook in the application.
- Right-click the bar containing the section groups to add new sections.
- Install the Class Notebook add-in to distribute pages and sections.
Please continue reading our visual, step-by-step guide on everything you need to know about managing a team in OneNote.
What is Staff Notebook on OneNote?
Staff Notebook provides an individual workspace for every teacher, lecturer, or staff member where they can share content and collaborate.

How to use Staff Notebooks on OneNote
Please go to the Staff Notebooks sign-in page to start using this guide. If you don’t already have a Microsoft 365 account, you can create a free one here.
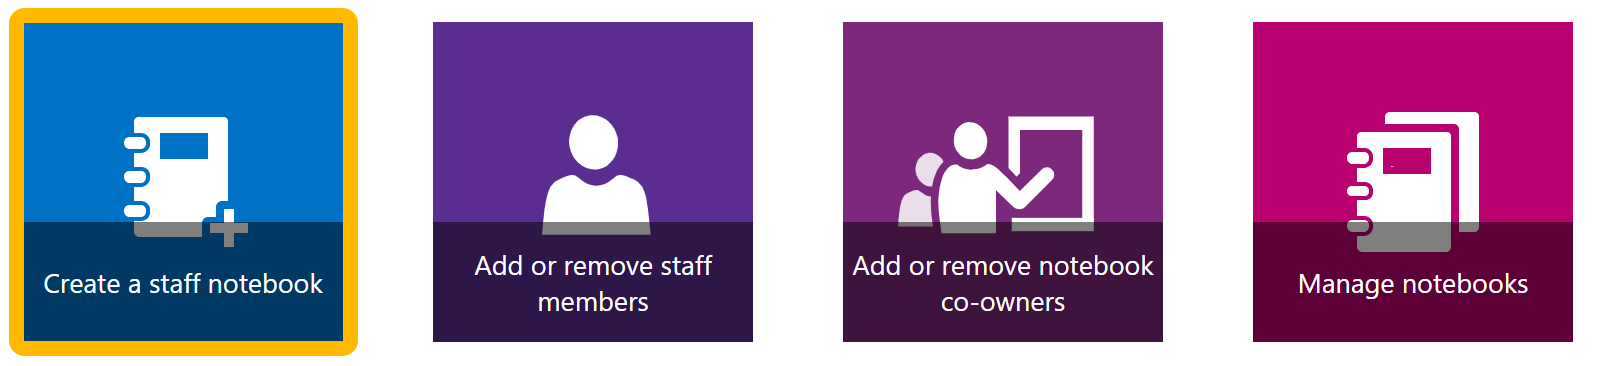
- You can create and manage staff notebooks and staff members from that page.
- Click on Create a Staff Notebook to get started.
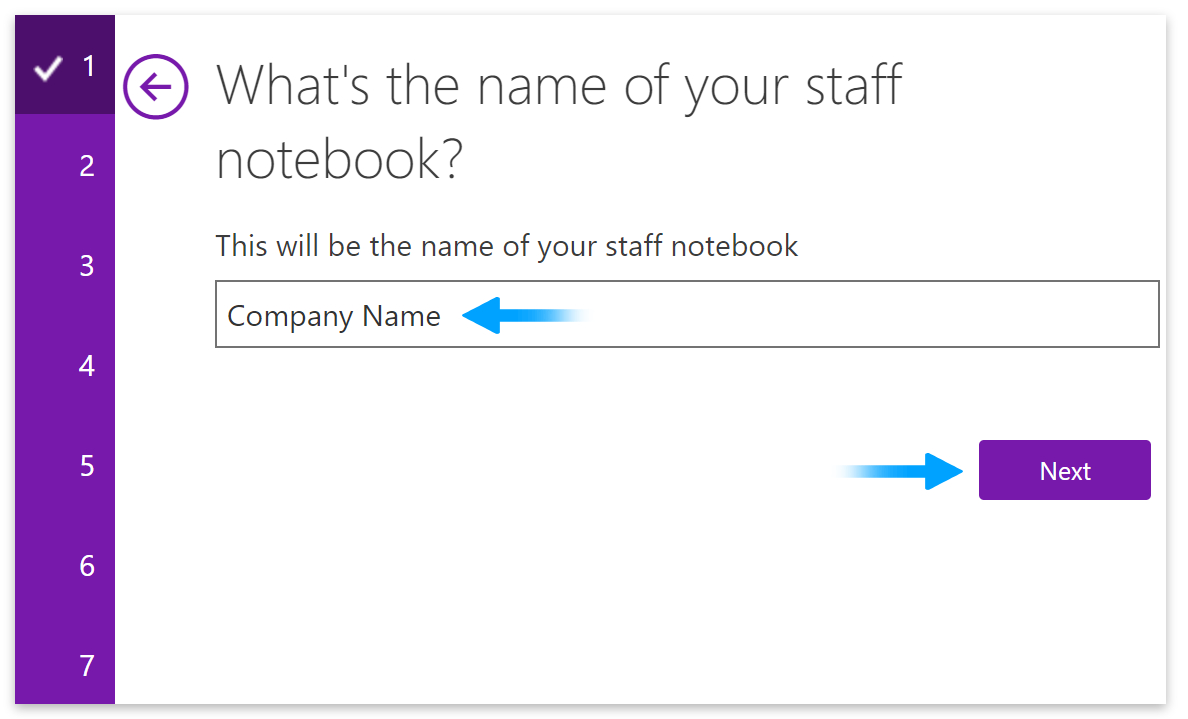
1: Enter a name for your Staff Notebook and click the Next button.
2: The next step will tell you what the section groups are. Go down and click Next.
3: Add the names of co-owners as required. Type in their name and select them from the list.
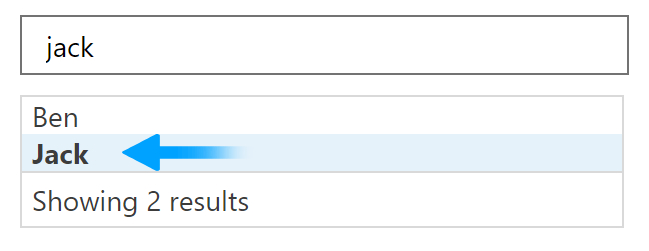
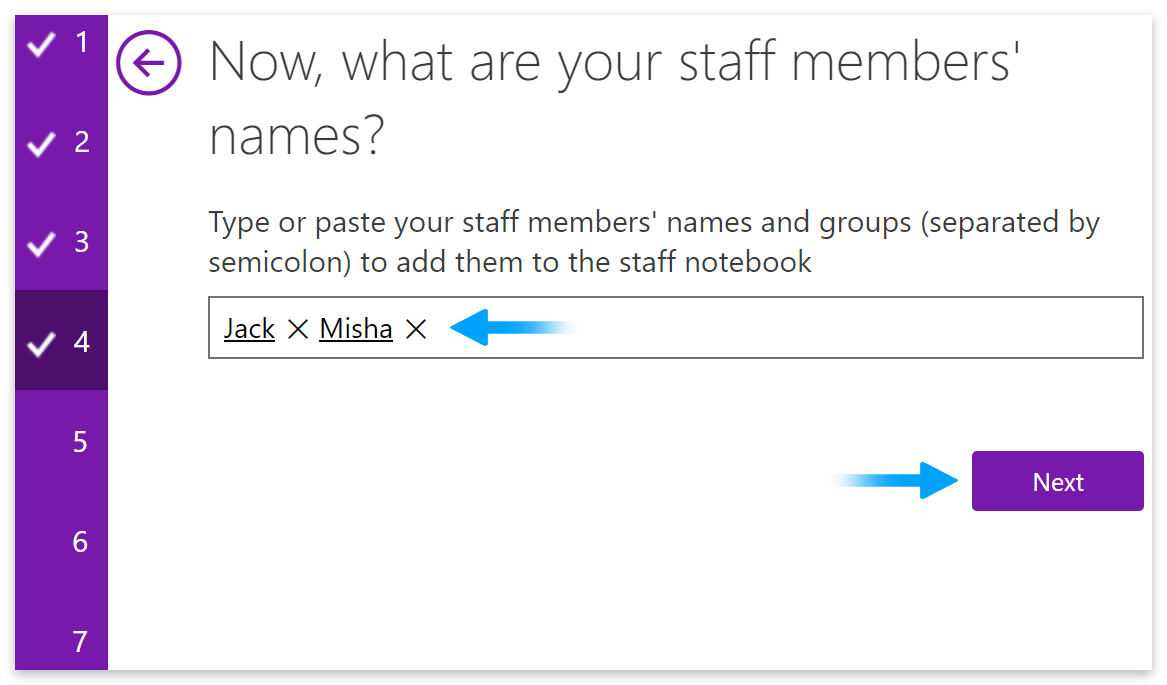
4: Add your staff members. Type in their name and select them from the list.
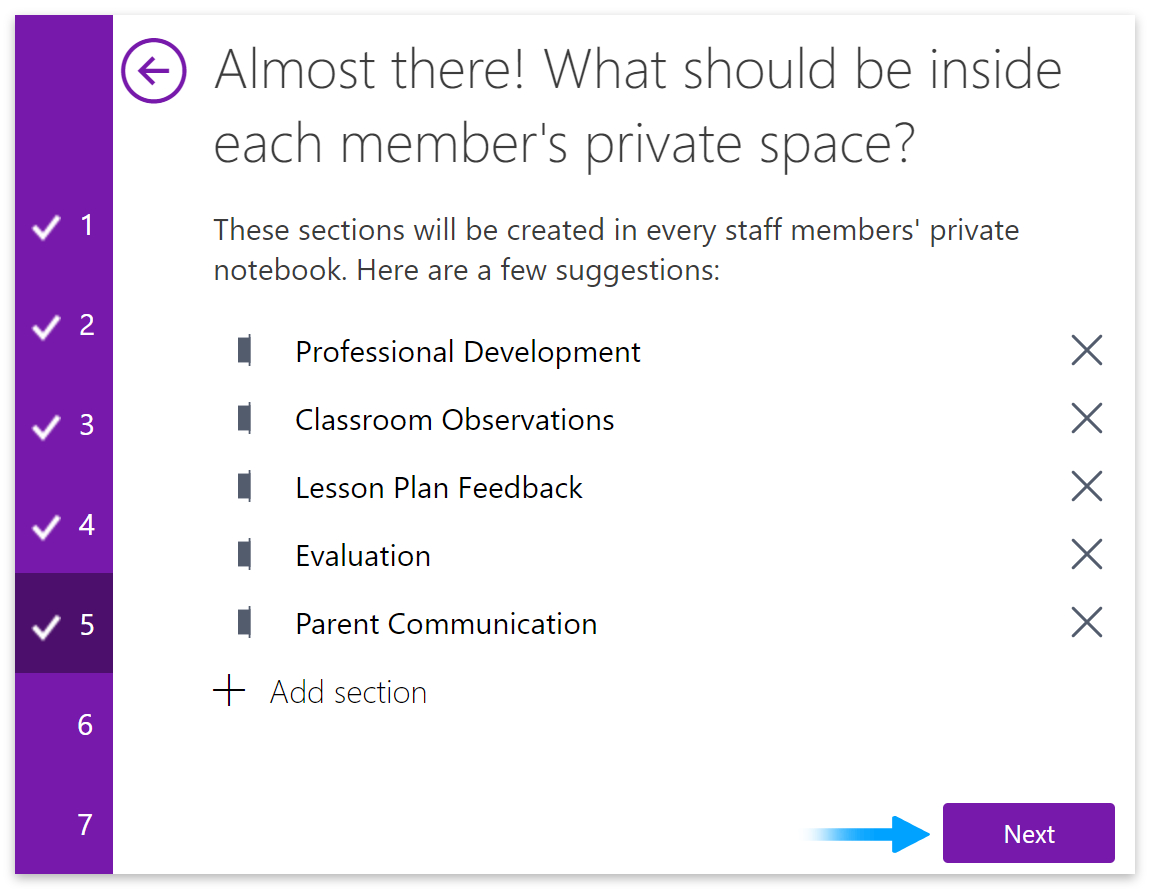
5: Add or remove the sections that every notebook will contain.
6: This step will show you a preview of your Staff notebook. Go down and click Create.

7: Choose to open your Staff Notebook in the app or web version of OneNote.

The anatomy of a OneNote Staff Notebook
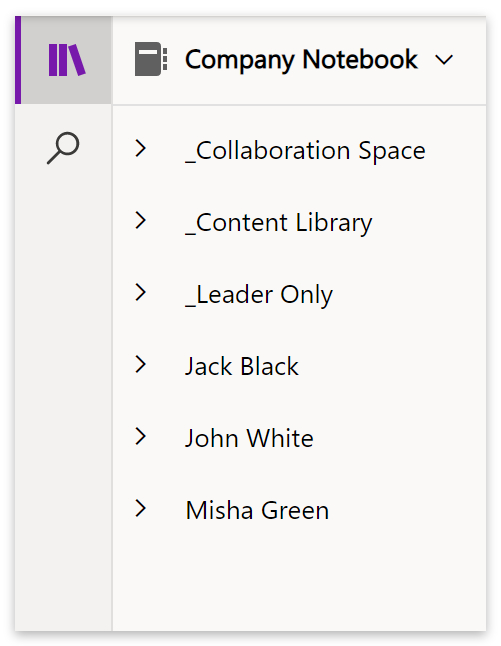
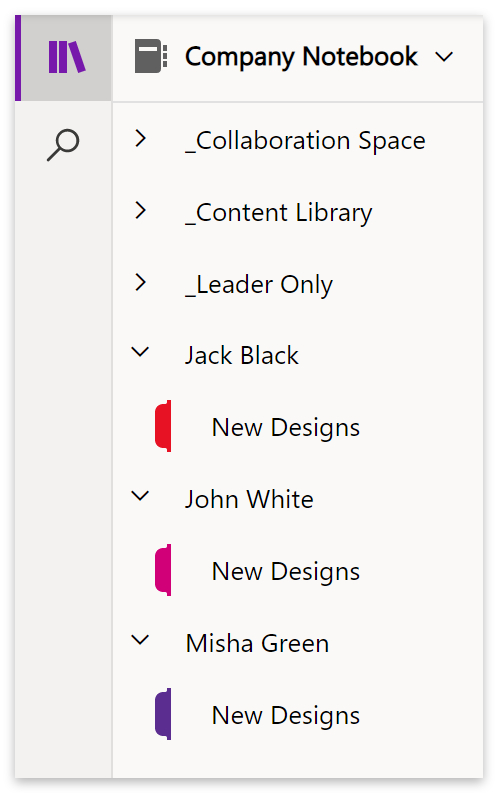
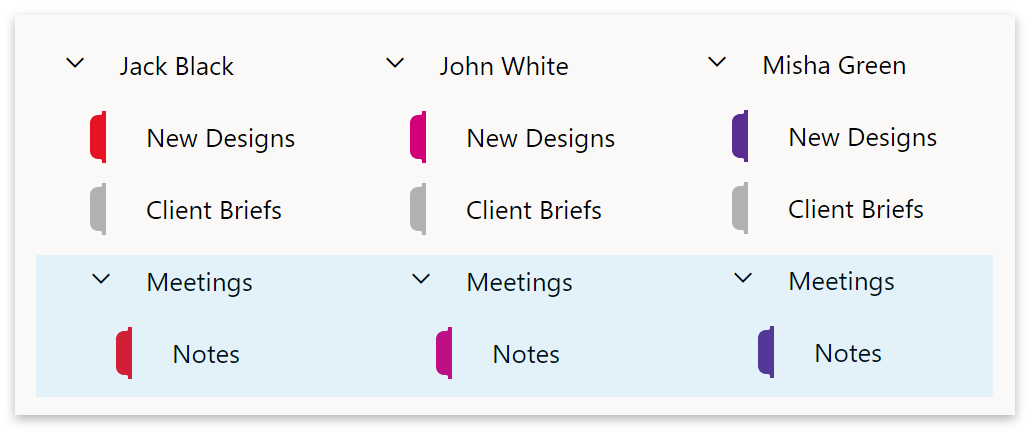
In this guide, we will be starting with a blank Staff Notebook with three staff members. First, let’s look at the anatomy of a Staff Notebook.
| Collaboration Space | Sections in the collaboration space can be edited by any of the staff members. It’s a space to share content and work together in a user-updated environment that removes the necessity of email communication. |
| Content Library | The content library is a read-only space for storing information that all staff members can access. Only leaders and co-owners can edit the content here. |
| Leader Only | The Leader Only space is a private notebook that only the leader or co-owners can view. |
| Private Staff Notebooks | Private Staff Notebooks can only be viewed by the staff member who owns the notebook and the leader/co-owners. Staff members cannot see each other’s private notebooks. |
Staff Notebook (web version)
Staff notebooks are often used in the education sector, but you can utilize them in many ways to manage work and collaborate. First, decide how you want your notebook to function.
If your company produces graphic designs, the collaboration space could be for brainstorming. The content library could contain completed works, textures, backgrounds, client feedback, and communications.
How to create new sections
- Click on the Staff Notebook tab on the top menu to add a section.
- Then click on the
 black notebook icon.
 - Or click the three dots and select Manage Notebooks from the dropdown menu.

- Click on + Add section. (1)
- Enter a name for your new section. (2)
- Then click the Save button.
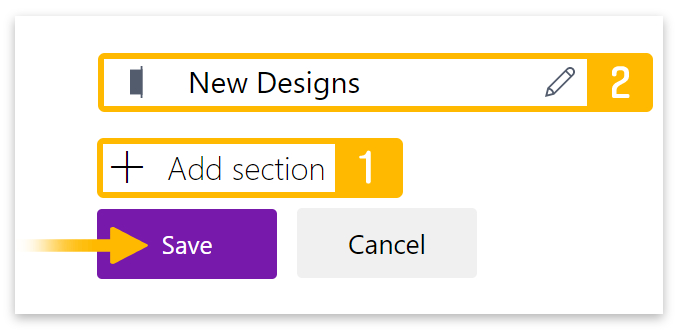
- New sections will be automatically distributed to all Staff member’s notebooks.
- Refresh the page to view changes.
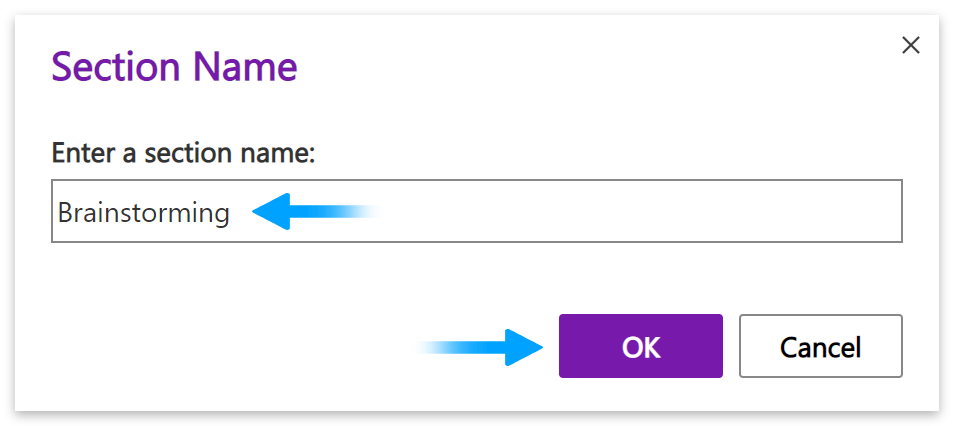
- Click anywhere on the main page to create a new section in the Collaboration Space.
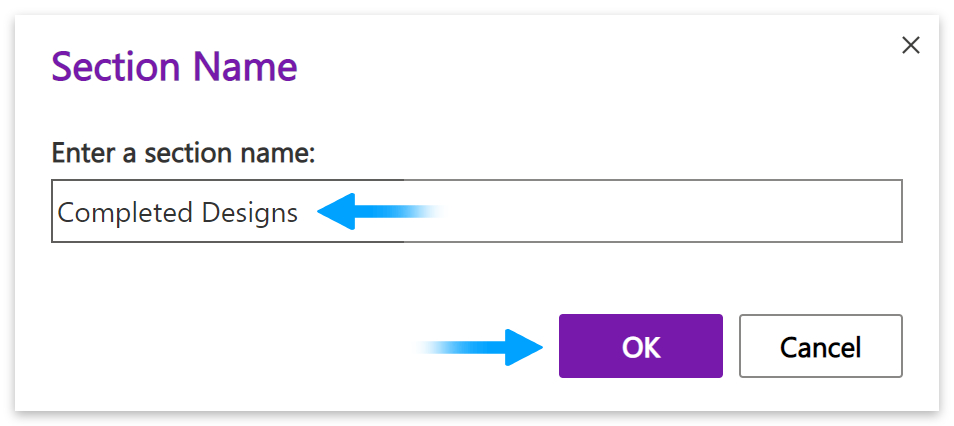
- Add a section name, then click the OK button.
- Click on Content Library and follow the same steps to create a new section.
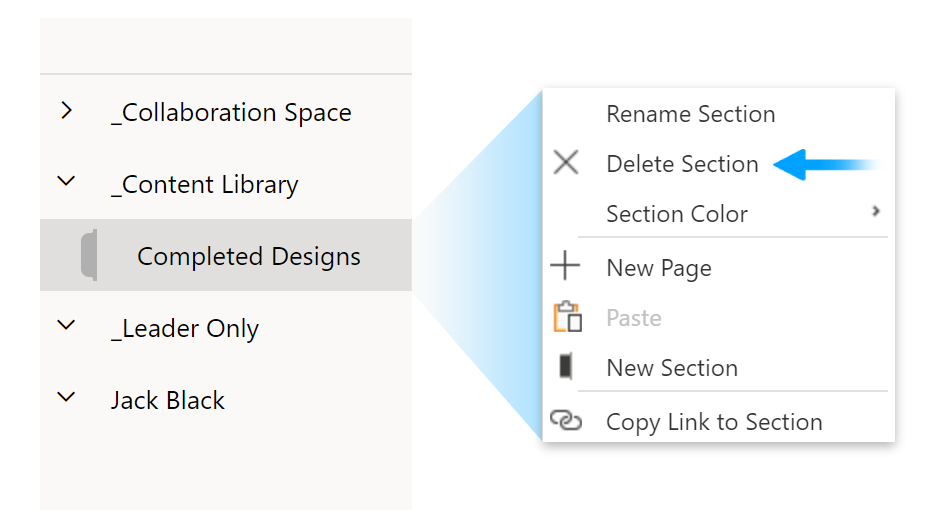
- Right-click a section and select Delete section from the popup menu to remove it.
- If you can’t see the delete option, try left-clicking the section first to select it.
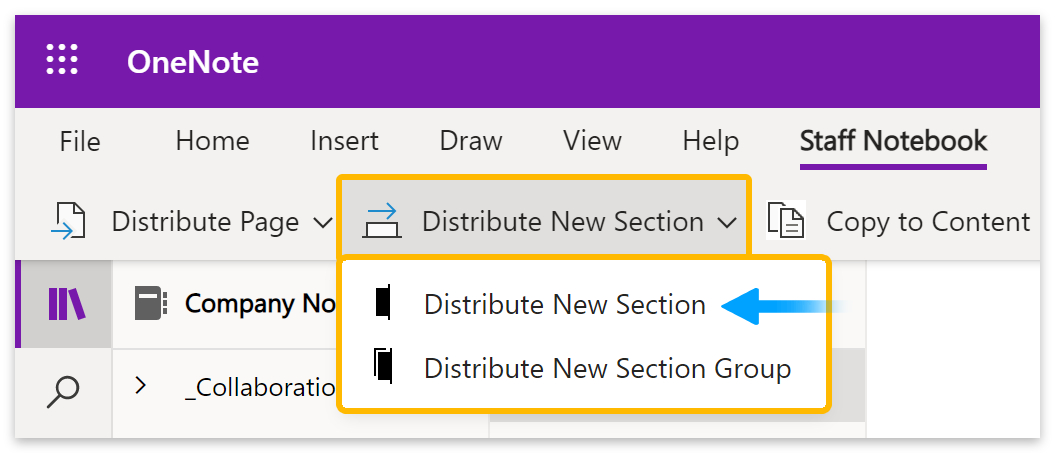
- Another way to distribute sections to staff members’ private notebooks is to click the Distribute New Section button on the top menu.
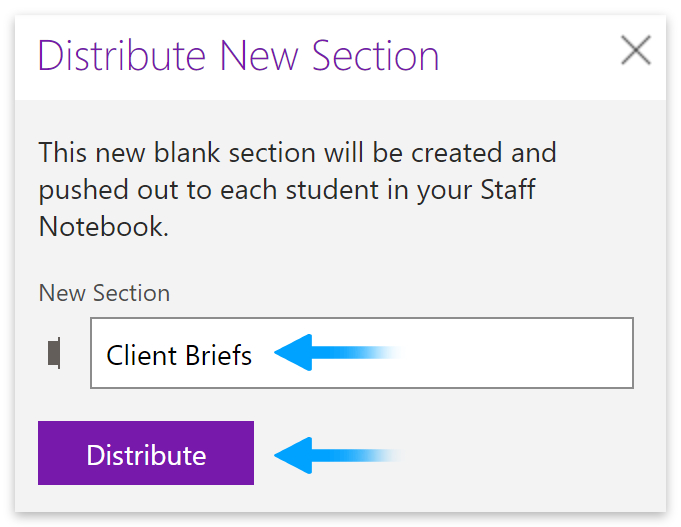
- Enter a section name and click the Distribute button.
- Refresh the page to view changes.
How to create section groups
- You can also distribute section groups within the staff’s private notebooks.
- Please select a group (groups have arrows next to them).
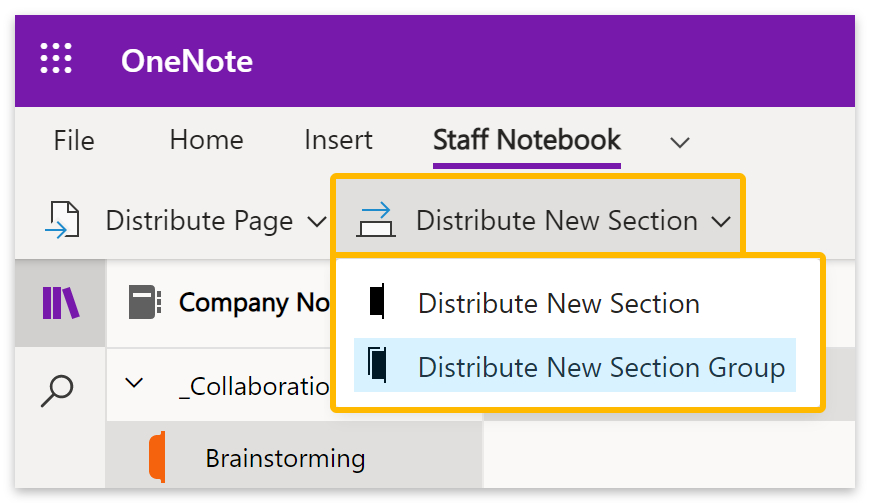
- Click the Distribute New section button.
- Then select Distribute New Section Group from the dropdown menu.
- Enter a group and section name.
- Then click the Distribute button.

- The group will now appear within the staff’s private notebooks.
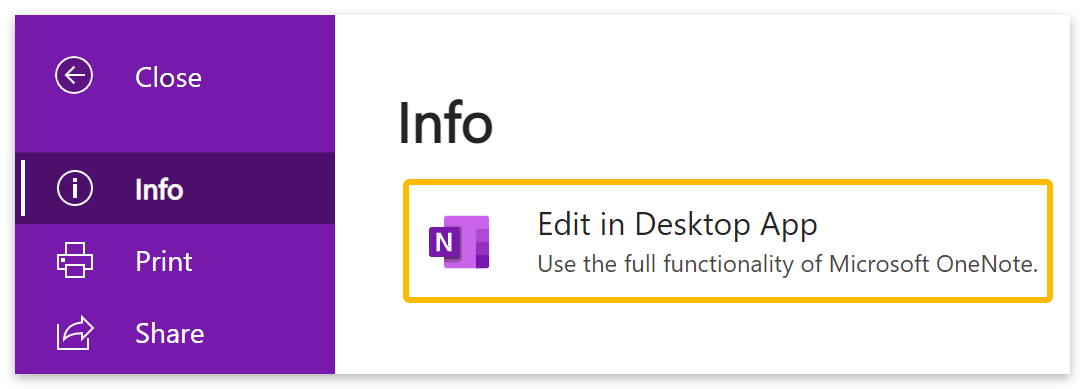
- To delete groups, you need to open the notebook in the app version of OneNote.
- Go to File > Info and click Edit in Desktop App.
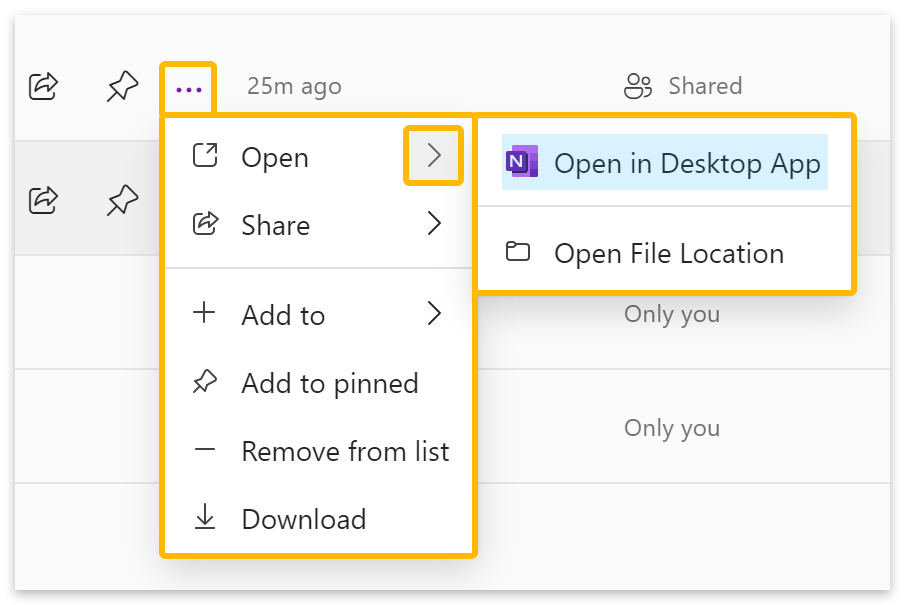
- You can also open the document from the OneNote launcher.
- Click the three dots next to your Staff notebook.
- Hover over the right arrow next to Open.
- Then select Open in Desktop App from the menu.
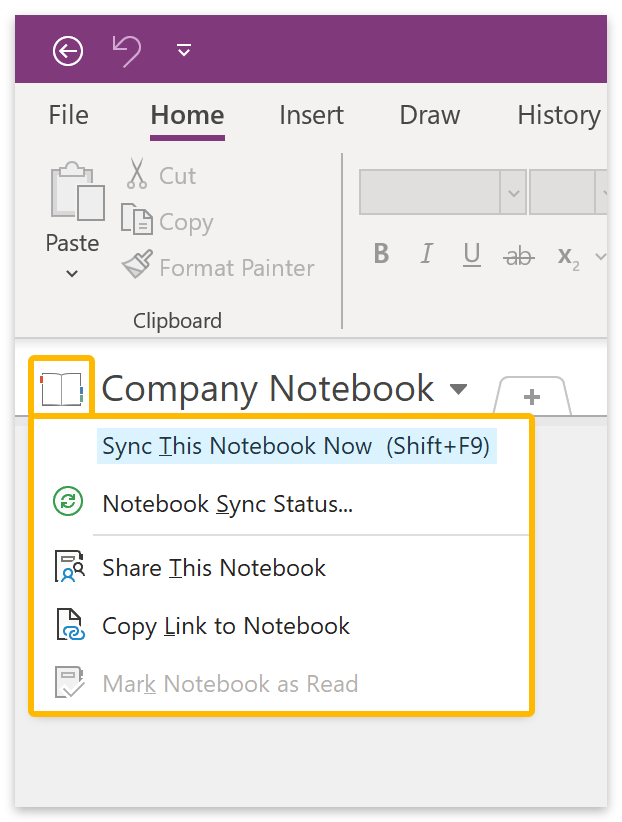
- If required, press Shift+F9 on your keyboard to sync the notebook.
- Or click on the
 book icon on the left and select Sync This Notebook Now.
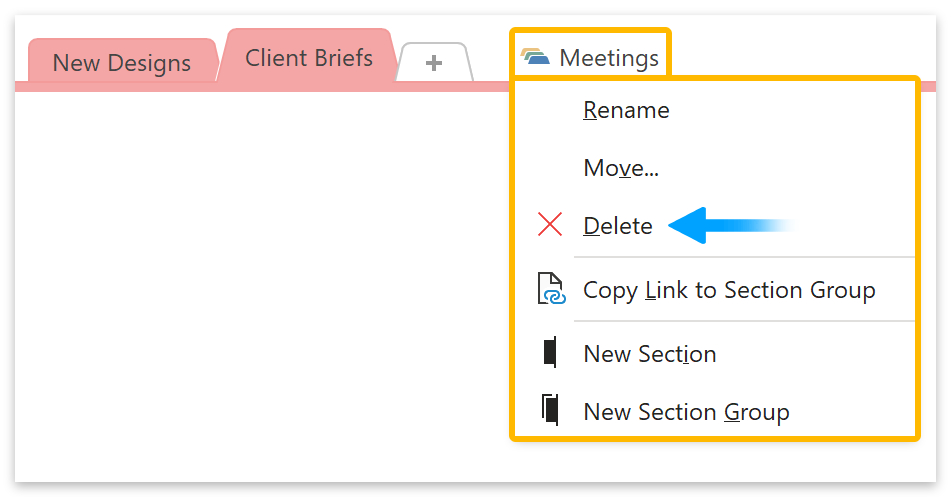
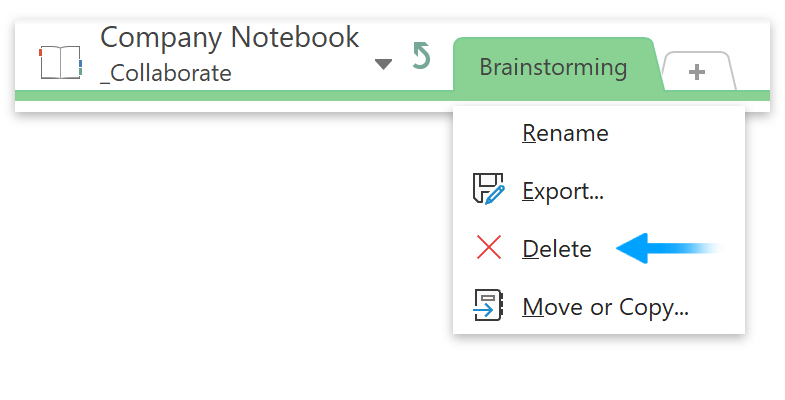
- Now right-click on the section group you want to delete.
- Then select Delete from the dropdown menu.
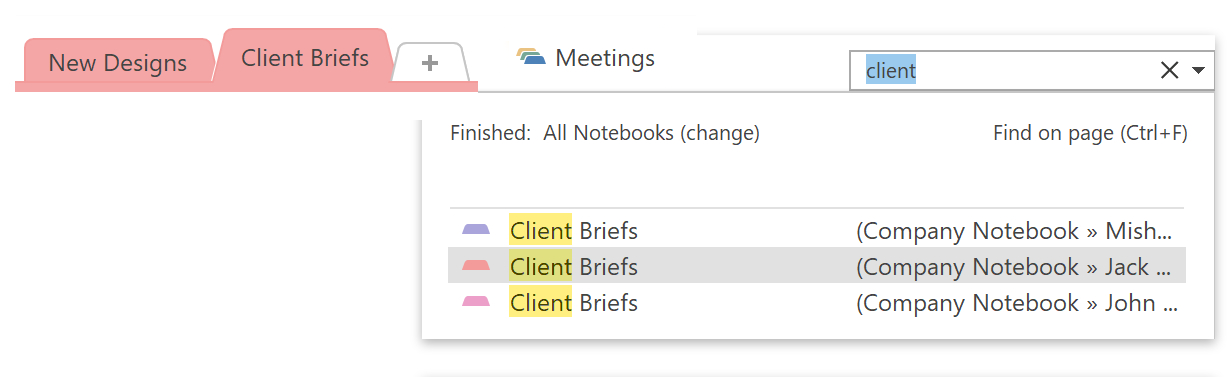
If you want to delete a section or group that exists in many section groups, try searching for it:
- Click on the search bar and type in the name of the section or group that you want to remove.
- Then go through each result, right-clicking on the section or group and choosing Delete.
How to add pages
- Click on a section to open up a new page.
- Enter a page title at the top above the line and date.
- Right-click the page column, select New page or click Add page at the bottom to add more.
- Right-click a page and select Delete page to remove it.
Staff Notebook (app version)
There are more tools at your disposal in the app version of OneNote, including the ability to turn handwriting into text and shapes. There is also an option to delete section groups that is currently unavailable in the web version.
How to create new sections
- Click on a section group at the top.

- Then click the + tab or right-click the bar and select New Section.
- Name your section.

- Right-click the section tab and select Delete to remove it.
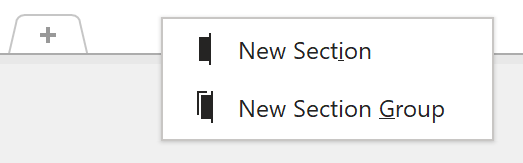
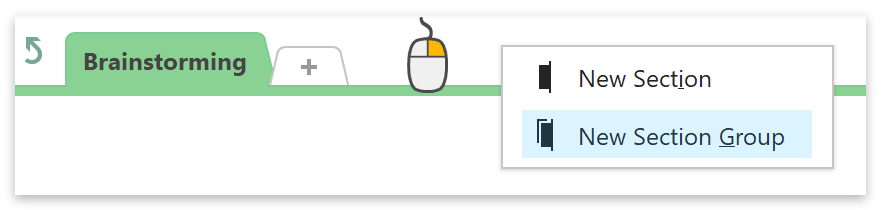
How to create new section groups
It’s much easier to create section groups in the app version of OneNote. Just right-click on the sections bar and select New Section Group from the dropdown menu.
- Click the green arrow to move up a level.

- Right-click the section group tab and click on Delete to remove it.
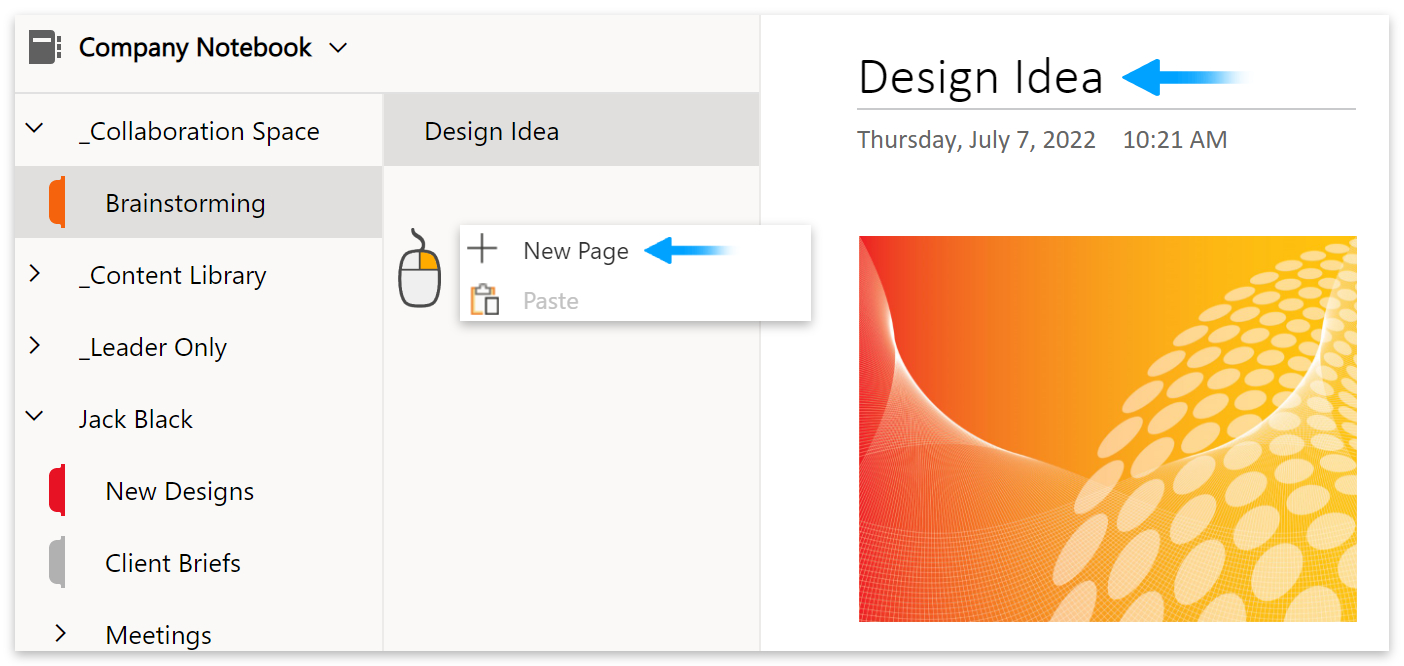
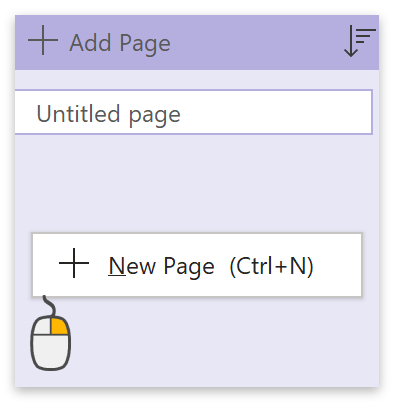
How to create pages
You can only create pages within sections. Once you’ve made a section, click the Add page button on the right side of the window.

- You can also press Ctrl+N on your keyboard or right-click on the righthand column and select New Page from the popup menu.
Distribute sections and pages
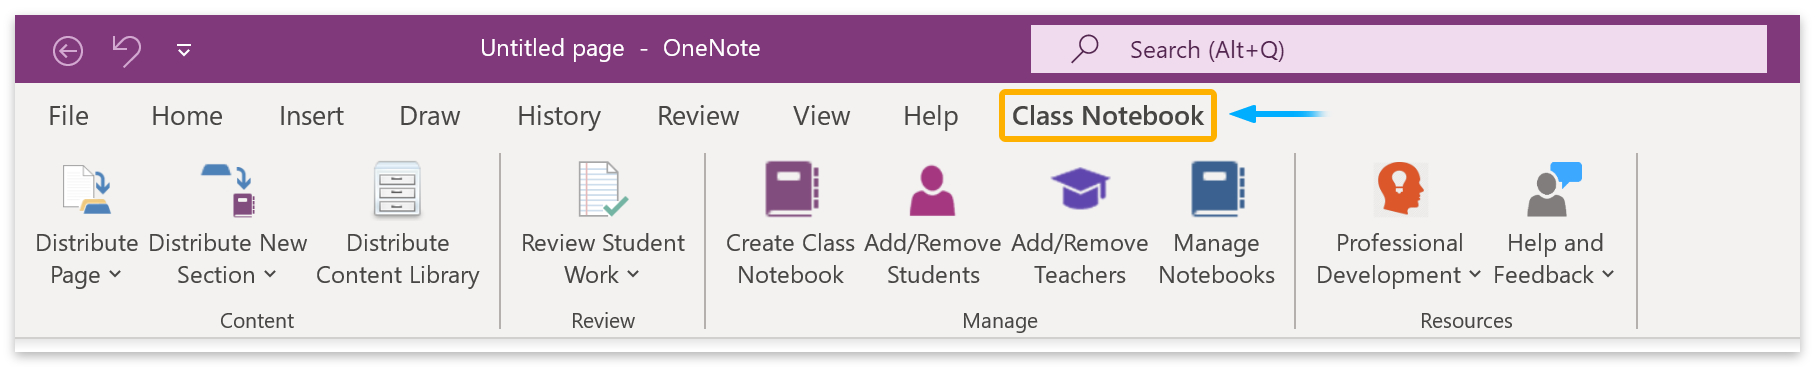
You can try the Class Notebook add-in to distribute sections and pages in the app version of OneNote. Go down and click the Download button and install the add-in.

- When you open your staff notebook in the app version, you will see Class Notebook.
- Click on Class Notebook and use the tools to distribute sections and pages.
You can’t manage users or distribute library content for a staff notebook using Class.
Conclusion
A common problem with Microsoft products is the disparity between the web and app versions of the products. The web has features that don’t exist in the app, and the app has features that are absent on the web. The best solution is to switch between the web and app versions as required.
A simple way of switching between the web and app versions of OneNote is to locate your Staff Notebook on OneDrive.
- Click the three dots next to your notebook.
- Then choose to Open the document in either workspace.

Thanks for reading.