As technology progresses, your mobile device becomes ever more embedded into your digital life. From online banking to shopping and even controlling your car, it is inevitable that large digital companies like Microsoft have adopted the use of mobile devices and cellular connections to allow for access into their programs. This is part of their MFA (Multi-Factor-Authentification) system which allows for devices to remain secure by adding in more than just the login access credentials. However what if you delete the application that governs the MFA portal to your Office account — what can you do then? Follow through for more information, where I will show you how to get back into your account if you have deleted the MFA application.
The process below describes an alternative method if you don’t have the application on hand. Follow through for more information on how to get back into your account if you have accidentally deleted your MFA app.
- Firstly go to your Office application as you would normally.
- After that, enter your email and proceed by clicking on “Next”.
- Enter your password and click on “Sign in”.
- Now click “I can’t use my Microsoft Authenticator app right now”.
- From there select “Use a verification code from my mobile”.
- Enter the code sent to your mobile SMS section.
- Finally, click on “Verify”.
That’s it, once you have entered your code and entered the device you will be able to use Office as you normally would. This is another way to enter your device if you have lost your MFA application.
Lost your phone – lost your MFA access completely
So you are traveling to work and suddenly you drop your phone when walking to the Office, your device stops working and in it houses your MFA application, crucial if you need to access all your important tasks for today in the Office schedule application and your emails. You can’t use the app as your device is not working and you can’t use your code access as again your device isn’t working. How will you access your MFA without the use of your application authenticator? Follow through as I give you steps on how to recover your accounts even without MFA.
You will need admin access or access to an admin to accomplish these next few steps. MFA, or Multi-Factor Authentication for Office 365, is Microsoft’s version of multi-step authentication. Without requiring any new purchases, subscriptions, or plans, enterprises with any active subscriptions can implement multi-step protection for their Office 365 users. This also comes with the ability to disable it upon request. Follow through for more information on how to disable MFA.

Alternative: Re-enable MFA and set up new code (Admin)
- Firstly, sign into Office 365.
To begin, you must first log in to a Microsoft account with administrator privileges. After logging in, you’ll be taken to the Main Office dashboard, which has all of your saved files and material.
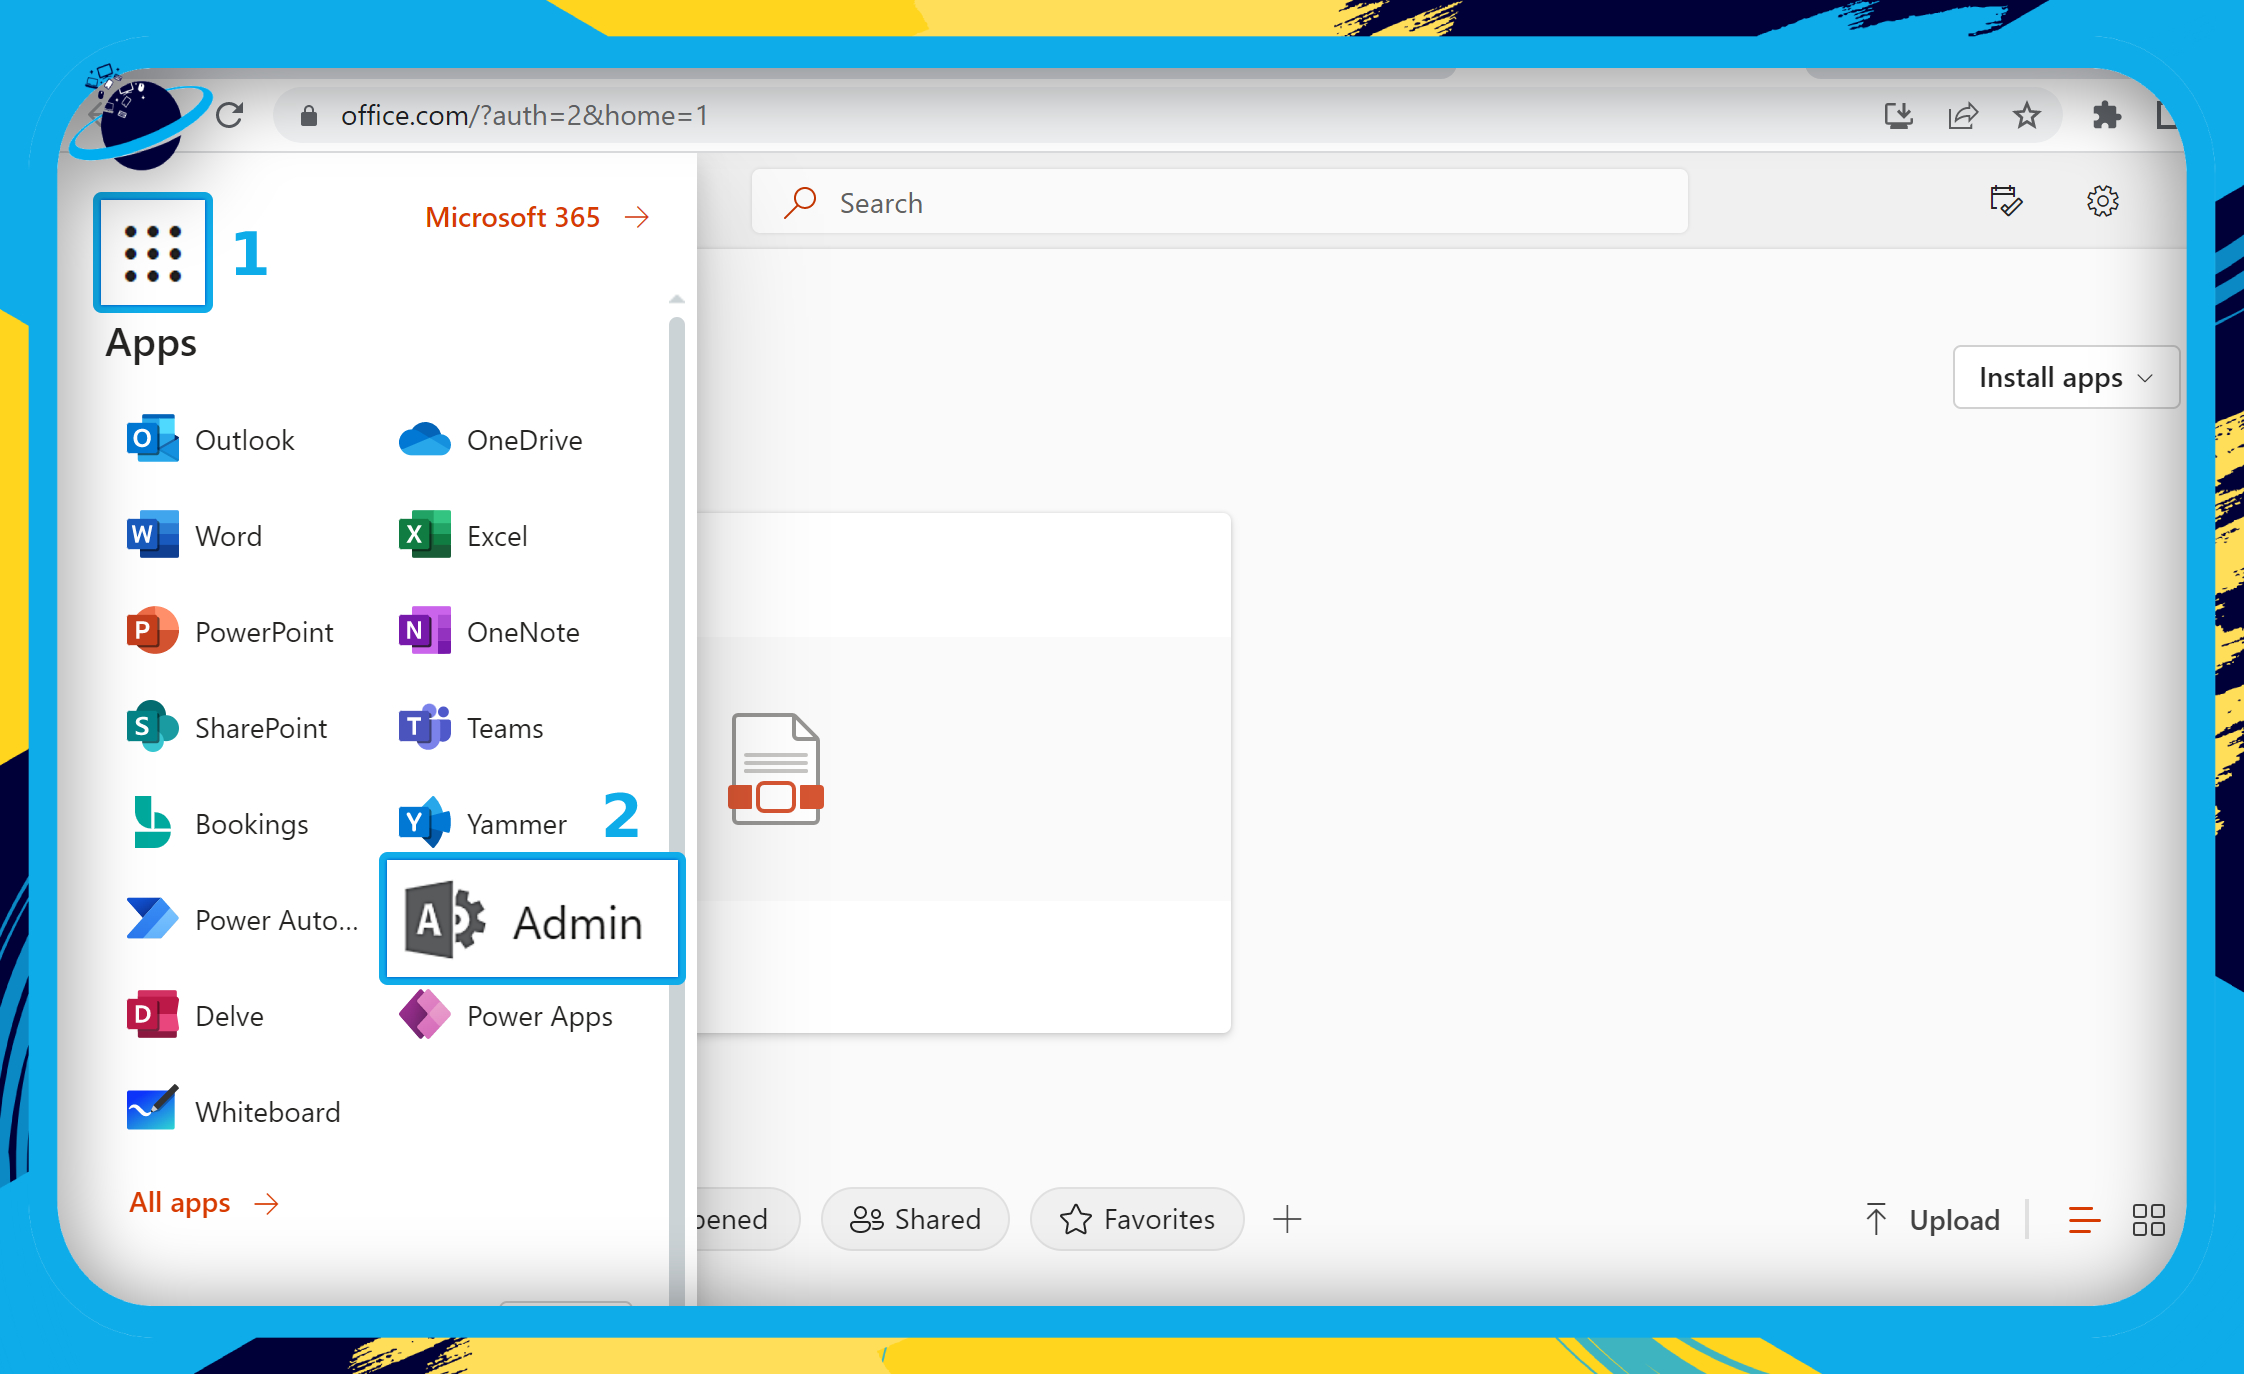
- Click the
 app launcher icon in the top left. (1)
 - Then select “Admin” from the menu. (2)
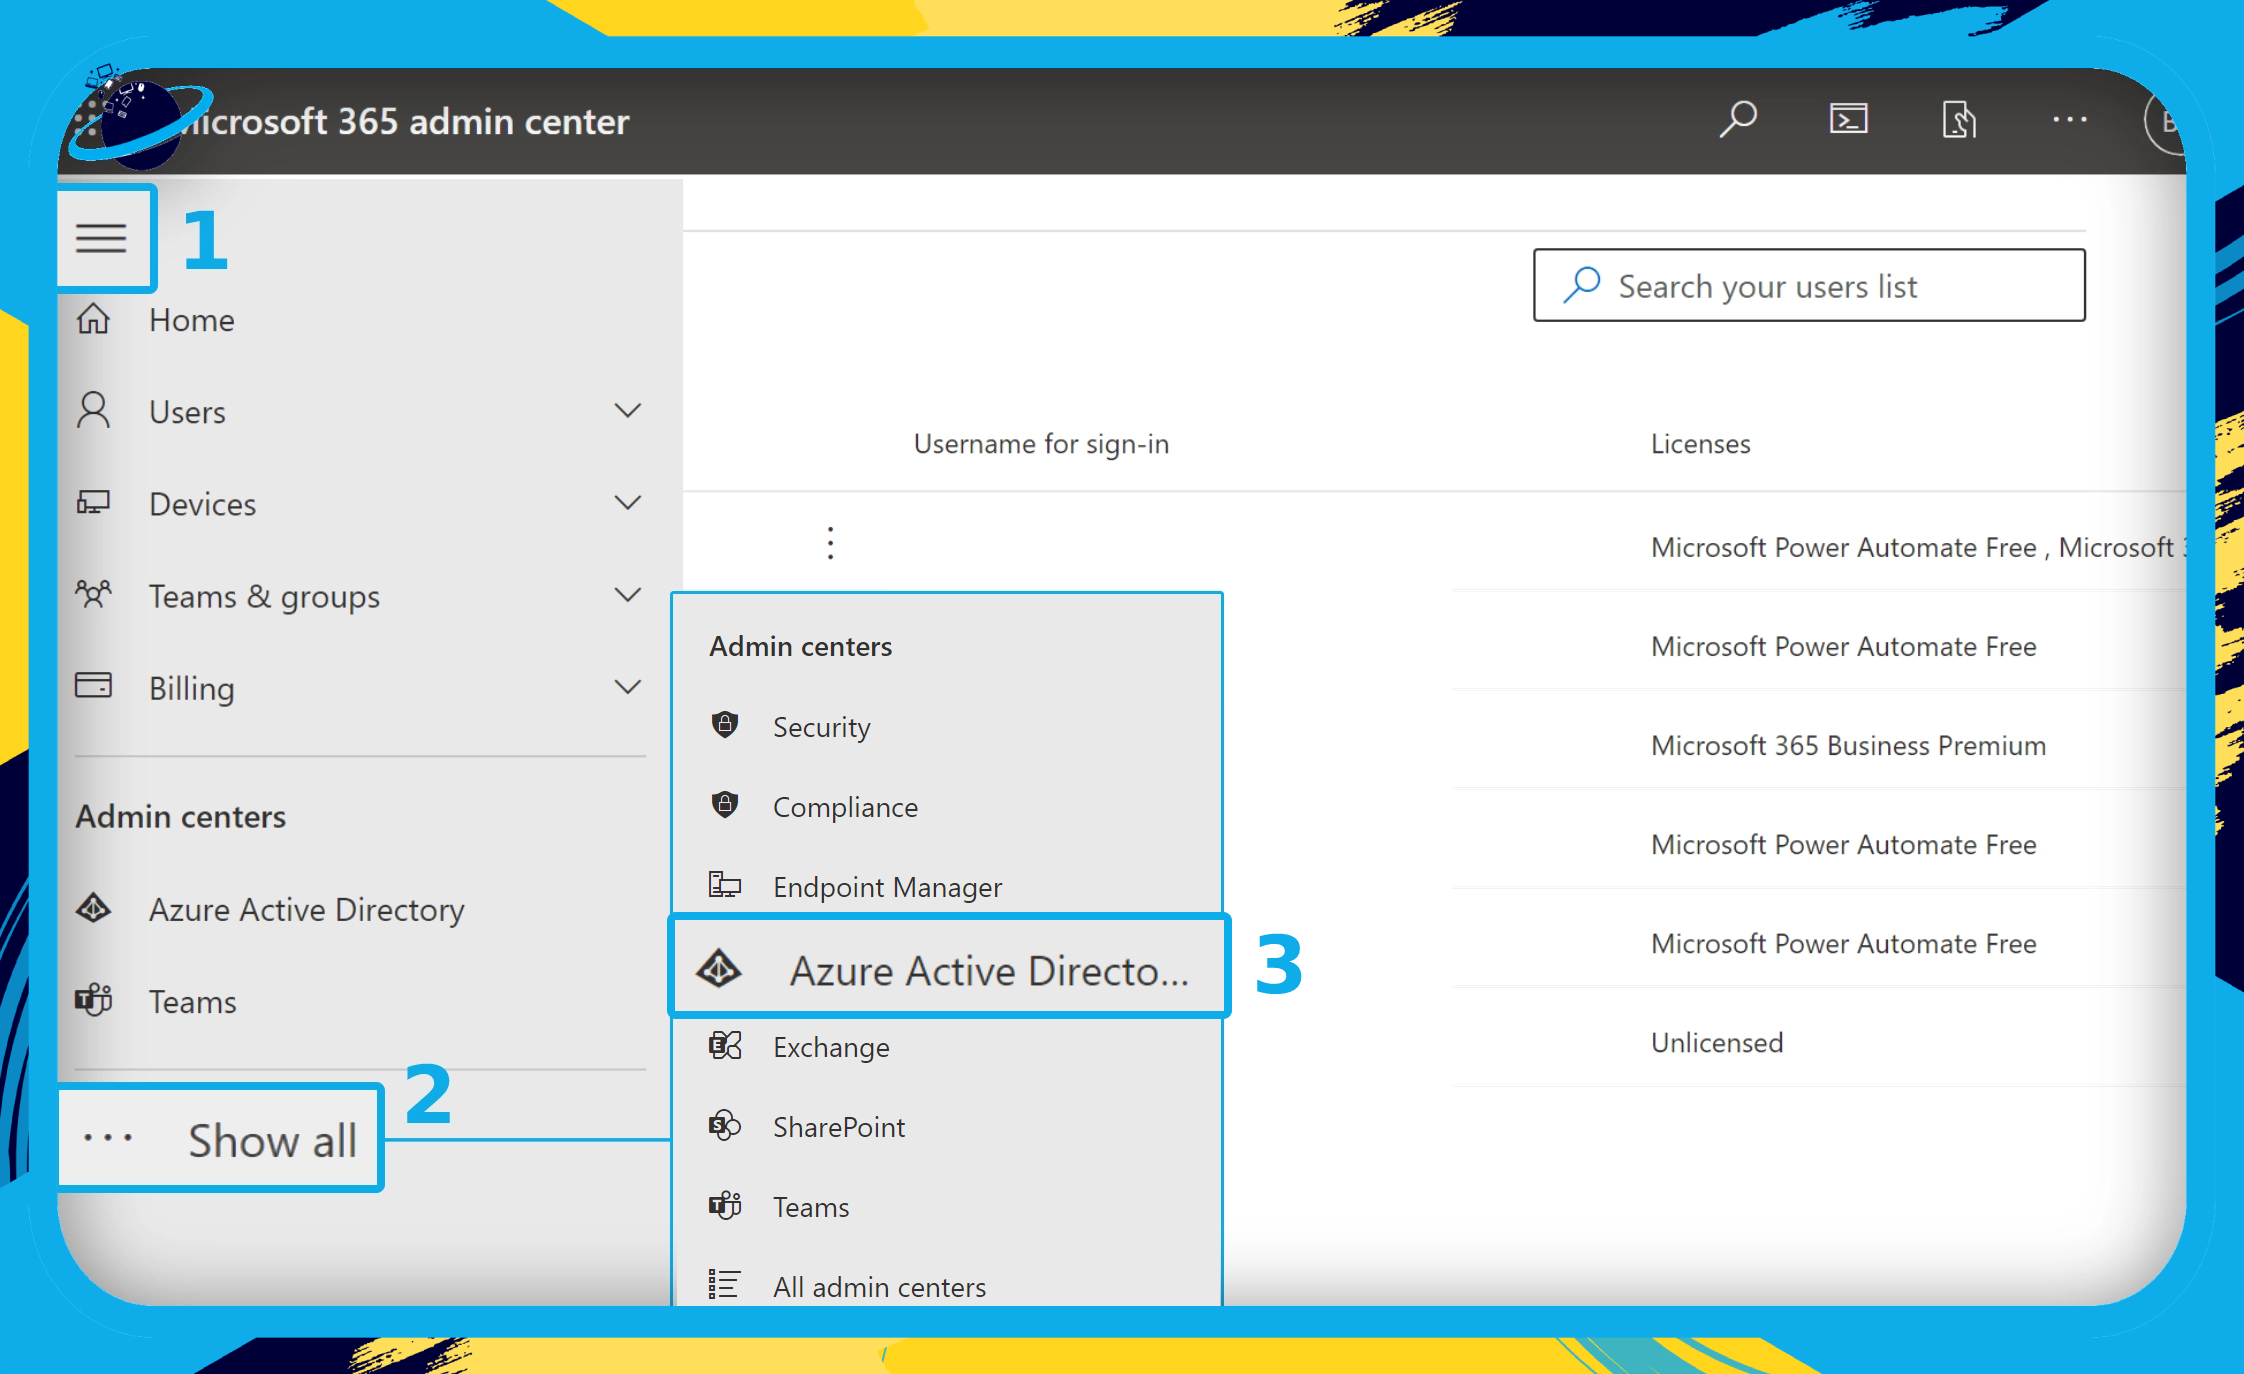
- Click the
 menu icon in the top left corner of the Admin center. (1)
 - Click “Show all” if you can’t see the Azure AD admin center. (2)
- Select “Azure Active Directory” from the revealed options. (3)
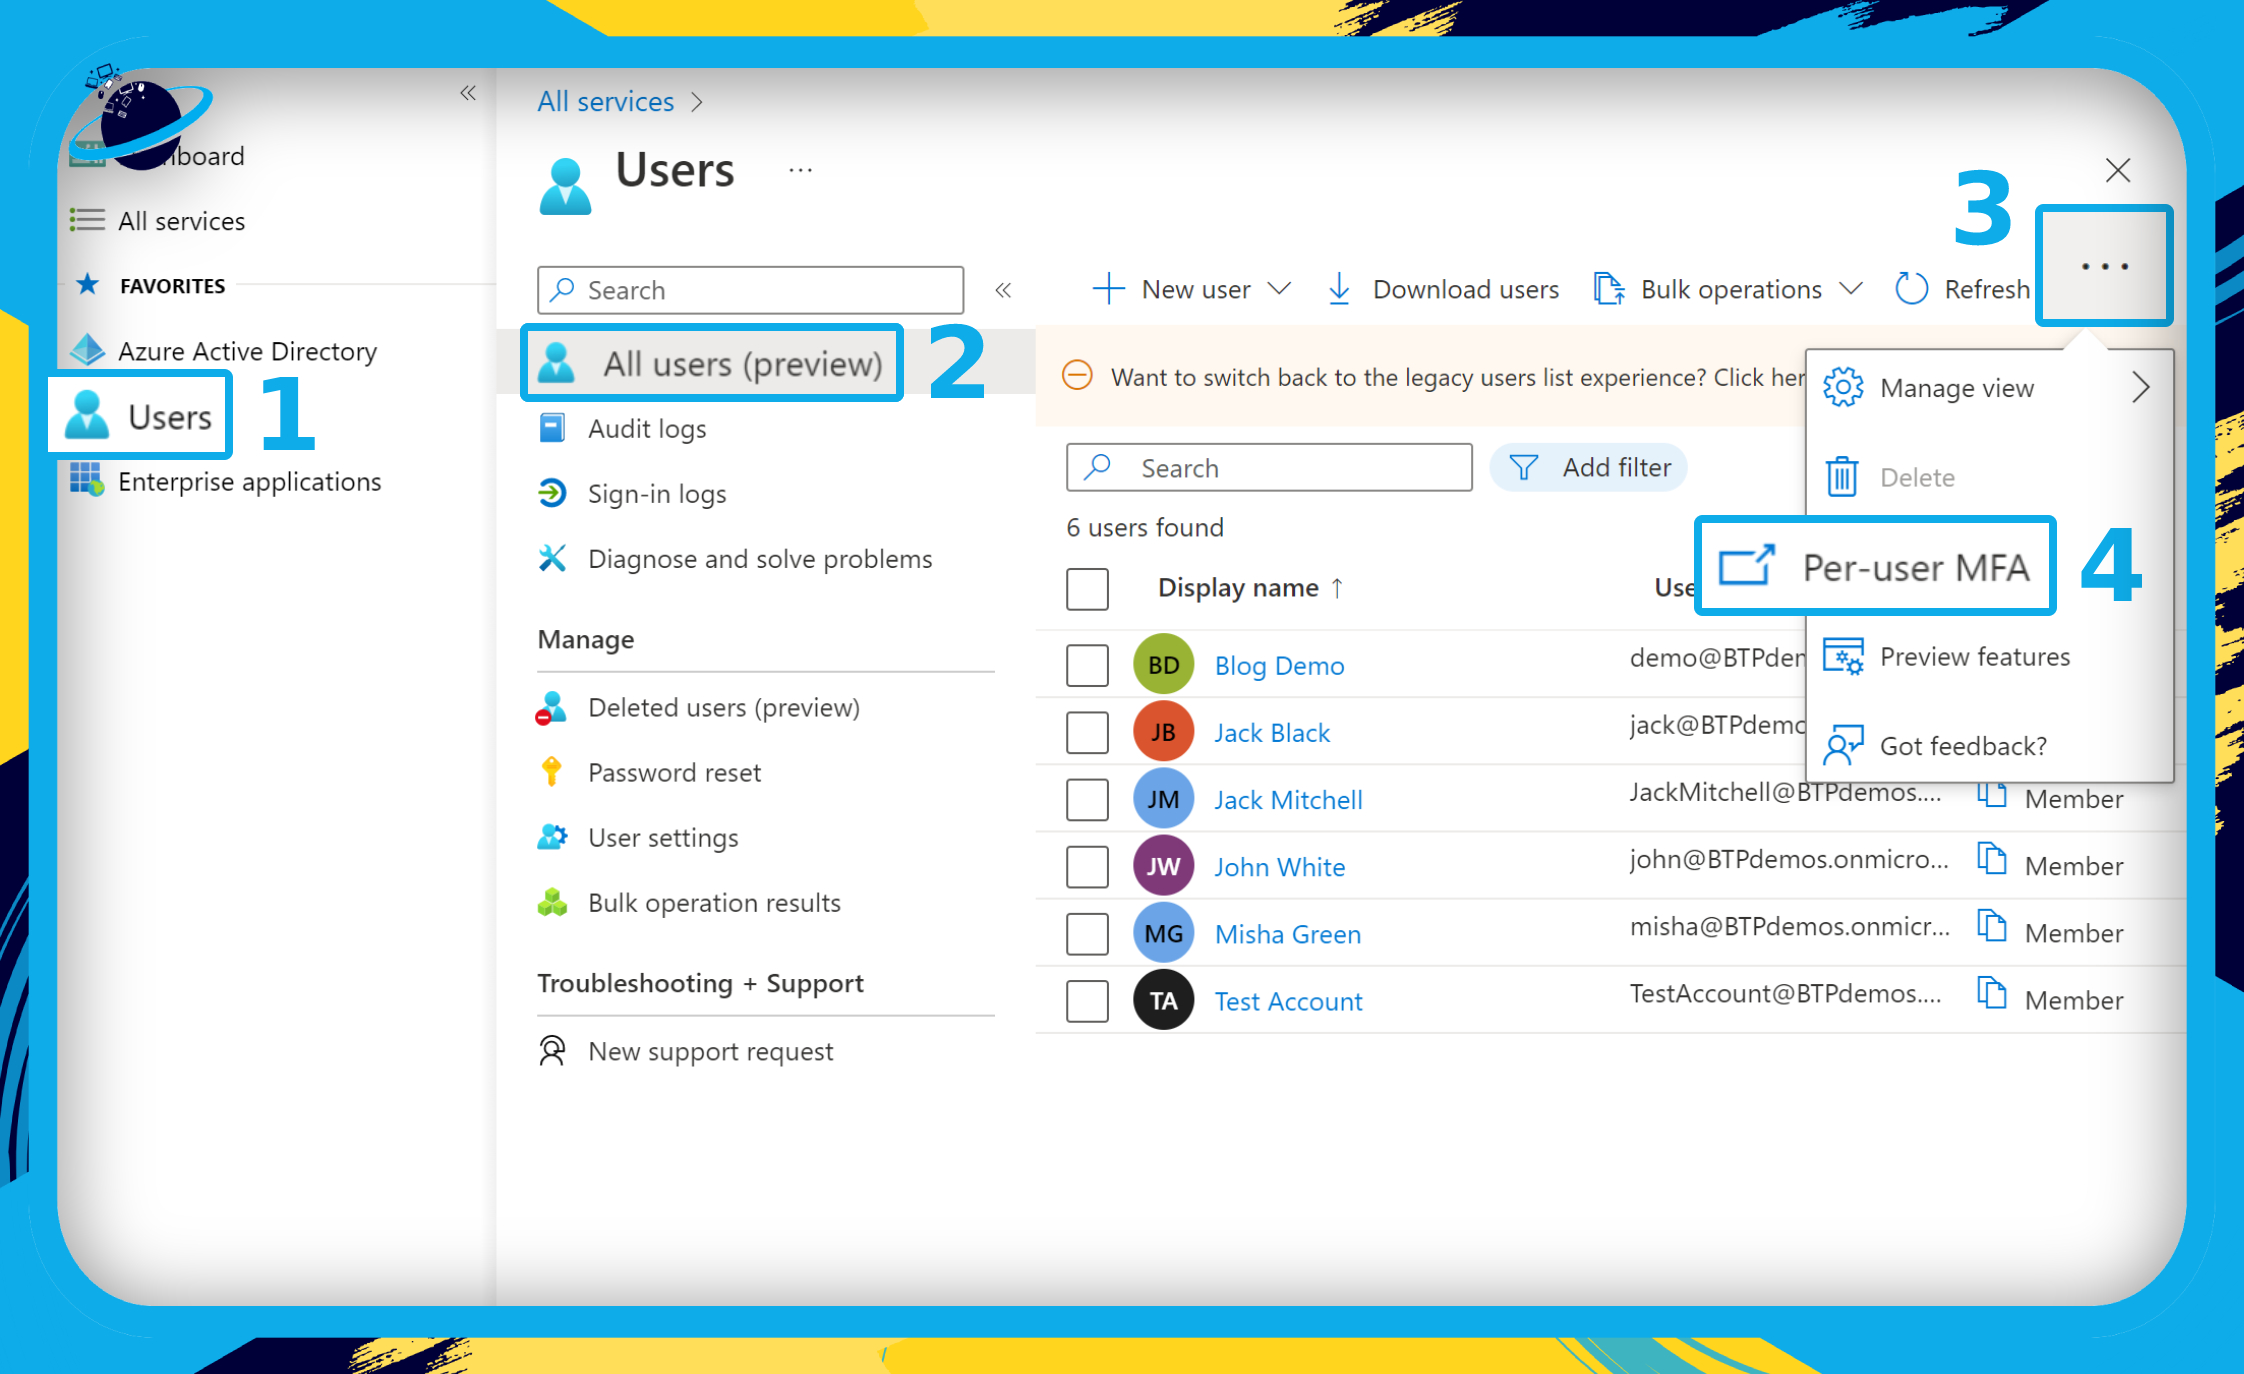
- Go to “Users” on the left side of the Azure AD Admin center. (1)
- Stay in the “All users” section. (2)
- If you can’t see the MFA option, click the
 three dots. (3)
 - Select “Per-user MFA” from the dropdown menu. (4)
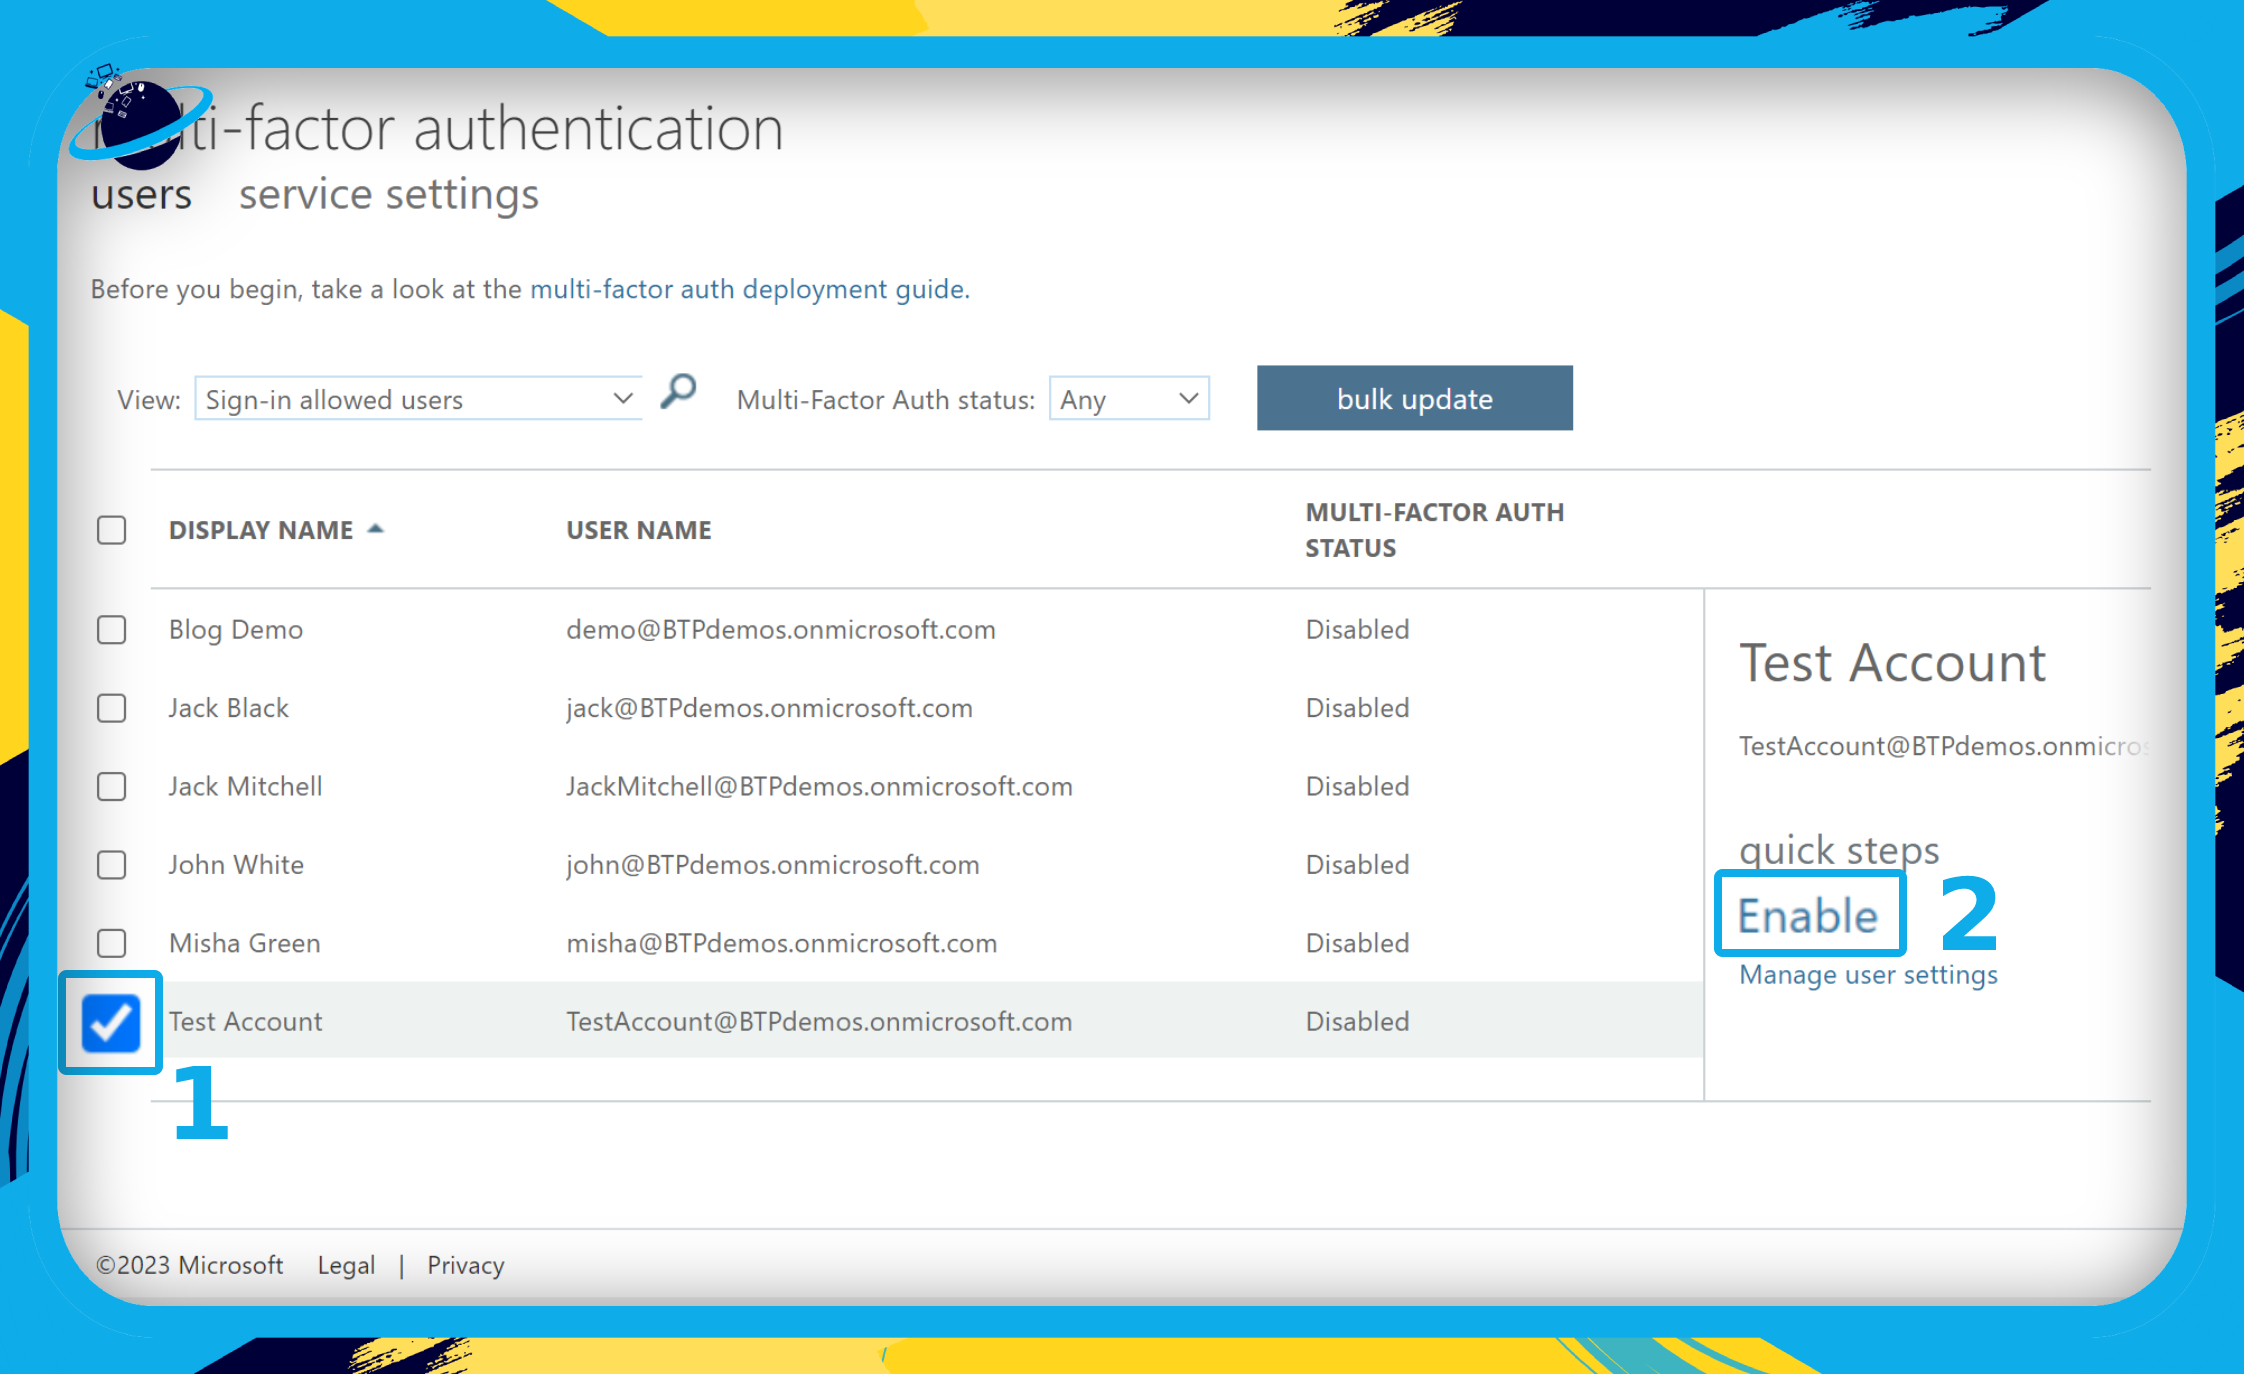
- Check the box next to the user or users you want to enable MFA for. (1)
- If enabled, click “Disable.” Otherwise, click “Enable” on the right. (2)
- If you clicked “Disable,” click “Enable” to re-enable MFA.
- A dialog box will pop up. Finally, click the “enable multi-factor auth” button.
- The user who deleted their authenticator app can now attempt to log in to Office.
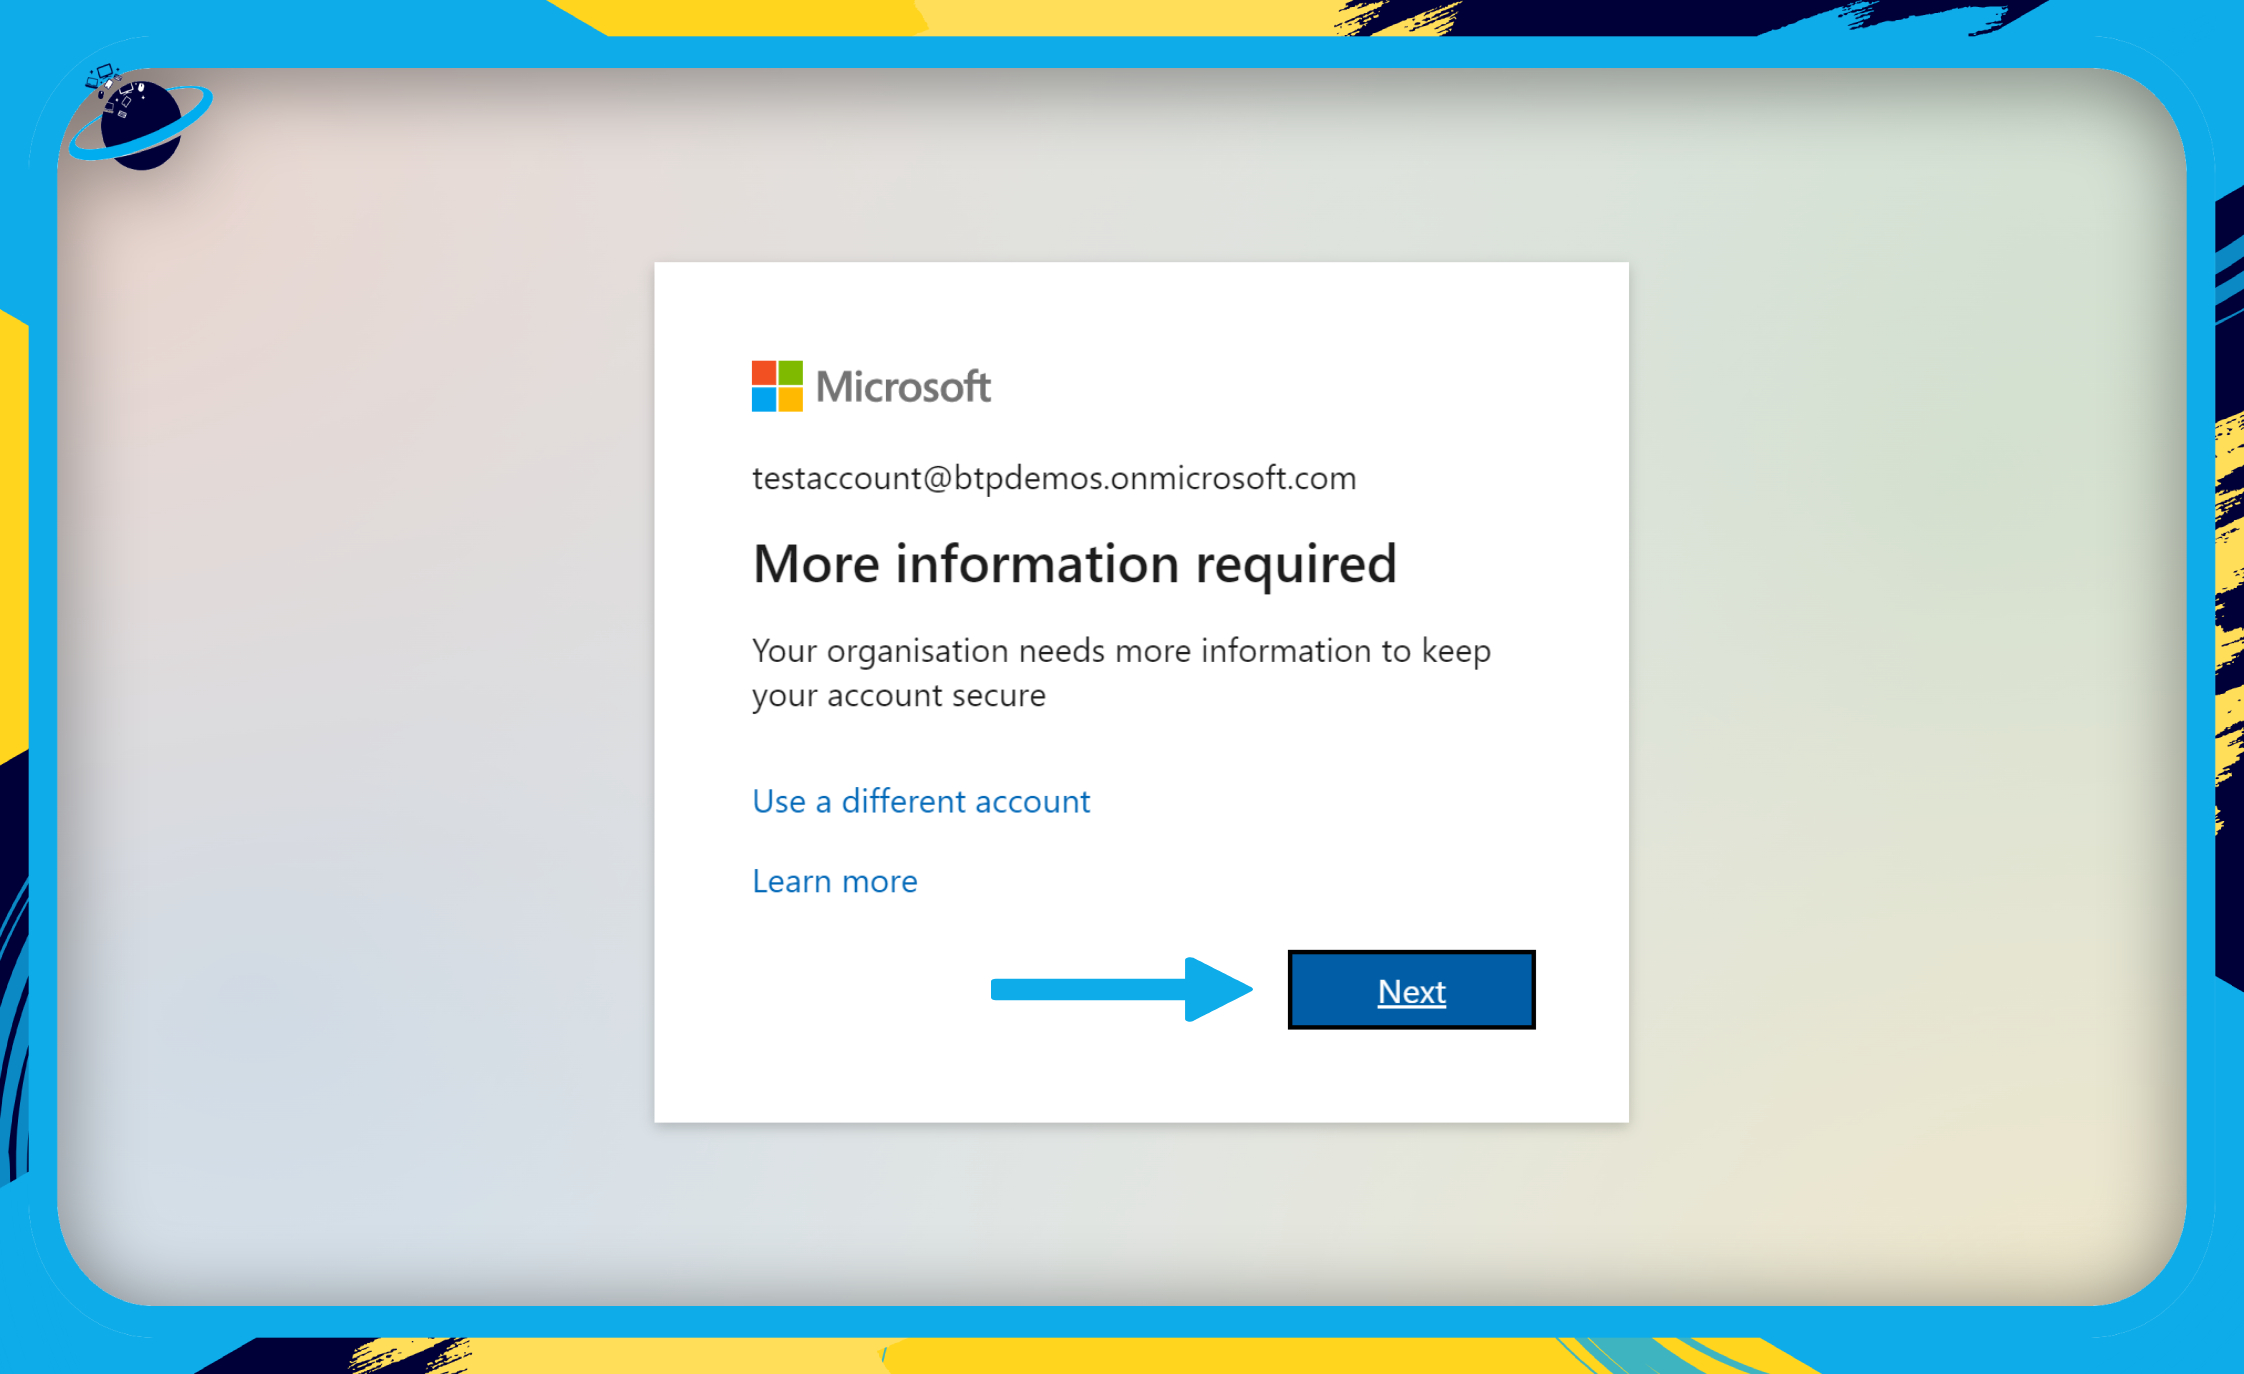
- You will be met with “More information required.”
- Click the “Next” button to continue.
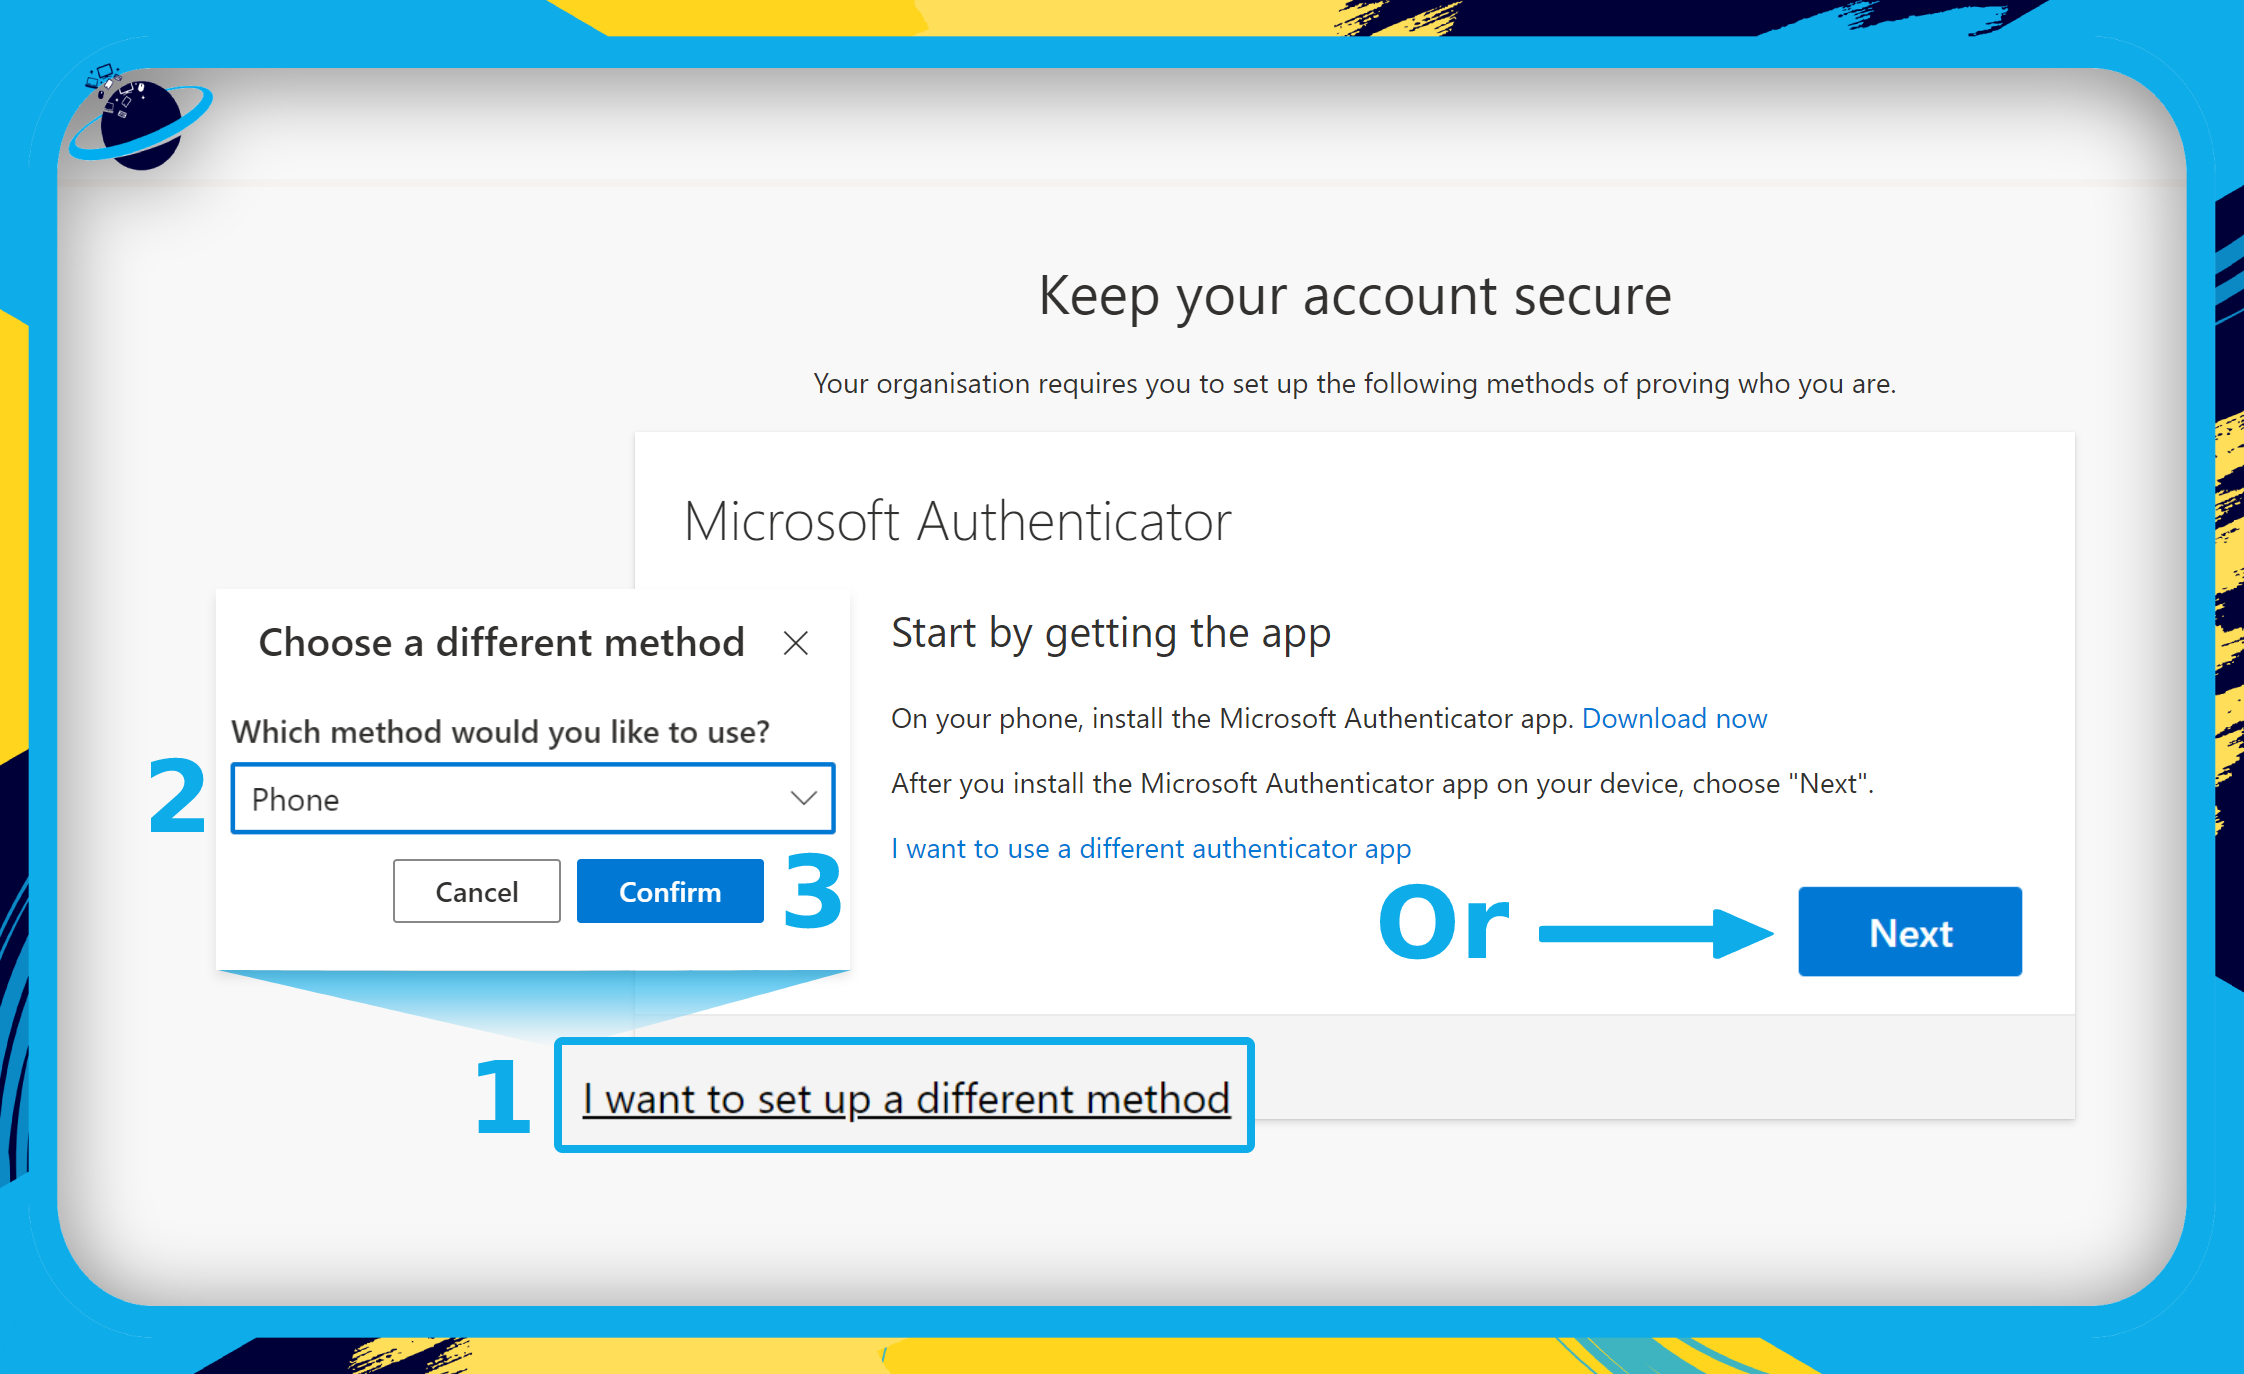
- If you don’t want to use the authenticator app, click “I want to set up a different method.” (1)
- Choose “Phone” from the select box. (2)
- Then click the “Confirm” button and follow the onscreen instructions. (3)
- Otherwise, download the authenticator and click the “Next” button.
You can now follow the onscreen instructions to set up your new MFA code.
That’s it for this Blog thank you for taking time out to read our content, please feel free to email our team about how it went if you followed the steps or if you need more help with the questions we answered in this Blog.