To show items in a way that makes sense for you, you can construct custom views of a document library. You can, for example, choose which columns to display and arrange them in any order you choose. You can also construct a display that meets your needs by sorting, filtering, or grouping items. Give the view a name and save it when you are finished. In the top right corner of the document library page where you created the view, a link to the custom view will appear in the view menu.
Step by step process, Create a view – Edit a view:
How to create a new view:
- Firstly, log into Office 365 >> go to Sharepoint >> Your Sharepoint site.
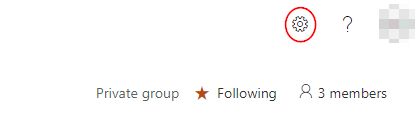
- Next click on settings illustrated by a gear icon on the top right side of the dashboard setting bar.
- In settings click on “Library settings”.
- At the bottom of “Library Settings” click on “Create view”.
- Choose the view type you want and click on it.
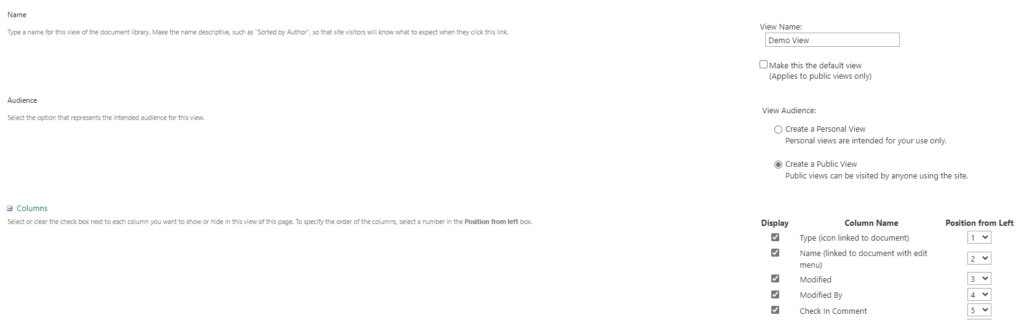
- Name the view and change the presets to ensure you get exactly what you require.
- Once you have edited the presets you can now click on “OK” to save the new default presets.
How to customize library view:
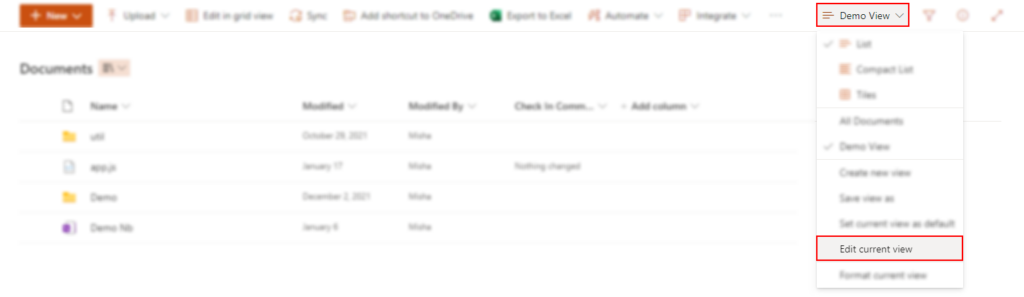
- On the tab above your document library, you will see a list of different functions related to the document library, Including the switch view options where you can change and edit views when needed, click on this box.
- Now select the view you made if it’s not set as default.
- Once this is done click on “edit current view”
- Now you can edit the settings the way to need them to appear in the library.
- Once this is complete you can now click on OK and it will save the setting presets and allow you to use your view sets the way you want to.
Something you might want to do is limit the number of items displayed on a certain view. It is just like with Google Search, not many people go past page 2 or 3 of search results. Same with large SharePoint lists, people may refrain or get frustrated from using the next button repeatedly to attain the required information.

Why would you want to customize the view,
SharePoint lists and libraries can display data in a variety of ways and in various views. “All Items” in lists and “All Documents” in libraries are the default views provided by SharePoint. It’s a simple view, but you can customize it by adding new views and using filters, styles, and grouping to organize data in ways that work for your company.
If you’re working with businesses in SharePoint Online and trying to transition from a classic to a modern list/library experience, you could encounter some resistance from information workers or members of your organization. Editing the view and customizing it in a way that benefits your company allows you to create multiple views in a library suited to the way everyone in a company likes. This way everyone in a company can be more productive and locate information a lot quicker opposed to the predefined setting of just one user.
In-depth step by step process:
- In order to properly customize the view settings, you need to first create a view setting, to do this, Firstly log into Office 365 associated with the network you need to edit the SharePoint preferences for the document library view.
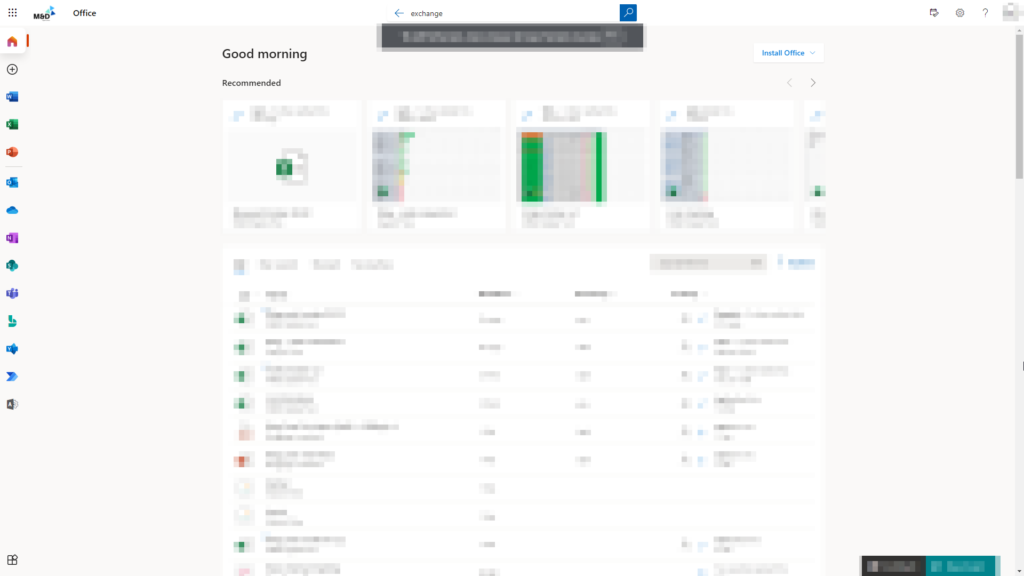
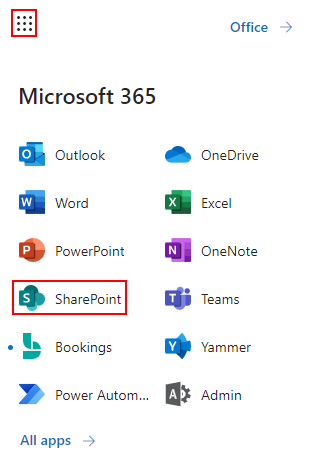
- Next, using the settings bar on the left side of the display you want to locate SharePoint, then click on it, if it’s not in the left side toolbar click on the app launcher illustrated by 9 dots.
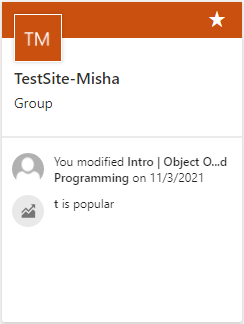
- You now need to visit your SharePoint site linked with presets you wish to edit, once you have found the site you need to click on it. For instance here the selected site is called “Testsite-Misha” which is a group site meaning it has more than one member associated with it.
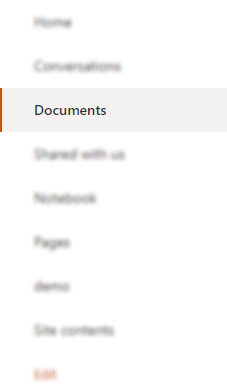
- Click on “document” to follow, this will bring up all the documents associated with the site, here you can also find the documents library you wish to edit.
- Click on settings illustrated by a gear icon and click on library settings.
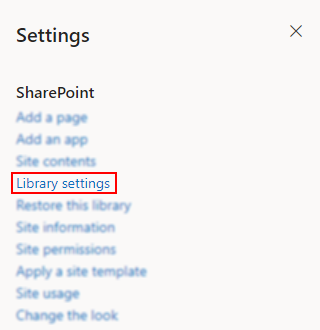
- Now click on “create view” which is at the bottom of the page.

- Now select the view type you want in this case we’re going to select “standard view”

- Now edit the presets the way you want them to appear once the document is complete.
- For instance, the name of the view, here you may want to have the names of associates to the organization or names of individuals who have an importance to the company. You will want to edit this information and ensure it’s the way you want.
- You can now edit the audience if you need to keep it personal you can select the tab which says personal view and if you want other members to know you can click on public view and everyone associated will be able to see your view settings.
- Column settings will allow you to adjust category information which by defaults are in columns. You can edit this information and sort it the way you want to change the position value of the Name you can edit these features and ensure it’s right.
- You can even edit the sort so how you want the content to be displayed in the library. For instance, you can edit the document to be displayed with names going from A-Z or the opposite.
- Once this is done you can click on the OK button which will save your preferences.

- To further edit you can click on “Switch view options” and click on “edit current view”
Edit the settings and click on OK, similar to the previous settings related to the creation of the document viewer.