So you’ve made a fancy new communication site in SharePoint and now you want to make it accessible to everyone with the URL? We get a lot of customers asking about making their communication site public, because it isn’t always a simple process.
Here’s how you can make your communication site in SharePoint public:
- Make your communication site public within your organization:
- Navigate to Office.com, sign in using your Microsoft 365 credentials, and open SharePoint
- Open the communication site you want to make public
- Click Share
- Select ‘Everyone except external users’ and choose the permission level
- Select/deselect ‘Send email’, then click Share
- Make your communication site public within your organization and with external users:
- Navigate to Office.com, sign in using your Microsoft 365 credentials, and open the Admin application
- Open the SharePoint admin center and click Active sites under Sites
- Locate the communication site, select it, and click Sharing
- Click Anyone under external sharing then click Save
- Open the app launcher and click SharePoint
- Locate the communication site you want to make public
- Click Share
- Select ‘Everyone except external users’ and choose the permission level
- Type in the emails of the external users and choose the permission level (or create a group with everyone within)
- Select/deselect ‘Send email’, then click Share
Whether you’re making your communication site public internally or available to external users too, the process is relatively simple. Bear in mind that:
- You must be a site owner to make your communication site public within your organization
- You must be a site owner and a SharePoint admin to make your communication site public within your organization and with external users
Now we’ve covered that, select what you want to do from the two options below to be taken to the demonstration with screenshots:
- Make your communication site public within your organization
- Make your communication site public within your organization and with external users
How To Make Your SharePoint Communication Site Public
Once you’ve got your communication site up and running, you need to share it — i.e., make it public — so that it’s visible to everyone as well as you and the people who’ve created it.
You can make your communication site accessible to people within your organization or to everyone — everyone within your organization and external users.
Firstly, I’ll demonstrate how you can make your communication site public within your organization.
Make your communication site public within your organization
If you want to make your communication site public within your organization, you can follow the steps below:
- Navigate to Office.com, sign in using your Microsoft 365 credentials, and open SharePoint
- Open the communication site you want to make public
- Click Share
- Select ‘Everyone except external users’ and choose the permission level
- Select/deselect ‘Send email’, then click Share
Please note: to follow the steps above, you’ll need to be a site owner of the communication site.
I’m going to demonstrate the entire process including screenshots so you can easily follow along.
1. Navigate to Office.com, sign in using your Microsoft 365 credentials, and open SharePoint
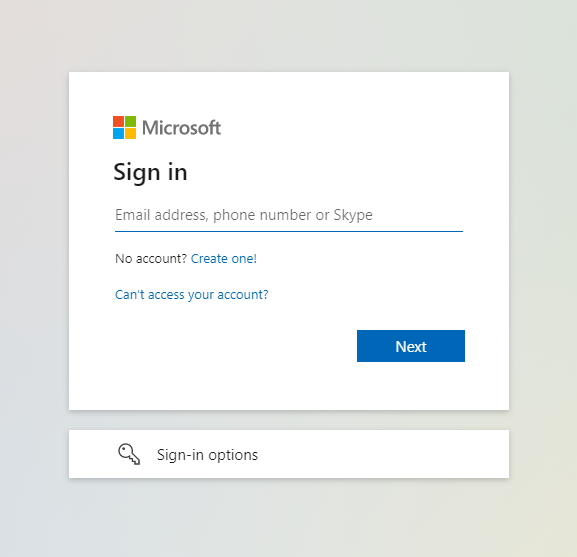
Firstly, you want to navigate to Office.com and log in using your Microsoft 365 credentials. These are likely the credentials you use to sign into your work device.
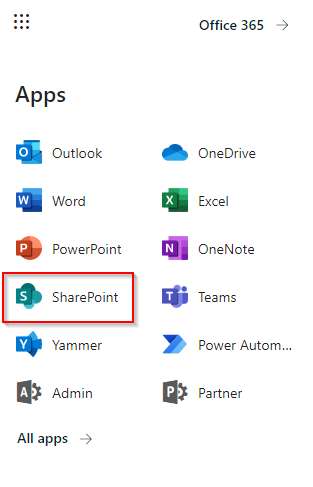
Once you’re logged in, open up SharePoint. You can easily open up the SharePoint application using the app launcher and selecting SharePoint.
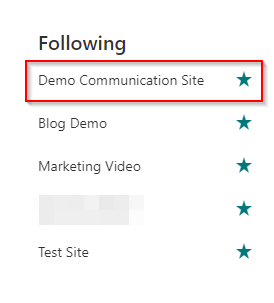
2. Open the communication site you want to make public
3. Click Share

4. Select ‘Everyone except external users’ and choose the permission level
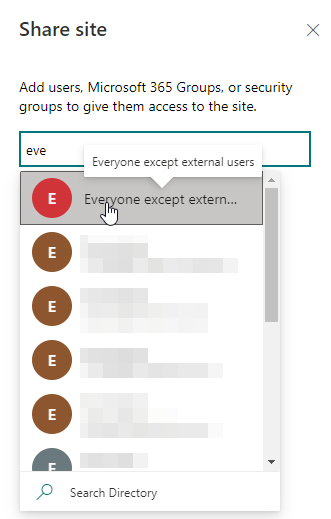
Begin typing ‘Everyone’, and the option Everyone except external users will come up. This group is pretty much what it says on the tin — everyone within your organization will be granted access to the communication site in question.
Once you select Everyone except external users, you’ll get to select the permission level for all users.

There are three permission levels to choose from as standard:
- Read
- Edit
- Full control
With a communication site, you typically have a small group of editors with the majority of users having read permissions. For this reason, I’d choose ‘Read’ and add users that require extra permissions individually.
5. Select/deselect ‘Send email’, then click Share
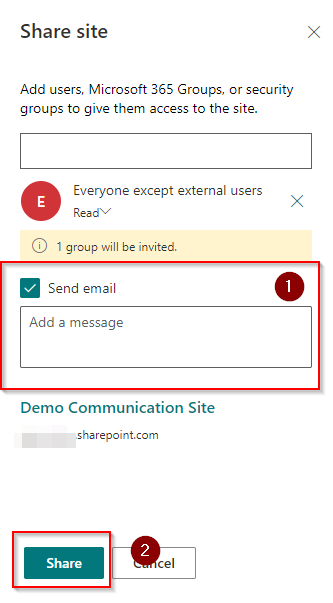
Choose whether or not you want to send an email to invite people to the site. If this is a big launch and you want everyone within your organization to know about the new communication site, sending an email to everyone — accompanied with a message explaining what the site is and how it works — makes sense.
So choose whether or not you want to send an email (with or without a personalized message), then click Share to invite everyone to the site. If you don’t send an email, everyone will be granted access to the communication site without getting an invite to their inbox. They can still access it by logging into SharePoint and opening the site.
Make your communication site public within your organization and with external users
Making your communication site public within your organization is simpler than making it public for people outside of your organization too. To make your communication site accessible to external users, the process is a little more complicated and you’ll need to be a SharePoint admin in addition to being a site owner to complete it.
- Navigate to Office.com, sign in using your Microsoft 365 credentials, and open the Admin application
- Open the SharePoint admin center and click Active sites under Sites
- Locate the communication site, select it, and click Sharing
- Click Anyone under external sharing then click Save
- Open the app launcher and click SharePoint
- Locate the communication site you want to make public
- Click Share
- Select ‘Everyone except external users’ and choose the permission level
- Type in the emails of the external users and choose the permission level (or create a group with everyone within)
- Select/deselect ‘Send email’, then click Share
Please note: you’ll need to be a SharePoint admin and site owner to follow the the steps given above.
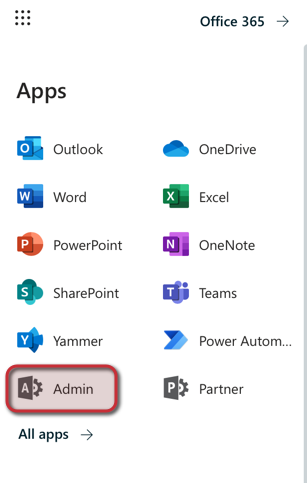
1. Navigate to Office.com, sign in using your Microsoft 365 credentials, and open the Admin application
Firstly, you want to navigate to Office.com and log in using your Microsoft 365 credentials. These are likely the credentials you use to sign into your work device.
Once you’re logged in, open up the Admin application. You can easily open up the Admin application using the app launcher.
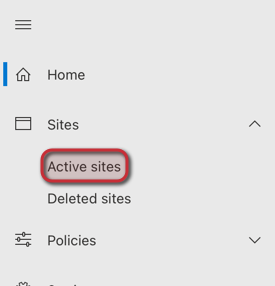
2. Open the SharePoint admin center and click Active sites under Sites

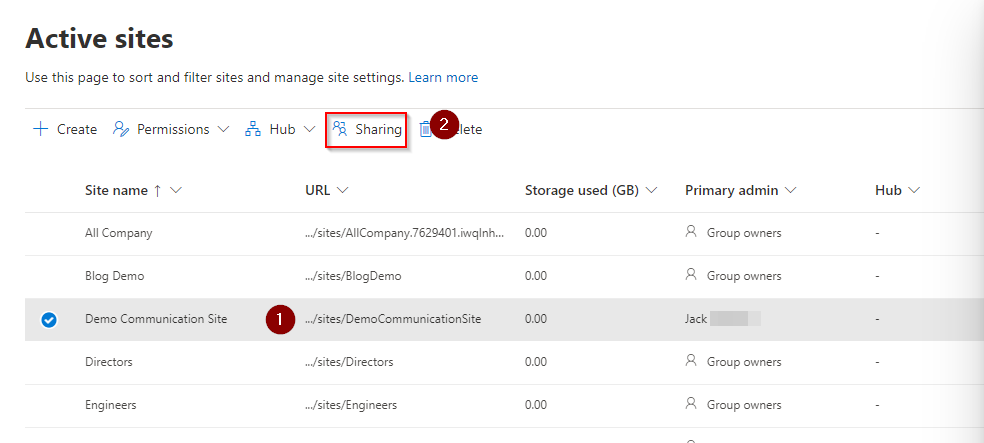
3. Locate the communication site, select it, and click Sharing
4. Click Anyone under external sharing then click Save
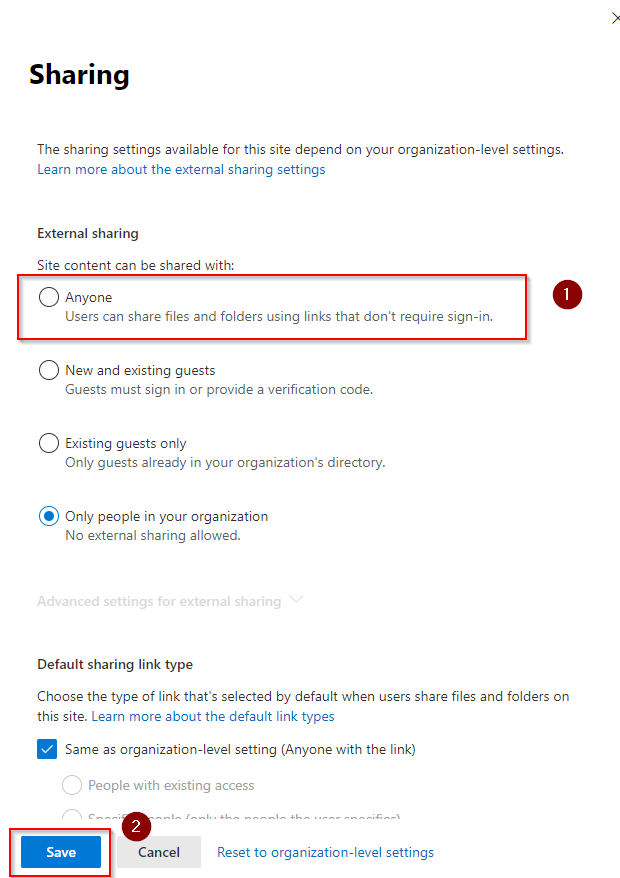
This step is essential for sharing a communication site with external users. At default, communication sites have external sharing disabled.
If you don’t tweak the sharing settings in the SharePoint admin center, you’ll get the message below when you try to share with an external user:
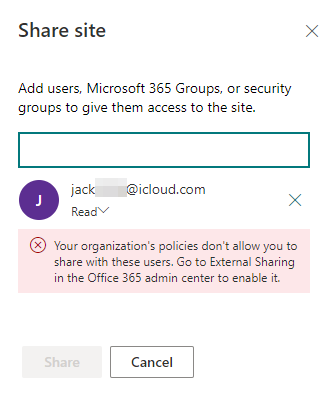
By changing the external sharing to ‘Anyone’, you can then share your communication site with external users.
5. Open the app launcher and click SharePoint
6. Locate the communication site you want to make public

7. Click Share

8. Select ‘Everyone except external users’ and choose the permission level
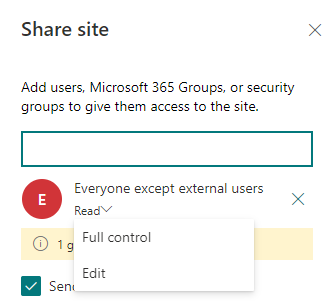
‘Everyone except external users’ includes everyone within your organization. Once you’ve selected this option, choose the permission level.
Depending on how you use the communication site, it makes sense to leave the permission at ‘Read’.
9. Type in the emails of the external users and choose the permission level (or create a group with everyone within)
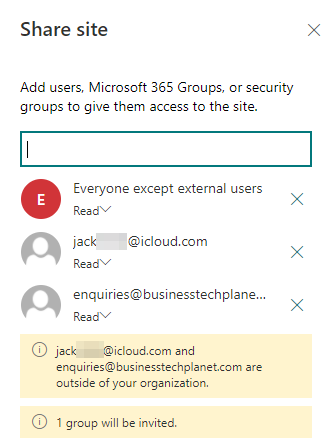
Begin typing in the emails of external users. Once you’ve typed their email addresses in, you have the option to set permission levels for them.
Another option is to create a group of external users so you don’t have to type their emails in one by one. Creating a group is a fairly simple process and certainly makes sense if you’ll be inviting the same external users to numerous sites. It’ll save time versus manually granting access to loads of email addresses and it will also make controlling access much simpler. You can read my blog post How to create a new group in SharePoint Online for a step-by-step guide to creating a group.
10. Select/deselect ‘Send email’, then click Share
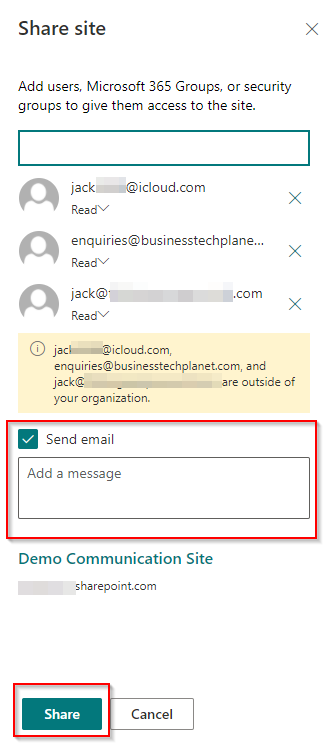
Select whether or not you want to send an email, optionally type in a message, then click Share.
If you opted to send an email, everyone you’ve invited will get an email in their inbox inviting them with a link to the communication site. See an example below:

If you don’t opt to send an email to everyone, there are a few things you can do. For example, you could take the URL of the communication site and send it to people you’ve invited when you’re ready. Or alternatively, they can log into SharePoint themselves and access the communication site there.
I hope you’ve found this blog post helpful! If you have any questions, please feel free to leave a comment below and we’d be happy to help.