The most effective options for Outlook Web App users to interact and cooperate with colleagues and partners, whether they are internal users of your network or external members cooperating with your network, are distribution groups in Office 365. Customers, for example, may require email notifications from various alerting systems outside of their email system, which must be sent to many persons who are not users of their company’s email system. In addition, the emails do not need to be stored in a central location. External users, on the other hand, cannot be added to Groups in Microsoft 365. To do so, establish a Contact for the external user and then add that Contact to the Distribution Group. Follow the steps below to see exactly how you can add external users to a distribution group Office 365.
Step by step process – How to add external users to a distribution group Office 365
- First, sign in to your Office 365 account.
- Use the app launcher and navigate to admin.
- Under “users” click on “Contacts”.
- Now click on “Add a contact”
- Fill in the essential information in the “Add a contact” panel on the right.
- Then click on “Add”.
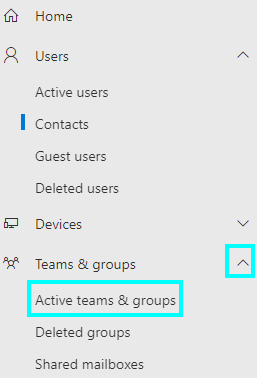
- Now under “Groups” click on “Active Groups”.
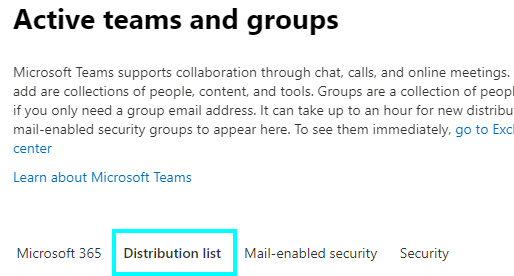
- Locate the distribution group and double-click on it.
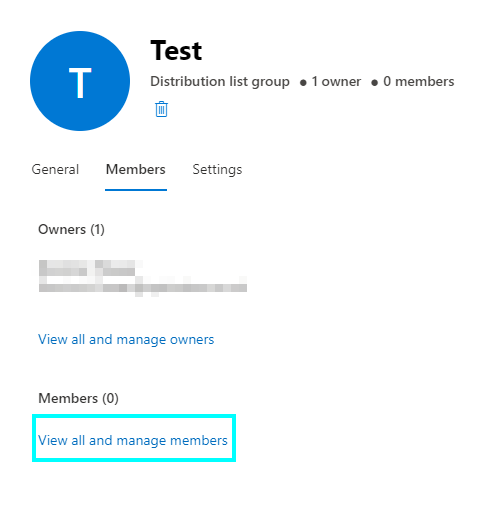
- Go to the “Members” section and click on “View all and manage members”.
- Click on “Add Members”.
- Select the “Contacts” you created from the “Add members” list.
- Then click on “Add”.
- Finally, close all the panels and tabs.
   |
The steps above are the easiest method to approach adding new external users to a distribution group in Office 365. Internal users (those who have a mailbox at your company) and external users (those who do not have a mailbox at your company) can both be joined to a distribution group. Members of a group can only be external users who have been added to your organization’s address book (also known as shared contacts).
It’s worth noting that persons designated as group owners can edit the group in Outlook Web App. A group’s owners cannot be shared contacts. If necessary, you can alter the list of owners after creating a distribution group. To a distribution group, you may add both internal and external users (people having mailboxes in your organization). Only external users that have been added to your organization’s address book (also known as shared contacts), can be members of a distribution group.
To send emails to numerous recipients at once, distribution lists are a highly useful and practical function. This is a great way for huge teams to keep everyone in their group up to date on what’s going on. There are many additional advantages to using distribution lists, such as avoiding needless meetings and the time-consuming task of interacting with each user individually. They are also known as distribution groups and can be established around a topic or by persons who operate in a similar field. Distribution groups will be a highly important feature in Microsoft 365 since they will need to interact more frequently than others.
 |  |  |
| Stellar Plus – $6.48/mo | Essential – $8.33/mo | Deluxe – $7.99/mo |

Why add external users to a distribution group?
As mentioned before distribution groups are a great way to send emails to numerous recipients at once, distribution lists are a highly useful and practical function. This is a great way for huge teams to keep everyone in their group up to date on what’s going on. While internal members play a crucial role in ensuring the company remains active and connected with other members, external members also play an equally important role. External members are individuals who are outside your company, and they may require access to carry out takes delegated by an admin. You may find that having users as external members makes it easy to manage on a temporary basis and not a permanent post as with internal members who have more priority on the Office network.
Email notifications from various alerting systems outside of the customer’s email system must be sent to many persons who are not members of the company’s email system. In addition, the emails do not need to be stored in a central location. This is another reason why having external members in a distribution group, essential for a company’s productivity. This way customers have access to the network and can be delegated different permissions as opposed to an internal colleague.
   |
In-depth step-by-step process – How to add external users to a distribution group Office 365?
Step by step breakdown:

Use your account details or if you have a current Skype account with the Office account in question, you can use this.
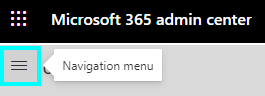
- Use the application launcher to navigate towards “Admin”.
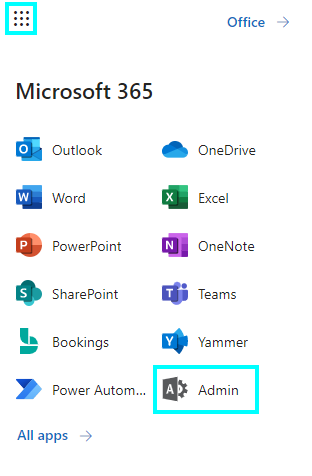
The launcher is illustrated by nine dots in the right corner, click on it and find “Admin” as shown above.
- Under “users” click on “Contacts”.
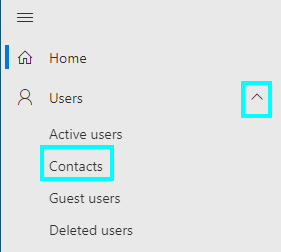
Contacts are where all your external members reside, they will be delegated different permission sets to the main internal members associated with your current group.
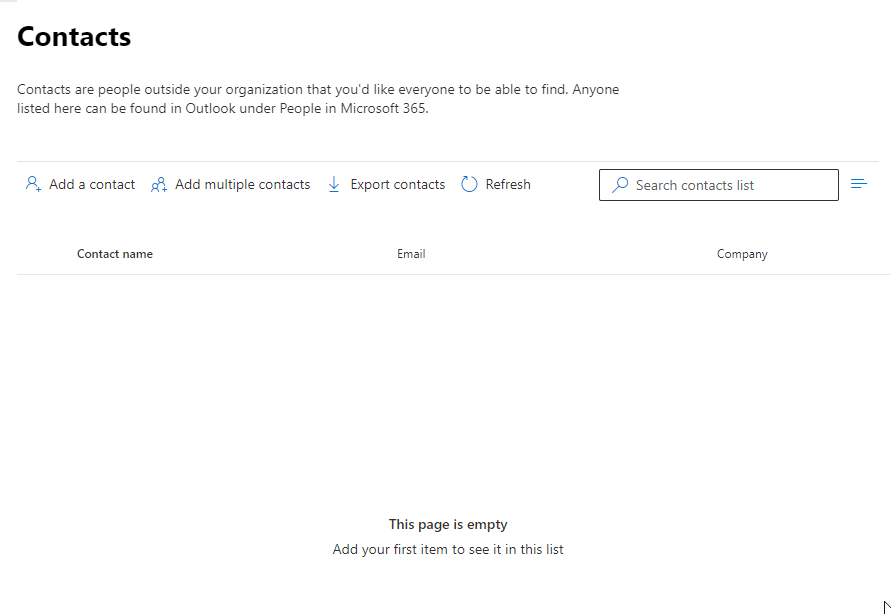
- Now click on “Add a contact”
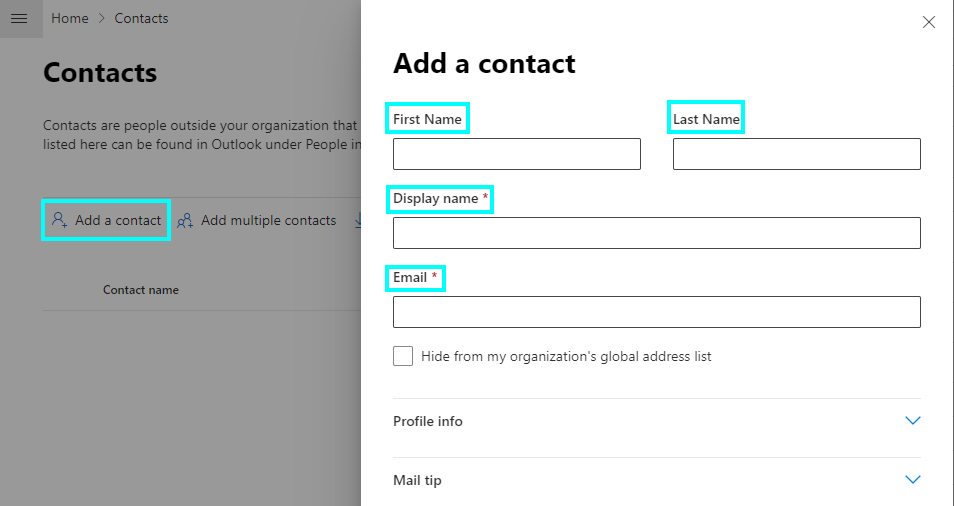
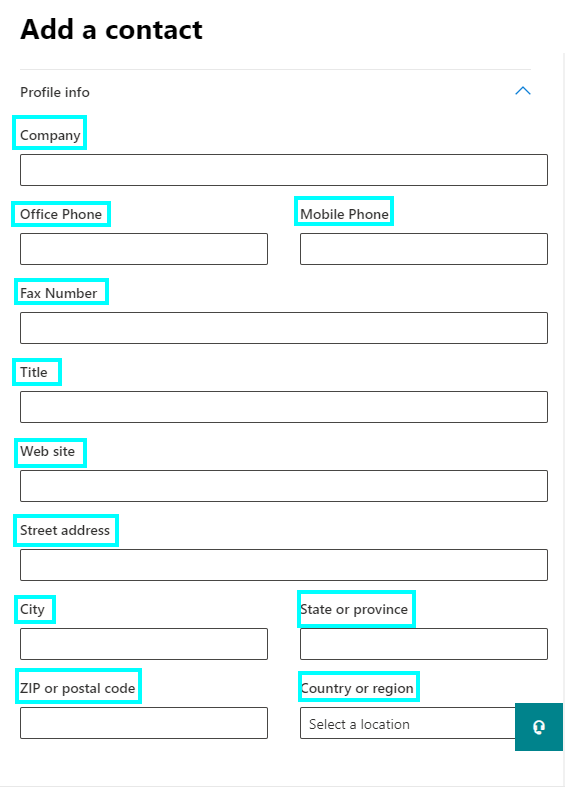
- Fill in the essential information in the “Add a contact” panel on the right as well as the business information if necessary.
- Then click on “Add”.

- Now under “Groups” click on “Active Groups”.
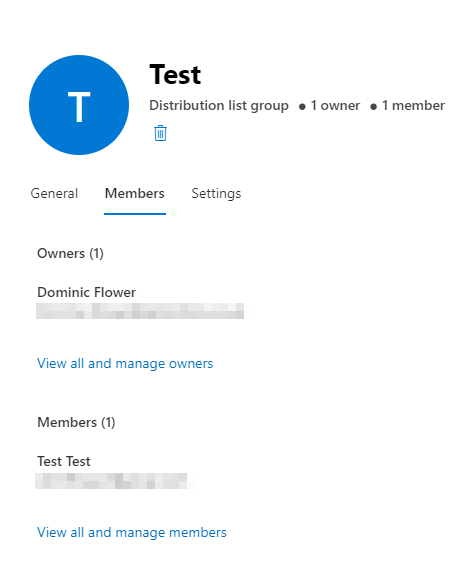
- Locate the distribution group and double-click on it.
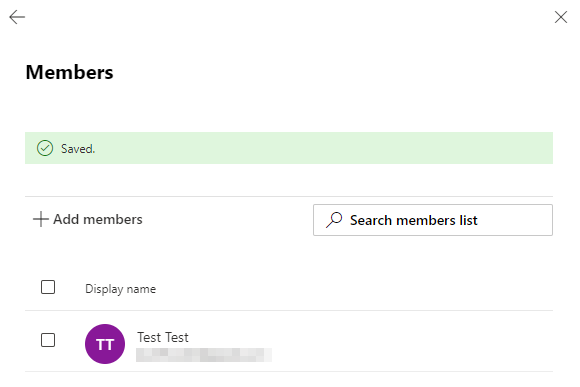
- Go to the “Members” section and click on “View all and manage members”.
- Click on “Add Members”.
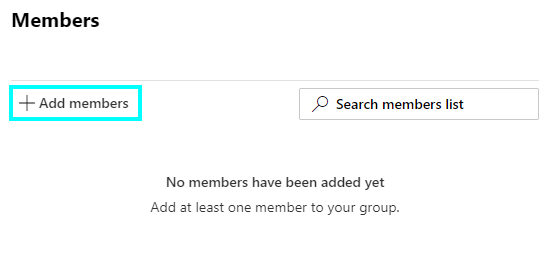
- Select the “Contacts” you created from the “Add members” list.
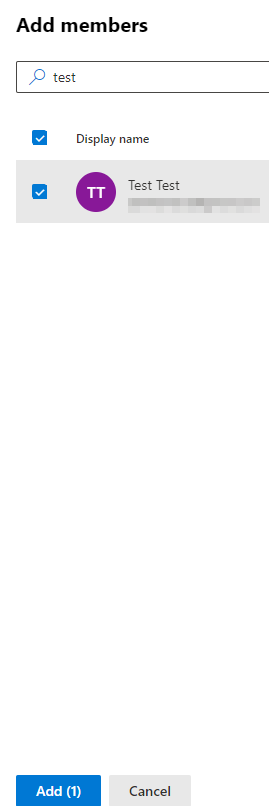
- Then click on “Add”.
- Finally, close all the panels and tabs.
The procedures shown above are the simplest way to add additional external users to an Office 365 distribution group. A distribution group can be joined by both internal users (those who have a mailbox at your firm) and external users (those who do not have a mailbox at your organization). External users who have been added to your organization’s address book can only be members of a group.
That’s it for this Blog thank you for taking time out to read our content, please feel free to email our team about how it went if you followed the steps or if you need more help with the questions we answered in this Blog.