There are plenty of handy features tucked away in SharePoint Online, including a bunch of premade columns that make life easier. One of those columns is the ‘File Size’ column, which tells you the size of the files you’re storing on your SharePoint site. In this blog post, I’ll demonstrate how you can add the file size column to your SharePoint Online site’s document library.
Here’s how to add file size column to SharePoint Online documents page:
- Go to Office.com
- Log in using your Microsoft 365 credentials
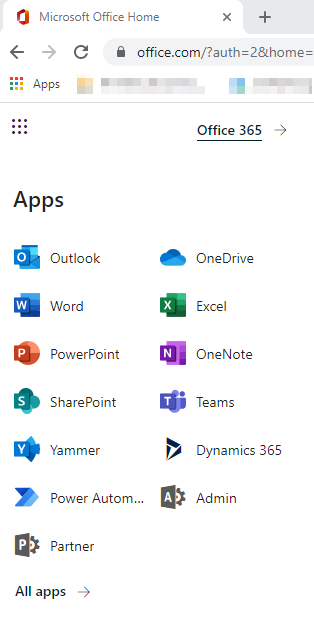
- Select SharePoint on the app launcher
- Choose the appropriate site
- Navigate to the documents library
- Click Add column and then click Show/hide columns
- Click File Size and then click Apply
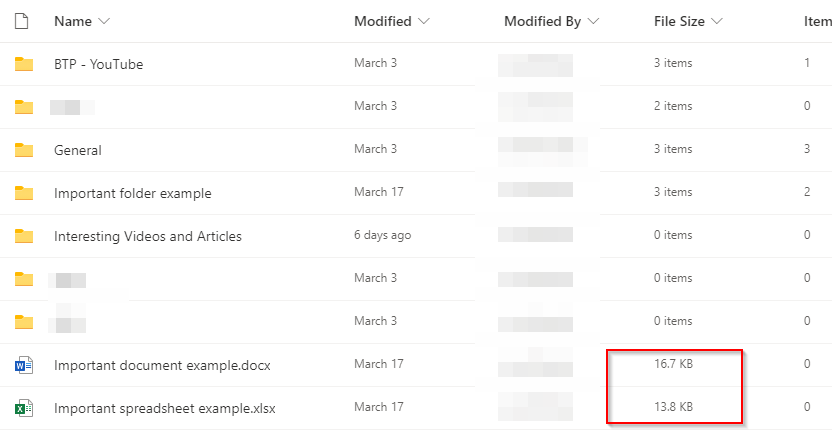
Voila! After following the steps above, every file will now display the file size next to it.

Expanding on the steps above, here’s a step-by-step guide — with screenshots — walking you through the entire process of adding the file size column to your SharePoint Online documents library.
Step-by-step guide: Adding file size column to SharePoint documents library
Adding the file size column to the SharePoint documents library is super simple following the steps outlined below.
The file size column actually works in numerous ways. When you’re looking at a folder, the file size column tells you how many subfolders and files are stored within. However, when you look at a file, it tells you the size of the file.
The file size column can come in handy in a ton of ways; for example, if you’re having a clear out of old files and want to get rid of the biggest first.
Here are the steps you need to follow to add the file size column to your SharePoint documents library:
- Go to Office.com
- Log in using your Microsoft 365 credentials
- Select SharePoint on the app launcher
- Choose the appropriate site
- Navigate to the documents library
- Click Add column and then click Show/hide columns
- Click File Size and then click Apply
- Go to Office.com

There are actually several web addresses that you can use, including — but not limited to:
- portal.office.com
- microsoft.com
- sharepoint.com
Copy and paste any of these straight into your browser and then move onto the next step.
- Log in using your Microsoft 365 credentials
Depending upon how your network is configured, your Microsoft 365 credentials might be the same as those you use to sign into your computer.
Your email is likely to be your work email address. For example, [email protected].
If you’re unsure about your login details, contact the person/business that set up your Microsoft 365. They’re able to tell you your login information or reset your password at the very least.
- Select SharePoint on the app launcher
- Choose the appropriate site
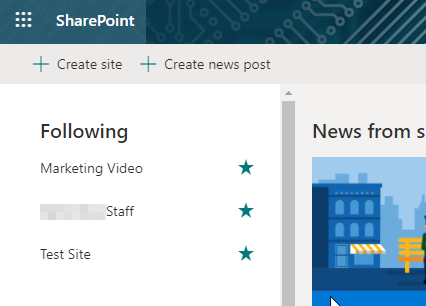
Open the site that you want to add the file size column to.
- Navigate to the documents library
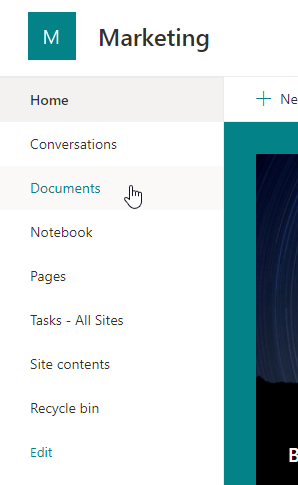
Open up the Documents library.
- Click Add column and then click Show/hide columns
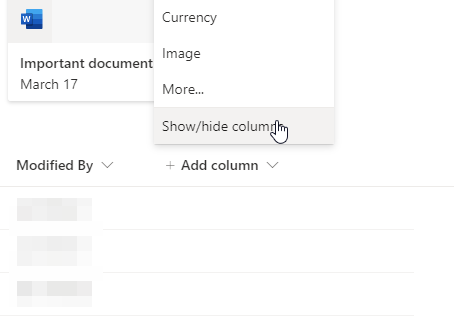
There are a number of premade columns included with SharePoint for a variety of uses. File Size is one of the columns included.
- Click Add column and then click Show/hide columns
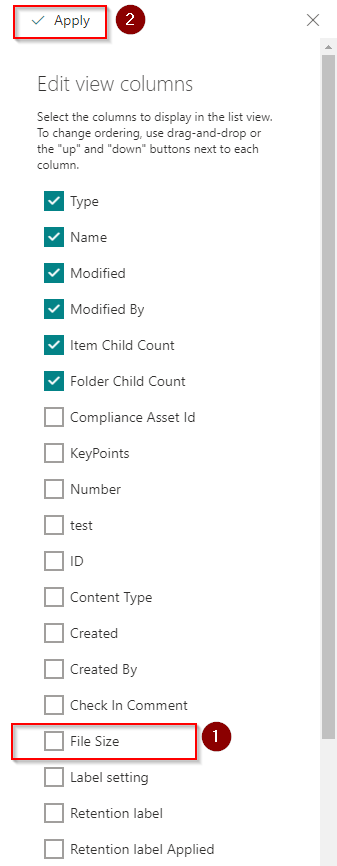
Once you select File Size and click Apply, the change will be reflected immediately and the File Size column will be visible throughout your SharePoint Online document library.
The screenshot below gives you a rough idea of what you’ll be seeing once you add the file size column.
There are also a ton of other columns you can add that might be of use. For example:
- Item child count: This column tells you the number of files that are stored in a particular folder.
- Folder child count: This column tells you the number of subfolders that a folder has within it.
- Created by: This column tells you who made a folder or a file, while the Created column tells you when it was created.
- Retention label: This column tells you whether a file/folder has a retention label and, if it does have one, which retention label it has.
Another thing worth mentioning is that you can actually make your own columns in SharePoint Online if none of the premade ones quite meet your needs.
You can make your own columns by clicking More… rather than Show/hide columns. When you click More…, you get a page resembling the one in the screenshot below.
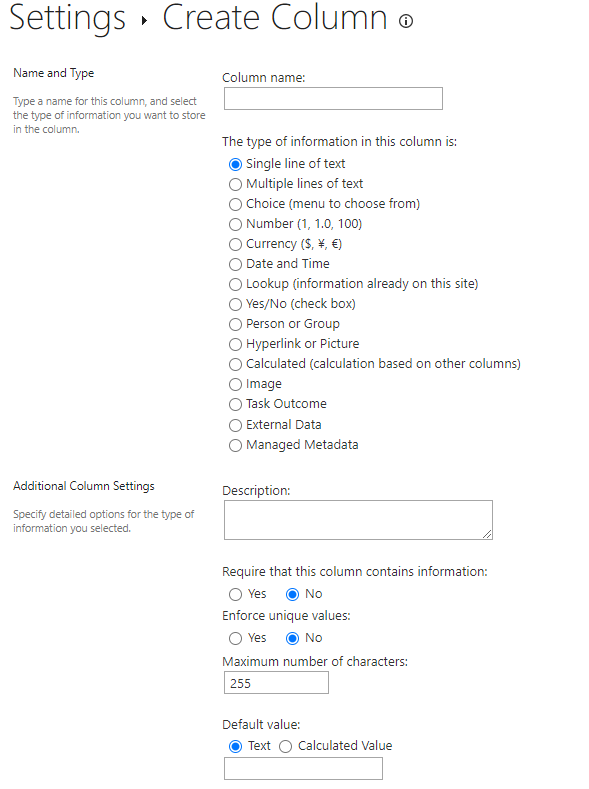
There are a ton of settings that you can use to create a new column that meets your needs better than the premade columns. You can even create formulas to validate the data in the column.
Thanks for reading! Hopefully, this blog post has helped you to add the File Size column to your SharePoint document library. If you’re learning about SharePoint now, here are some other articles I’ve written that you might find helpful:
- Disable Link Sharing On SharePoint Online: Want to know how you can disable link sharing on SharePoint Online? This blog post talks you through how you can prevent your SharePoint users from sharing documents externally. I talk you through two methods: restricting external sharing at the site-level and organization-level.
- How To Find Total Number of Documents In SharePoint Online: Find out how many files you have stored on any SharePoint Online site. I talk through two methods: checking site contents for one big figure and using item and folder child count.
- How To Pin A SharePoint File To An Easily Accessible Location: In this blog post, I demonstrate 3 methods for pinning important SharePoint files and folders to easily accessible locations.