After Gmail (mail service provided by Google), Microsoft Outlook is the most popular email provider for a vast network of users. The business and enterprise community find extensive value in the range of different functionalities offered by Microsoft Outlook due to its rather convenient and close connection to the widely used Office 365. Outlook offers an extensive range of different categorization tools to help users filter email-based content. When you wish to separate genuine emails from fake emails, the auto-delete feature comes in handy. What if you do not want to receive any more emails from the sender? You can easily control those features and allow for auto-deletion of emails from a certain sender after X days in Outlook. Follow the steps below to see how.
Step by step – How to automatically delete emails from a certain sender after X days in Outlook
- First, sign into Outlook using your normal sign in details.
- Double click on an email to open the senders HTML portal.
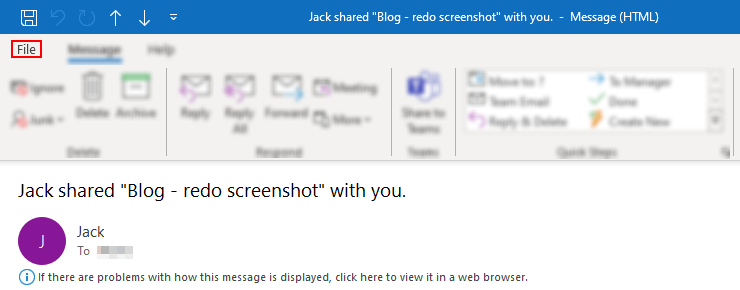
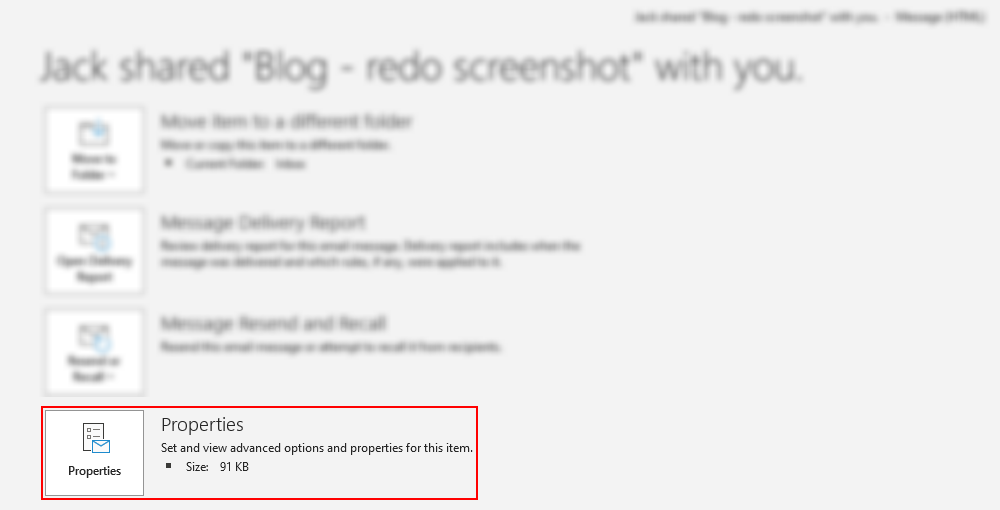
- Next go to “file” > “properties”.
- Under “Delivery options”, ensure the “expires after” box is ticked.
- Then set the date (this can be anything the user wants).
- Now go to “folder” > “auto archive settings”.
- Here make sure “delete expired items is selected”.
- Then click on “OK”.
The steps above lead to the most effective method of deleting emails from certain users after a certain amount of days. When the email expires it will automatically delete as the auto-archive feature is set to delete emails from the sender once it expires. Note that there is no direct way of setting up an auto-delete feature in Outlook given that it’s after “X amount of days”.
You may use it to auto-delete, auto-archive, and shift incoming emails to other folders for a certain period of time, as well as unsubscribe from unwanted senders, all from a single menu. The aforementioned approach has worked flawlessly in ensuring that the email is automatically erased from the user after a set number of days.
For any firm that already uses archiving, this can be a quick and painless approach to reduce the total number of things in Exchange and the amount of disc space their email takes up, improving performance and reliability.
As mentioned before, select the number of days an email can be held for in the auto-archive tab. For example, if you set this to 27 days then any emails more than 27 days old will be deleted. You will want this to be instantaneous, for this to work ensure it’s set to 0 days, this way the email will delete immediately after it expires.

Why would you want to auto delete emails?
Email messages from users are effective in allowing for high-quality and robust communications. However, sometimes the sent mails from some users may no longer have importance after a certain amount of time. Therefore having them present in the inbox may reduce productivity and inconvenience the user as they may need to keep scrolling and finding content that is of importance. In this situation mail deleted automatically after a given length of time is effective.
Auto deleting is good for people like event managers who may want clients to send event-based information across, however once the event is complete and the final tally is fully organized the emails become irrelevant and therefore allowing for them to be automatically deleted will allow for the event managers to keep their inventory organised. You can manually delete the emails however, this may be time consuming and it increases the chances of human errors, deleting mail based content that is of importance.
Other methods to auto delete mails from a single sender after a given amount of time
Another way to have mail-based content automatically deleted is to have a retention policy in place that will delete the email after a given amount of time. Retention policies are however, quite ineffective when doing it for just one single user. The chances of errors accruing are significantly higher than using the method mentioned earlier. Retention policies are mailbox commands set by the mailbox admins who will dictate the mail flow and how the content related to your mail will run.
Another method is to create a PowerShell mail command rule. Here you will need to use a series of functional text-based commands to set the emails to delete after a certain amount of time. Rules cannot be created from the Outlook mail server; it must be done through Microsoft Exchange or PowerShell. Like the retention policies method, there are miscommunication errors that can occur if the command is not set right. You will need to ensure the rules that are created are not misspelled and are set to the users who you need to have mail automatically deleted.
In depth step by step – How to automatically delete emails from a certain sender after X days in Outlook?
Step by step breakdown:
- First, sign into Outlook.
You will need to sign in with the application version as this process will only work on the application version of Outlook.
- Double click on an email to open the senders HTML portal.
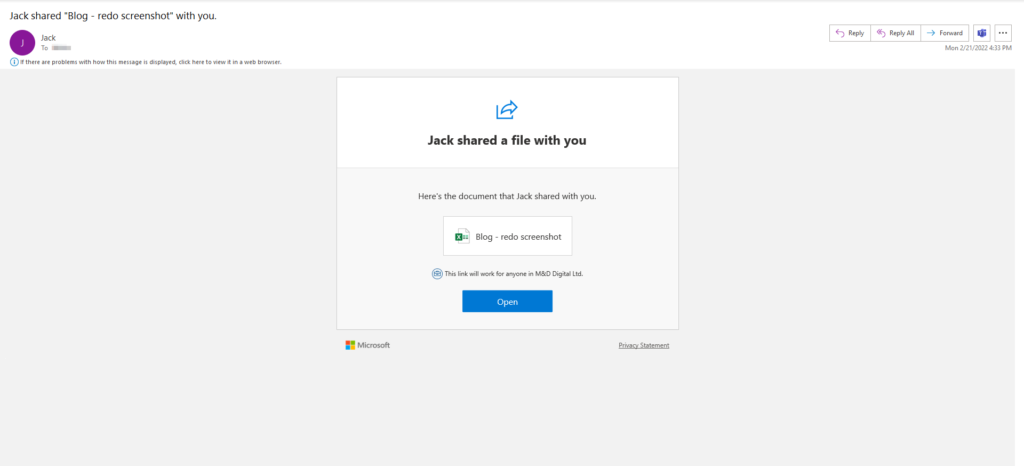
The senders portal looks like the normal Outlook dashboard however here the settings changed only affect the user you have double-clicked on. This makes it easy to edit for only one user.
- Go to file.
- Now go to properties.
- Under “Delivery options”, ensure the “expires after” box is ticked.
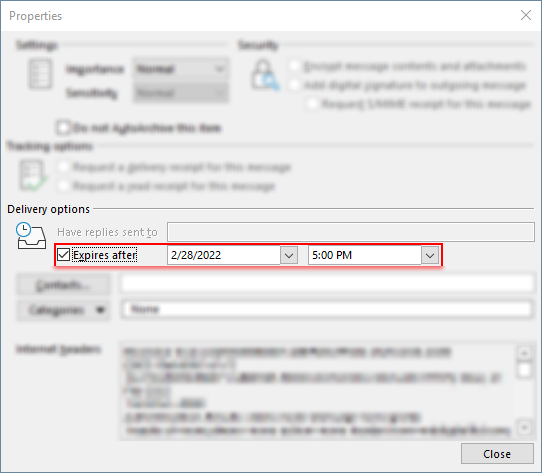
As mentioned above you will need to set the mail to expire in order to delete it after a given amount of time. Although normal expiry of mail without the auto-archive will not delete the mail rather just tell you that the mail is no longer available,
- Then set the date (this can be anything the user wants).

You do not need to click on anything else once those figures are imputed they will automatically save.
- Now go to “folder” > “auto archive settings”.

You will need to go back to the original Outlook dashboard.
- Here make sure “delete expired items is selected”.
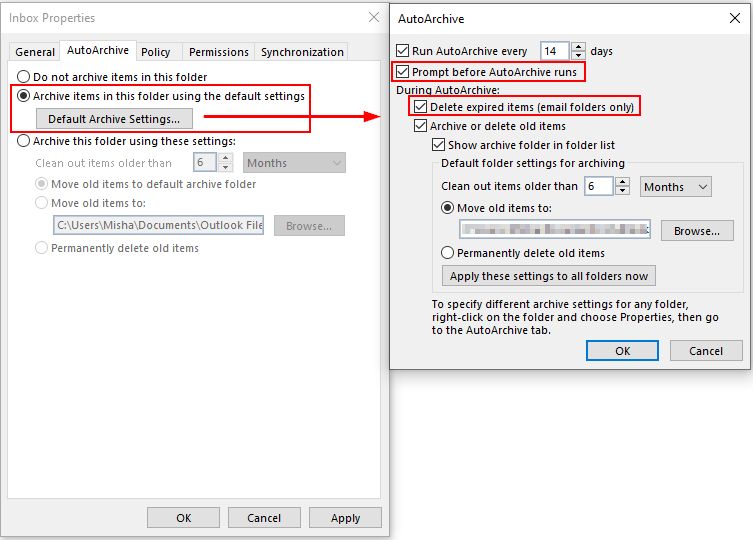
- Then click on “OK”.
That’s it for this Blog thank you for taking time out to read our content, please feel free to email our team about how it went if you followed the steps or if you need more help with the questions we answered in this Blog.