Microsoft Teams users that host meetings may host for dozens of people, and because of how many there are, it can be difficult if you have to talk in front of a group of people and they are talking. The solution would be to restrict their microphone usage when you need to talk.
There is only one way to automatically mute participants who join a Microsoft Teams meeting. It involves changing the meeting options to mute everyone who isn’t presenting; these are called “attendees.” This process can be on all platforms that have access to Microsoft Teams.
How to automatically mute participants joining a Teams meeting
- Open Microsoft Teams.
- Create a meeting.
- Click on the meeting and press edit.
- Click “Meeting Options.”
- Change who can present to “Only me.”
- Toggle “Allow Mic for attendees.”
- Anyone who joins this meeting will automatically be muted.
Content list
How to create a meeting
The first step should be to create a meeting in Microsoft Teams that you can then change the meeting options for later before it starts. This process is straightforward and can be done in either the Microsoft Teams desktop app or on the Teams web app on office 365. I will show you how to create a Teams meeting using the desktop app in the guide below; read on for a guide with screenshots to show you what to do.
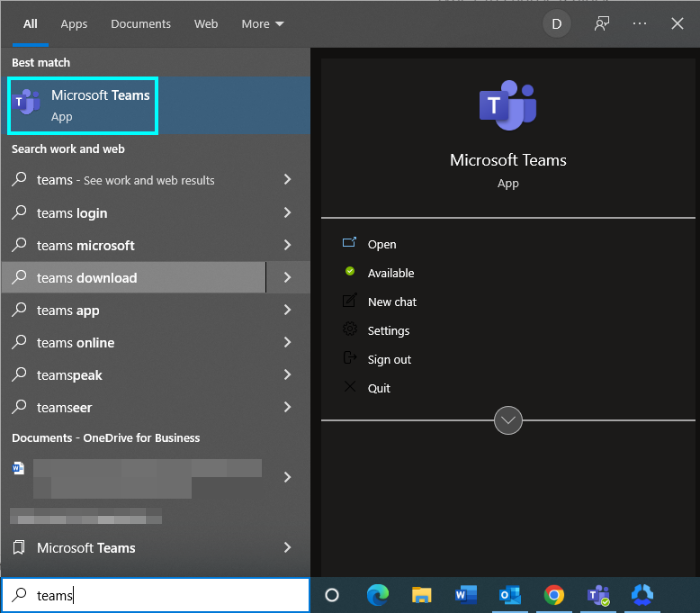
- To start, you need to open Microsoft Teams; you can do this by going to office 365 and clicking on the app launcher to launch the Microsoft Teams web app, or you can click on your search bar on Windows or Mac and search for Microsoft Teams.
After Microsoft Teams opens, you need to create a new meeting; there is only one place to make a meeting on Teams; this is done on the “Calendar” page. This page shows a calendar linked to Outlook, so doing things like creating a meeting will show up on both calendars.
- There are a few options for making a new meeting on the calendar page, this includes clicking on a specific date and time, and it will bring up a menu for making one. Alternatively, click “Meet Now” if you want to create a meeting right now, or you can click “+ New meeting” to create a meeting for a future date, and this functions in the same way as clicking on the date you want to make one for. For this guide, we want to click “+ New meeting” to change the meeting settings before it starts.

- Clicking on a date or “+ New Meeting” will bring up a new page where you enter any information you want to include about the meeting; this will affect what other people see when they click on the meeting invite. This list of options includes the meeting name, when the meeting will happen, users required to join it, and the meeting description, so people know what it is about.

Once the meeting details have been filled out, press “Send.” The meeting invite will appear on users’ Teams or Outlook calendars and can be clicked to accept it. It will create the meeting for the time you set for it and send a notification to all required participants. The invite is how we can edit the meeting settings because, as the creator of the meeting, you have the option to “edit” parts of it. Clicking this will show new Microsoft Teams text on the meeting description; one of these will say “Meeting Options,” this is where we can edit the settings for the meeting, which we will do in the next part of the guide.

How to automatically mute participants that join a Teams meeting
Now that the meeting has been created, you can follow the steps of the next part of the guide, which covers how to change the meeting settings to mute all participants. I have created another step-by-step guide to walk you through this.
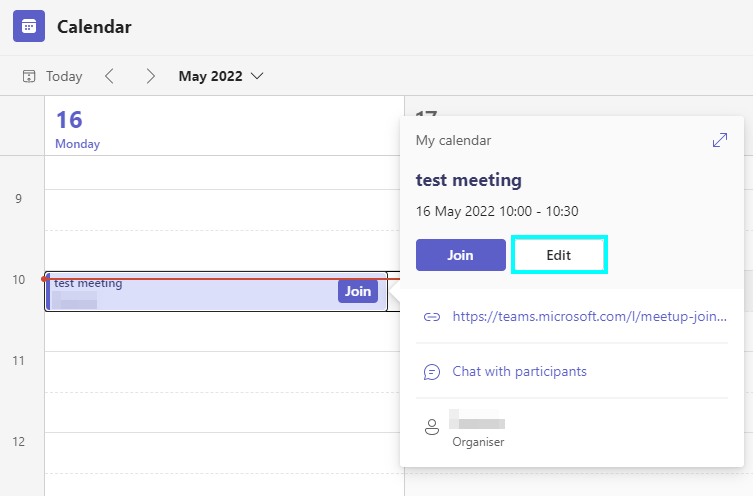
- The first step is to find the meeting you made on your calendar and left-click it— this will show the options to “Join” the meeting or “Edit” it; click this, and it will reopen the meeting edit page.
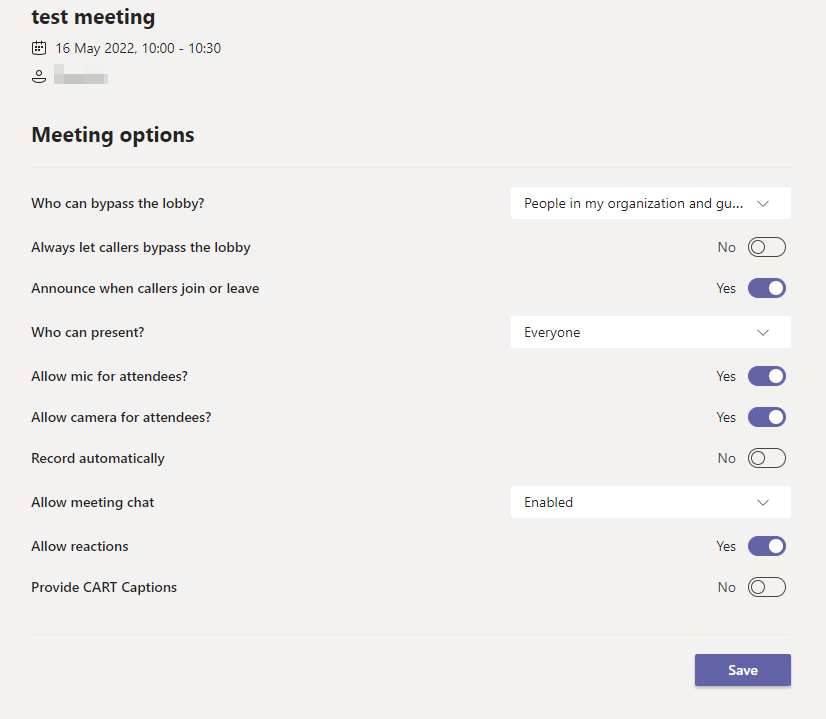
- Next, at the bottom of the page, in the description, click on “Meeting Options.” This will open a new page that shows many options that you can change that can affect some things about your meeting.

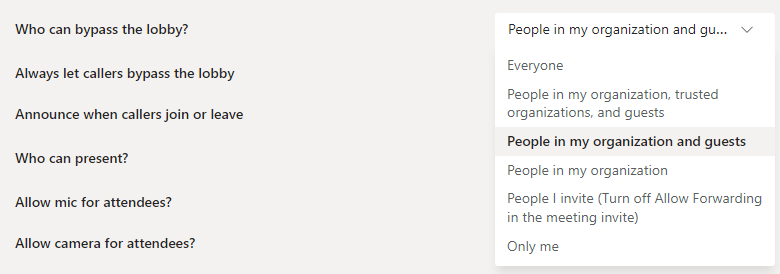
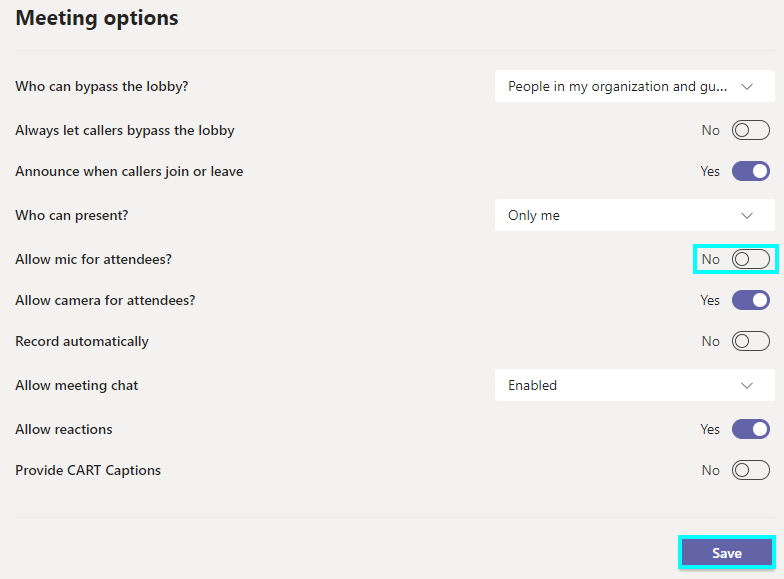
Before you decide to mute participants, you should check over the option called “Who can bypass the lobby.” This option covers who can join the meeting without interruption and who has to wait in a lobby and has to be admitted into the meeting; the options are:
- Everyone.
- People in my organization, trusted organizations, and guests.
- People in my organization and guests.
- People in my organization.
- People I invite. (Turn off Allow Forwarding in the meeting invite)
- Only Me.
I will be using the default option, “People in my organizations and guests.”
- We need to choose who is a presenter in the meeting; this makes them unaffected by the other options here, like the mute attendee choice. The “who can present?” option allows you to pick from a few options, and these are “Everyone,” “People in my organizations and guests,” “Specific people,” and”Only me.” Unless you present with a few other people, you will need to use the “Only me” choice if you want to mute the other participants when they join. This makes everyone else an attendee and allows the other options to affect them.
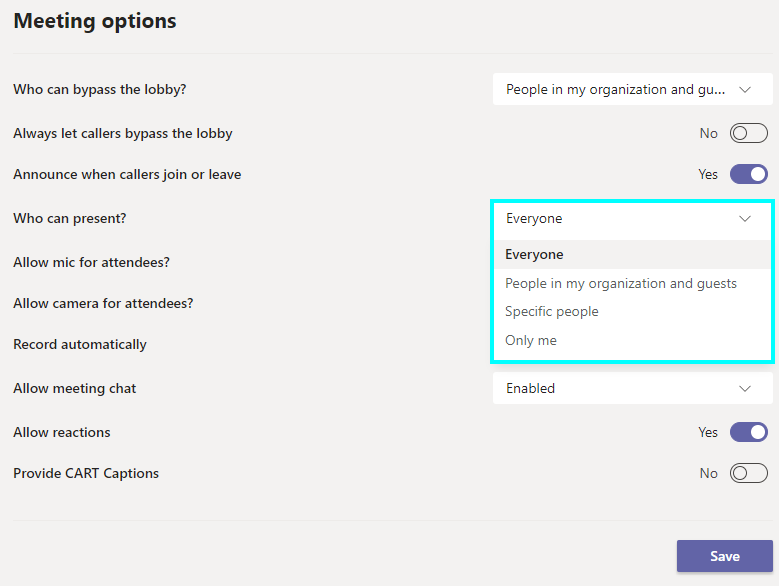
If you are hosting with another presenter, then the “Specific people” will be needed, then you can search for a participant who will be exempt from the other choices.

- Once you have made everyone else attendees, go to the “Allow mic for attendees?” option and click in to toggle it to say “No.” If you want to limit their camera usage too, you can do the same thing on the “Allow camera for attendees.”
When you eventually start the meeting, things will appear normal, and once people start joining, they will see a message saying that their mics are muted— they can’t unmute them unless you change the option. If you want to invite somebody out of your selected criteria, you can copy a meeting link and give it to them; this may ask you to admit them in from the lobby.

The image below shows what an attendee will see when they join; it shows that their mic or camera has been disabled and is greyed out, which stops them from changing it.

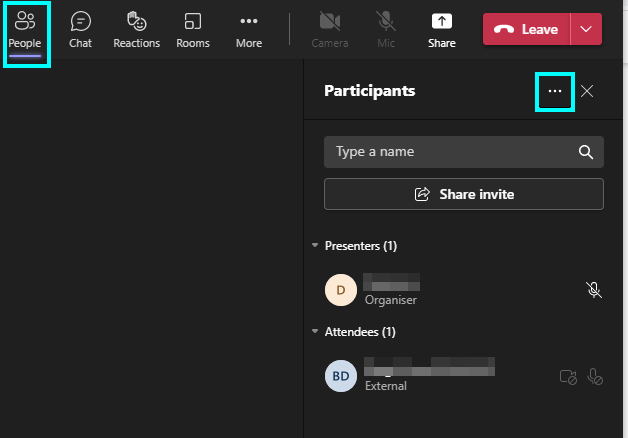
If you want to change the meeting options mid-meeting like if you are done presenting to the participants and want to talk to them, you will need to change the settings back. This can be done by clicking “People” and pressing “…” next to participants to bring up some meeting options. I have taken some screenshots to show these options.
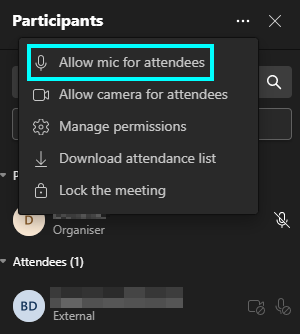
Option to enable mic for attendees.
Click “…” and then press “Allow mic for attendees” to re-allow participants to reaccess their mic.
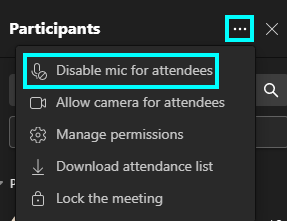
Option to disable mic for attendees.
You can disable users’ mics again by clicking this.
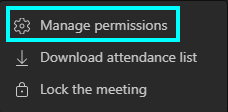
Option to manage permissions
Clicking “Manage permissions” opens the same meeting settings page as shown before.
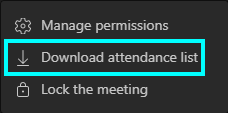
Option to download attendance list
If you are hosting a meeting for many people, you may want to download the attendance list to see who showed up.
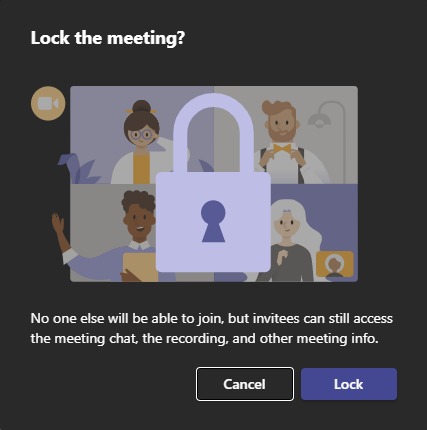
Option to lock the meeting
The last meeting option you can change from here is the option to lock the meeting, this stops more people from coming in, and you would use this if you want certain people in it.

Conclusion
The way to automatically mute participants joining a Teams meeting is done after you have created the meeting and going to it on the calendar. Then click “Edit” on the meeting and press “meeting options” to bring up a page where you change the options for your upcoming meeting. To mute the participants, you need to assign people to present, which will cause everyone else to become an attendee and can have their mic privileges removed and be muted.