The default groups in SharePoint are not particularly useful: Members, Owners, and Visitors. If you need to further break down site users into distinct groups, you’ll need to create additional groups. Creating a new group lets you fully customize everything, such as the permissions for the users within.
How to create a new group in SharePoint:
- Go to
 Office.com, then sign in and open SharePoint.
 - Open the SharePoint site you want to make groups for.
- Click the
 cog in the top right, then click “Site permissions.”
 - Click “Advanced permissions settings.”
- Click “Create Group.”
- Fill in the group information.
- Click “Create.”
- Click “New” and enter the names/email addresses of users you want to be part of the group.
- Click “Share” to send invites to users you’ve specified.
I’m going to show the entire process in this blog post using our demo site. I’ll also explain some things you need to be wary of when creating SharePoint groups. Keep reading for our step-by-step tutorial with screenshots.
We’ve also created a video to help guide you through the steps:
   |
How to create a new group in SharePoint (Step-by-step)
The process for creating a new group in SharePoint is relatively simple, as long as you have the appropriate permissions. You must be a site owner — or have the “full control” permission level — to follow the steps given below.
Follow these steps to create a new group in SharePoint Online:
- Navigate to Office.com, sign in using your Microsoft credentials, and open SharePoint
- Open the SharePoint site you want to make groups for
- Click the cog in the top right (Settings), then click Site permissions
- Click Advanced permissions settings
- Click Create Group
- Fill in the group information
- Click Create
- Click New and enter the names/email addresses of users you want to be part of the group
- Click Share to send invites to users you’ve specified
Creating new groups in SharePoint certainly makes sense. It enables greater control over how people can use your SharePoint site, because you can change permissions and access in a much simpler way if you create your own groups.
Here’s the entire walkthrough with screenshots.
1. Navigate to Office.com, sign in using your Microsoft credentials, and open SharePoint
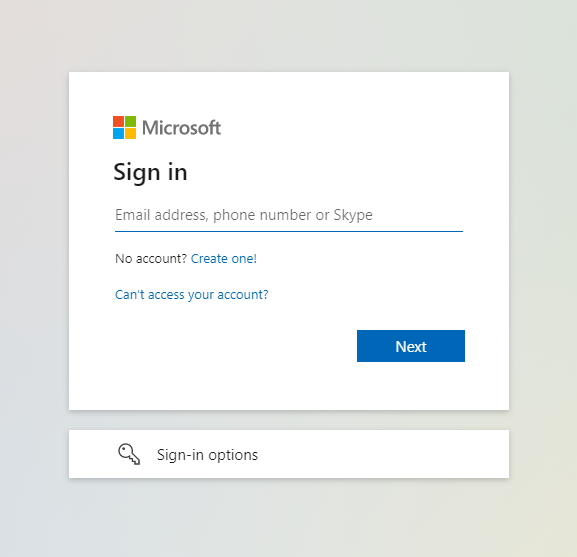
First, you want to navigate to ![]() Office.com and log in using your Microsoft 365 credentials. These are likely the credentials you use to sign in to your work device.
Office.com and log in using your Microsoft 365 credentials. These are likely the credentials you use to sign in to your work device.
Once you’re logged in, open up SharePoint. You can easily open up the SharePoint application using the app launcher and selecting SharePoint.

2. Open the SharePoint site you want to make groups for
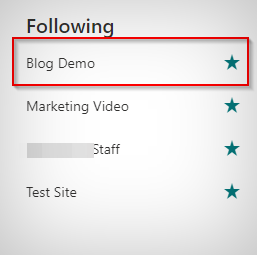
Open the SharePoint site that you want to make groups for. For the purposes of this blog post, we’ll be using our Blog Demo site.
3. Click the cog in the top right (Settings), then click Site permissions
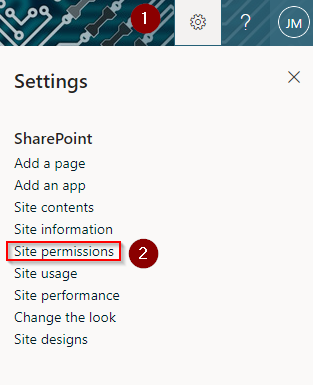
Remember — you need to have “full control” permission level for the site. Site owners will have this permission level by default.
4. Click Advanced permissions settings
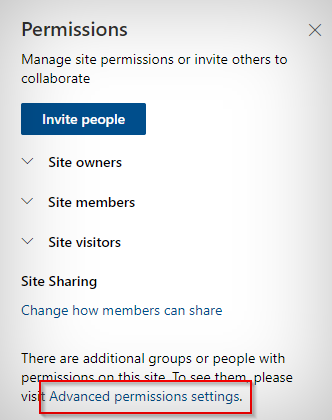
If you’re not seeing the text link, you don’t have the appropriate permissions. You must have full control privileges to follow these steps.
5. Click Create Group

6. Fill in the group information
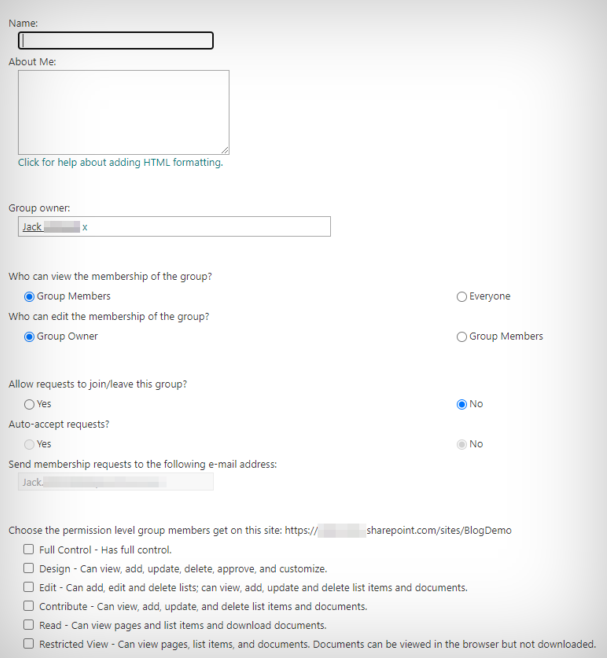
There’s a lot of information to fill in about the group you’re creating.
First, name the group. Under “About Me,” you can give a brief description of the group. If you have several site owners, adding a brief message about who should be added to the group is a good idea.
Second, choose the owner. There can only one owner, so it needs to be the person responsible for managing the group.
Third, choose who can view and edit the membership of the group.
Fourth, choose whether you want to allow requests to join and leave the group. You can click “Yes“ under “Auto-accept requests” if you want people to join the group immediately upon request. This is your choice, but it’s potentially risky letting people join the group immediately upon requesting to join.
Last, choose the permissions you want to grant to the group’s members. What you choose here will dictate what the group’s members can do with the site. For example, “Full Control” will enable every user within the group to act as an admin and fully control the site we’re creating the group for. That’s why it’s so important to make sure you choose the permissions you assign the group carefully.

7. Click Create
After configuring the group, click Create. After clicking Create, your page will refresh. You can then add users to the group.
8. Click New and enter the names/email addresses of users you want to be part of the group
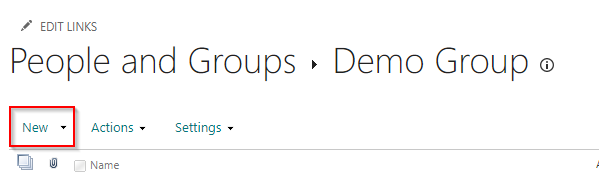
After clicking New, a new window will open up. This window lets you add people and groups to the SharePoint group you’ve just created.

Begin typing the names and emails of the people you want to add into the appropriate text box. As you type the names/emails of the users, click them.
Once you’ve typed in all the names/emails addresses and written a message (optional), click Share to send an invite to the users.
Note that if you’re typing in the emails of external users and you cannot send the invite, there are two probable causes:
- External sharing and access is disabled at site level
- External sharing and access is disabled at organization level
Fortunately, I’ve got you covered. My blog post How to enable external sharing in SharePoint Online explains how you can turn on external sharing at site and organization level. Click here to read that blog post now if you need to add external users to the group.
9. Click Share to send invites to users you’ve specified
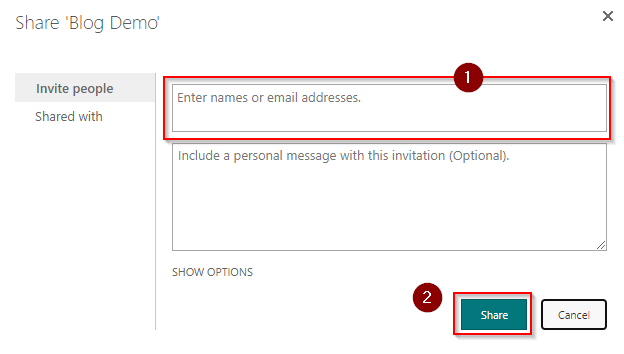
Once you’ve specified the users that you want to add to the group, click Share.
At this stage, the invite’s sent. The people you’ve added will receive an email looking something like the one below.
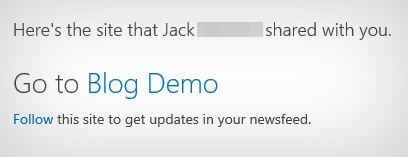
The users can click the link to open the site and then use it according to the permissions you set in step 6.
Thanks for reading! Please feel free to leave a comment below if you need any extra help.