A SharePoint communication site is a fantastic place to share information. Distribute news, reports, status updates, and more in a visually pleasing manner. You can use communication sites to engage and educate a big audience. Create portals, departmental websites, or project websites. The Communication Site template is a one-of-a-kind type of website design. In comparison to a conventional Team Site, the Communication Site lacks the Quick Launch capability (left-hand-side menu). When you create a Communication Site, it generates a new site collection, similar to how an Office 365 Group Site does. In contrast to Office 365 Group, you do not obtain any additional applications (like Planner or Teams).
Like with any other SharePoint site you can also customize the communication site to match your preferences. Follow the steps below to see how you can create a stylish communication site in SharePoint.
How to create a stylish communication site in SharePoint
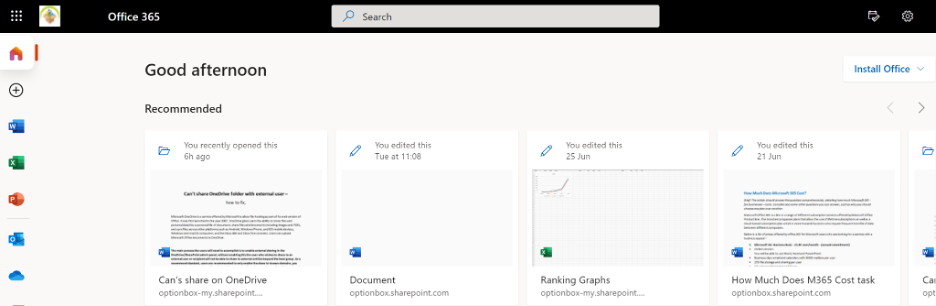
- First sign in to Office 365.
- Use the app launcher and navigate to “SharePoint”, and click on it.
- Now click on “Create site”.
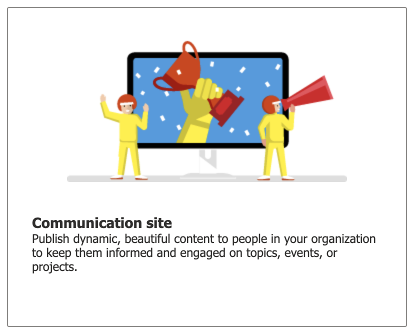
- Select “Communication site”.
- Fill out the “Site name” and “Site description” sections.
- After that click on “finish”.
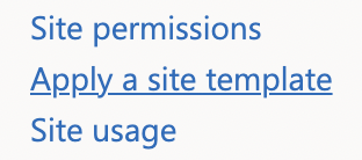
- Now click on “Settings”.
- Then click on “Apply a site template”.
- Choose the template that will go great with the site you are trying to create.
- Then click on “Use Template”.
- Now click on “Next steps”.
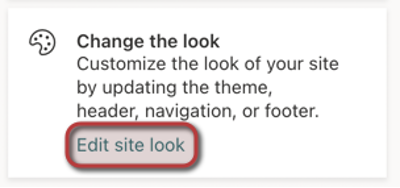
- Under “Change the look”, click on “Edit site look”.
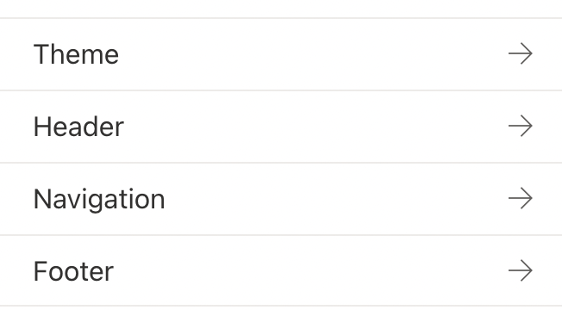
- Here you can edit the site themes, logo, header, footer, and navigation.
- Once you are happy with your preferences, you can click on “Save”.
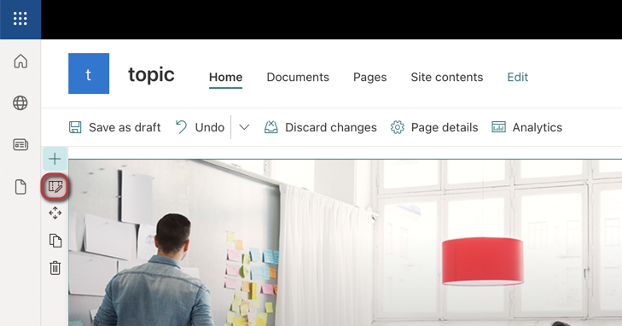
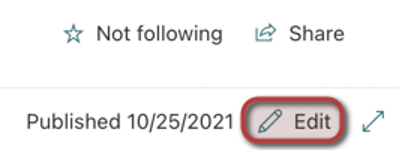
- To edit the main site content, click on “Edit”.
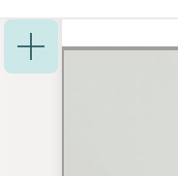
- Like most websites, contents are divided into blocks you can add a block by clicking on the plus symbol on the left.
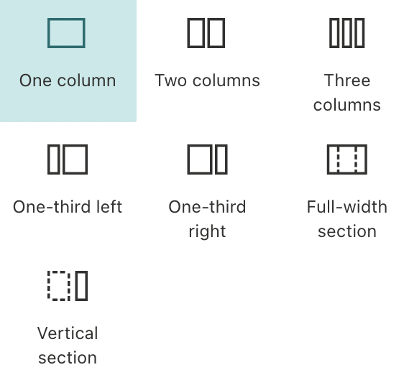
- Ad full width to sectional and even multi-column segments to start creating the main bulk of your site page.
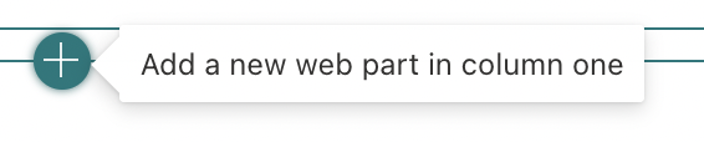
- After assigning a new column, select the “Add a new web part in column one” which again is a plus symbol.
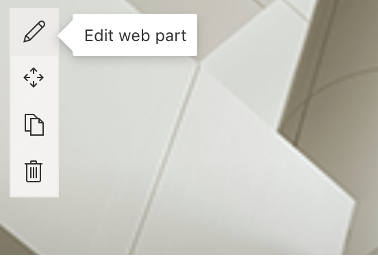
- Once you are done adding the block called a web part, you can edit it by clicking on “Edit web part”.
- Finally, click on “Republish”.
There are a lot more editing features available for users, for instance, if they need to add some custom colours and themes to the site, they can by using the theme manager, and by doing so you have a SharePoint site more altered towards your clientele. SharePoint has it such that editing the site will automatically save the changes. If you are not happy with the new changes you can click on “Discard changes” to prevent the changes from reflecting on your published site. Adding content is as simple as placing the appropriate block then assigning the content feed to the block. For instance, a news feed can be assigned to a predefined news template and you can simply update by adding a post. Your documents can be assigned to the site from your main library and your event block can be assigned to your main Outlook calendar and information will automatically sync upon the next edit.
Sections can be edited by clicking on “Edit section”.
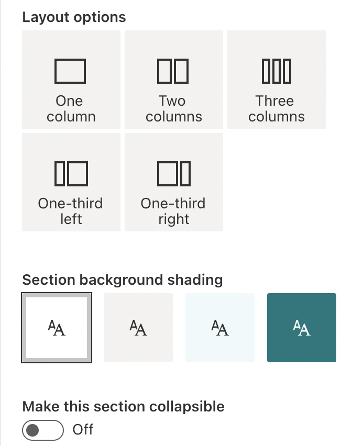
As you can see above you can edit the colour of the section background and assigned columns if necessary.
The possibilities of what can be done are quite extensive, with a huge array of different site themes and perspectives to choose from. Use this guide as a stepping stone to see what’s really possible for your own personal site. If you have all your predefined elements such as logo, colour pallet and theme, you can literally assign all this information and let the intuitive AI create a site for you. Of course, you can edit to your liking after the AI has made your site. Assigned members to help to make the site. Like with all other sites toys can add members to the site, they can be edited through site permissions to allow for users such as digital designed and content creators to finalise your edited site and make necessary changes to really elevate your final site.

Edit subsections
Subsections a small web parts of your large sections on your site, this is essential sections of your web part that hold specific content, For instinct on a document web part section, each document can be a subsection. On a Hero section, each image and assigned text is its own subsection. Each subsection has its own assigned block with its own theme and its own array of different custom sizing features, while not as advanced as fully operatable website platforms, you can add links to each subsection and customise the visuals within.
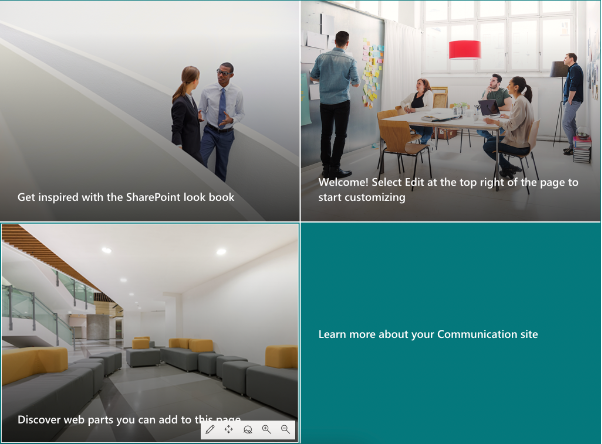
For instance, this is a hero web part, it’s essentially a full-width gallery that allows you to add the most prominent features of your company as a visual image format. You can assign text to the hero and images to make up the subsection.
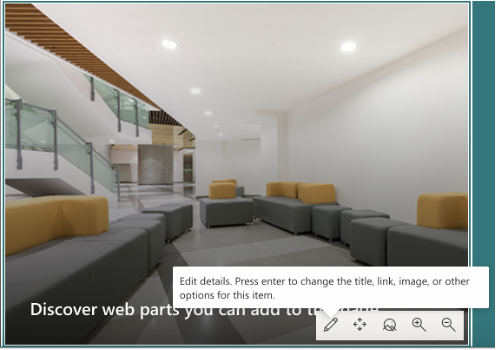
As you can see below each subsection has its own edit tab, you can edit the content such as images, text and links within to your personal preferences or what the business requires.
You can also move subsections around, the beauty of this section with subsections is that you can move around block, for instance, if I needed to move the green block at the top left all I just need to do is drag it there and it will be complete. You can remove the text if you want to, this can be done if you click on edit and ensure the toggle for “Show title in layout” is off.
In depth step by step process – How to create a stylish communication site in SharePoint
Step by step breakdown:
- First sign into Office 365.
Use your account details or if you have a current Skype account with the Office account in question, you can use this.
- Use the app launcher and navigate to “SharePoint”, and click on it.
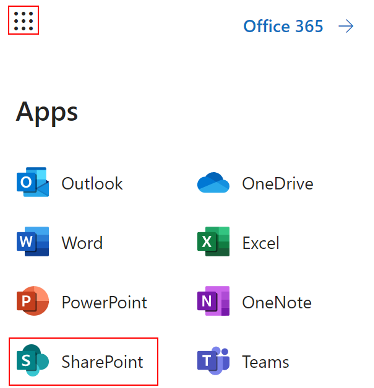
You can access the SharePoint application however this is for individuals who only have a SharePoint plan, A larger group of individuals have SharePoint in Office 365.
- Now click on “Create site”.
- Select “Communication site”.
- Fill out the “Site name” and “Site description” sections.

- After that click on “finish”.

- Now click on “Settings”.

- Then click on “Apply a site template”.
- Choose the template that will go great with the site you are trying to create.
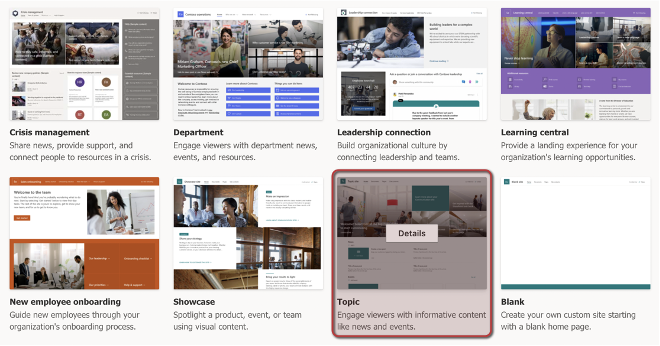
I chose the one called a topic, Highly intuitive and simple, pretty much the simplest to properly reconfigure.
- Then click on “Use Template”.

- Now click on “Next steps”.

- Under “Change the look”, click on “Edit site look”.
- Here you can edit the site themes, logo, header, footer, and navigation.
- Once you are happy with your preferences, you can click on “Save”.

- To edit the main site content, click on “Edit”.
- Like most websites, contents are divided into blocks you can add a block by clicking on the plus symbol on the left.
- Ad full width to sectional and even multi-column segments to start creating the main bulk of your site page.
- After assigning a new column, select the “Add a new web part in column one” which again is a plus symbol.
- Once you are done adding the block called a web part, you can edit it by clicking on “Edit web part”.
- Finally, click on “Republish”.

That’s it for this Blog thank you for taking time out to read our content, please feel free to email our team about how it went if you followed the steps or if you need more help with the questions we answered in this Blog.