Notebooks are essentially multimedia files that you can share with your team members. You can record notes, drawings, screenshots, and even audio. But sometimes, you may want to delete or remove a notebook, or you may want to recover a notebook that’s been deleted. If so, keep reading to find out how.
The method:
- Open OneDrive and go to My files > Notebooks.
- Locate and click the three dots next to the notebook you wish to delete.
- Select ‘Delete’ from the drop-down menu.
Please continue reading our visual, step-by-step guide on everything you need to know about deleting and recovering notebooks in OneNote.
Who can delete notebooks in OneNote?
Administrators can delete any file, folder, or notebook, including those created by other members. However, regular team members can only delete notebooks they created or notebooks that have been shared with them. Deleting a shared notebook will remove the file for everyone with access to the file.

Create a notebook in OneNote
First, we need to create a notebook. Please skip this section if you already have a notebook you want to delete. Otherwise, please continue to OneNote to start this guide.
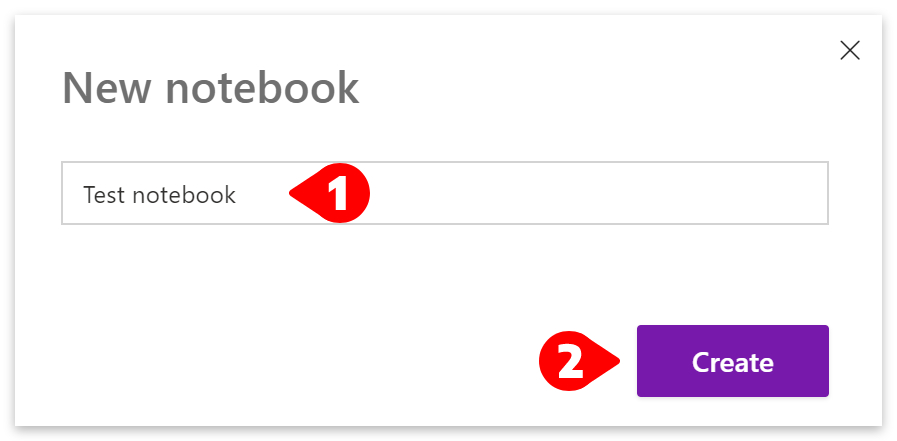
- In OneNote, click on the ‘New notebook‘ button at the top.

- Give your notebook a name, then click the ‘Create‘ button.
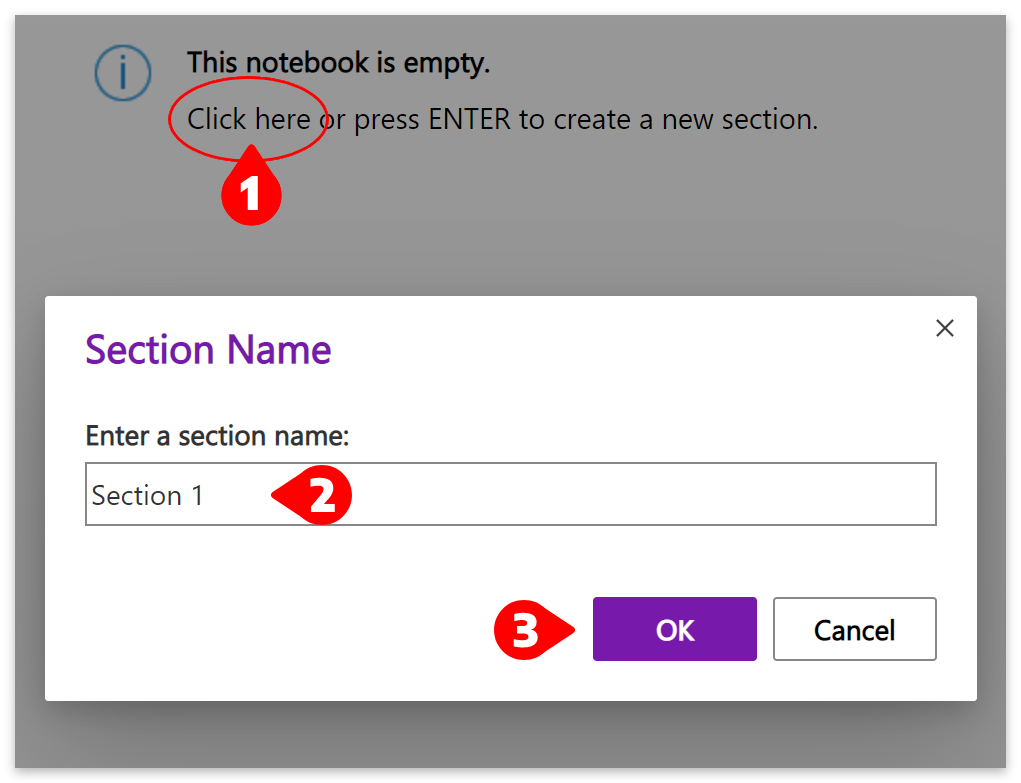
- Click anywhere on the right side of the window.
- A box will pop up titled ‘Section Name.’
- Enter a name for the section, then click the ‘OK‘ button.
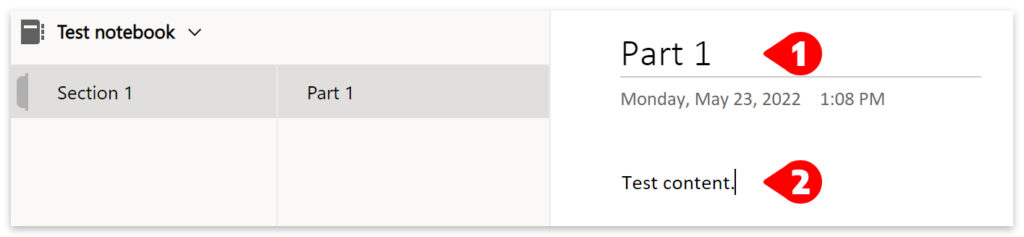
- There are pages within sections where you will write your content.
- Click above the date at the top to write a page title.
- Then click below to write some content.
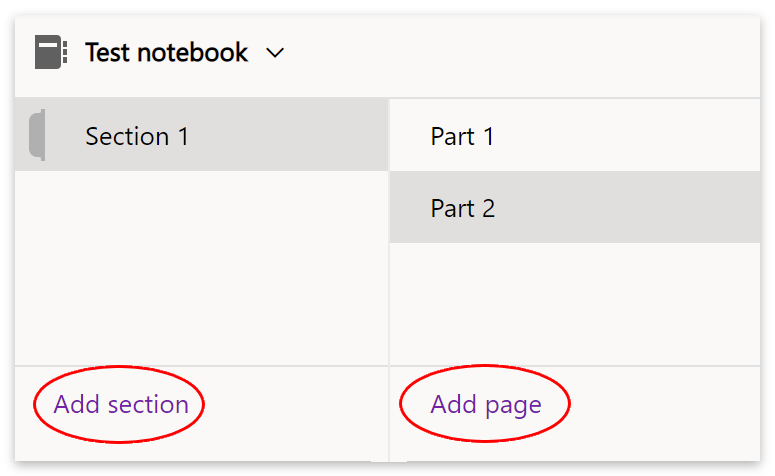
- You can add new pages and sections by clicking the links at the bottom.
- Close the notebook and return to OneNote.
- You will now see your new notebook in the ‘Recent‘ and ‘My Notebooks‘ tabs.
Delete a notebook in OneNote
Notebooks can be viewed and edited in OneNote but can only be deleted in OneDrive. You can access OneDrive from the apps launcher ![]() in your office home page or start from OneNote by following the process below.
in your office home page or start from OneNote by following the process below.
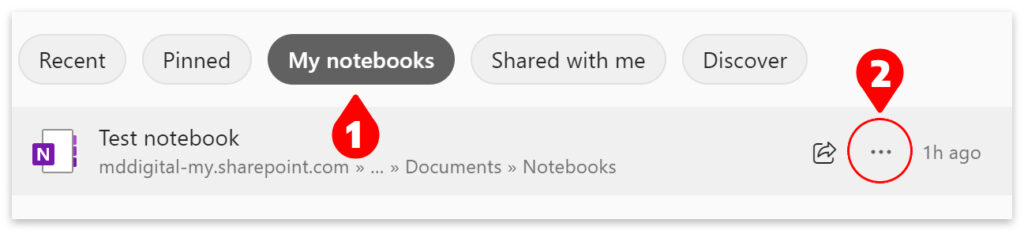
- Click on the ‘My notebooks‘ tab.
- Then locate and click the three horizontal dots.
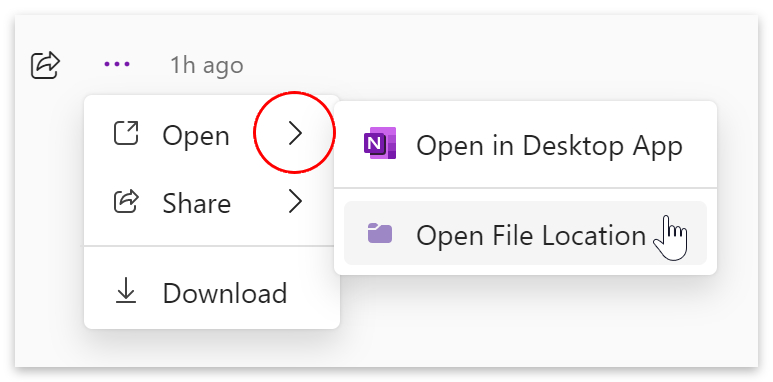
- Hover the cursor over the arrow next to ‘Open.’
- Then select ‘Open File Location‘ from the drop-down menu.
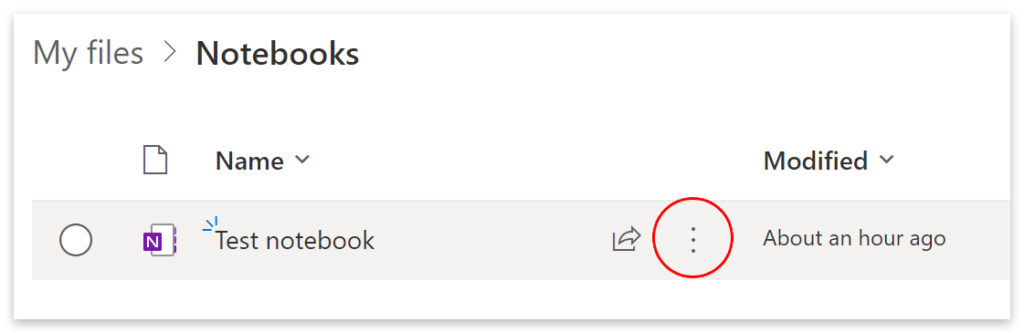
- You will be taken to OneDrive in My Files > Notebooks.
- Hover the cursor over the name of your notebook.
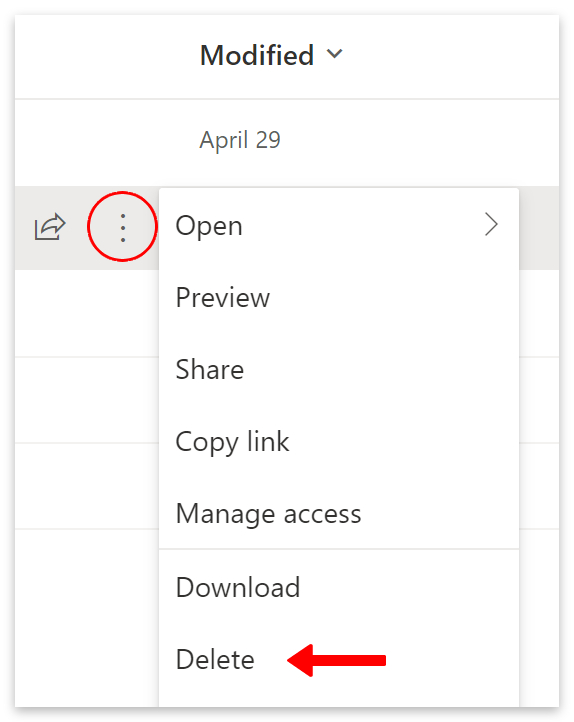
- Then locate and click the three vertical dots.
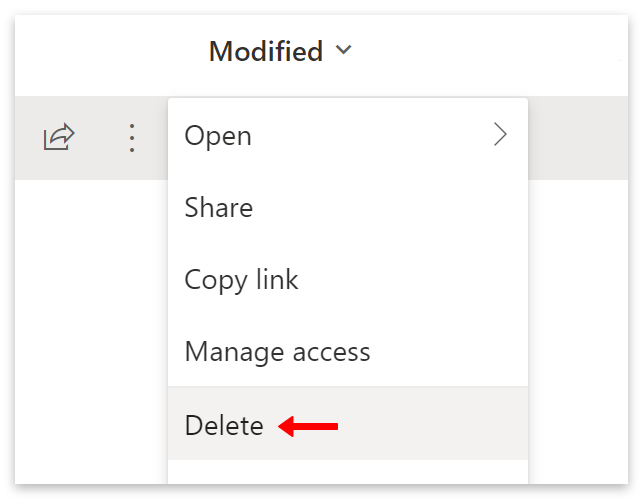
- Then select ‘Delete‘ from the drop-down menu.
- Alternatively, select your notebook and click ‘Delete‘ at the top.
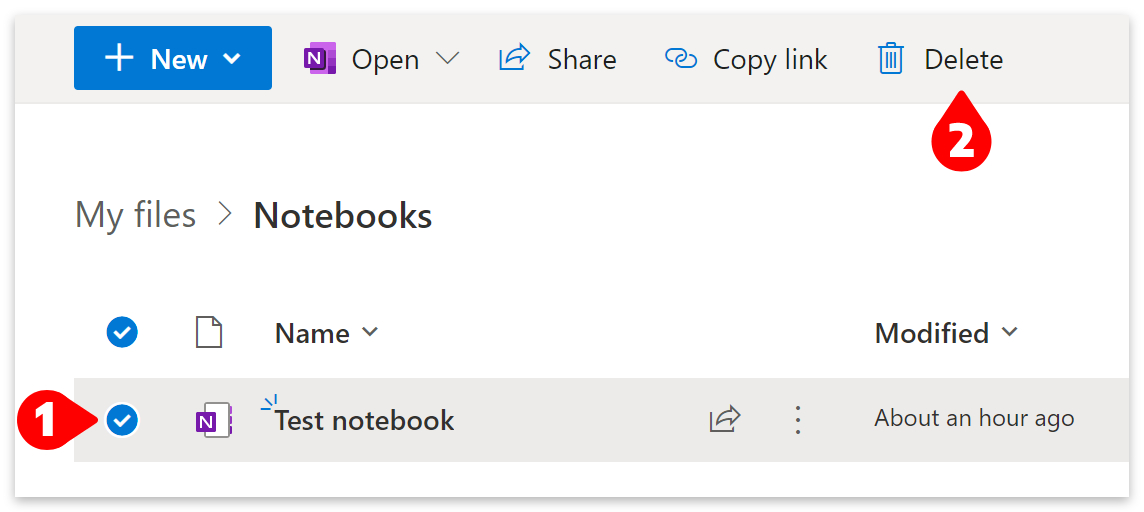
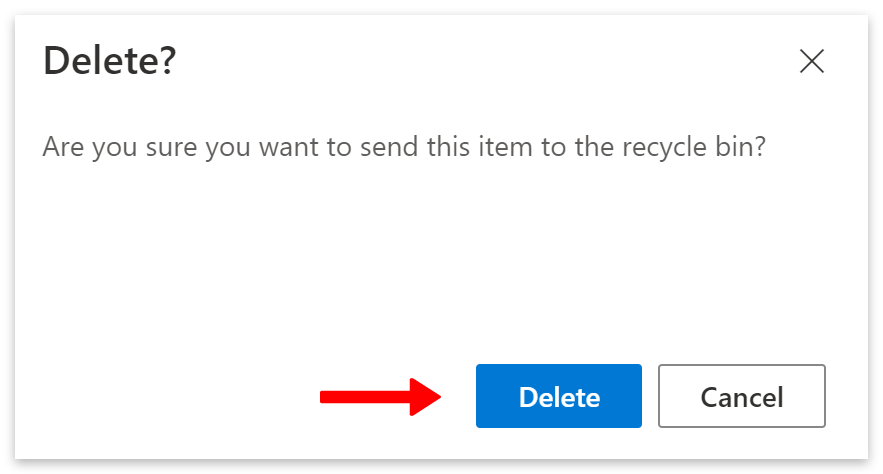
- Click the ‘Delete‘ button when prompted to confirm the deletion.
You can delete a notebook directly through OneDrive by going to ‘My Files‘ and then opening a folder named ‘Notebooks.’ Again, locate and click the three dots next to the notebook and select ‘Delete‘ from the drop-down menu. Or, select the notebook(s) and click ‘Delete‘ at the top.
Where are shared notebooks stored?
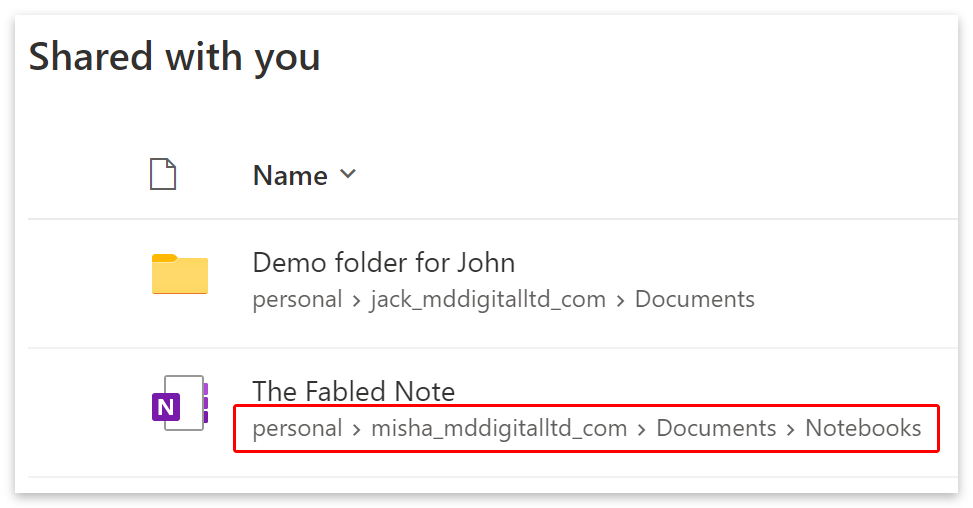
Notebooks that others have shared with you are stored in OneDrive and will appear in the ‘Shared with me‘ tab in OneNote. If you can’t see any shared notebooks in your shared with me tab, try heading over to OneDrive and clicking on ‘Shared‘ on the left menu.

There, you will find all shared files and folders, including notebooks. You can filter for notebooks by clicking on the filter icon in the top right corner.
- And then by checking the box next to ‘OneNote‘ in the filters.

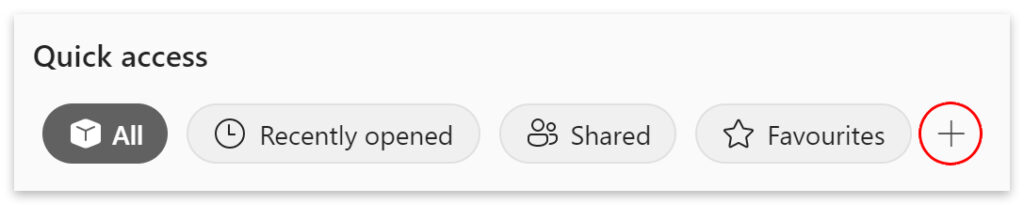
But the quickest and simplest way to access all shared notebooks is from your Office home page.
- There, scroll down and click the plus icon under ‘Quick access.’
- Then, click on ‘Type‘ and select ‘OneNote‘ as the filter.
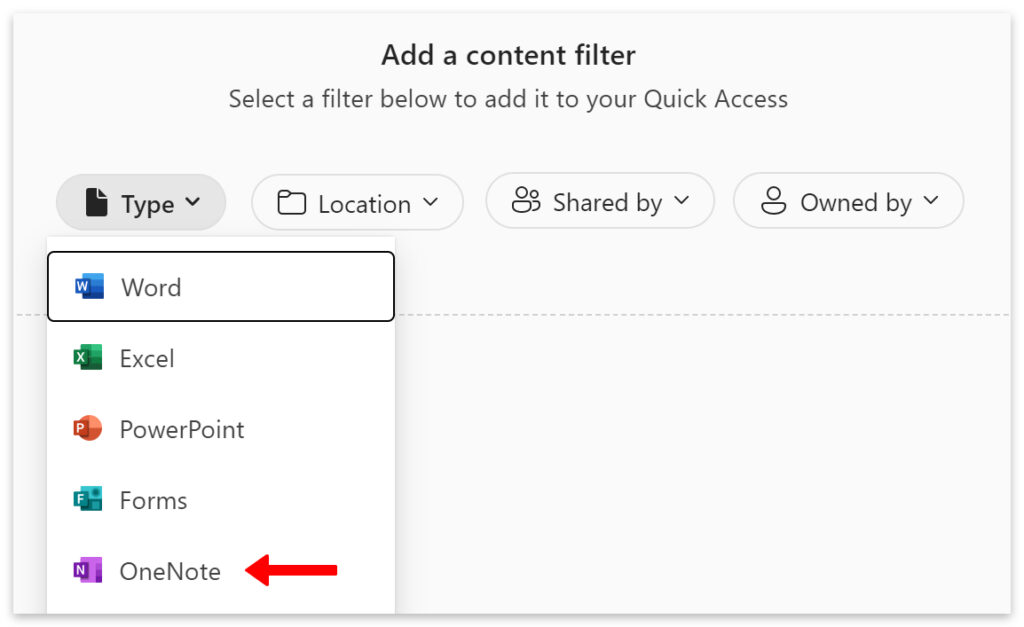
- Now you will see a list containing only notebooks.
How to delete a shared notebook
To delete a shared notebook, go to OneDrive and click on ‘Shared‘ on the left menu. Locate the notebook you want to delete and click on the file location link under the file name.
- Then click the three vertical dots and select ‘Delete‘ from the drop-down menu.
- Click the ‘Delete‘ button when prompted to confirm the deletion.
How to recover deleted notebooks in OneNote
You can restore deleted notebooks from the recycle bin for 30 days. Open up OneDrive and click on your ‘Recycle bin‘ on the left menu to recover a deleted notebook.
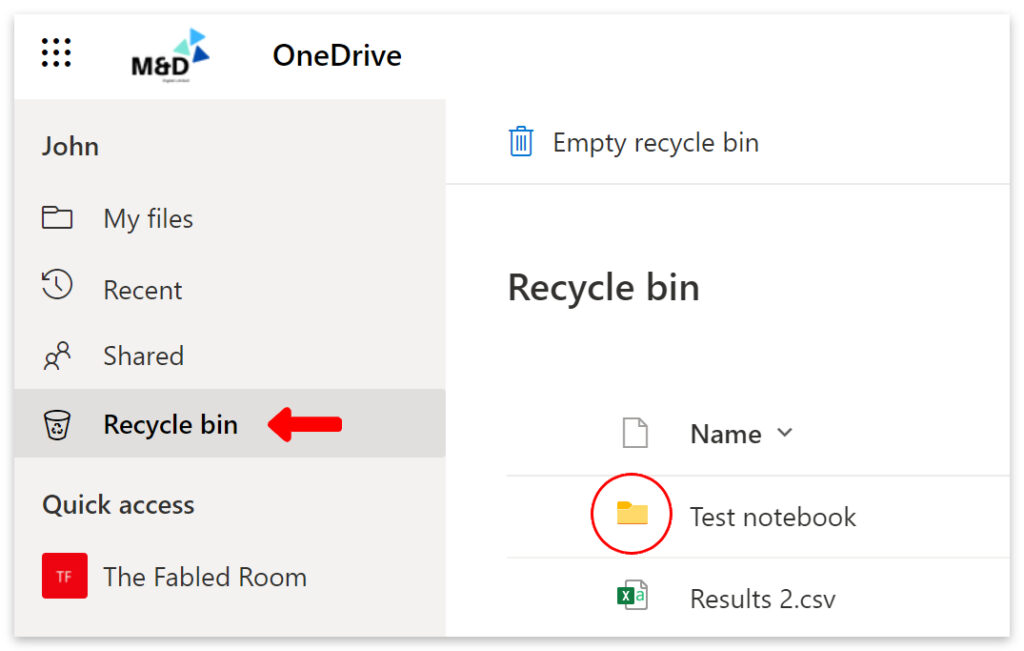
- Deleted notebooks will appear in your recycle bin as folders.
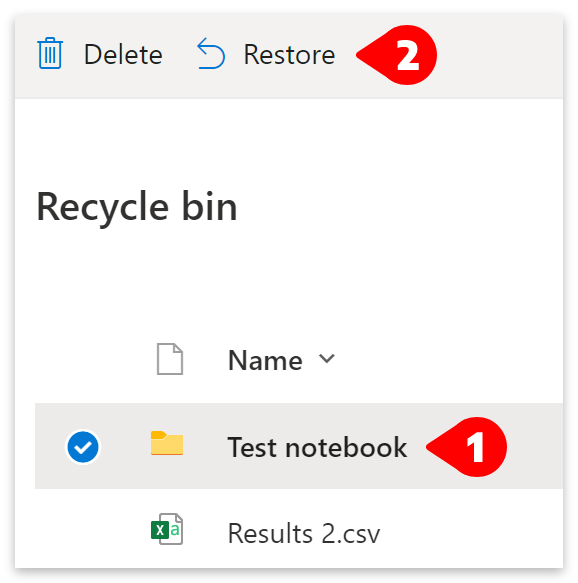
- Click on your deleted notebook and then click ‘Restore.’
If you can’t find your deleted notebook in the recycle bin, head down to the ‘Second-stage recycle bin,’ located at the very bottom of the window. Alternatively, you can try restoring your OneDrive to an earlier date.
Restore OneDrive to an earlier date
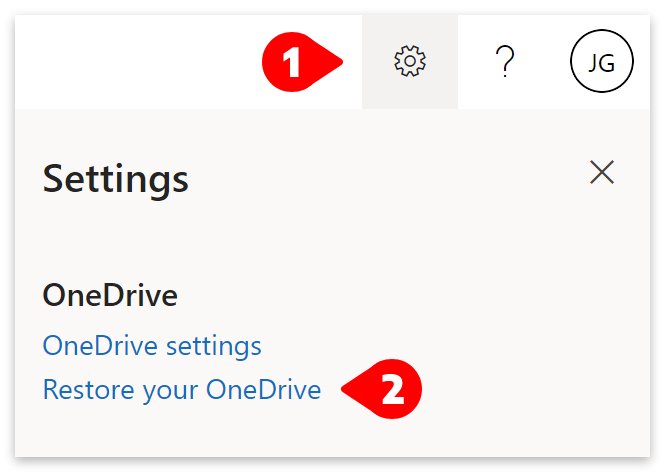
- Click on the settings icon
 in the top right corner.
 - Then select ‘Restore your OneDrive‘ from the menu.
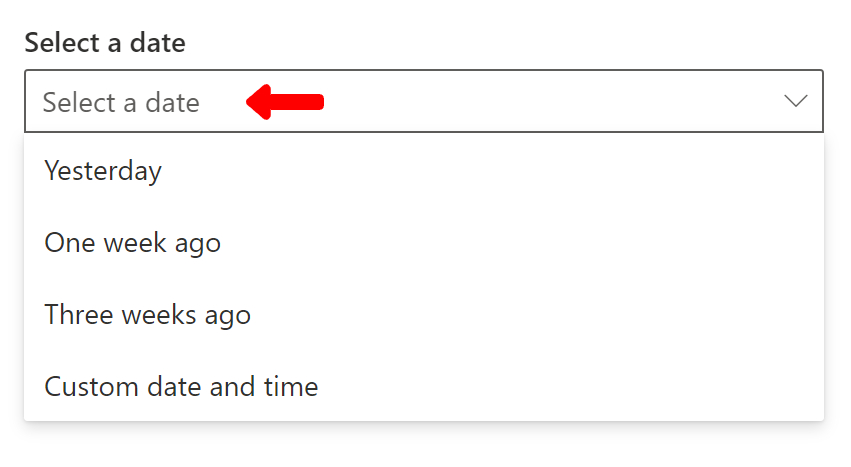
- Select a date to restore from.
- You can customize the date and time later if required.
- Changes from up to 29 days ago will be displayed.
- Use the slider to jump to a particular day.
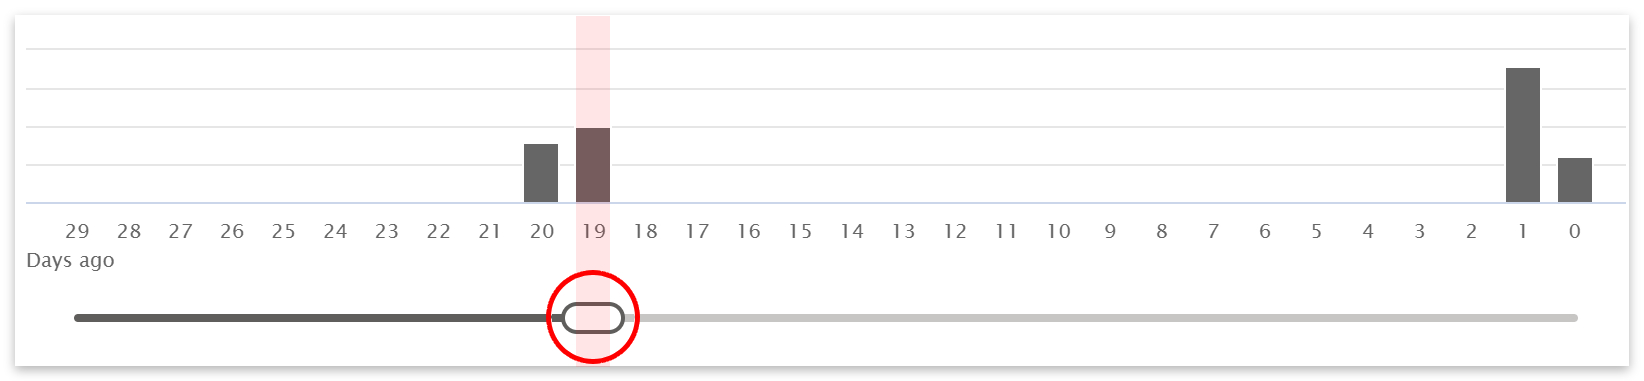
- You can find a list of changes below the slider bar.
- Each change can be restored individually.
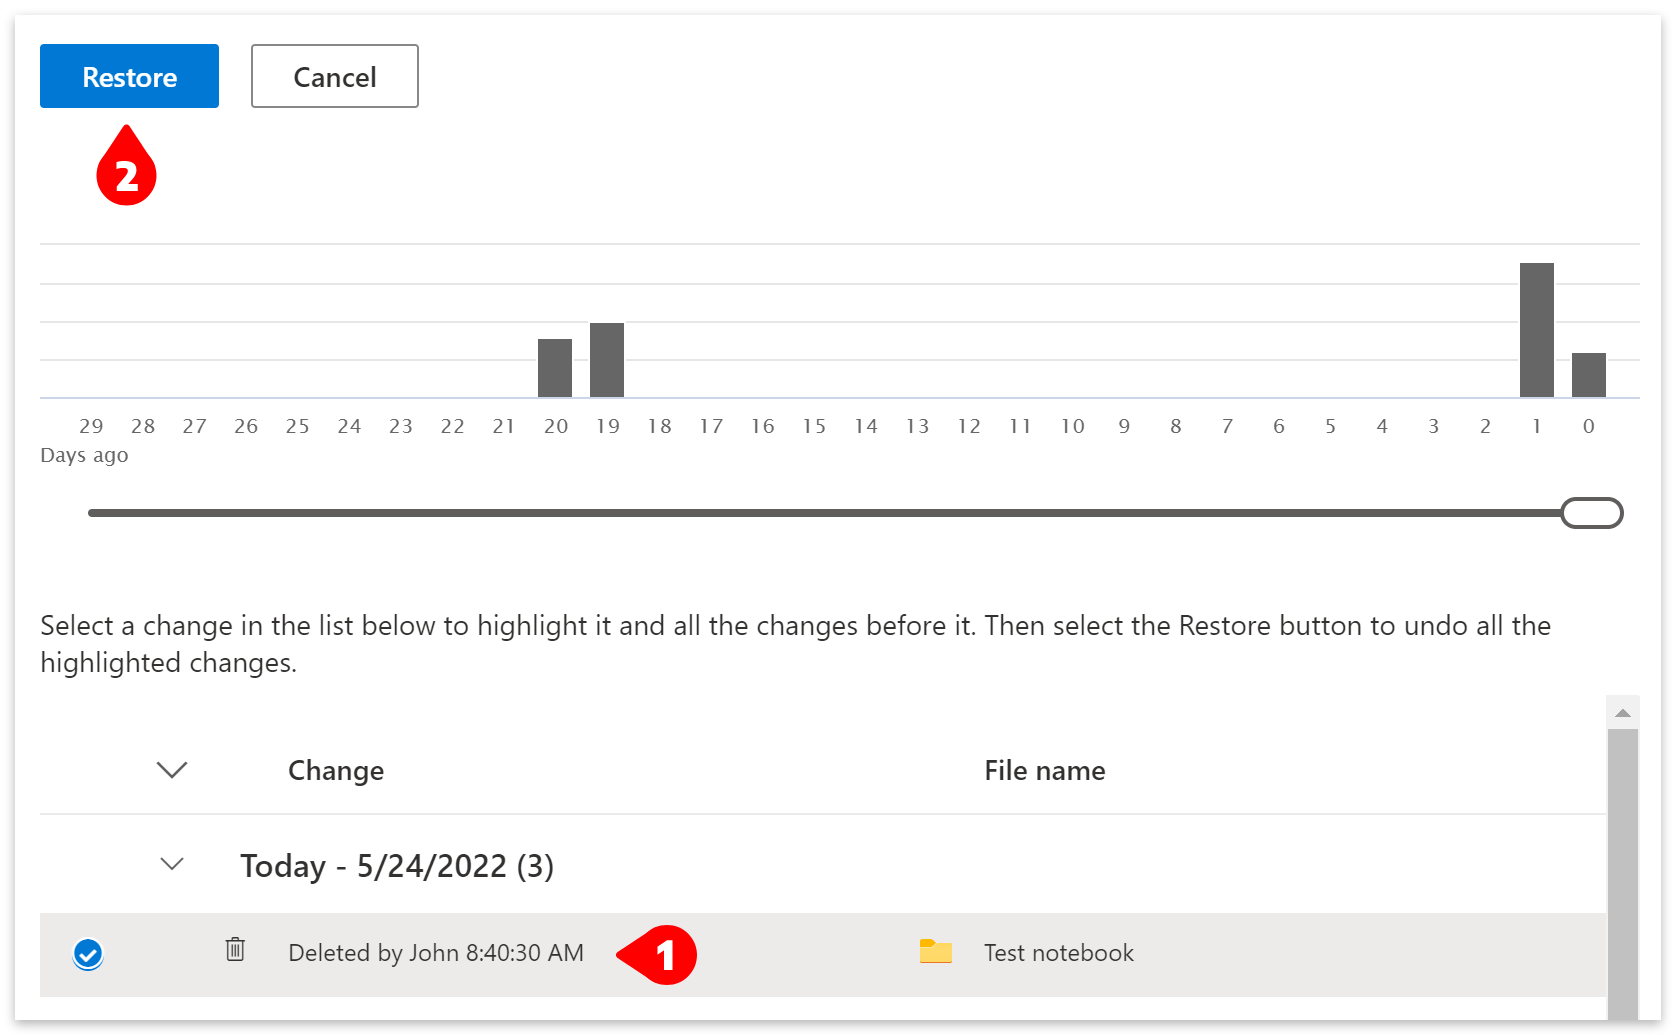
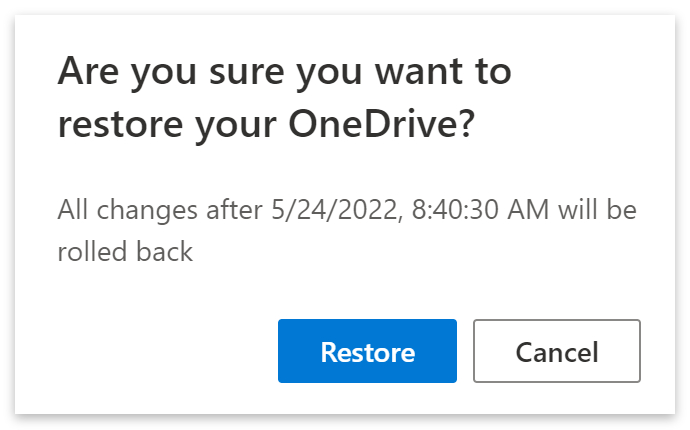
- You will be asked to confirm the restoration.
- Click the ‘Restore‘ button to continue.
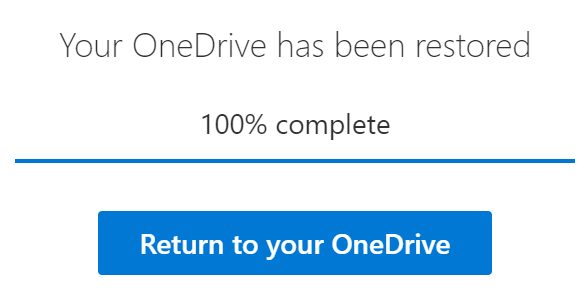
- Finally, click the ‘Return to your OneDrive‘ button when the restore is complete.
Your restored notebook can now be found in My Files > Notebooks.
The difference between removing and deleting
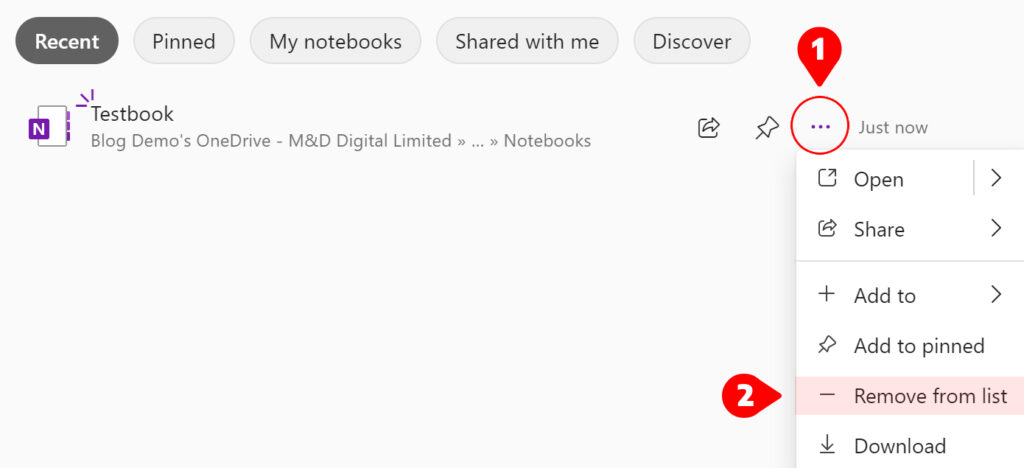
You can remove notebooks from your ‘Recent‘ tab by clicking the three dots next to the notebook and selecting ‘Remove‘ from the drop-down menu.
Removing notebooks is useful for decluttering your recent files without deleting any notebooks. Your Recent tab will contain your notebooks and shared notebooks, whereas the ‘My notebooks‘ tab will only contain your notebooks.
Conclusion
You can delete notebooks in OneDrive by heading to My Files > Notebooks. You can also search for the file you wish to delete using the search bar at the top. Once deleted, notebooks will remain in your OneDrive recycle bin for up to 30 days. The expiry date for deleted files may vary depending on whether administrators have selected a longer holding period.
Thanks for reading.