Depending on what you store in your SharePoint document library, disabling downloading might be very important. If you want to allow users to view items in a browser without giving them the ability to download anything, follow the steps below to disable downloading of files in your library.
Here’s how to disable downloading of the files in the SharePoint document library:
- Navigate to
 Office.com > sign in using your Microsoft 365 credentials > open the SharePoint application
 - Open the SharePoint site you want to disable downloading in
- Click the cog icon ‘Settings’ > click Site permissions
- Click Advanced permission settings
- Click Create Group
- Complete group setup > check Restricted View permission level > click Create
- Open group > click New > enter names/email addresses/group names (including existing site members and guests) > type message (optional) > click Share
- Go to SharePoint document library
- Click the cog icon ‘Settings’ > click Library settings
- Under ‘Permissions and Management’, click Permissions for this document library
- Click Stop Inheriting Permissions
- Select all groups other than your new group using check boxes > click Remove User Permissions
Please note that you must be a SharePoint admin to follow the process we’ve given above. Only SharePoint admin users can open the advanced site permission settings and make changes.
As you can see, the process for disabling the downloading of files is quite a difficult one. That being said, I’m going to demonstrate the entire process in this blog post so you can follow along.
  | |
 Compatible with Windows, Mac OS, and Android. Compatible with Windows, Mac OS, and Android. | FROM $6.00 user/month |
How To Disable The Downloading Of Files In SharePoint Online
If you want your site users to view folders and items without being able to download them or sync them to their devices, follow these steps:
- Navigate to Office.com > sign in using your Microsoft 365 credentials > open the SharePoint application
- Open the SharePoint site you want to disable downloading in
- Click the cog icon ‘Settings’ > click Site permissions
- Click Advanced permission settings
- Click Create Group
- Complete group setup > check Restricted View permission level > click Create
- Open group > click New > enter names/email addresses/group names (including existing site members and guests) > type message (optional) > click Share
- Go to SharePoint document library
- Click the cog icon ‘Settings’ > click Library settings
- Under ‘Permissions and Management’, click Permissions for this document library
- Click Stop Inheriting Permissions
- Select all groups other than your new group using check boxes > click Remove User Permissions
Please note you must be a SharePoint admin to follow the steps given above. Only admins have access to the advanced permission settings.
   |
1. Navigate to Office.com > sign in using your Microsoft credentials > open SharePoint
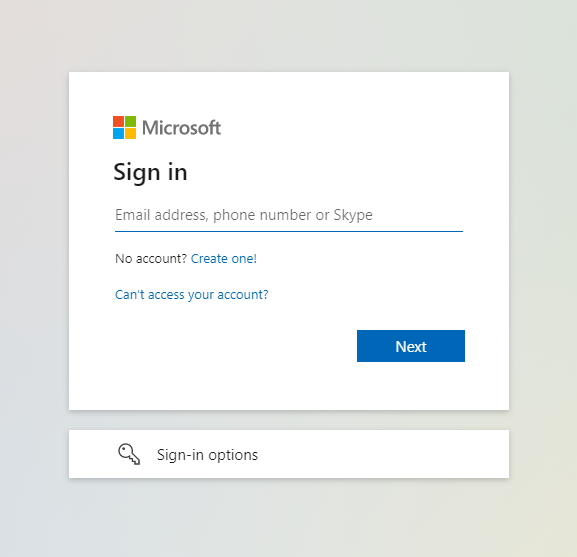
Use any browser to navigate to ![]() Office.com. Once you’re there, sign in using your Microsoft 365 credentials.
Office.com. Once you’re there, sign in using your Microsoft 365 credentials.
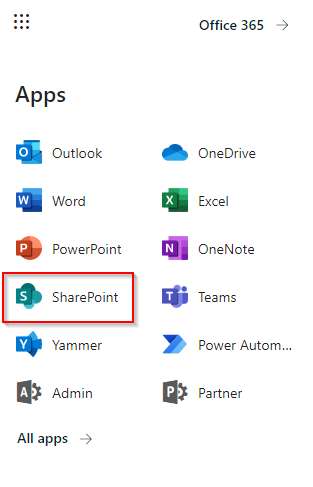
Once you’re all signed in, open up the app launcher and click SharePoint to open the SharePoint application.
2. Open the SharePoint site you want to disable downloading in
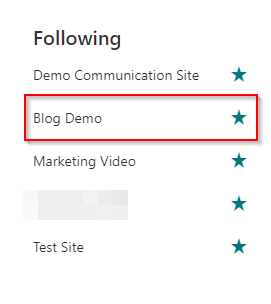
Open up the SharePoint site you want to disable downloading in. I’m going to demonstrate this process using our Blog Demo team site.
3. Click the cog icon ‘Settings’ > click Site permissions
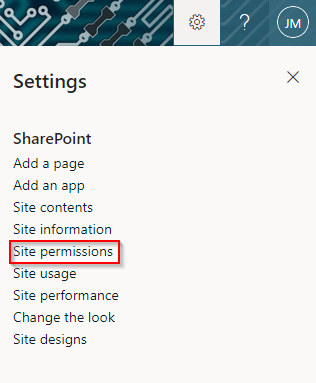
4. Click Advanced permission settings
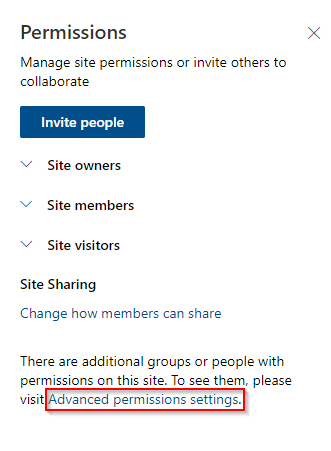
After clicking Site permissions, a new menu will open up. On this menu, there are three drop-downs: site owners, site members, and site visitors. Here you can see who currently has permission to access and use your site.
At the bottom of the menu, there’s a text link to the advanced permissions settings. Click the link to open up the advanced permissions settings.
5. Click Create Group

Once the advanced permissions settings load, you’ll see a Create Group button on the ribbon. Click Create Group.
6. Complete group setup > check Restricted View permission level > click Create
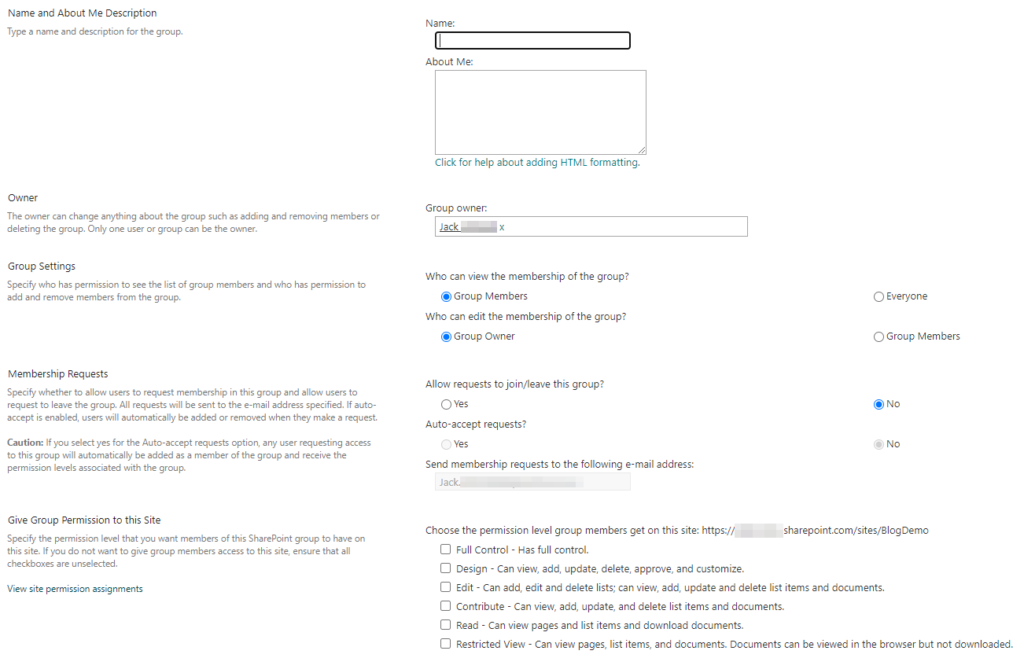
After clicking Create Group, a new page will open up. There’s a lot to fill in on this page, so I’ll walk you through the entire process.
First, give a name and a description to the group. Name the group something simple like ‘Restricting File Downloading’ or something along those lines, because you’ll need the group to be easily identifiable. In the ‘About Me’ text box, describe the purpose of the group and how it’ll be used.
Second, choose the group owner. This can be a single user or group. The owner of a group is the person or group responsible for managing it. If you’ll be managing the group, controlling its permissions and adding users, leave yourself as the owner.
Third, choose who can view and edit the membership of the group. I always leave the default settings here, because it makes sense for only the group owner to control group membership. With a group such as this — where you’re restricting users’ ability to download documents stored in the site — you want to ensure you’re in full control.
Fourth, choose whether you want to allow membership requests. If you’ll manually add all the users into the group, you don’t need to allow requests to join/leave.
Last but not least, choose the permission level for the group. Here you want to click Restricted View. This permission lets users view documents in the browser but restricts the ability to download them.

After you’ve finished off setting up the site, click Create. The page will then refresh, after which we’ll add users to the group.
7. Open group > click New > enter names/email addresses/group names (including existing site members and guests) > type message (optional) > click Share

Now we need to add users to the group. So open up the group by clicking on it, then click New as shown on the screenshot above.
This will open up a new child window where we can add people to the group.
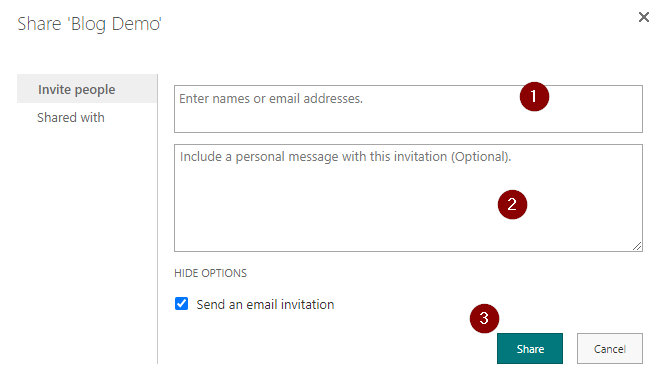
Enter the names/email addresses of the users that you want to stop downloading files from SharePoint. You can even add entire groups — for example, the Site Members group — if you want to stop every site member downloading site content.
With a group like this, where you’re discreetly wanting to restrict users’ ability to download files from SharePoint, I’d uncheck Send an email invitation and then click Share. This way, your users don’t a notification about the group you’re adding them to.
8. Go to SharePoint document library
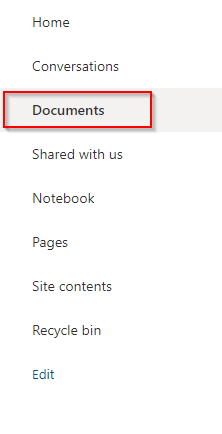
We need to change permissions at document library-level to prevent the downloading of files. So navigate to the document library where your files are stored. Please note that if you have multiple document libraries where you want to stop users downloading files, you’ll have to complete steps 8 – 12 for each library.
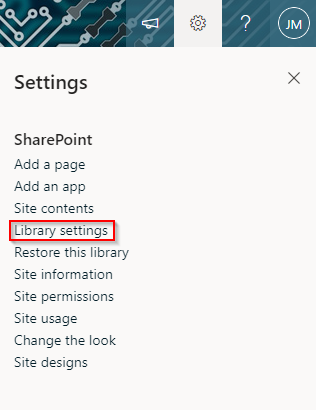
9. Click the cog icon ‘Settings’ > click Library settings
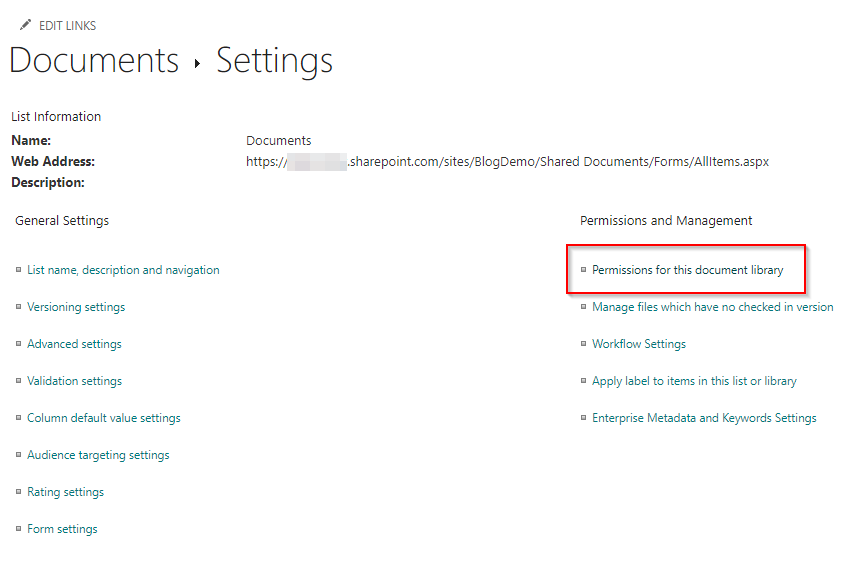
10. Under ‘Permissions and Management’, click Permissions for this document library
11. Click Stop Inheriting Permissions
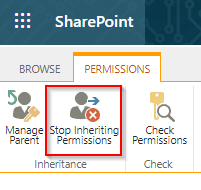
With default settings, everything in SharePoint inherits permissions from its parent. So your document libraries will automatically inherit permissions from the site itself.
To restrict the downloading of files, we need to break permission inheritance. We do this by clicking the Stop Inheriting Permissions button that I’ve highlighted in the screenshot above.
12. Select all groups other than your new group using check boxes > click Remove User Permissions
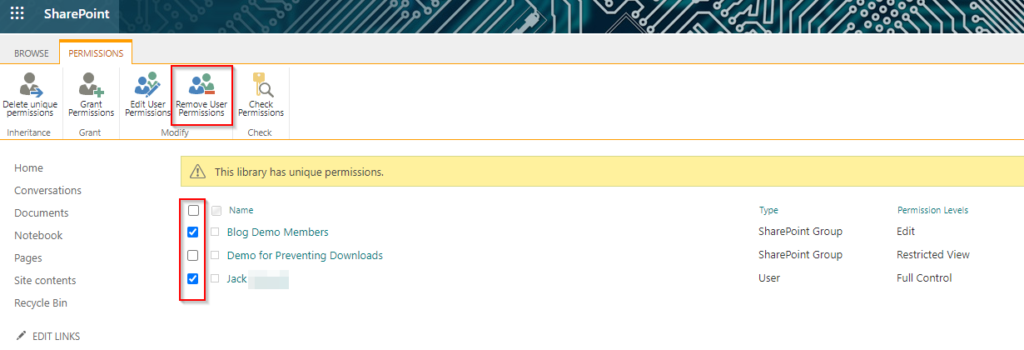
As you can see, the group we created — Demo for Preventing Downloads — is listed here. But, as you can see, the site members and certain users still have their previous permissions. Basically, if they could download documents before, they still can.
To prevent this, select the users/groups, then click Remove User Permissions. This will prevent everyone accessing the document library other than the users you added to the new group. As long as you added all current site members to the new group, they can still access the document library. However, they’ll no longer be able to download files.
After completing the steps in this blog post, users can open files in the browser but can no longer download or print them. Users will get a message saying they don’t have permission to download or print the file they’re looking at, as you can see on the screenshot below. Furthermore, users cannot copy and paste the contents of a file.

Thanks for reading! I hope you’ve found this blog post useful. If you have any questions, please feel free to leave a comment below and I’d be happy to help.