Receiving several messages while attending a crucial Teams meeting might cause you to lose attention. You continuously read the alerts to ensure you don’t miss anything, rather than paying attention to the one presenting the meeting. However, you will be unable to concentrate on the meeting if you do so. So in this blog, we will go over how to disable Microsoft Teams notifications when presenting, follow through for more information on how to achieve this.
When your status is set to “In a meeting,” Microsoft Teams does not yet provide a built-in option to turn off all notifications. This is seen by many users as a severe design problem. However, there are two methods for blocking chat alerts when in a conference.
Follow through to see which method will be the most applicable to resolve the problem stated above.
We’ve also created a YouTube video to help you with these steps. You can watch it here:
  | |
 Compatible with Windows, Mac OS, and Android. Compatible with Windows, Mac OS, and Android. | FROM $6.00 user/month |
Turn on “Do not disturb” mode to disable Microsoft Teams notifications
Setting your status to Do Not Disturb is one of the fastest methods to prevent chat notifications during meetings. You may still join meetings and use the chat in this fashion, but you won’t receive alerts for each message or @mention. After the meeting, just remember to reset your status. Follow through for the step-by-step guide.
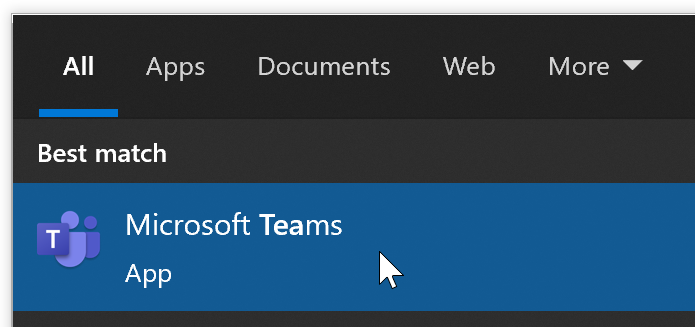
- Firstly, open Teams.
- Now click on your profile picture.
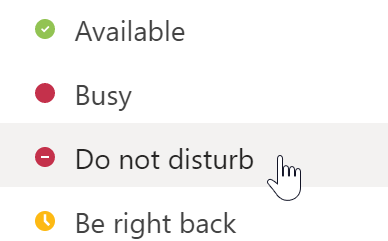
- Under the “Available” dropdown, select “Do not disturb”.
That’s it, you will no longer get any notifications while you are in the meeting, you will however receive urgent messages from priority members of your organization or institution such as the meeting organizer or lecturer. They are there as a backup just in case you need to be informed of any urgent matters in regards to upcoming tasks.
   |
In-depth Step by step process[with screenshots] – Turn to “Do not disturb” mode
The method above displays the steps quite basically, below I have included a more in-depth guide on how you can turn on “Do not disturb” mode with screenshots, follow through with exactly what you need to do.
- Firstly, open Teams.
Microsoft Teams is a persistent chat-based collaboration tool that includes document sharing, online meetings, and a slew of other business-friendly capabilities.
Being able to make innovative judgments and interact with one another requires a great team space. This is considerably simpler to do using shared workspace software, especially if a team is situated in a very big organisation, has many remote employees, or is made up of a huge number of team members.
- Now click on your profile picture.

In Teams, your profile photo may be located in the top right corner. It appears in your chat windows as well as when phoning into Teams meetings.
Your profile serves double roles, not only does it act as a form of ID to host in meetings, but it also serves here as an access point for all your settings and preference controls. This makes it easy to both manage your profile and access all settings from just one icon in the corner. This improves functionality and creates space for more features to be added in a later update.
- Under the “Available” dropdown, select “Do not disturb”.
That’s all; you won’t receive any alerts while you’re in the meeting; but, you will receive urgent communications from key members of your organisation or institution, including the meeting organiser or speaker. They’re there as a back-up in case you need to know about any future duties that require immediate attention.
Setting your status to Do Not Disturb is one of the fastest methods to turn off chat alerts during meetings. You may still utilize the chat while attending meetings, but you won’t receive alerts for each message or @mention. Make sure Teams isn’t permitted to send you notifications via DND by checking your notification settings.
Follow through on how you can assign priority access for users who may require the need to contact you while you are in the “Do not disturb” mode.
- Firstly, open Teams.
- Now click on your profile picture.
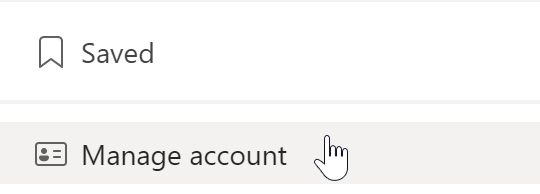
- From there click on “Manage account”.
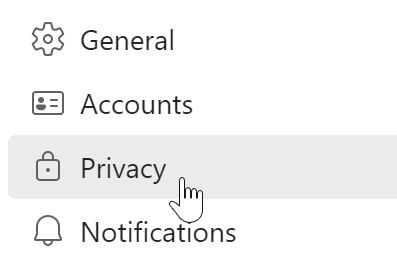
- Now select “Privacy”.
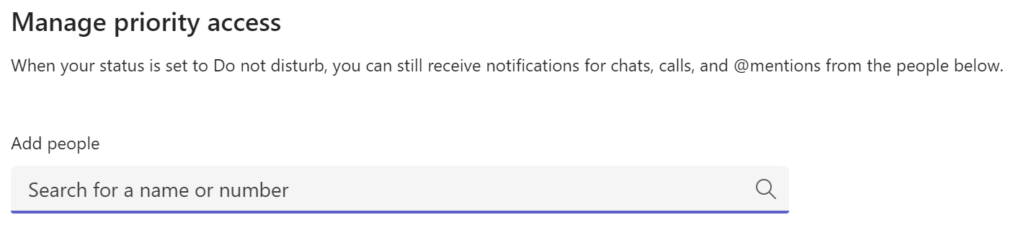
- From there click on “Manage priority access”.
- Now type out the name of priority contact.
- When their account tab shows, click on it.
Note: Only users assigned to your network can be assigned, external members without executive delegation rights cannot be set as a priority contact. Make sure you have them assigned first then you proceed to add their names.
In-depth guide – Add priority contacts in Microsoft Teams
I have shown you a simple method, now to help people who may be struggling with understanding the points mentioned above, I have created an in-depth guide below, follow through and learn how to add priority contacts.
 |
- Firstly, open Teams.

- Now click on your profile picture.

- From there click on “Manage account”.
- Now select “Privacy”.
- From there click on “Manage priority access”.

- Now type out the name of priority contact.
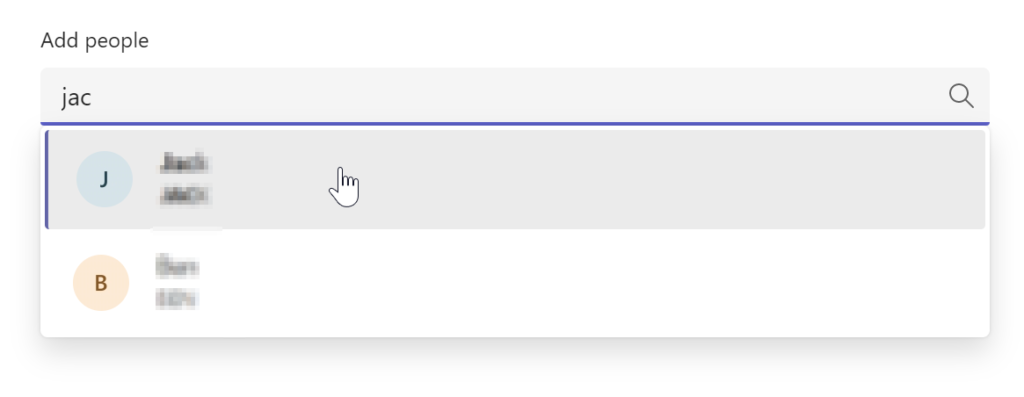
Generally it’s quite quick, here I only had to type in two letters to get the contact I need. Some may require more.
- When their account tab shows, click on it.

Ensure focus assist is enabled to disable Microsoft Teams notifications
Enabling Focus Assist is another technique to limit alerts during video sessions.
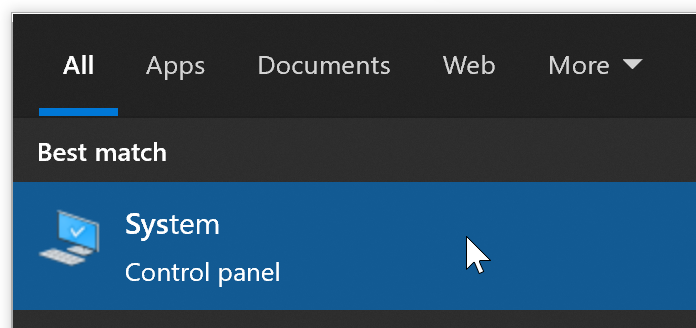
- Select System from the Settings menu.
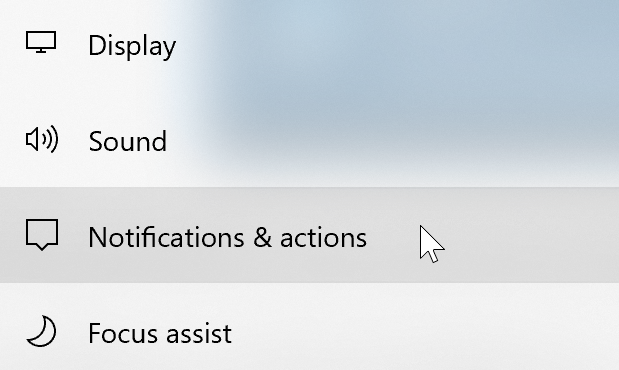
- Choose the Notifications and Actions you want to receive (left pane).
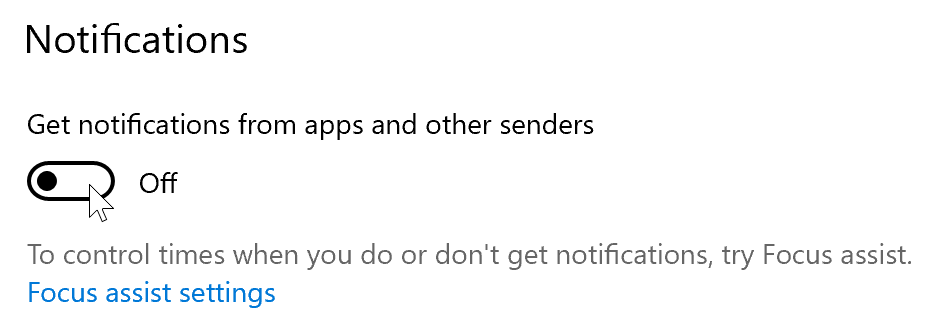
- Switch the setting to Off under Get alerts from applications and other senders.
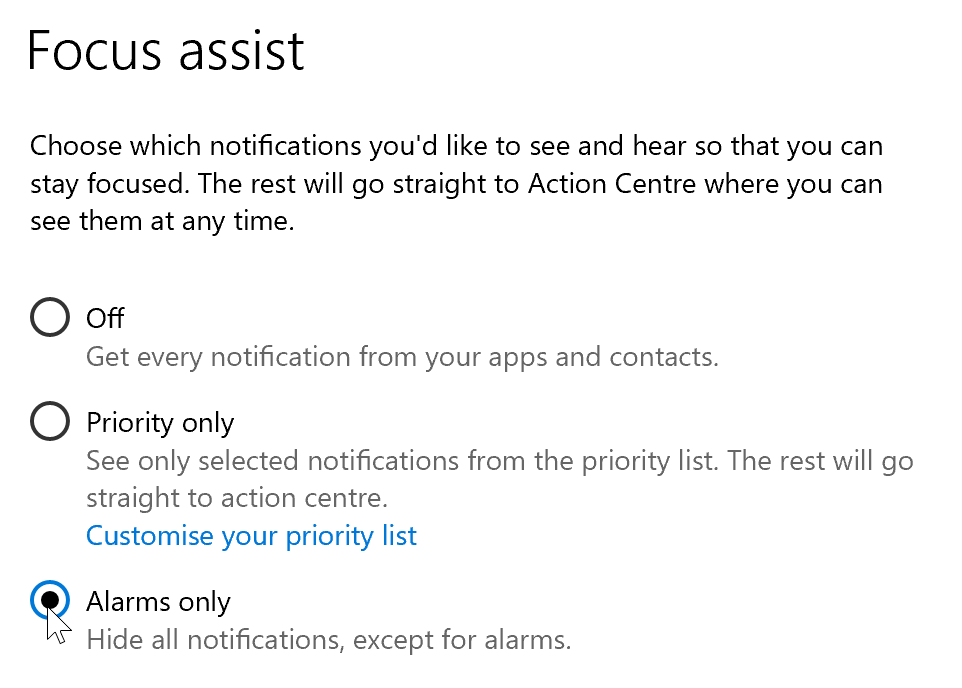
- Then go to Focus Assist and choose Alarms Only from the drop-down menu.
- When you don’t want to be bothered, go to Automatic rules and manually specify the time interval (expected meeting duration). During that time, focus assist will turn off all notifications.
Once the steps mentioned above are implemented, focus assist will be enabled and notifications will be restricted.
That’s it for this Blog thank you for taking time out to read our content, please feel free to email our team about how it went if you followed the steps or if you need more help with the questions we answered in this Blog.