Microsoft 365 makes it easier than ever to share material with others. However, at the end of the day, despite all of the benefits, external sharing is still a risk. Nearly a quarter of all data in the cloud is sensitive, according to McAfee’s 2019 Cloud Adoption and Risk Report. And the amount of sensitive data shared has climbed by 53% year over year. So it makes sense why you may want to disable the delete button when you are sharing SharePoint content with external users. Follow through for more information on your you can disable the delete button when sharing with external users.
Step by step process – How to disable the delete button when sharing with external users
- First sign in to Office 365.
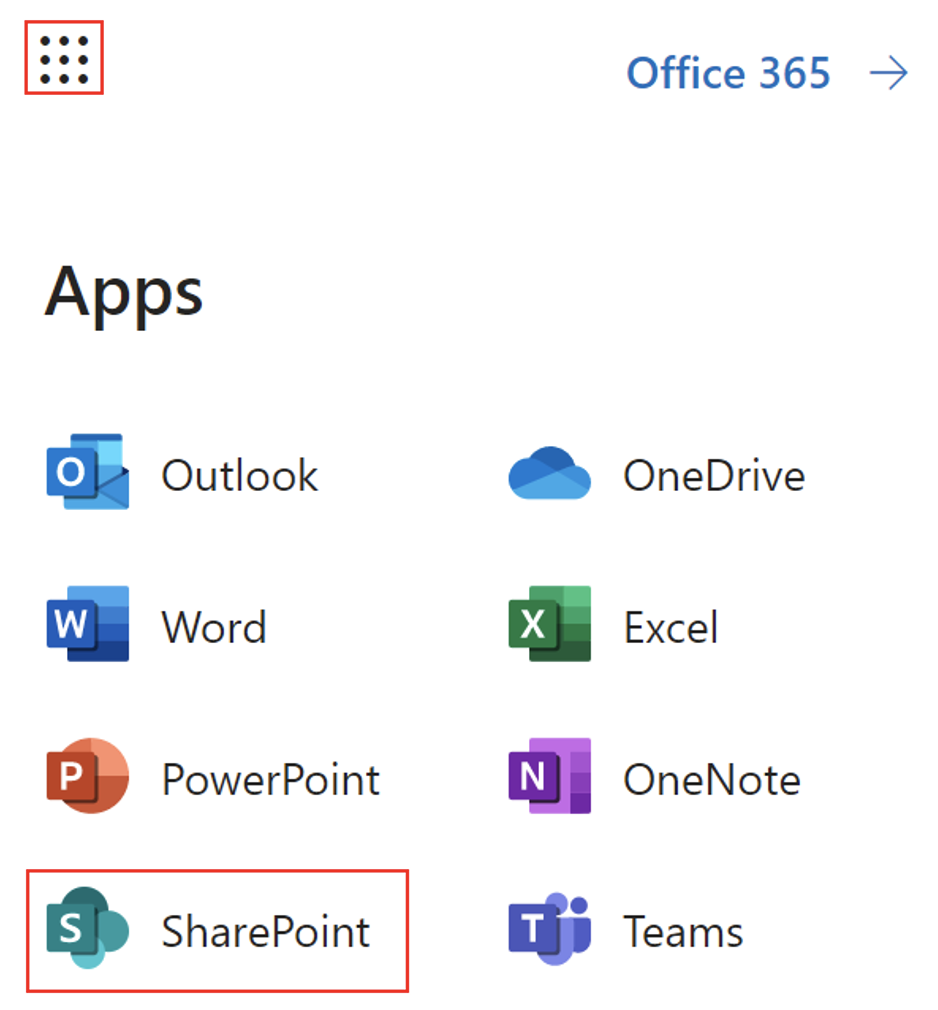
- Use the app launcher and navigate to “SharePoint”, and click on it.
- In SharePoint go to the Site where your files are located.
- In the menu bar click on “Documents”.
- Now click on “Site Contents”.
- Now click on “Settings”.
- After that click on “Site Settings”.
- Under “Site Collection Administration” click on “Site collection features”.
- scroll down until you find “Library and Folder Based Retention”.
- Click on “Activate”.
- Finally, close the window.
It may take a few minutes to alter your site settings, however, once this has been accomplished you will be able to configure restricted access to SharePoint content removal buttons and features. Users who received the shared documents, files, or content will no longer be able to delete the files or folders as they have been restricted from deletion.
Test the output
Select the folder you’d like to share from the document collection. Deselect “Allow Editing” under Share > Specific People. “Apply” should be selected.
Fill in the user’s email addresses, then click “Send” or “Copy Link.” With this link, the vendor may access the folder with limited access permissions, which prevents these users from deleting or moving the documents in the folder.
Navigate to Site settings > Site Permissions to change the user permissions. To see all external users, click “Show users” under the warning notice. You may alter permissions for a specific user by selecting the external user and clicking “Edit User Permissions” on the ribbon.

Set documents to a read-only mode in SharePoint t prevent users from accidentally pressing the delete button
In Microsoft Sharepoint, you can change the file settings for libraries, folders, and individual documents, which is beneficial for giving you greater control over the document you want to limit edit access to. If you don’t want content reviewers to accidentally edit your document, make it read-only before sending it out for review. Another alternative is to set a restriction on how much formatting and editing you can perform. Making your work a read-only file allows others to view it but not edit it. If a reviewer makes changes to a read-only file, the changes can only be saved if the file is renamed or saved to a different place. A document can be made read-only by making a few modifications to it, after which users who are not allowed can only open and read it.
Step by step process – Set documents to a read-only mode in SharePoint
- To begin, log in to Office 365.
- Navigate to “SharePoint” in the app launcher and click it.
- Go to the Site where your files are stored in SharePoint.
- Select “Documents” from the navigation bar.
- Now select “Site Contents” from the drop-down menu.
- Now choose “Settings.”
- Select “Site permissions” from the drop-down menu.
- Select “Advanced permission settings” from the drop-down menu.
- Click “Documents” in the advanced section.
- Select “Edit User Permissions” from the drop-down menu.
- Now check the option that says “Read – Can see pages and list items, as well as download documents.”
- Finally, hit the “OK” button.
Every time the file is viewed, it is effectively turned into a read-only file, making it easier to avoid inadvertent changes. File >> Info >> Save Protect the document once again to undo the effect and disable the read-only feature. This will reverse any prior changes and ensure that the document is in the format you desire.
Users may pick whether they want read-only or editing mode right away, but there are instances when they wish to turn off the editing feature. To begin with, it’s a security feature that, when used correctly, may prevent undesired and unintentional changes.
Toggle external sharing feature to limit the chances of unauthorised users deleting files
The sharing level for SharePoint and OneDrive is set to “Anyone” by default. You’ll need to do the following if you wish to restrict or deactivate external sharing at the organization level:
- As a global or SharePoint admin, log in to the admin center.
- Select SharePoint (or OneDrive) under Admin centers in the left pane. (Select Show all to see the entire list of admin centers if you don’t see it.) To access the new SharePoint admin center, select Open it now at the top of the page if the classic SharePoint admin center appears.
- Select Sharing from the Policies menu in the left pane.
- Select Only personnel in your company under External sharing to disable external sharing.
Step by step process – How to disable the delete button when sharing with external users
- First sign in to Office 365
Use your account information, or if you already have a Skype account associated with the Office account in issue, you may use that.
- Use the app launcher and navigate to “SharePoint”, and click on it
- In SharePoint go to the Site where your files are located
- In the menu bar click on “Documents”
- Now click on “Site Contents”.
- Now click on “Settings”.

- After that click on “Site Settings”.
- Under “Site Collection Administration” click on “Site collection features”.

- scroll down until you find “Library and Folder Based Retention”.

- Click on “Activate”.
- Finally, close the window.
That’s it for this Blog thank you for taking time out to read our content, please feel free to email our team about how it went if you followed the steps or if you need more help with the questions we answered in this Blog.