Microsoft’s Azure Active Directory (Azure AD) is a cloud-based identity and access management (IAM) solution for businesses. The backbone of the Office 365 system is Azure Active Directory, which can sync with on-premise Active Directory and offer authentication for other cloud-based services. Azure AD not only allows you to manage users within its vast management fields, but it can also disable them by preventing those users from access to the Azure AD portal features. You can disable them nativity through the Azure AD portal within Office 365.
In this blog we will address how to disable users in the Azure AD portal — we will also go over some of the issues a user may come across when disabling user access to the Azure portal.
Step by step process – How to disable a user in the Azure AD portal
- First, sign in to your Office 365 account.
- Use the app launcher and navigate to admin.
- In the admin dashboard, under “admin centre”, click on “Azure Active.
- In the menu panel on the left click on “Azure Active Directory”.
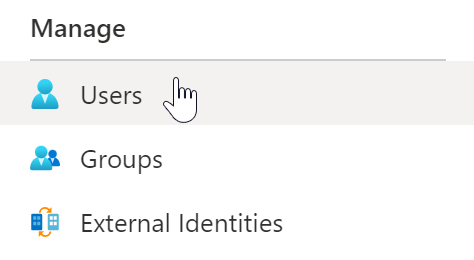
- Now click on “Users”.
- After that select the users you want to restrict.
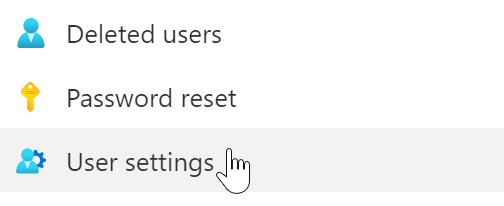
- Now click on “User settings”.
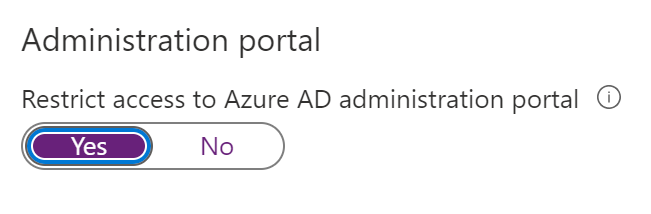
- Make sure “Restrict access to Azure AD administration portal” is toggled to “Yes”.
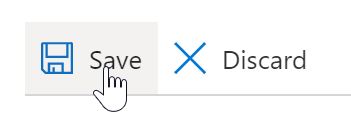
- Finally, click on “Save”.
That’s it, you have now effectively disabled user conditional access to the Azure AD portal. As you may know, non-admin users also have access to the portal tho with very limited access they can manage settings directed towards their account without admin consent. This may work for certain users however you may not want it for everyone, therefore a toggle has been added where users can freely disable access to the Azure portal. You cannot disable access of admin users since they occupy a greater role within the company and as the authorizing body that makes executive decisions over the entire company Office suite, it’s not something Microsoft would even allow to implement.
There are other ways to disable the users however disabling them from the AD portal will allow for more restrictive control over how the user interacts with the Office 365 program. Users will want to be able to address this scenario in the most recur manner is possible, and there is nothing more secure than using the Azure AD to restrict account access.
 |   | Empower your devs with DevSecOps Give your devs the tools they need to create & deliver secure, innovative applications quickly and collaboratively. Get expert help migrating & modernising Set up your cloud environment confidently with help from the Azure Migration & Modernisation Programme. | |
| | 30 day FREE trial |

Reasons to use Azure AD portal to disable user
There are a lot of identity providers
Signing into Azure AD is possible using a variety of identity sources. Facebook, Google, GitHub, and, of course, Microsoft are just a few examples. Your app’s users will appreciate how simple it is to sign in (s).
Using a single sign-on (SSO)
Single Sign-on is an authentication and session management feature provided by Azure AD that allows a user to log in to one application and remain authenticated in other apps. This makes it simple to manage both users and services. When it comes to adding or removing users or services, Azure AD makes it simple.
Mindfulness
Microsoft adheres to strict security guidelines and allows managers to block users depending on their location, device, and other factors. Multifactor authentication and privileged identity management are among the other features.
Flexibility in application
Azure Active Directory may be used in a variety of applications, including.NET (duh), Java, Python, Android, iOS, Ruby, and more.
Scalable
By automating password resets, application maintenance, and other tasks, Azure AD minimizes your IT team’s burden. As your user base increases, you won’t need to recruit more support workers.
These are just some of the most prominent features of the Office 365s Azure AD service. You can find an abundance of different features to both manage your main Office network as well as direct your colleague’s online behavior in a way that better reflects your preferences. For instance, if you need more time from colleagues you can allow for multi-device access, therefore, allowing users to conduct tasks when they are not in the office. If you don’t want them to access Office related work outside of hours you can also restrict this if necessary.
Using Exchange Powershell prompts to disable a user in Azure AD portal
Another way for users to stop access for a set period of time is to use a PowerShell command similar to EAC. This gives individuals in administrative positions the ability to impose a time limit on the banned user. This will allow the user to be automatically banned when the restriction timer begins and automatically released after the timer expires. To restrict user access to mailboxes, you’ll need to implement a command; nevertheless, there are lots of places where you can get codes especially linked to mailbox restrictions.
Because Exchange Online supports a variety of mailbox connection protocols, you may use the Set-CASMailbox cmdlet to disable certain protocols. In this example, we disable mobile connection for a mailbox using both Exchange ActiveSync (EAS) and the Microsoft sync technology used by Outlook mobile:
| Set-CASMailbox -Identity [email protected] – ActiveSyncEnabled:$FalseSet-CASMailbox -Identity [email protected] – OutlookMobileEnabled:$False |
What’s the deal with both protocols being disabled? Other clients, such as the mail applications bundled with the iOS and Android operating systems, use EAS to connect to Exchange Online for basic email connection. Other clients, such as the mail apps included in the iOS and Android operating systems, use EAS for basic email connectivity with Exchange Online. Outlook mobile uses Microsoft sync technology to enable many advanced features like delegate access to mailboxes, but other clients, such as the mail apps included in the iOS and Android operating systems, use EAS for basic email connectivity with Exchange Online. A user may still log in to their email using a second app if you don’t disable both. In reality, to prevent a mobile device from connecting to a mailbox, you need to block the IMAP4 and POP3 protocols as well.
The focus on deactivating protocols has the disadvantage of enabling some data to leak. Take, for example, Outlook on the go. Although you may disable Microsoft sync technology on your device to prevent clients from sending and receiving messages, both iOS and Android use services to notify users when new messages come. Users can choose whether or not they wish to read the whole message from the samples provided in the alerts. These notifications continue to appear even after you stop the sync protocol.
In-depth – Step by step process – How to disable a user in the Azure AD portal
Step by step breakdown:
- First sign in to your Office 365 account.

Use your account details or if you have a current Skype account with the Office account in question, you can use this.
- Use the application launcher to navigate towards “Admin”.
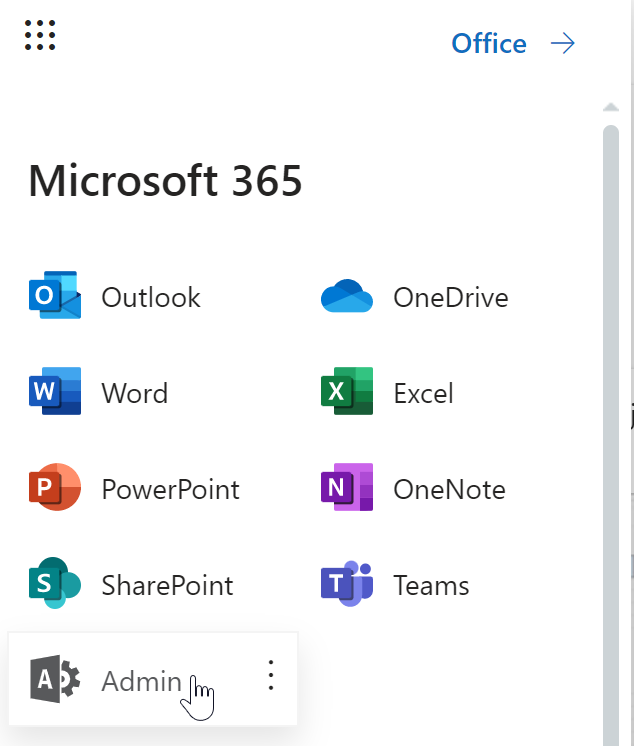
The launcher is illustrated by nine dots in the right corner, click on it and find “Admin” as shown above.
- n the admin dashboard, under “admin center”, click on “Azure Active Directory”(you may need to click “Show all” to access).
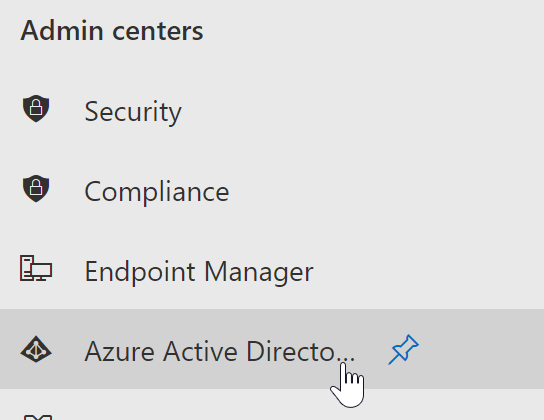
In this example “Azure Active Directory” was pinned to the menu bar, however, in your dashboard you may need to click on “show all” which will bring you to the Azure Active directory panel.
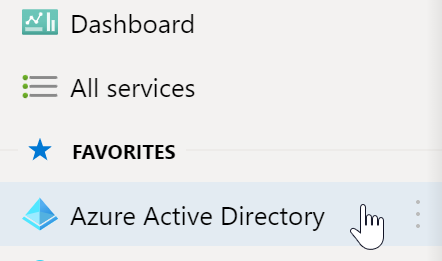
- In the menu panel on the left click on “Azure Active Directory”.
- Now click on “Users”.
You may be wondering “why can’t I just click on “Users” under the active directory tab”, well you can however since we have been on this tab it’s saved under the main menu panel. Most users who haven’t been in the user’s panel will not see this under the directory tab.
- After that select the users you want to restrict.

The ones in this example aren’t actual user accounts they are for example purposes, when you access the user panel you will see all the user names, just select the ones you want to restrict.
- Now click on “User settings”.
- Make sure “Restrict access to Azure AD administration portal” is toggled to “Yes”.
- Finally, click on “Save”.
That’s it for this Blog thank you for taking time out to read our content, please feel free to email our team about how it went if you followed the steps or if you need more help with the questions we answered in this Blog.