Gifs are a great way to convey ideas and information through animated images. They allow you to express concise ideas and even add humor to plain text. But some users report that they can’t access gif options. So in this blog, we will cover how you can enable gifs in Microsoft Teams.
How to enable gifs in Microsoft Teams:
- Firstly, open
 Office 365.
 - After that, use the launcher to navigate over to “Admin.”
- Under “Admin centers,” select “Teams.”
- On the left-hand menu, select “Messaging policies.”
- Select the “Manage policies” tab.
- After that, click on “Global (Org-wide-default).”
- Now find the “Giphy in conversations” option and turn on the toggle.
- Finally, click on “Save.”
- Get Microsoft Teams from just $4.00 per month with Microsoft Teams Essentials.
You can now check if the changes worked by going into a chat and seeing if the option for gifs is there. If the option is available, then you have successfully enabled gifs in Microsoft Teams. If not, you need to clear cached data on Microsoft Teams. Please read through our other blog on “How to clear the cache” in Microsoft Teams.
We’ve also created a video to help guide you through the steps:

Decisions – Meeting solution for MS Teams
Agenda builder, minutes templates, and more!
How to enable gifs in Microsoft Teams (step-by-step)
Here is a much more in-depth guide on how to clear cached data in Microsoft Teams. If there are any points you don’t understand clearly, you can use this guide to help resolve those problems. The guide includes a series of screenshots to help you through the process.
- Firstly, open Office 365.
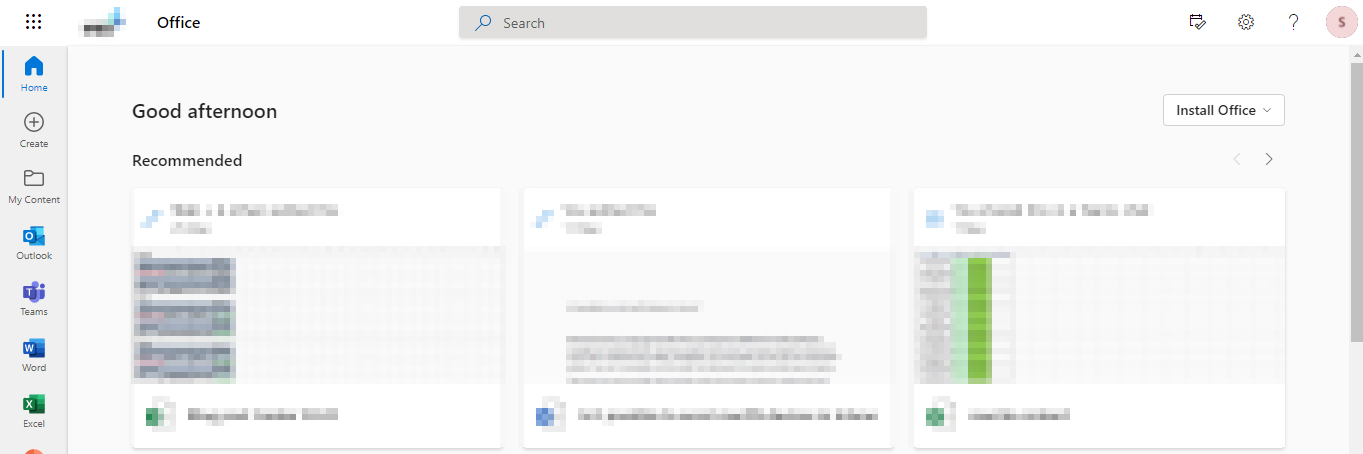
Use your regular browser to open Office 365; once it is opened, you can use your regular Office login details to access the program. Remember to have any 2FA or MFA-enabled devices ready to verify access to your account; this is a common practice to enable 2FA on your accounts to keep them protected. Once you have accessed your 2FA and verified your access, you will be able to sign in to Teams.
- After that, use the launcher to navigate over to “Admin.”
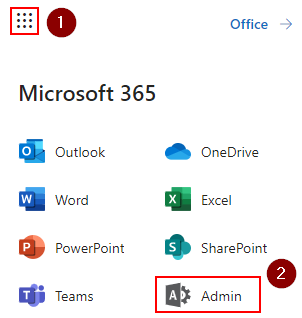
Nine dots illustrate the launcher in Microsoft Teams in the left corner; click on it to access the various Office programs. Once you have clicked on the launcher, you can now click on the Admin option to proceed with the steps illustrated below.
- Under “Admin centers,” select “Teams.”
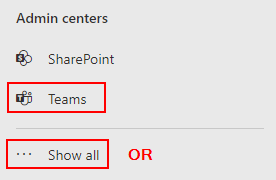
On the admin section of your account, you can access your Office 365 account. Here, if you have access, you can manage various administrative features of programs within Office 365. You want to use the left-hand menu to find Teams in the “Admin centers” section. You may need to click on the “Show all” option to find the Teams option in admin centers. Once you have found it, click on it and access it to proceed with the process.
- On the left-hand menu, select “Messaging policies.”
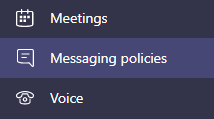
Select “Messaging policies,” which govern which chat and channel messaging functionalities in Microsoft Teams are exposed to users (owners and members). You can either use the automatically established global (Org-wide default) policy or develop and apply bespoke messaging policies. The (Org-wide default) policy set is what we will be using for this process.
Unless you establish and assign a specific policy, users in your organization will automatically receive the global policy. To switch on or off the features, you desire, edit the settings in the global policy or build and assign one or more custom policies.
- Select the “Manage policies” tab.

There will be two tabs illustrated here; click on the one that states “Manage policies.”
- After that, click on “Global (Org-wide-default).”
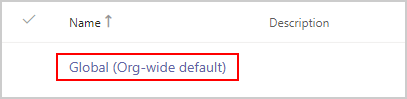
You may use policies in Microsoft Teams as an administrator to limit what people in your business can do in teams and channels. For example, you can control whether users can create private or shared channels. In this example, you can lift those set limitations to allow users to send and receive gifs in Microsoft Teams.
- Now find the “Giphy in conversations” option and turn on the toggle.

- Finally, click on “Save.”

You may now check whether the settings changes worked or not by entering a chat and seeing if the gif option is available. If the option is present, you’ve successfully enabled gifs in Microsoft Teams; if it isn’t, you’ll need to delete cached data from Microsoft Teams, which I already have discussed in our other blog, “How to clear the cache,” click on the link to access that other blog.
   |

Why may you want to enable gifs in Microsoft Teams?
Gifs in Microsoft Teams are a great way to send visual content in motion graphics; they help better illustrate specific messages you may send. This also makes the message more visually appealing and can allow for better communication if the right content is sent.
Gifs are also a fun way to interact with the chat section of Microsoft Teams; when you have gifs enable, it can enlighten your chats and add a unique appeal to each conversation you may have. You can also better communicate an expression in the program; rather than having a simple thumbs up or “Yes” in the comments if you agree with something, you can use Gifs to show you agree with something; this applies if you are happy or upset you can use the appropriate gifs to rely upon those emotions in Microsoft Teams.
Conclusion
That’s it for the blog; we hope the content has helped you better understand the process required to enable gifs in Microsoft Teams. If there are any points within this blog that you don’t clearly understand or need some help with, you can drop a comment below, and we will aim to address them as quickly as possible. A simple policy change in the admin section of Teams will allow you to use gifs in comments.
   |