If you have a large amount of information stored in a SharePoint list or an Excel spreadsheet, you may find that filters are a great way to refine this information so you can easily locate specific data. Excel is excellent for filtering information, so some users want to know how to export a SharePoint list to Excel.
To apply filters, click the drop-down next to a column in your SharePoint list and choose “Filter by.” You can then select a filter and click “Apply” to proceed with “Export.”
- Firstly, open Office 365.
- Click on the launcher, followed by SharePoint.
- Choose one of your sites.
- Now select a document library from the list on the side.
- Click on one of your SharePoint lists.
- From there, click on the drop-down next to one of your columns.
- Click on the option for “Filter by.”
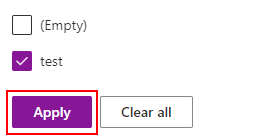
- Now check the boxes next to the options you want to show.
- Click on “Apply” to filter the document with those changes.
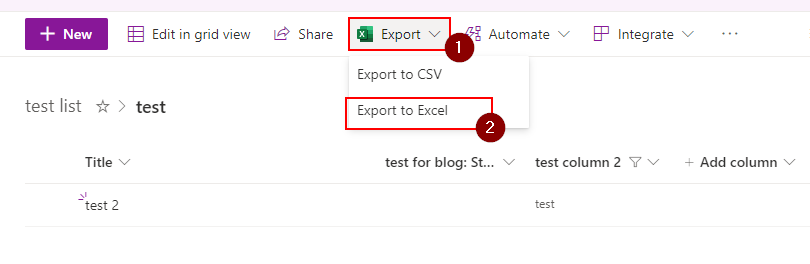
- Now choose “Export” and then click on “Export to Excel.”
- Wait for the file to download, and then open it.
Upon completion, you will be able to open the file with your chosen filters applied. Using filters is a good way to ensure that information displayed in Excel is relevant. I have provided an in-depth guide to help you go through the more complex steps in the guide.
An in-depth guide on how to export lists from SharePoint to Excel with filters
If you require assistance with the steps provided, you can use our in-depth guide to help. Our in-depth guide includes screenshots that you can use to navigate the steps correctly.
- Firstly, open Office 365.
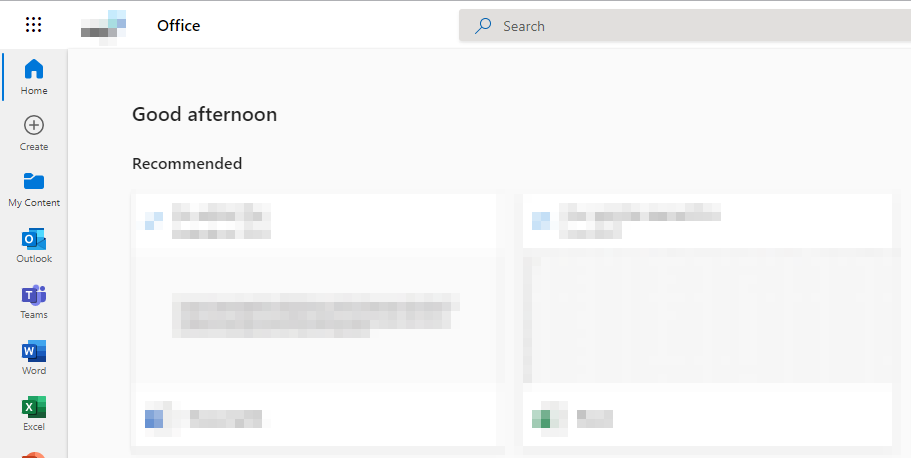
To begin the process, open Office 365 and log in with your regular Office 365 credentials. Make sure you have this information at hand, and also make sure you have the authenticating device if you have MFA enabled for your Office 365 account.
- Click on the launcher, followed by SharePoint.
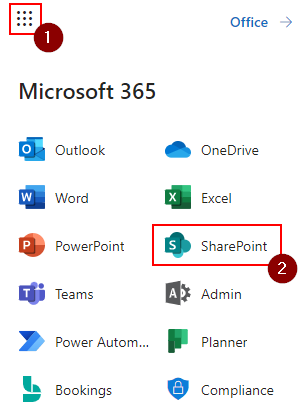
Nine dots illustrate the Launcher in Office 365 on the top left side of the Office 365 dashboard. You will need to click on this to access the applications provided by Microsoft; here, you will also be able to select SharePoint.
- Choose one of your sites.
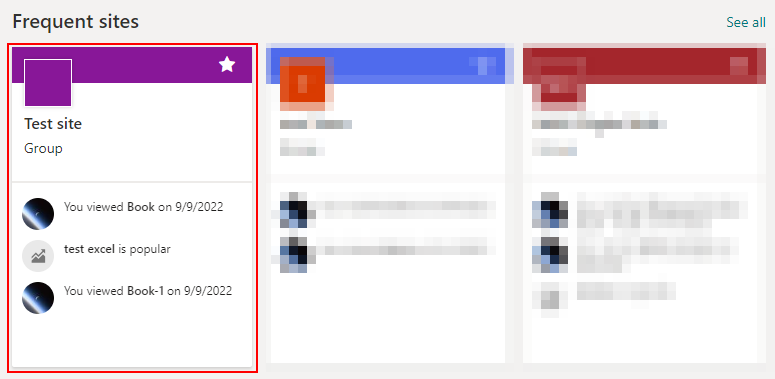
Choose the site with the SharePoint list you want to export into Excel. You can apply the filters to the list using the steps below.
- Now select “Documents” from the list on the side.
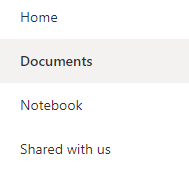
Your document library holds all files and folders associated with your SharePoint site.
- Click on one of your SharePoint lists.
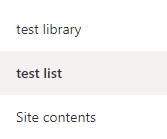
Once you are in the document library, select the SharePoint list you want to export. The SharePoint list will include information in columns and rows similar to an Excel document.
- From there, click on the drop-down next to one of your columns.
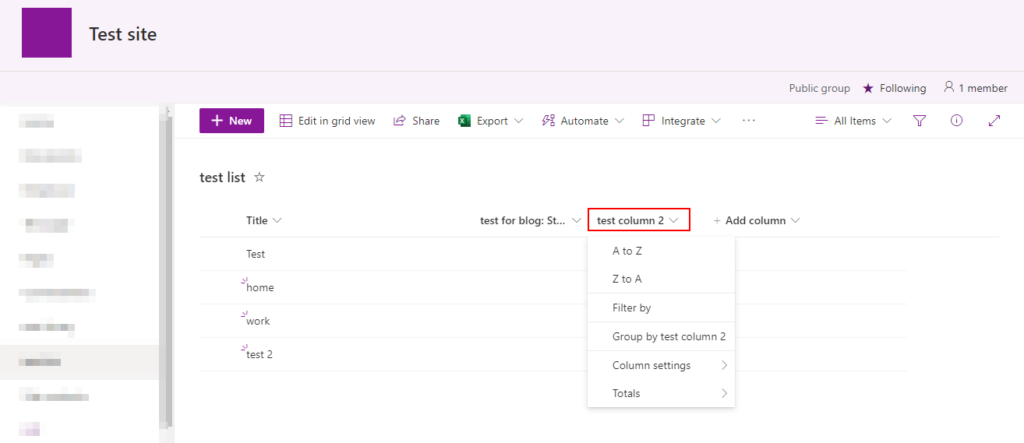
You will need to click on the drop-down next to one of your columns. In this example, I clicked the drop-down next to the “Test column 2” column.
- Click on the option for “Filter by.”
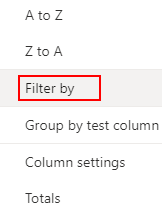
You can filter out any information you want by clicking on the “Filter by” option. In this example, I want to filter out all the empty columns in the SharePoint list so that when it exports into Excel, it only shows columns with the information I want.
- Now check the boxes next to the options you want to show.
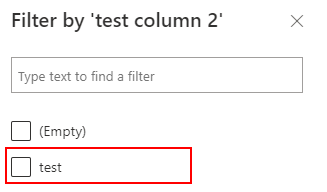
Make sure you check the boxes you want to show when you export your list into Excel.
- Click on “Apply” to filter the document with those changes.
- Now choose “Export” and then click on “Export to Excel.”
- Wait for the file to download, and then open it.
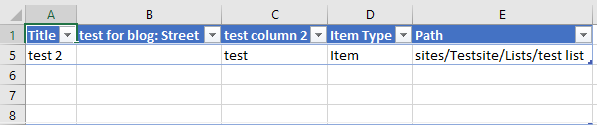
Upon completion, you will have managed to apply filters to an Excel document and then have the list exported to Excel. You can use this content without being inconvenienced by empty cells. You can filter out as many columns as you want, and if for some reason you do not want to have the filters enabled, you can go remove the filters directly in Excel, and it will display all the concealed information under the filter.

Conclusion
Thank you for reading our content on exporting a SharePoint list into Microsoft Excel with filters applied. The process is simple if you have all your information ready to be filtered before the process starts. I have provided the steps and an in-depth guide if you are struggling. The in-depth guide includes a list of resources that I recommend you go through to better understand how to complete the steps.
Filtering this information is not a mandatory step; however, I find it useful to filter out the content on a SharePoint list, so it is available in Excel without having to go through the process on the Excel document. The process will allow you to use the “Filter by” option to remove the information on the document, and then you can export it easily. If you require assistance with the steps, you can drop a comment below, and we will address them.