If you are an individual who is responsible for data protection or file management on SharePoint or OneDrive, then you need to make sure you keep an eye on what files are edited and what files are deleted. However, what if you need more viewer information, such as when a user has downloaded a file. Is this even possible, and how can you find out? Read through to find out if it is possible to see who has downloaded a OneDrive file.
Unfortunately, there isn’t a way to view this information on OneDrive or even set alerts for this on native settings or Power Automate. However, you can view and set an alert for changes made to files, indicating any disruptions in file activity. Read through for more information on setting an alert notification for changes made to files.
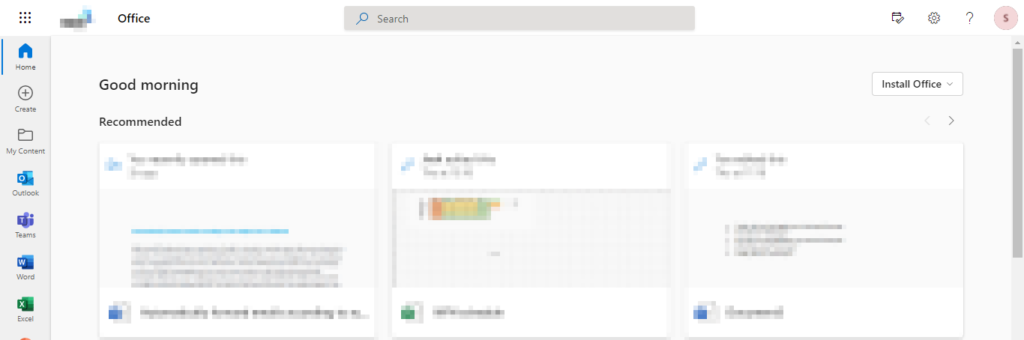
- Firstly, open Office 365.
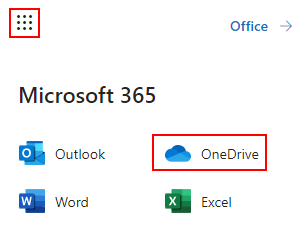
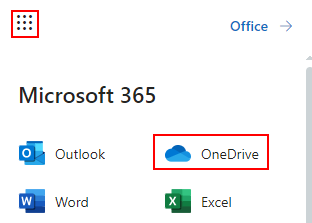
- From there, use the launcher to navigate over to OneDrive.
- Navigate to and click on “Return to classic OneDrive.”
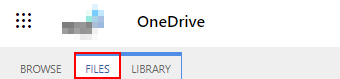
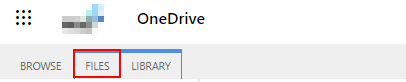
- Now press “Files.”
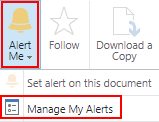
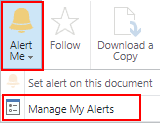
- Click on “Alert me” followed by “Manage my alerts.”
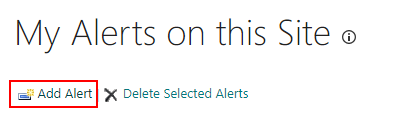
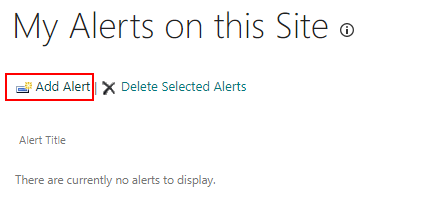
- After that, click on “Add alerts.”
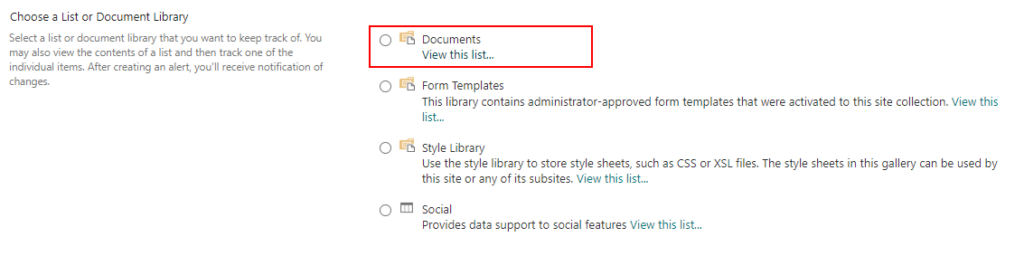
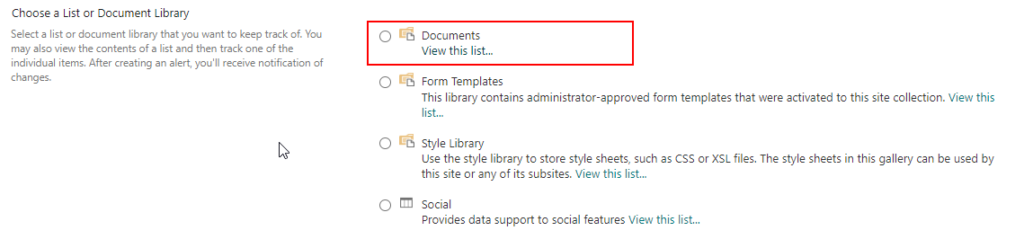
- Now choose a “Choose a List or Document Library.”
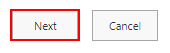
- Press “Next.”
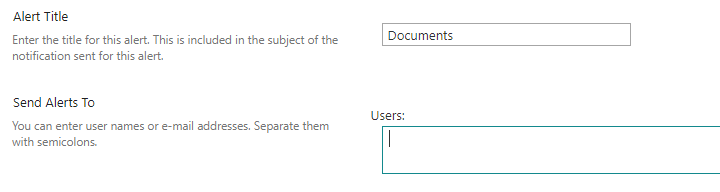
- Fill out the sections for “Alert Title” and “Send Alerts To” as well as the “Delivery Method.”
- Set the “Change Type” to “Existing items are modified.”
- Finally, press “OK.”
You should now begin to receive alerts on any files that have been modified in your accounts section; if you find that your files have been edited, you can then take action to prevent your files from being misused to affect your company. However, the steps mentioned above will work when a file has been edited; this is a catalyst for the notification prompt to be sent when the file is edited. When the catalyst is triggered, in this case, a change made to a file; you will have an email sent to your inbox immediately. We will discuss more on what steps you can take to prevent this later in this blog.
In-depth step by step guide [with screenshots] – How can you set notification alerts for changes made to a file in OneDrive
Below is a more in-depth guide on setting notification alerts for changes made to a file in OneDrive. The guide includes a series of screenshots to understand the steps better and navigate the UI. The visual context in the form of screenshots also may include an in-depth analysis of the steps to understand each step better if needed.
- Firstly, open Office 365.
- From there, use the launcher to navigate over to OneDrive.
- Navigate to and click on “Return to classic OneDrive.”
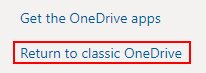
You will need to access the classic OneDrive UI to use the alert features within the program. The new UI in OneDrive doesn’t offer this feature; however, OneDrive has kept the classic dashboard available to users who want to access these features that aren’t available on the new UI.
- Now press “Files.”
- Click on “Alert me” followed by “Manage my alerts.”
- After that, click on “Add alerts.”
- Now choose a “Choose a List or Document Library.”
- Press “Next.”
- Fill out the sections for “Alert Title” and “Send Alerts To” as well as the “Delivery Method.”
- Set the “Change Type” to “Existing items are modified.”

- Finally, press “OK.”
Once the steps shown here have been completed, you will now receive warnings in your accounts panel for any files that have been updated; if you discover that your files have been edited, you may take action to prevent your data from being abused in a way that could harm your organization. However, when a file is modified, the actions listed above will function; this is a trigger for the notice prompt to be issued when the file is edited. When a file modification activates the catalyst, you will receive an email in your mailbox right away. Later in this article, we’ll go through some of the actions you may take to avoid this.
You may wonder what you can do if you find that a file has been modified without your approval; the files now need to be secured to prevent further edits on other content across OneDrive. You can restrict access using the steps illustrated below to prevent users from causing further issues with your content. Read through for more information on how to restrict access to OneDrive files.

How to get notifications for copied, downloaded, or deleted OneDrive data
Here is a much more in-depth guide on why you may want to set notifications for data within OneDrive; if you find that the steps are quite difficult to navigate properly, you can use the steps illustrated below to help you further. These steps include visual context in the form of screenshots to allow you a better understanding of what each step requires. Read through and see the in-depth guide on how you can set notifications for OneDrive data.
- Firstly, open Office 365.
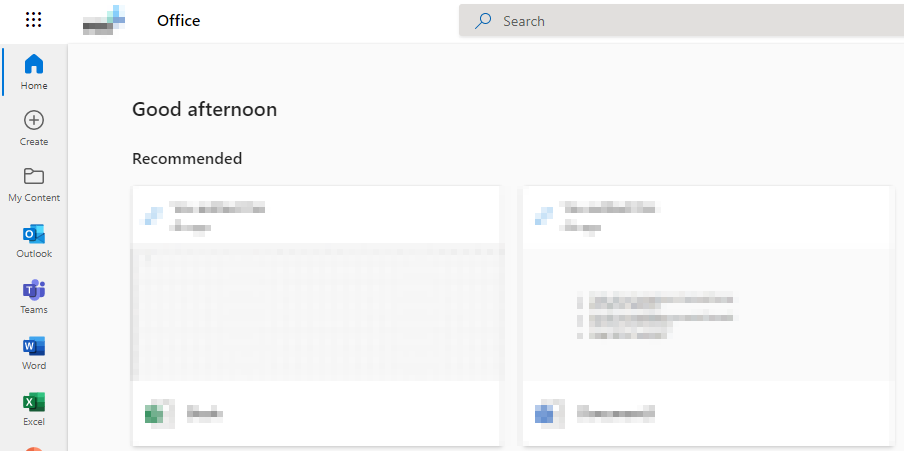
To start the process, open Office 365 on your browser and sign in with your regular account details; once you have inputted your account details, such as the email and password, you will now be able to proceed with the steps illustrated ahead.
- From there, use the launcher to navigate over to OneDrive.
- Now click on “Return to classic OneDrive.”

Unfortunately, the required features needed for this process are hidden within OneDrive’s new UI, which hides certain functions, so you’ll have to go to the classic view for the next few steps to set up your alert. The extra steps are unfortunate as OneDrive hasn’t yet incorporated a good way to set up an alert in the modern UI; however, it shouldn’t be an issue switching between the old and new UIs.
- After that, click “Files” in the ribbon.
If the ribbon isn’t available, simply click on “Settings” and then click on “Show ribbon,” in general, it should be there by default; however, if it isn’t, simply use this method to show the ribbon.
- Now click on the dropdown under “Alert me” and press “Manage my alerts.”
- From there, click on “Add an alert.”
- Select a library (one per alert).
- Now click on “Next.”
- Fill in the alert information.
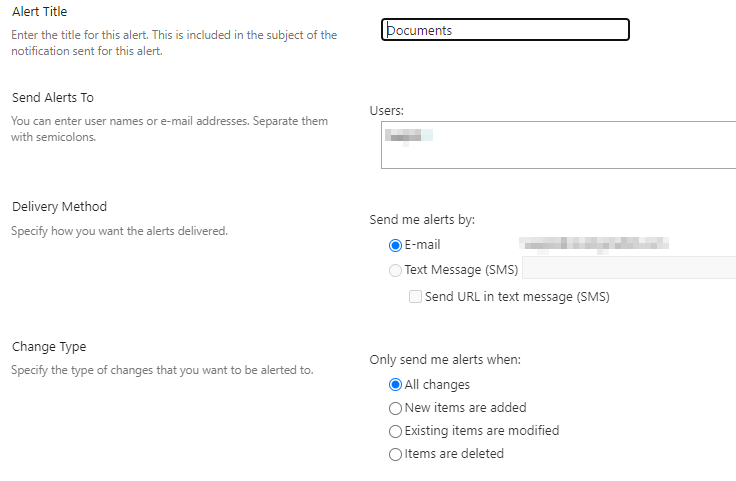
The alert information includes the alert name, which is simply used as a reference point if you have set up multiple alerts; the alert recipient is important— it sends the notification to those users you can have more than yourself on the recipient section. The final and most important section of consideration is the changes section; if you have changes that need to be notified, you can simply use this to make sure they are sent to your notifications.
- Finally, press “OK.”
If you have finished the process illustrated above, you will not have been able to set preferred notifications for any changes made to your OneDrive data. Suppose you discover that your OneDrive information is being updated or removed without any acknowledgment. In that case, you’ll be notified so you can take action quickly and ensure that your data is secure. If there are any unauthorized modifications, you may restrict the user. If the file has been removed without authorization, you can utilize this alert to ensure that the deleted file has been restored.
How to restrict access to OneDrive files
Below is a guide on restricting access to OneDrive files; read through and see how you can achieve this.
- Firstly, open Office 365.

- From there, use the launcher to navigate over to OneDrive.

Nine dots illustrate the launcher in the left-hand corner of the display; once you click on it, you can access OneDrive.
- Select a file and press the three dots.
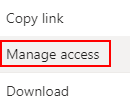
- Now click on “Manage access.”
- After that, click on “Advanced.”

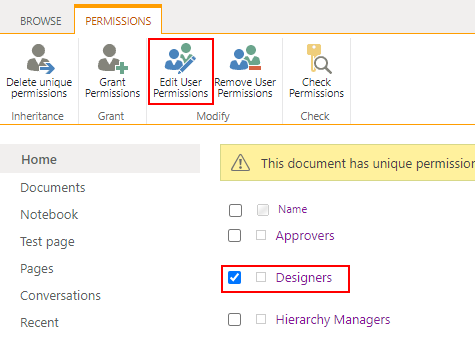
- Now select a user and click on “Edit user permissions.”
- Chane to “Restricted read.”

- Finally, press “OK.”
That’s it; once the steps shown above have been completed, you will have successfully restricted OneDrive file access; this will work if the files have been modified, and so long as they are not out of your control, you will be able to restrict downloads of that content as well as file editing if necessary. You can even stop sharing if necessary; adding a stop will ensure files remain protected if necessary.
Conclusion
That’s it for the blog; once you have completed the process above, you will be able to get a suitable workaround for the inability to see who has downloaded files or folders. From the beginning, we learned that there is no way to view that information even with policies of even power automation; however, you can view file changes and set notifications for them via email. You can even take action by restricting OneDrive files access to users who both download content or edit them. If you find that the steps illustrated above don’t work well for you, drop a comment below, and we will address them as quickly as possible.