Shared calendars are widespread in the workplace, and the permission settings allow you to control which users may access and interact with the calendar. Giving calendar rights to ordinary team members or family members in Outlook is a quick and easy way to schedule activities. Meetings and activities may be easily communicated with individuals who attend on a regular basis thanks to sharing. A shared calendar, for example, assists a sales team that attends meetings together. Birthdays and other key events that are shared by all members of the family can be tracked using a family calendar.
In this blog, we will be looking at solutions to help users share their calendars to allow other users to manage their calendars.
Step by step process – How to give someone access to manage my Outlook calendar
- Firstly, open Outlook.
- Now click on the Calendar icon.
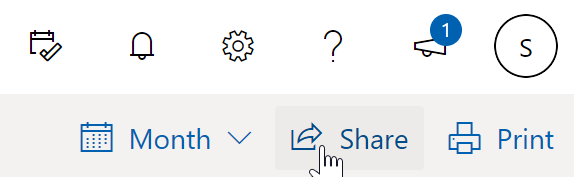
- Now click on “Share Calendar”.
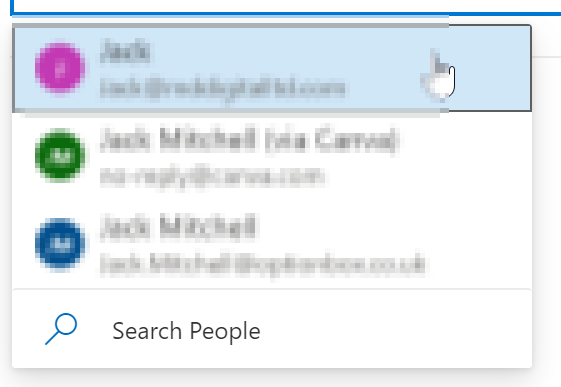
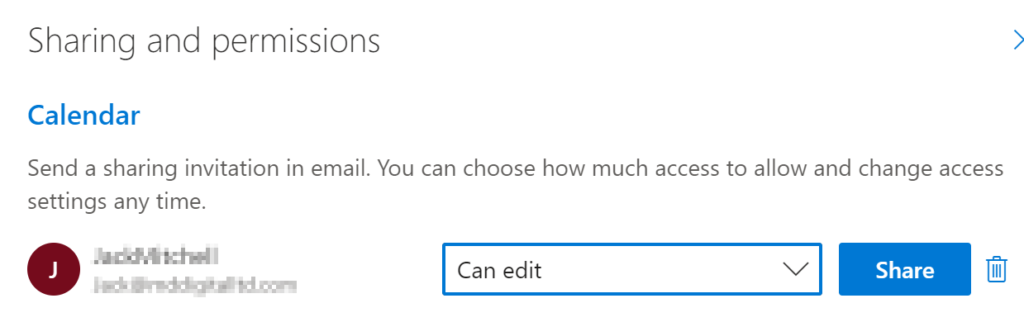
- Select the users you want to add.
- Now under permissions click on “Can edit” or “Delegate”.
- Finally, “Share”.
The chosen users will be delegated the responsibility of managing your calendar, you can only choose the delegate feature if you are an admin status user or have your own network, being a user of a network with no admin status means you won’t be able to access the delegate feature. The delegate feature is like the edit option however here users can both edit the calendar and choose to either retain to delete the calendar if necessary. They can take executive decisions upon what happens with the calendar and can either rewrite and change the entire content of the calendar.

Outlook Calendar Add User
Before granting calendar access, it’s necessary to examine the degree of permissions. Access, editing, and full administration permissions are all options. Permissions for simple viewing or editing access are the most frequent. An admin user can add or revoke rights for other members, indicating that ownership is shared.
Open the calendar to provide calendar access. On the “Home” menu, choose the “Share Calendar” option and select the calendar you want to share. Use the drop-down menu under Share Calendar to reveal the choices if you have several calendars. After clicking on a specific calendar, Microsoft Support suggests going to “Properties” and selecting “Add.”
In the share box, type the selected person’s email address. You may simply choose the person from your address book and add them directly. To add the individual to your roster, click “OK” and then return to the properties choices to give permissions.
In the properties dialogue box, select “Permissions” and set the permissions to the appropriate level. You have the option of allowing viewing just when you are occupied, watching at all times, editing, and delegating. Select “Apply” after selecting the permission level to send the user a notification with the new level of access.
Access to the entire calendar
Full access, also known as Delegate privilege, allows the user to create calendar events and meetings. This degree of authorization is uncommon, and it needs careful thought before being granted. Giving full access to an executive assistant who oversees an employer’s daily meetings, emails, and responsibilities makes sense but giving full access to a new employee who just attends meetings on occasion does not.
Use the instructions in the latter section for calendar access if you wish to add a delegate. To enable email access, choose the “Inbox” option and, if preferred, the “Private Message” option. This allows the selected delegate to handle your email and calendar. According to Microsoft Support, while this user has a high degree of access, you remain the principal administrator and have the ability to restrict access in the future.
Stop sharing your calendar
You can withdraw access to your calendar at any time. Note that Microsoft 365 and the user’s Outlook may take some time to sync and remove the view from your calendar.
Select Calendar from the drop-down menu.
- Select Home > Calendar Permissions from the drop-down menu.
- Click the user’s name on the Permissions tab, then select Remove.
- Click the OK button.
Make Your Outlook Calendar Completely Private
To preserve your privacy, you may make the whole calendar private on Windows or Mac computers. You can’t share your schedule with coworkers or friends if the calendar is set to private. If privacy is more important to you than sharing capabilities, you may conceal the whole calendar from public access.
Open your Outlook calendar on Windows and follow the Stanford University IT department’s basic instructions. To access the share options, go to the “Home” tab and click “Share” and “Calendar Permissions.” Find the default settings as well as the option labeled “Read.” Your calendar becomes private when the “Read” options are set to “None.”
Step by step process – How to give someone access to manage my Outlook calendar
- Firstly, open Outlook.
- Now click on the Calendar icon.
- Now click on “Share Calendar”.
- Select the users you want to add.
- Now under permissions click on “Can edit” or “Delegate”.
- Finally, click on “Share”.

That’s it for this Blog thank you for taking time out to read our content, please feel free to email our team about how it went if you followed the steps or if you need more help with the questions we answered in this Blog.