Users can expect 5GB of storage with a free OneDrive account. But with most Microsoft 365 subscriptions, you can expect a 1TB storage limit per user. You can increase a user’s OneDrive storage limit to 2TB with a Microsoft 365 Family or Personal subscription.
In this blog, we will address how to increase OneDrive storage for a user. We will also cover ways in which users can resolve this problem as well as solutions to help prevent this issue from occurring again.
How to increase OneDrive storage for a user:
- You can increase storage to 2TB here with Microsoft 365 Family or Personal subscriptions.
Alternative method:
- First, sign in to your Office 365 account.
- Use the app launcher and navigate to admin.
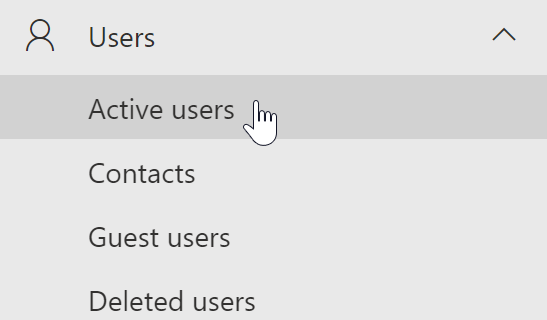
- Under “Users” click on “Active users”.
- Select a user mailbox.
- A panel on the right will open, here towards the right click on “OneDrive”.
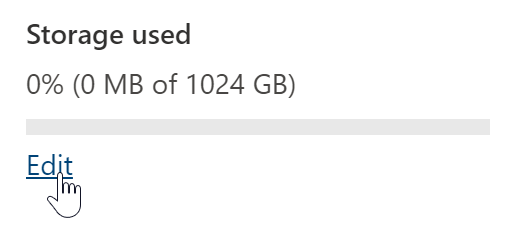
- Under “Storage used” click on “Edit”.
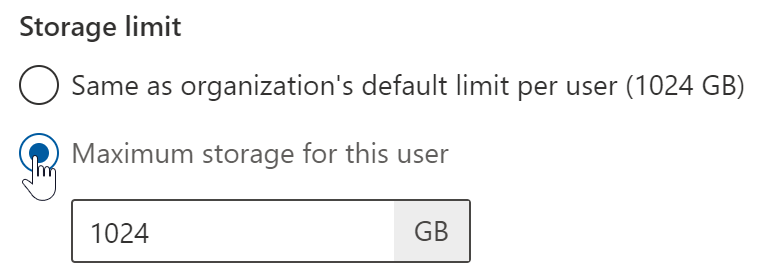
- Now select “Maximum storage for this user”.
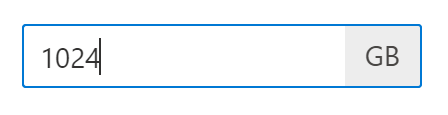
- Type out the number of increased GB for that user.
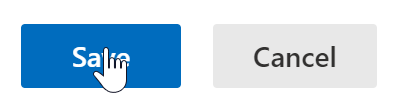
- Finally, click on “Save”.
A very simple and native process to help users get more storage that required my organization’s standard storage space for each user. Users can have that set to the maximum limit within their plan whether it’s the limited number of data or if it’s unlimited. Caps are set to prevent an overwhelming amount of data from being added in from unnecessary files and data. In most E plans offered by Microsoft the storage space cap per user is set to 1024GB of data as mentioned earlier. While that’s impressive and most certainly enough for users whose job is to write and document, certain users within the video and photography industry may find their high-quality visuals not fitting on their drive, so to help them out a little Microsoft has added this to increase the storage space to the maximum allowed.
Larger upgrade to increase OneDrive storage
Not enough storage? Well there is a way to increase the storage beyond the regular limit — you just need to invest some time and follow the steps below to see how you can increase the limit from your normal company limit to 25TB of storage assuming the company hasn’t given you or hasn’t got the proper plan to access to unlimited data.
- As a global admin, log into the M365 Admin Center.
- Click Support > New Service Request to see the “Need Help?” widget.
- Make sure you’re on “Search” rather than “Support Assistant.”
- Type “OneDrive Storage Limited to 5TB” into the search box (must be EXACT).
- You’ll be prompted to input the root URL, UPN, and site URL of the user with at least 90% space consumption on the “Run Diagnostics” screen.
- Start the diagnostic procedure. You’ll be promoted to the 25TB tier in 15 minutes!

Increase OneDrive storage by emptying your recycle bin
It’s fine if you require extra space, but have you event through of cleaning out the space you already have, most users fail to realize there is a multistage recycle function in office 365. You need to clear data from all levels of your administration before you can access that space. So if you ever wondered why is my storage not clearing after deleting an item, well it has to do with this multistage recycle feature implemented by M365.
When users delete files, versions of files, list items, libraries, lists, or folders from a site, the Recycle Bin serves as a safety net. The items are placed in the Recycle Bin when users delete any of these things from a site. In this article, we’ll look at how logs remain in recycling bins and how we may make them last longer. The Site Collection Recycle Bin page allows you to examine and manage deleted items across a site collection. You may examine things that are presently in a user’s Recycle Bin as well as items that have been deleted from a user’s Recycle Bin and sent to the second-stage Recycle Bin, also known as the Site Collection Recycle Bin, via this page.
You must specify how much disc space is available for the second-stage Recycle Bin as a percentage of the quota granted to the web application when you activate the second-stage Recycle Bin for a web application. For example, if the web application requires 100 megabytes (MB), allocating a 50% limit for the second-stage Recycle Bin allocates 50 MB for the second-stage Recycle Bin and 150 MB for the web application. For the second-stage Recycle Bin limit, you can allocate up to 100%.
Third-party solutions to increase storage
A simple solution to low storage space is to make use of third-party cloud storage providers. The top three providers are listed below for you to try.

Koofr – 20TB per user with 20XXL plan

DropBox – 10TB per user with Advanced plan
IDrive – 5TB per user with Team plan
In-depth – Step by step process – How to increase OneDrive storage for a user
Step by step breakdown:
Use your account details or if you have a current Skype account with the Office account in question, you can use this.
- Use the application launcher to navigate towards “Admin”.
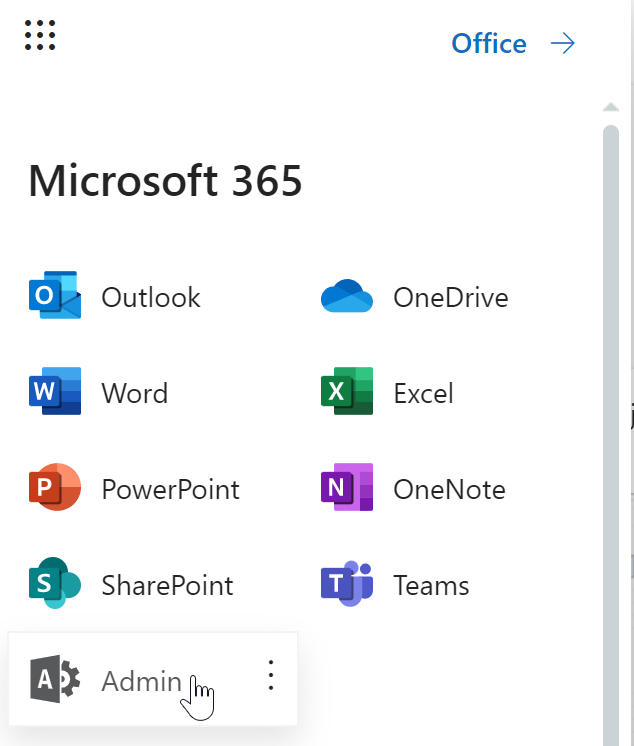
The launcher is illustrated by nine dots in the right corner, click on it and find “Admin” as shown above.
- Under “Users” click on “Active users”.
- Select a user mailbox.

- A panel on the right will open, here towards the right click on “OneDrive”.

- Under “Storage used” click on “Edit”.
- Now select “Maximum storage for this user”.
- Type out the number of increased GB for that user.
- Finally, click on “Save”.
That’s it for this Blog thank you for taking time out to read our content, please feel free to email our team about how it went if you followed the steps or if you need more help with the questions we answered in this Blog.