Allowing your team members to post content in SharePoint can boost collaboration and productivity. However, some users want to know if it’s possible to let team members add posts but not download files. So, this guide will show you how to achieve that in SharePoint.
You need to create a unique permission to prevent team members from downloading files, while allowing them to add posts.
Step 1: Create a unique permission:
- First, log in to your Office 365 account.
- Then go to SharePoint and open one of your sites.
- Click on the “Settings” icon followed by “Site permissions.”
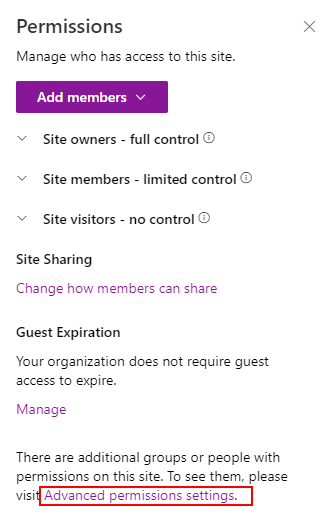
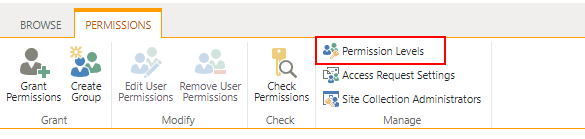
- Go to “Advanced permission settings“ then “Permission levels.“
- Select “Read“ then “Copy permission level.“
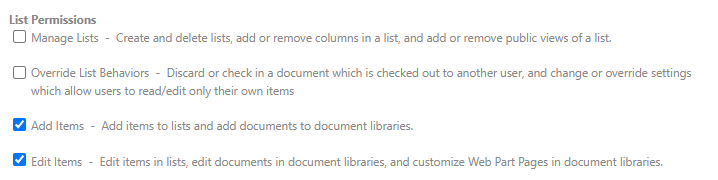
- Ensure Add, Edit, and Open items are selected, then click “Create.”
Step 2: Apply the permission:
- First, log in to your Office 365 account.
- Then go to SharePoint and open one of your sites.
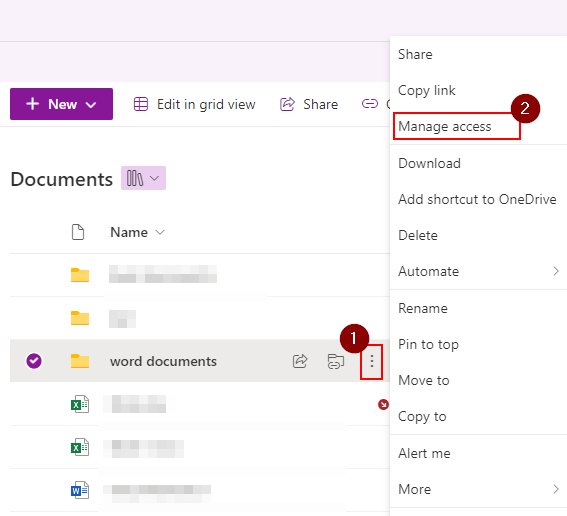
- Next, right-click a document and select “Manage access.”
- Click on “Advanced” then “Grant permissions.”
- Choose who to assign the permission to.
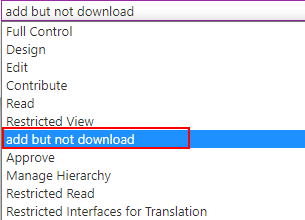
- Then click on “Show Options” and choose your new permission from the dropdown box.
- Finally, click the “Share” button.
Please continue reading for a complete visual guide on creating and applying permissions for allowing posts but not downloads in SharePoint.
- Create new permission in SharePoint, allowing you to add items but not download them.
- How to assign this new permission to document libraries, documents, or site content?
How to create new permission in SharePoint which allows you to add items but not download
You will first need to assign new permission in SharePoint, allowing you to add posts onto SharePoint files but not download the content. SharePoint does not offer users default permission that enables these features; however, you can create your own by selecting a preset and then assigning your own set of permissions from the SharePoint list. This is a way to ensure you get the permission you want with the optimized conditions for your use.
- Firstly, open Office 365.
- Now click on the launcher followed by “SharePoint.”

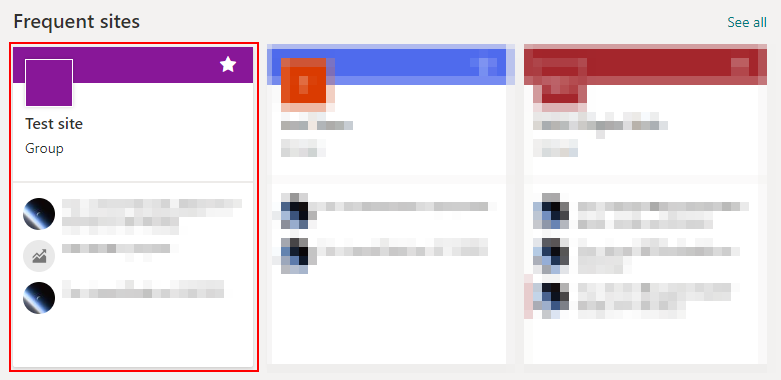
- Select one of your sites.

- Click on “Settings” followed by “Site permissions.”
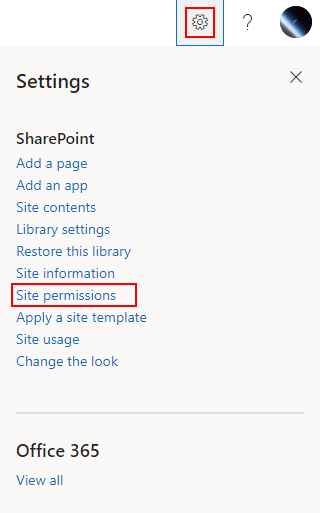
- Choose the option for “Advanced permission settings.”
- Click on “Permission levels.”
- Click on the option for “Read.”
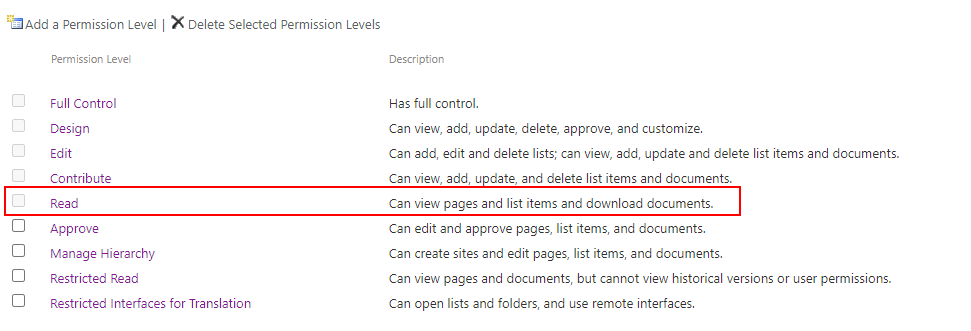
- Scroll down and click on the option for “Copy permission level.”

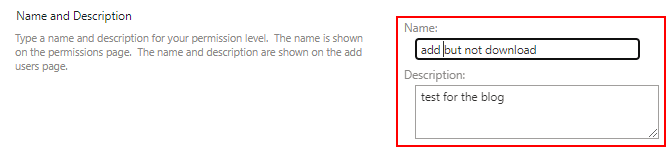
- Add a name and a title for your new permission level.
- Ensure you have selected the options for “Add items” and “Edit items.”
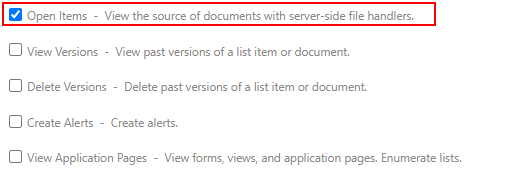
- Ensure that the option for “Open items” is unselected.
- Click on “Create” to complete the process.
You will have managed to create a new permission level which you can use to ensure that users can add items but not download the content. The Open items option selected in the default Read permission section ensures that users can download and open content in an external server source.
If selected, a user can download the content and open it in an external source such as a local desktop. By unselecting this permission, you will actively remove the ability to download the content; however, since you have selected the Add and Edit option, you can ensure that users can add content and edit it if necessary. If you want to refine the permission further, you can remove the edit option and keep the Add option. What users can do is add content but not edit the content once added.

How to assign this new permission to document libraries, documents, or even site content
Once you have created new permission, you can assign it to sites, documents, and even document libraries. This new permission level will ensure that users can only add content or even edit the content if necessary; however, they will not be able to download content onto an external drive.
If you are running a group project, you can ensure that users can only add the content they have created but not download it and share it with other users who are external to the group they are working with. Enable this method will also ensure that your document remains protected from security-related breaches. This is especially common if your document is shared with many users, which could potentially cause a security breach.
- Firstly, go to Office 365.

- Click on the launcher, illustrated by nine dots, and select “SharePoint.”
- Choose one of your sites from the collection.
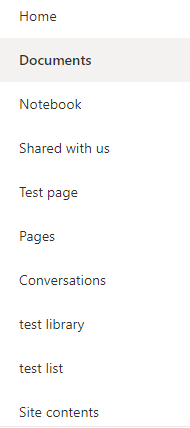
- Select one of the documents in the “Documents” library section.
- Click on the three dots next to the document and click “Manage access.”
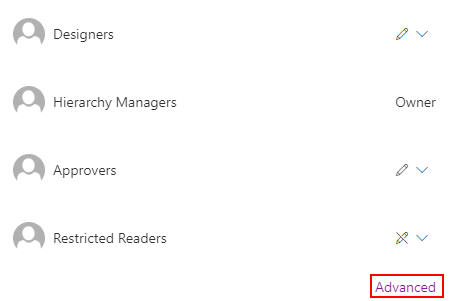
- Scroll down and then click on “Advanced.”
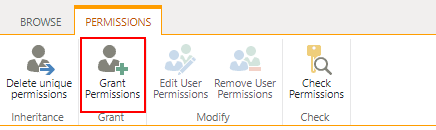
- Now click on “Grant permissions.”
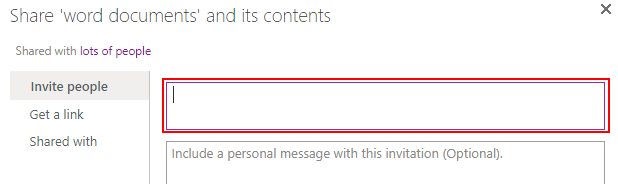
- Choose the members you want to assign permission to.
- Next, click on “SHOW OPTIONS.”
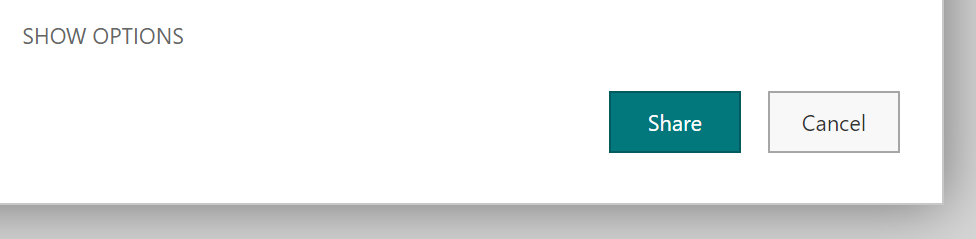
- Where it says “Select a permission level,” click on the dropdown and choose the newly created permission.
- Click on “Share” to complete the process.
You can go into the permission settings section and edit the newly created permissions at any time if you think the permissions that are given are incorrect. You can also come back into this section by using the steps and removing certain users assigned to the permission. Once you have completed the steps, all the users assigned to the permission will receive the invite, and they will be able to add content onto SharePoint; however, not download it.
Conclusion
I provided the steps on how you can allow users to add posts but not download files in SharePoint and how you can create a new permission setting that enables you to achieve this. If you require further assistance with the steps, you can drop a comment below, and we will address them.