A local account works independently from your Microsoft account; no personal information is directly associated with a local account by default. You may prefer a domain account due to its extended access to your work/school domain. You can only access resources local to your device with a local account.
Solution:
- Hit start.
- Click your account
- Select “Switch user” from the dropdown
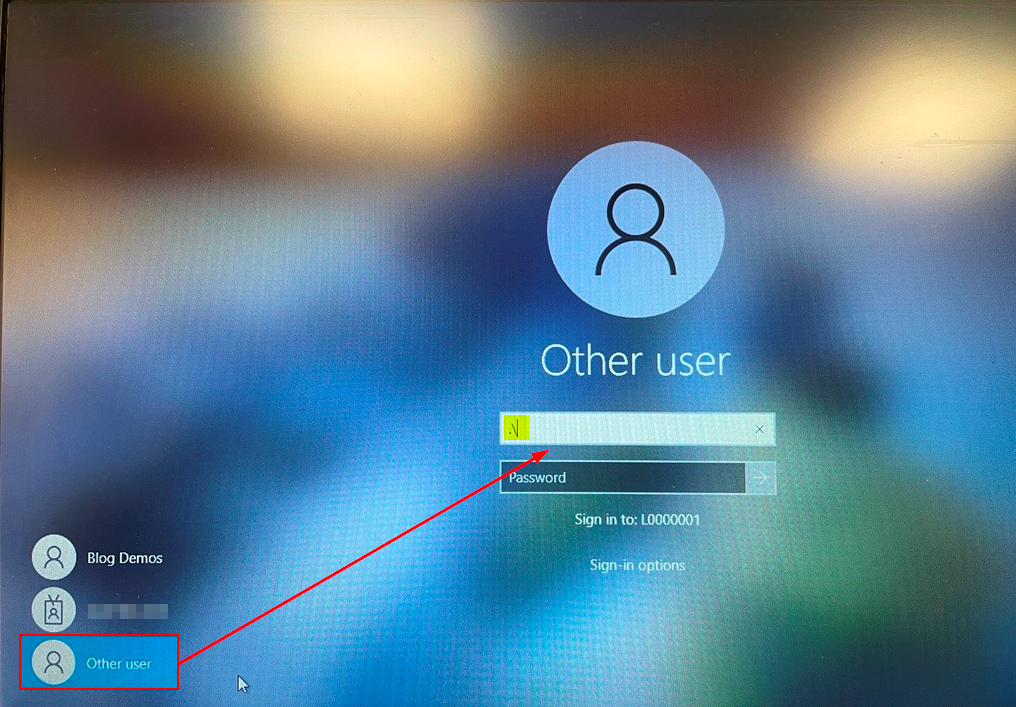
- Click “Other user” in the sign in page
- Enter the username suffixed by
.\ - Enter your account password
- Sign in
In this post, I’ll be walking you through creating and/or signing into a local account. I’ll also discuss the various pros and cons of Microsoft/domain accounts and local accounts.
You can use the following links to access relevant content faster.
- How to create and sign into a local account (method 1)
- How to sign into a local account (method 2)
- Domain accounts vs local accounts
- Blog post recap
How to create/sign into a local account
The following method will replace your current account with a local account. You may want to consider checking out my alternative method.
Step 1 — Head to your info in settings
Hit the Start/Win key and enter: “your info.” Afterward, hit enter or select the “Best match” as shown below.

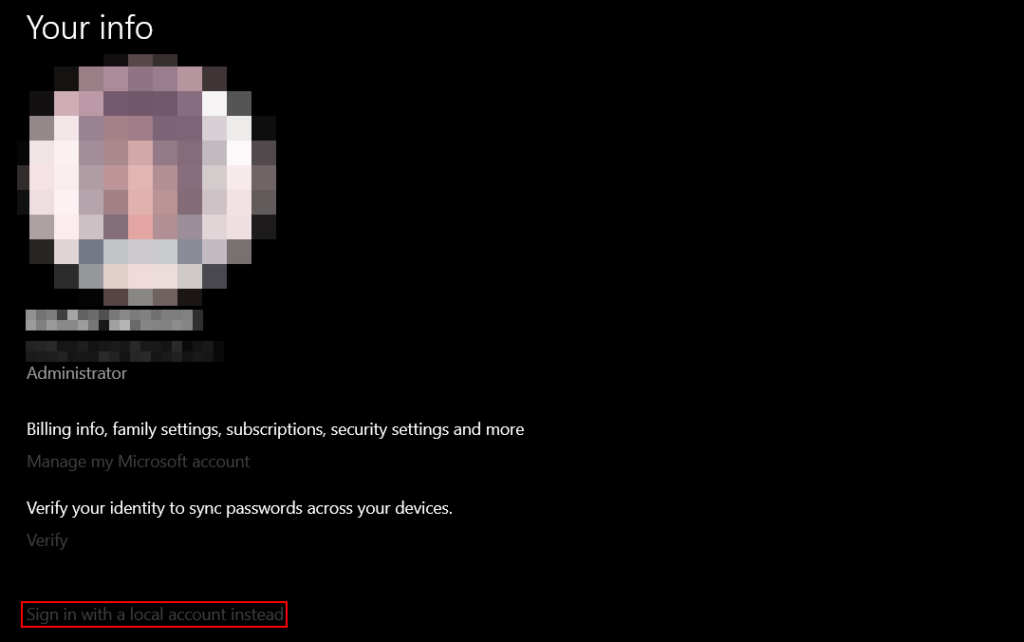
Step 2 — Hit sign in with a local account instead
In the main panel, you will find several links. Select the link labeled “Sign in with a local account instead.“
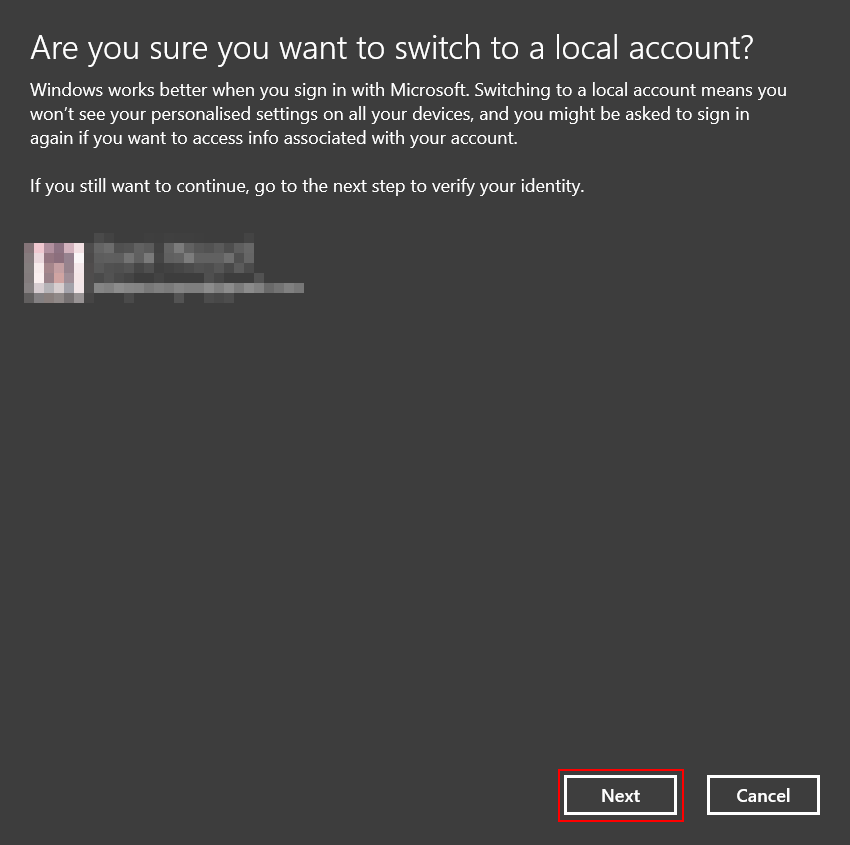
Step 3 — Proceed with the process
To proceed with the process click “Next.” In doing so, you will begin taking the steps needed to sign in to a local account.
Step 4 — Verify your identity
You may be prompted to verify your identity during the process. If this occurs, the information requested. In this case, I need to enter a PIN, and this is because I opted to use a short PIN in place of a password.

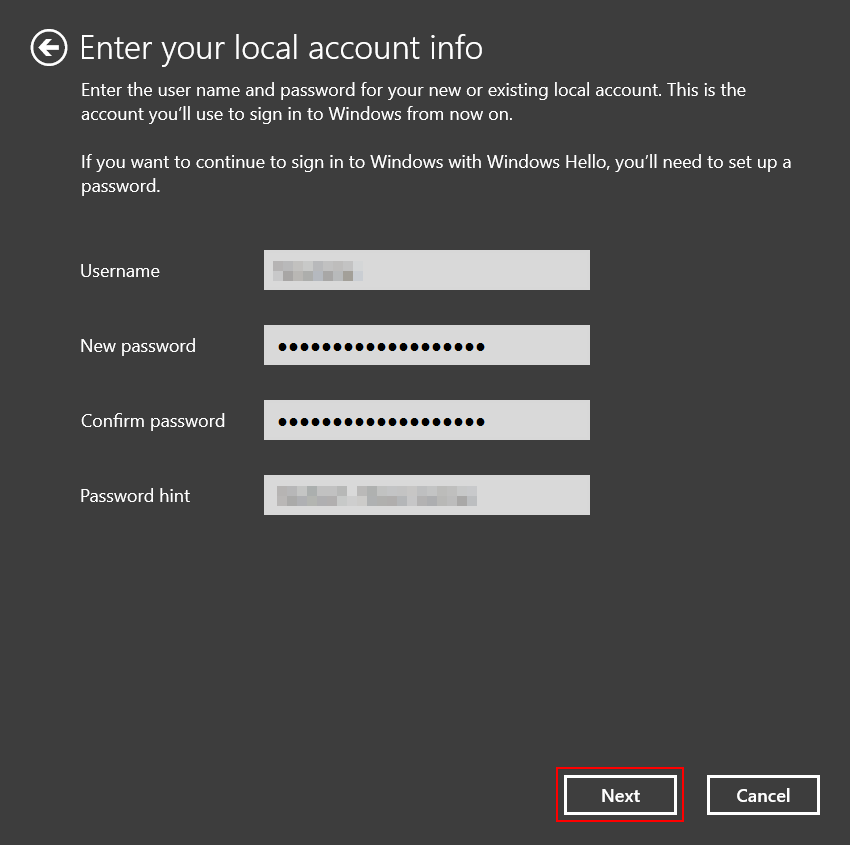
Step 5 — Enter new/existing credentials
If you do not possess an existing local account, enter the credentials you’d like to use. Otherwise, enter the credentials
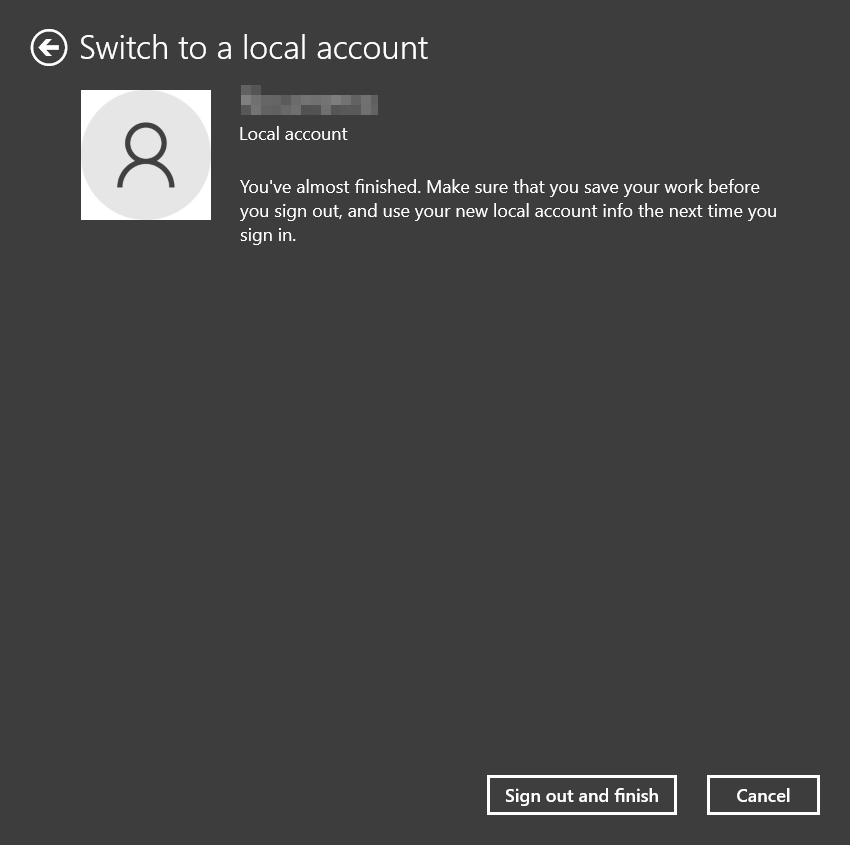
Step 6 — Complete the process
You may now sign out of your current account and sign in to your local account. Click “Sign out and finish” from the bottom right corner.

How to sign into a local account
Please note the following method assumes you already have a local account setup.
Step 1 — Click the start button
At the bottom left of the screen sits a button resembling the Windows icon— the start button. Click the start button to proceed.
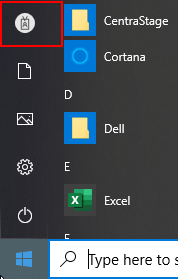
Step 2 — Click your account
Atop the start button, there will be several varied icons. As shown below, select the upmost icon.
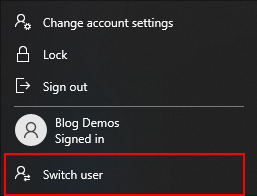
Step 3 — Click switch user
You should now have access to a dropdown menu. In the menu, find and click “Switch user,” this will sign you out of your current account.
Step 4 — Enter “Other user” credentials
First, select “Other user” from the bottom left corner. Second, enter the “username” text field. Before entering your local account’s username, suffix it with a .\; lastly, enter the account password and sign in.
Domain accounts vs local accounts
Windows users may overlook how local accounts notably differ from domain accounts. Fortunately, I’ll make sure you know you understand the trade-off.
Domain accounts
A domain account’s resources are accessible to other domain-connected accounts. Similarly, a domain account can access resources stored on other domain-connected devices. The trade-off is limited control: most domain accounts are configured via Azure Active Directory by your domain administrators.
Local accounts
A local account relieves you of your domain admin’s control. However, being disconnected from the domain, you only have access to your device’s local resources. A local account will also be unlisted from your domain’s domain group of accounts. Thus, being inaccessible to domain members.
Blog post recap
A local account sacrifices the scope of your domain access to provide you with better control over your device. Unlike domain accounts, they cannot access (or be accessed by) your workplace domain group and, by extension, resources. However, they do retain access to locally stored resources.
If you’re interested: you can read our recent posts here.