You can alter the file settings for libraries, folders, and individual documents in Microsoft SharePoint, which is useful for ensuring you have more control over the document you want to restrict edit access on. You can make your document read-only before sending it for review if you don’t want content reviewers to mistakenly (or deliberately) change it. Another option is to limit the amount of formatting and editing that may be done. Making your document a read-only file allows it to be read and copied but not changed. If a reviewer tries to make modifications to a read-only file, the changes can only be preserved by renaming the file or saving it to a different location. There are simply a few changes that need to be done to a document to make it read-only, after which users who have not been authorized can only open and read it. Follow through for more information on how to make a document read-only in SharePoint.
Step by step process – how to make a document read only in SharePoint
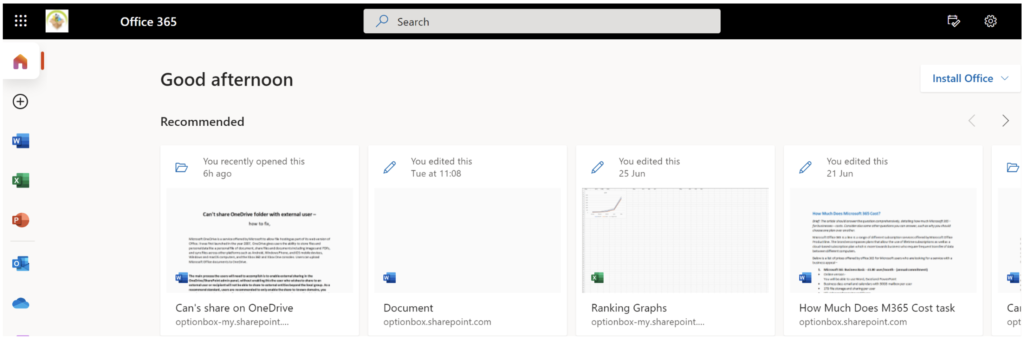
- First sign in to Office 365.
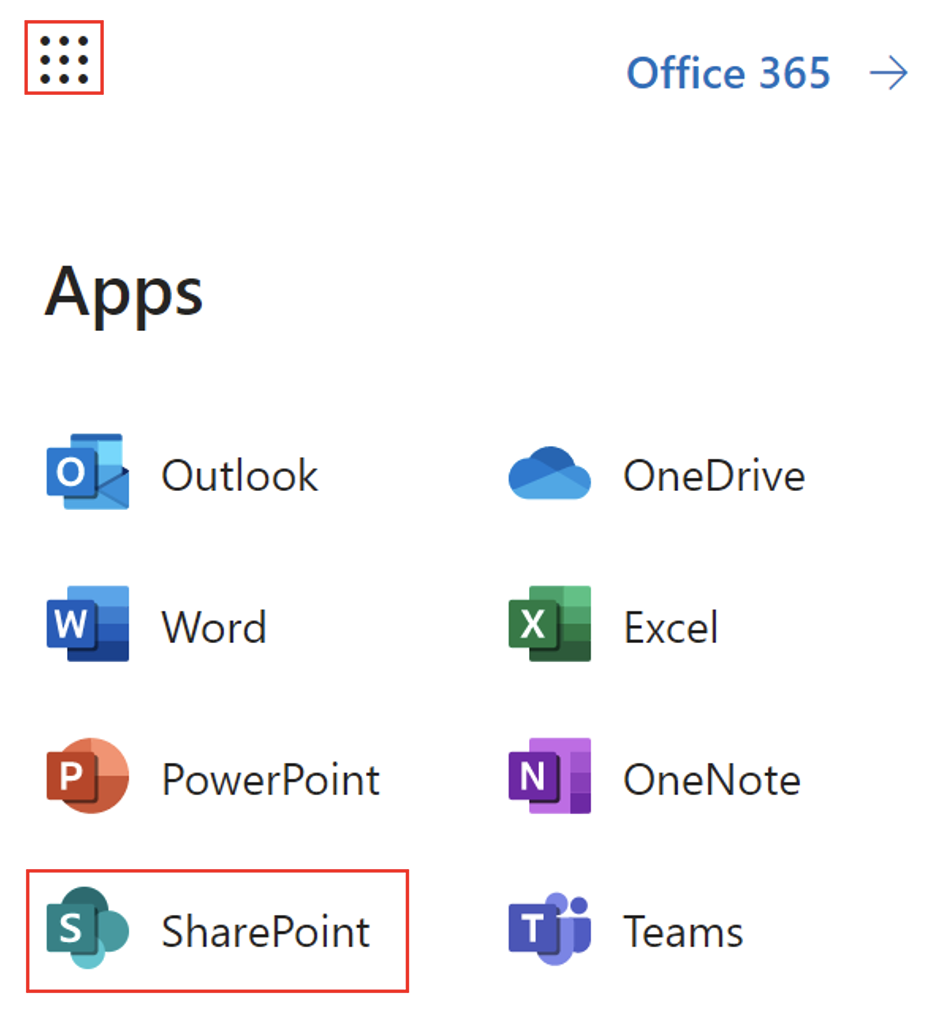
- Use the app launcher and navigate to “SharePoint”, and click on it.
- In SharePoint go to the Site where your files are located.
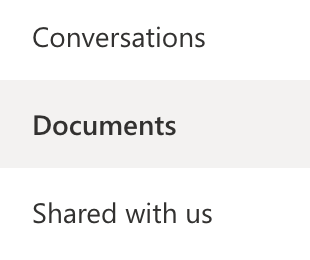
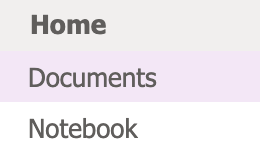
- In the menu bar click on “Documents”.
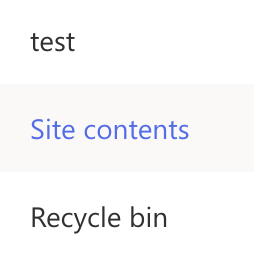
- Now click on “Site Contents”.
- Now click on “Settings”.
- Click on “Site permissions”.
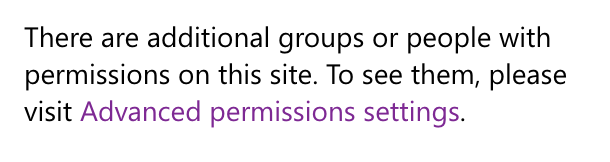
- Now click on “Advanced permission settings”.
- In the advanced section click on “Documents”.
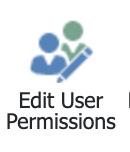
- Click on “Edit User Permissions”.
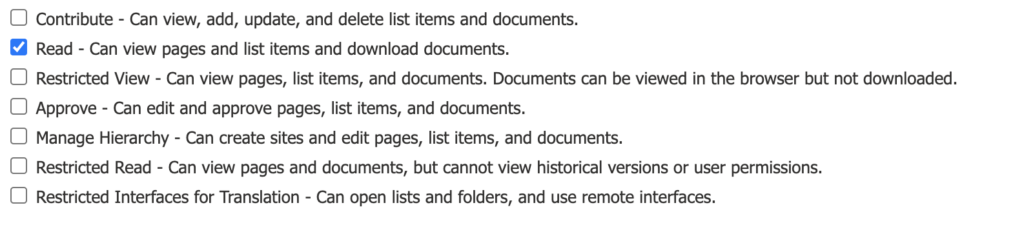
- Now ensure the box “Read – Can view pages and list items and download documents.” is selected.
- Finally, press “OK”.
This basically turns the file into a read-only file every time it’s accessed, making it simpler to avoid unintended alterations. Click file >> info >> Protect document again to undo the impact and disable the read-only functionality. This will undo any previous modifications and guarantee that you have the document in the format you want.
We’ve also created a video to help guide you through the process:
   |

When do you think you’ll use the “read-only” option?
Users may choose whether they want read-only mode or editing mode from the start, however, there are times when they want to disable the editing capability. To begin with, it’s a safety feature that, when utilized appropriately, may avoid unwanted and accidental alterations.
Users may also desire to activate this feature to prevent their partners who have access to this file from editing it when it is opened; the file should only be modified in this case if it is really necessary. Making your document read-only doesn’t stop someone from copying it and storing it under a different name or in another location.
The file is just for visual purposes; users may only wish to use it to exchange stuff to visualize, such as planned writeups, bills, and other key specified documents that don’t require any changing.
Limitations of read only documents
SharePoint, however, does not have the capability of making a document read-only on its own. SharePoint may provide read access to a document while it is stored in the system. If you download and open the file, those rights will be lost. According to Microsoft, you’d have to use Azure Information Protection or the Rights Management Service to restrict.
In-depth Step by step process – how to make a document read only in SharePoint
Step by step breakdown:
- First sign in to Office 365.
- Use the app launcher and navigate to “SharePoint”, and click on it.
- In SharePoint go to the Site where your files are located.
- In the menu bar click on “Documents”.
- Now click on “Site Contents”.
- Now click on “Settings”.

- Click on “Site permissions”.

- Now click on “Advanced permission settings”.
- In the advanced section click on “Documents”.
- Click on “Edit User Permissions”.
- Now ensure the box “Read – Can view pages and list items and download documents.” is selected.
- Finally, press “OK”.
That’s it for this Blog thank you for taking time out to read our content, please feel free to email our team about how it went if you followed the steps or if you need more help with the questions we answered in this Blog.