Microsoft Teams offers its users the ability to create a team, and within the team, users can also create a channel to add certain task-related tabs to make workflow much more effective. You can also have either a private or public channel within a team to help categorize users who use your Microsoft Teams network. However, is it possible to change a private team to a public team and vice versa? This blog will go over if it’s possible to change a channel status and if so, we will go over the phases of making a team channel private after creation in Teams.
There isn’t a way of changing the privacy of a channel after you’ve created it. However, you can stop sharing the channel in SharePoint — which means only the owners can view the channel — or change the privacy of the Team that the channel belongs to.
Stop sharing the channel in SharePoint:
- First, open Microsoft Teams.
- Go to “Teams” on the left.
- Go to the channel you want to make private.
- Click the three dots in the top right.
- Select “Open in SharePoint” from the dropdown.
- In SharePoint, click on “Manage access”
- If you can’t see “Manage access” click the
 info icon.
 - Now click the small icons next to “Members” and “Visitors”
- Then select “Stop sharing” for each group.
- Once complete, only Team and Channel owners will be able to view the channel.
Make the team that the channel belongs to private:
- First, open Microsoft Teams.
- In the left menu, select “Teams.”
- Select a team and click on “more options,” illustrated by three dots.
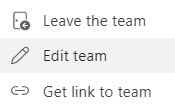
- After that, select “Edit team.”
- Under the privacy drop-down, click on “Private.”
- Finally, press “Done.”
Once the steps above have been concluded, you will have successfully changed the privacy status of a team in Microsoft Teams. While unfortunate you cannot apply these settings to a channel in Microsoft Teams; you can get similar results by following the steps above and switching the status of a permissible team within the program. Once you have privacy mode set to private, members of an organization will not be able to see the content within that specific team. The only members who will be able to see and conduct activities within that team are members you set during the creation of a team and the team’s owners.
We’ve also created a video to help guide you through the steps:
In-depth step by step guide [with screenshots] – How to make a Teams channel private after creation in SharePoint
Here’s how to prevent all members of the Team from viewing a specific channel. Once complete, only Team and Channel owners will be able to access the channel, and you can also grant direct access to other members if required.
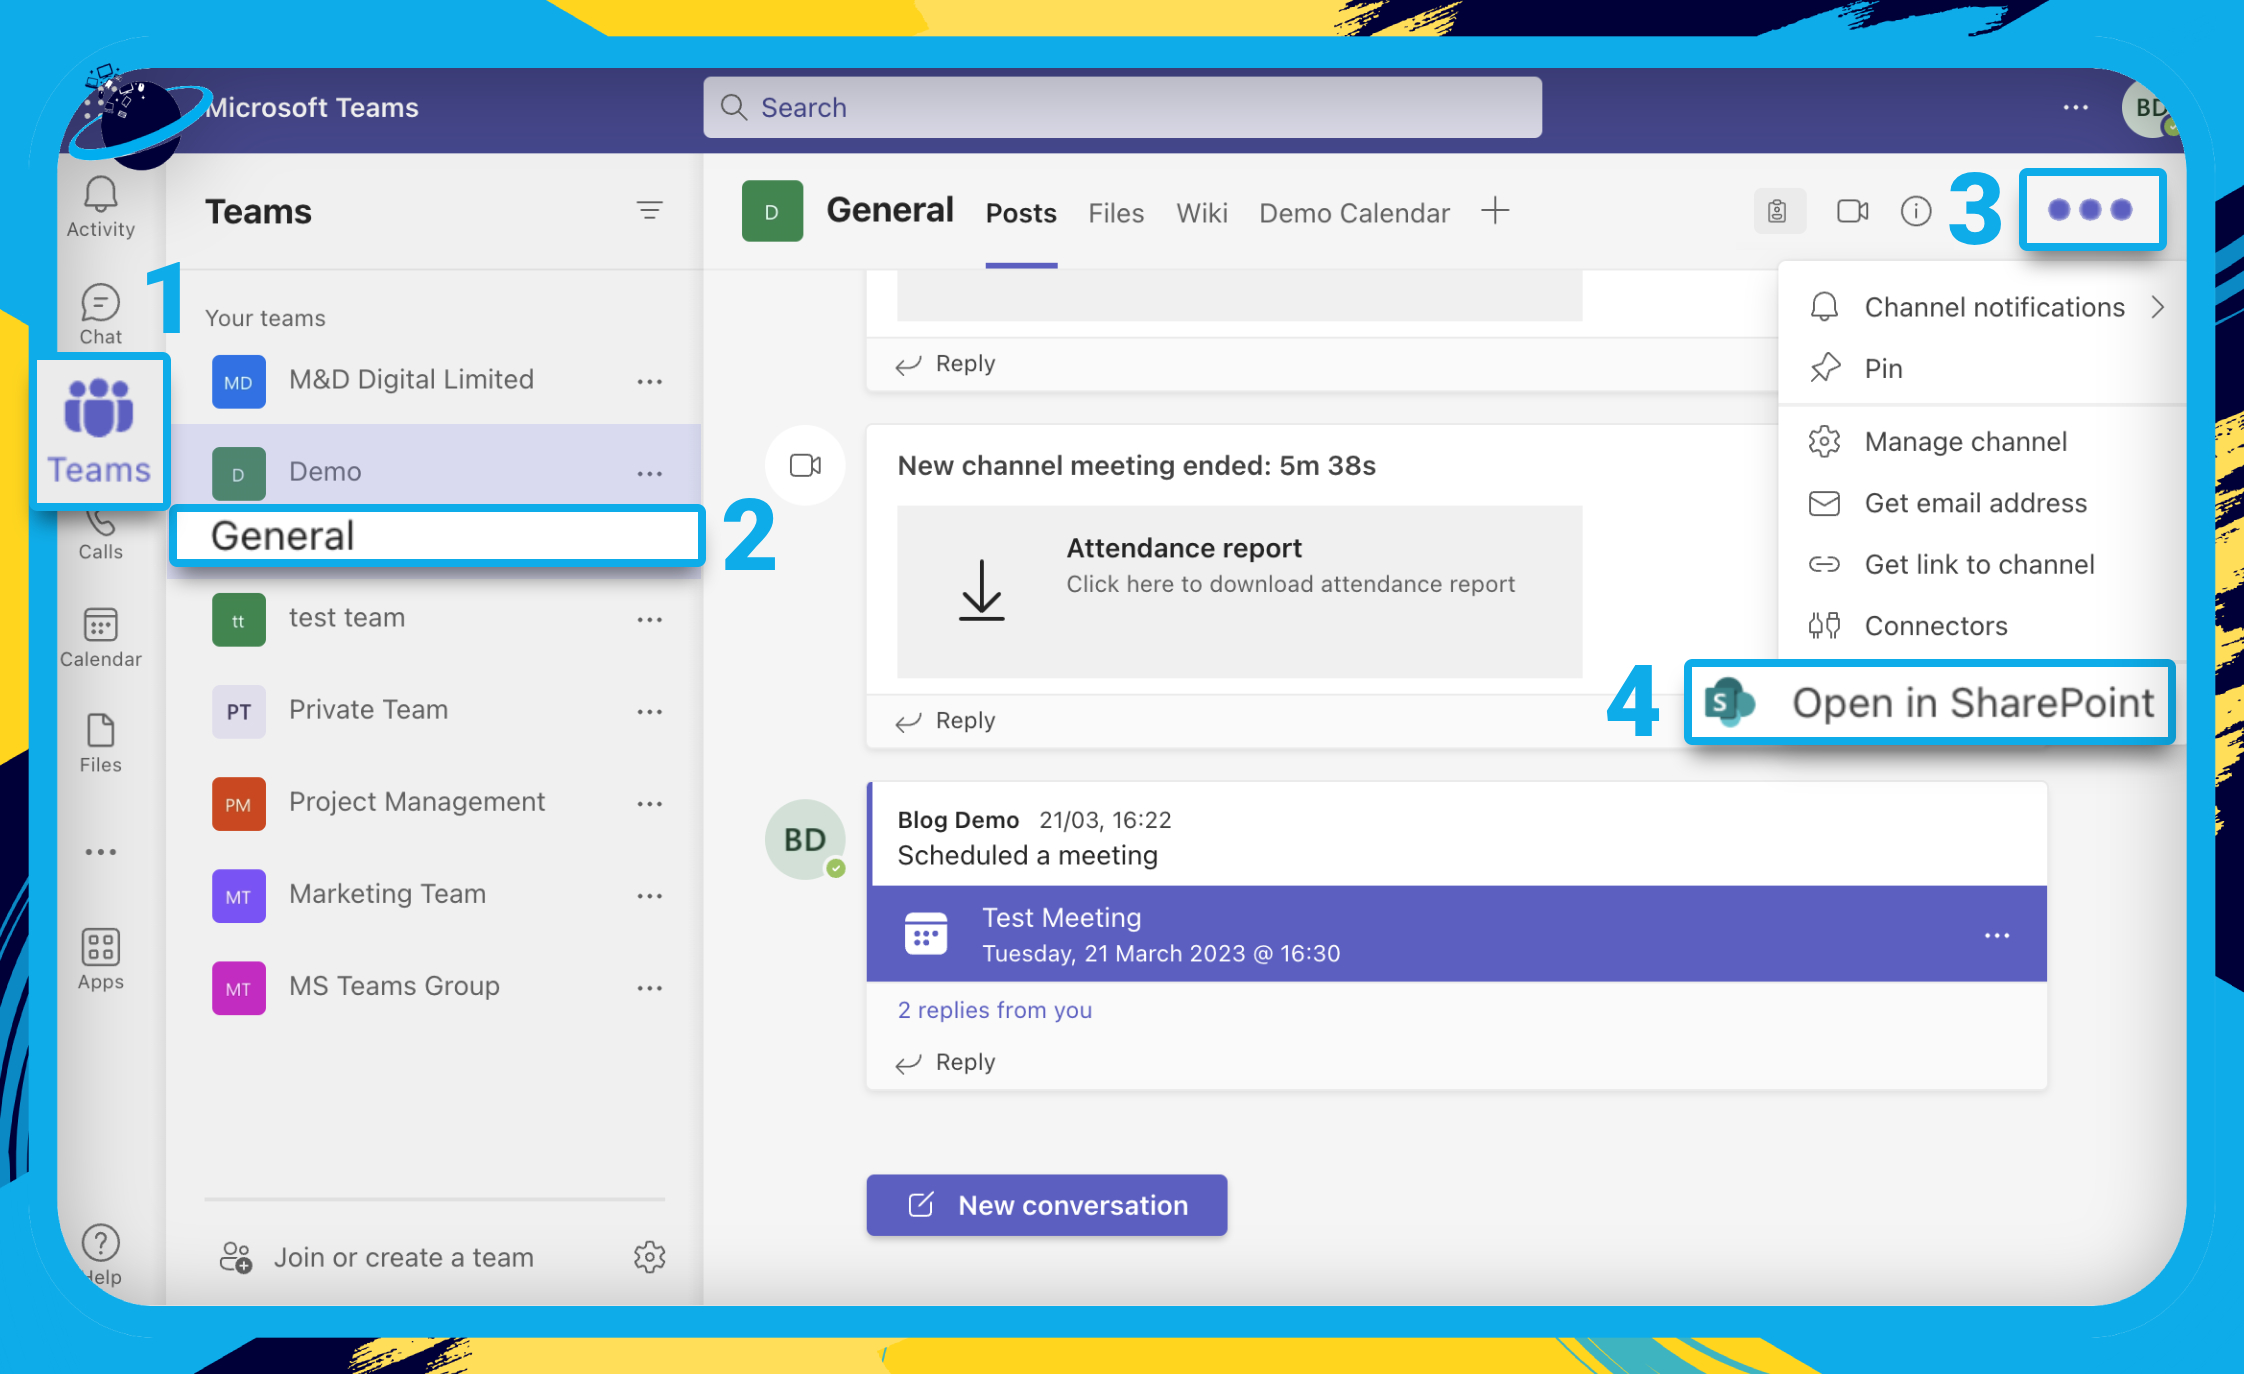
- First, open Microsoft Teams.
- Go to “Teams” on the left. [1]
- Go to the channel you want to make private. [2]
- Click the three dots in the top right. [3]
- Select “Open in SharePoint” from the dropdown. [4]
- If you can’t see “Manage access” click the info icon. [1]
- Click on “Manage access.” [2]
- Now click the small icons next to “Members” and “Visitors” [3]
- Then select “Stop sharing” for each group. [4]
- Finally, hit “Remove” to confirm.
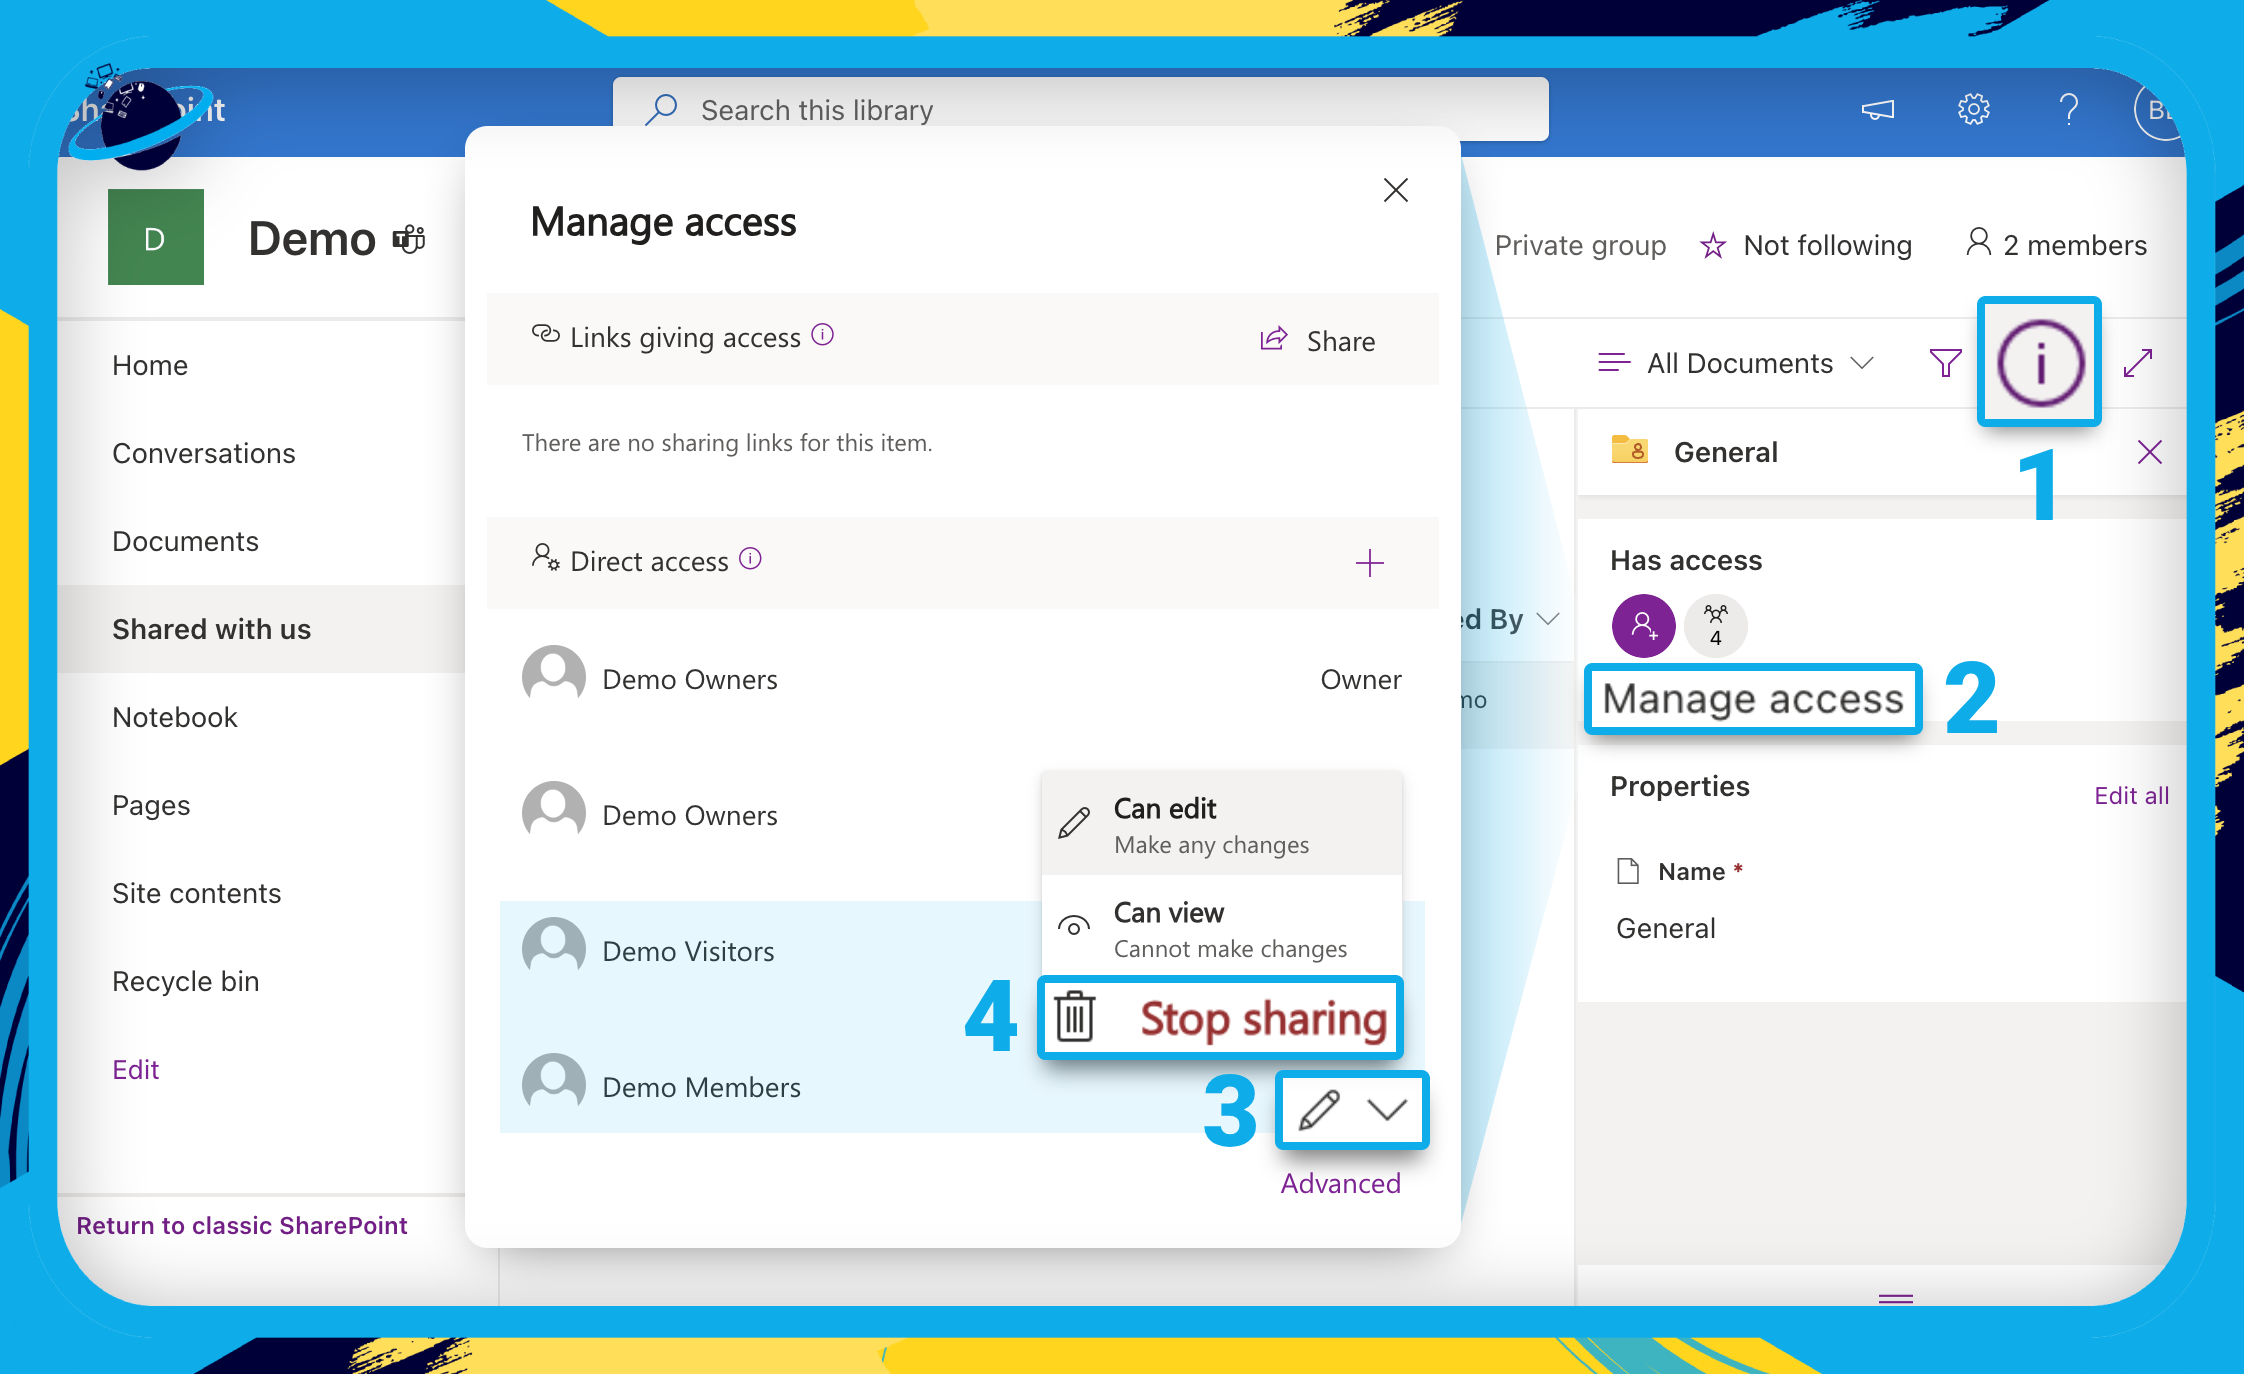
- Once complete, only Team and Channel owners will be able to view the channel.
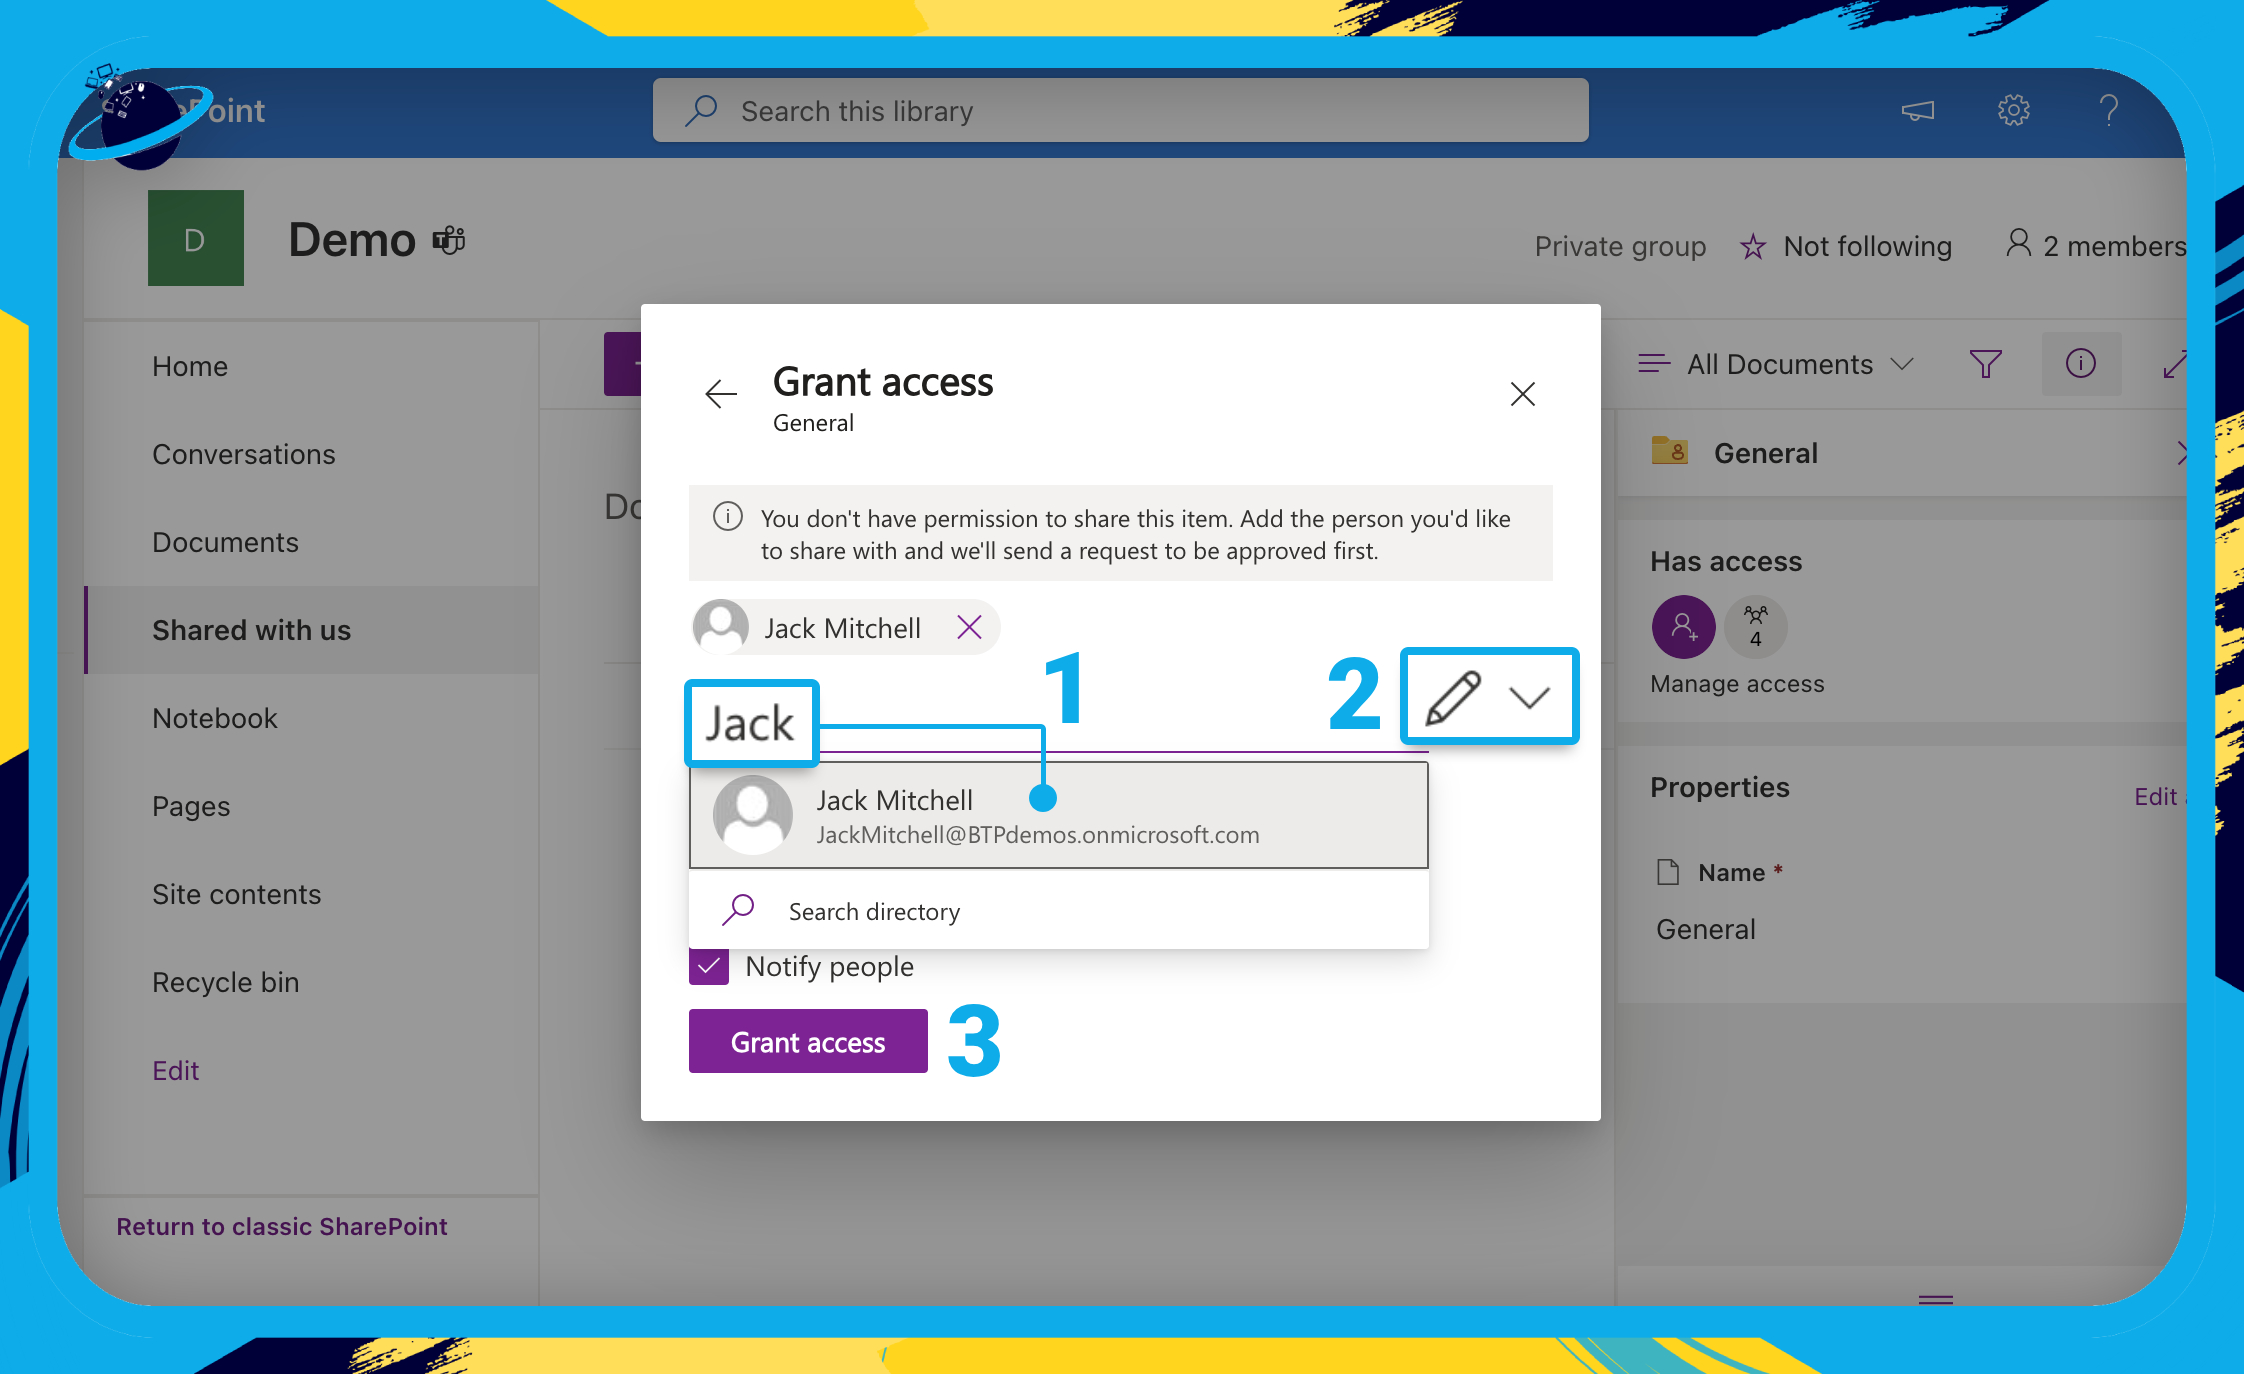
- To grant access to additional people, click “Manage access” again. [1]
- Then click the plus icon inline with “Direct access.” [2]
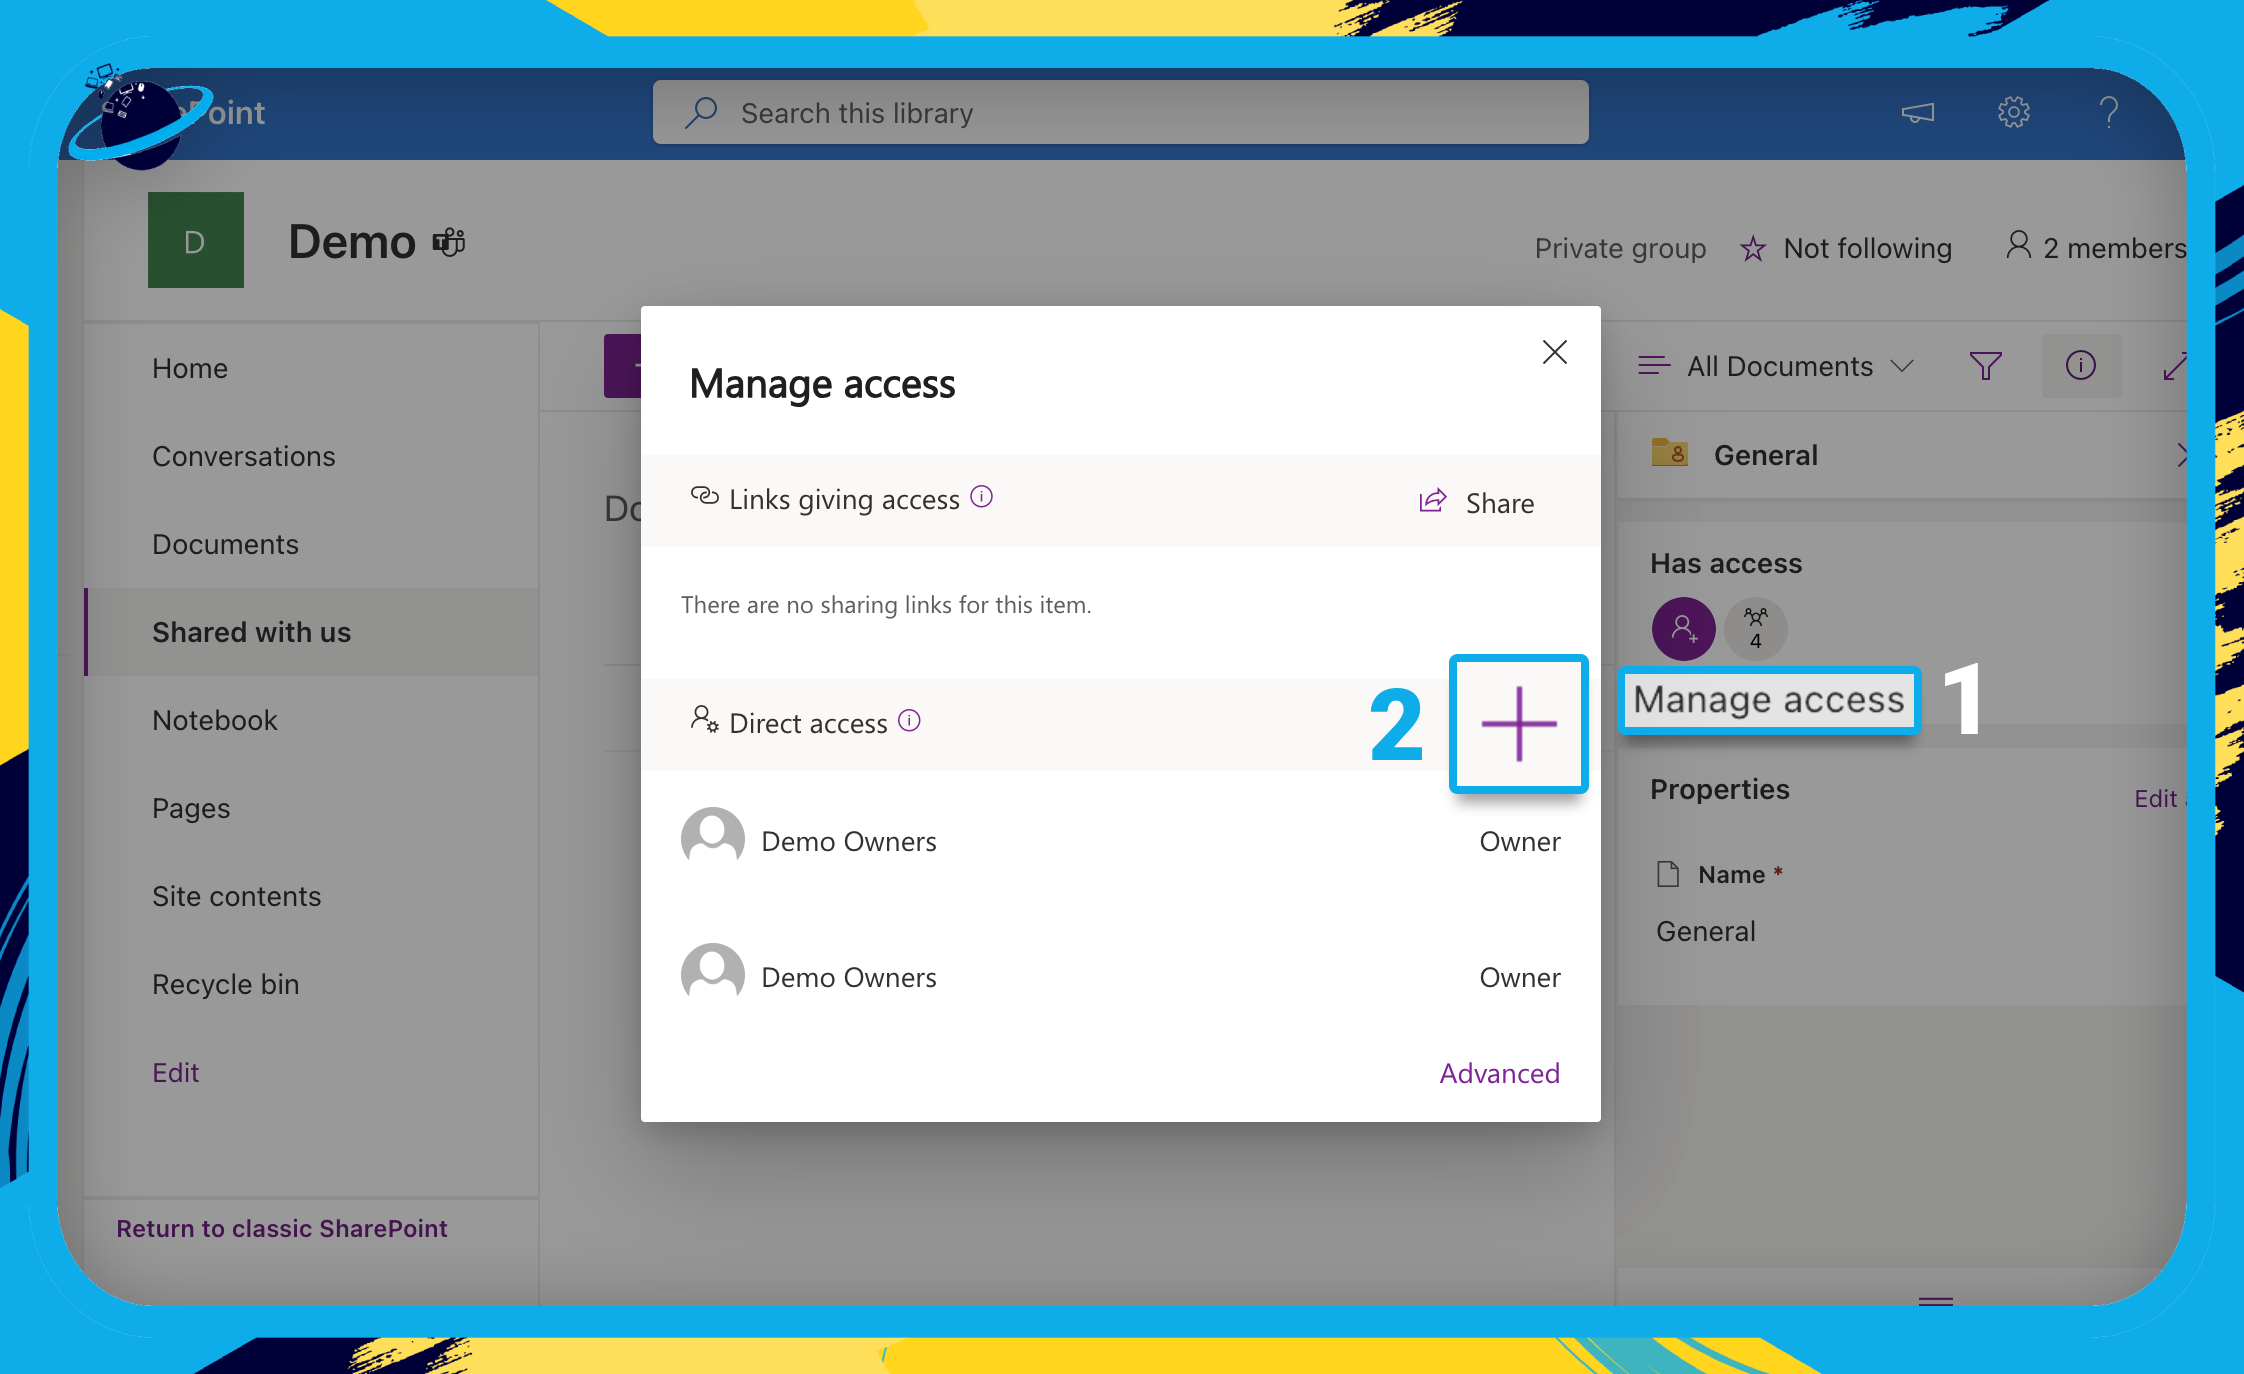
- Enter and select the names of whoever you want to grant access to. [1]
- Set their access level (can view or can edit). [2]
- Then click “Grant access.” [3]
- To undo the process, and grant access to the Members and Visitors, go to “Manage access.”
- Enter and select [your team name] Members.
- Enter and select [your team name] Visitors.
- Then click “Grant access.”

In-depth step by step guide [with screenshots] – How to make a Teams channel private after creation in Teams
Below is a much more in-depth guide on how you can set a team to Private after its creation. This guide includes the visual context in screenshots to help you understand the steps required to change privacy settings for a team in Microsoft Teams. As well as screenshots, there is also in-depth context on each step that you may find quite difficult to address properly. As stated before, you cannot set individual channels’ privacy modes, but you can for teams; use the in-depth guide if you struggle to understand the steps illustrated above.
- Firstly, open Office 365.
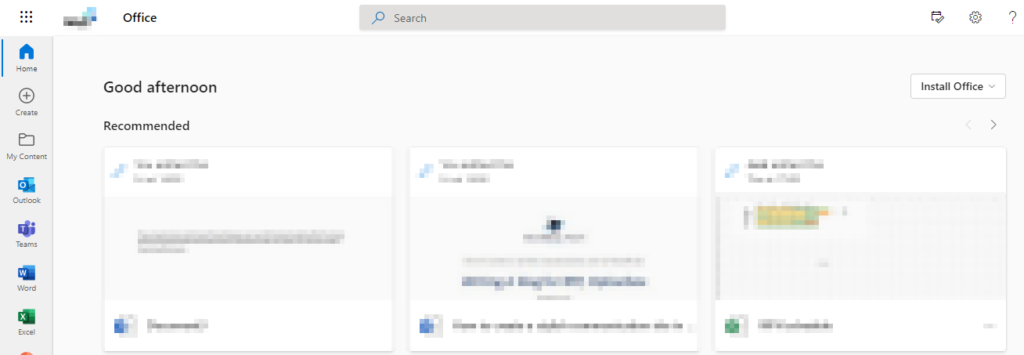
The first thing you must do before starting the process is open office 365 and sign in to the program to proceed with the steps ahead.
- From there, use the launcher to navigate to Microsoft Teams.
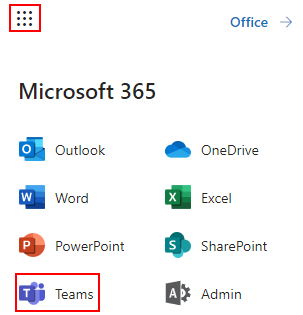
To find the launcher, simply navigate to the nine dots in the display’s top left corner and navigate to Microsoft Teams once the launcher is opened.
- In the menu, select “teams.”
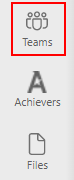
There will be a menu on the left side of the team’s homepage with a list of different options; from this list, select the one that says “teams.”
- Select a team and click on “more options,” illustrated by three dots.

Once you have found your team, click on “more options,” which is illustrated by three horizontal dots. The “more options” section of a team’s page is essentially where you can access settings to edit any team preferences as required.
- After that, select “edit team.”
- Under the privacy drop-down, click on “private.”

This drop-down option is not available for individual channels in the team section; the only way to set a channel private is to set the entire host team to private using the steps illustrated here. Once the team has been set to private the channels associated with that team will also be set to private, and you will be able to proceed with finalizing the steps ahead.
- Finally, press “Done.”
After following the instructions above, you will have updated a team’s privacy status in Microsoft Teams. While these changes cannot be applied to a channel in Microsoft Teams, you may get comparable outcomes by following the steps above and changing the status of a team, which is permitted inside the program. With the in-depth guide, you have more context on each step, giving you the ability to understand what the step requires before proceeding ahead. Members of an organization will not be able to see the material within a team if the privacy mode is set to private. Only the members you specify at the team’s creation, and the team’s owners will be able to observe and perform actions within that team.
Why may you want to set a team to private after its creation in Microsoft Teams?
One reason why you may want to set a team to private is if you need to update information on a channel, you may wish to keep the process of those updates private; once those updates have been finalized, you can then set the team to the public for other members of your selected group to view.
Another reason is to maintain privacy; if you have a lot of sensitive information that you need to refine or have members of the group removed or updated, you can set the group team to private to ensure that information remains secure from any data breaches. Setting a team to private also works well to keep information private from individuals who are no longer part of your organization or group for a limited amount of time or until further notice.
Conclusion
That’s it for the blog; thank you for taking the time to read our content on how to set a team to private. We hope the solution provided above has assisted you in resolving the issue you have with setting a channel to private. As mentioned earlier, there is no way to set individual channel privacy settings; once that channel has been created, you will need to change the privacy settings of each team to keep channels within that team private upon request. We have outlined how you can set each team’s privacy settings upon request. If you encounter any issues when trying to follow the process above, simply drop a comment below, and we will address those issues as soon as possible.