The hardware you use in Microsoft Teams must be working correctly; otherwise, you run the risk of not being able to properly communicate with members in your meeting. However, what can you do to ensure that the hardware works well with Microsoft Teams? You can run test calls and meetings within the program to give you a better understanding of the hardware you currently have. For instance, you can run a test call to ensure that audio inputs and outputs are working correctly; you can run test meetings to ensure that your camera feed, network, and sharing capabilities are working correctly.
To run a test call, you can simply access the settings section of Microsoft Teams and make a test call from that location. However, for a test meeting, you will need to run a manual meeting live before you proceed with having the actual meeting. The guide here will cover both the methods in more depth below, have a read and see how you can do a test call or meeting in Microsoft Teams.
Here are the two different approaches you can take to test the various features within the program. If you have a meeting or call scheduled at a later date, you can use a test call and meeting to ensure all hardware works well with Teams software so you have no issues with the program during a real call or meeting.
How to run a test call in Microsoft Teams
When you make a test call in Microsoft Teams, you can test your microphone, speaker, and camera during that call. There will be a friendly digital test companion on the other side called Test Call Bot, whose instructions will help you to record a brief message. You will hear the message again. After that, you’ll receive a report of the test call and can make modifications to your device settings to ensure everything is working for your actual call in Microsoft Teams. Below is a guide on running a test call in Microsoft Teams, have a read and see what you can do to run a test call in Microsoft Teams.
- Firstly, open Microsoft Teams (desktop app only).
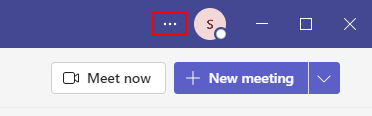
- Now click on “Settings & More,” illustrated by three dots.
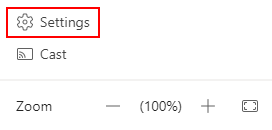
- From there, click on “Settings.”
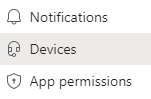
- Now click on “Devices.”
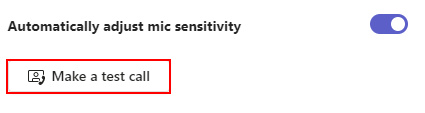
- Now under “Automatically adjust mic sensitivity,” click on “Make a test call.”
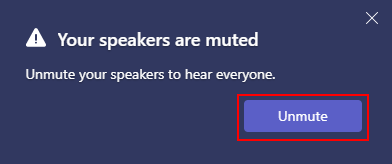
- Finally, have a listen by unmuting your microphone.
When the steps are complete, you will be able to run a test call with a chatbot named “Teams Echo.” From here, you will be able to receive vocal messages, so you can test your speakers, cameras, or mic if necessary. When choosing the correct gear for your meeting setup, there can be issues when choosing the correct audio and video inputs. It is often quite difficult to justify spending on a dedicated camera or mic as the ones built into your PC work just fine. Therefore testing the equipment before you spend money on a dedicated system could save you time and money.
In-depth guide [with screenshots] – How to run a test call in Microsoft Teams
Here is a more in-depth guide on running a test call in Microsoft Teams; if you find that the guide above isn’t working correctly for you as it may be difficult to understand, the guide here will help give more in-depth context with screenshots. The guide includes screenshots to give you a visual representation of steps where you may not understand the UI correctly. If there are any steps that you find hard to navigate, you can use the in-depth guide to help you progress through those steps.
- Firstly, open Microsoft Teams (desktop app only).

- Now click on “Settings & More,” illustrated by three dots.
- From there, click on “Settings.”
- Now click on “Devices.”
- Now under “Automatically adjust mic sensitivity,” click on “Make a test call.”
- Finally, have a listen by unmuting your microphone.
From this point onwards, you will be able to make a test call with a chatbot named “Teams Echo.” You can ensure that the speakers, mic, and camera are working correctly for your actual meeting. When it comes to selecting the appropriate audio and video inputs for your meeting setup, there might be complications. It’s frequently tough to rationalize spending money on a separate camera or microphone when the ones that come with your computer perform just fine. As a result, evaluating the equipment before investing in a dedicated system might save you time and money.

How to run a test meeting in Microsoft Teams
You can also run a rest meeting in Microsoft Teams; if you need to test your equipment in a meeting, you can run an equivalent test meeting if needed. There isn’t a dedicated test meeting feature; however, you can run a live meeting with yourself to ensure that the equipment is working. Have a read-through to see how you can achieve this.
- Firstly, open Microsoft Teams.
- Now click on “Calendar.”

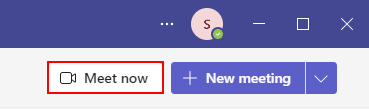
- After that, click on “Meet now.”
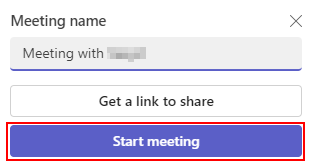
- Now click on “Start meeting.”
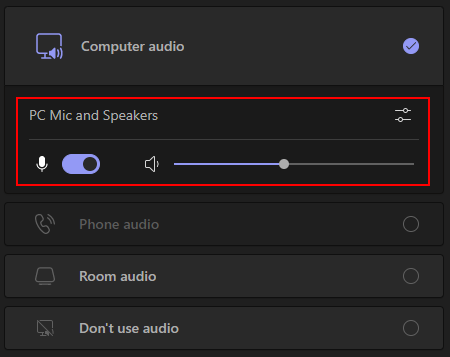
- Ensure your mic and camera are on.
- Click “Join now” to proceed with an assessment of your equipment.

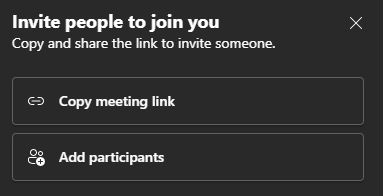
- Finally, you can send a meeting link to a colleague for better analysis as an optional step.
You will now be able to run a test meeting before your main meeting. A test meeting will allow you to test the different features within your Team’s meeting setup, from camera to microphone. By having a colleague as part of the test, you can also get their input on microphone and camera quality. If they find that they cannot hear or see you, there may need to be some changes made to help improve your meeting quality.
Conclusion
Thank you for reading this article about how to conduct a test call or meeting in Microsoft Teams. The procedures apply to both a test call and a meeting in Microsoft Teams. If you encounter any problems with the content shown above, please leave a comment below. We will resolve the problem as soon as possible.