Thumbnails provide an excellent way for users to recognize what the content illustrates in Microsoft Word. The program, primarily used for text-based documents, can also display a visual image of what the content is trying to portray. However, some users want to know how to make batch thumbnails for docx files in Microsoft Word. Have a read through the content below to get a better understanding of how you can create batch thumbnails for Word documents.
How to make match thumbnails for docx files in Microsoft Word:
- Firstly, open your Word document.
- Now click on the option for “File.”
- From there, you need to click on “Info.”
- Locate the ” Properties ” drop-down and click “Advanced properties.”
- When the Advanced properties panel opens, click on “Summary.”
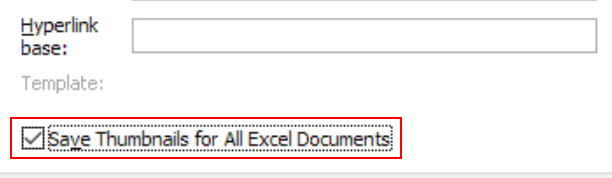
- Ensure the option for “Save thumbnails for all Word documents” is selected.
- Press “OK” to complete the process.
Now, if you open File Explorer, you can see the thumbnails for all your Word documents. You can make the thumbnails larger by increasing the size of your document viewing panes. However, you must remember that the above process will only work for versions older than 2016. Unfortunately, there isn’t a way for you to edit batch thumbnails in newer versions of Word.
Why may you want to make batch thumbnails for docx files in Microsoft Word?
Sometimes the title may not be as informative as an image of the content. And you may want to make batch thumbnails for all your files in Microsoft Word if you want to view the file’s contents without opening the document. Thumbnails also provide an excellent way to add color coordination to your document; if someone is visually impaired, you can use thumbnails and increase the size so they can see the content better.

An in-depth guide on how to make batch thumbnails for docx files in Microsoft Word
If you encounter a situation where you cannot understand some of the steps we have provided, you can use our in-depth guide to help. Our in-depth guide includes various screenshots and resources you can use to help go through the Microsoft Word UI.
- Firstly, open your Word document.
As illustrated earlier, the process will only work for the desktop version of Microsoft Word. Please ensure that your application is older than 2016; otherwise, the process will not work for you.
- Now click on the option for “File.”

At the top of Microsoft Word, there will be a ribbon (menu). Please select the option for “File.”
- From there, you need to click on “Info.”

- Locate the “Properties” drop-down and click “Advanced properties.”
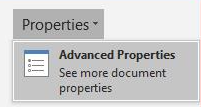
The option for Properties is missing in versions newer than 2016. However, if you are using a version older than 2016, you will have this option available; click on it to proceed with the steps ahead.
- The Advanced properties panel will open; you need to click on “Summary.”
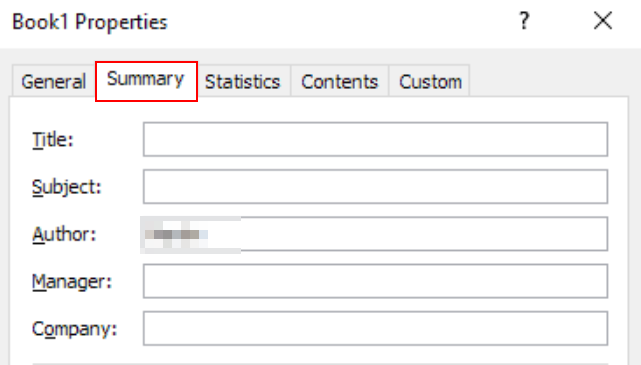
Microsoft has removed this option from the newer versions of Microsoft Word; however, it is available in the older program versions.
- Ensure the option for “Save thumbnails for all Word documents“ is selected.
- Press “OK” to complete the process.

Upon completing the steps, you will have managed to add thumbnails to all your Word documents in Microsoft Word. Unfortunately, there isn’t a way for you to edit the thumbnails, as Microsoft Word generally chooses the image at the top of your document to display as a thumbnail. The process shown here will only work for versions older than 2016, as newer versions of Microsoft Word already have the thumbnails included in the document.
This is why before you save the document or try and complete the process to add thumbnails onto the document, I would highly suggest you add an image at the top of your document representing something equivalent to a thumbnail you want. This can be an image stamp of the information in the Word document or a logo.
Use Office Thumbnailer to make batch thumbnails for docx files in Microsoft Word
Office Thumbnailer is an application you can download to your local desktop. With Thumbnailer, you can batch-create thumbnails showing the contents of text files, PDFs, or Microsoft Office documents. You can also customize the size and name of the output files.
| Office Thumbnailer |  |
| Works with: | Files Size: | Price: |
| Windows 8.1 Windows 8 Windows 7 Windows Vista Windows XP Windows 2003 | 11.6 MB | $24.95 20-day free trial |
We were able to install and run Office Thumbnailer on Windows 10 and 11. However, the program did not recognize our Microsoft 365 applications. If you run into a similar problem, you can work around it by batch-converting your docx files to PDF. That can be achieved by using a free online converter.
- First, download Office Thumbnailer and install the program using the install Wizard.
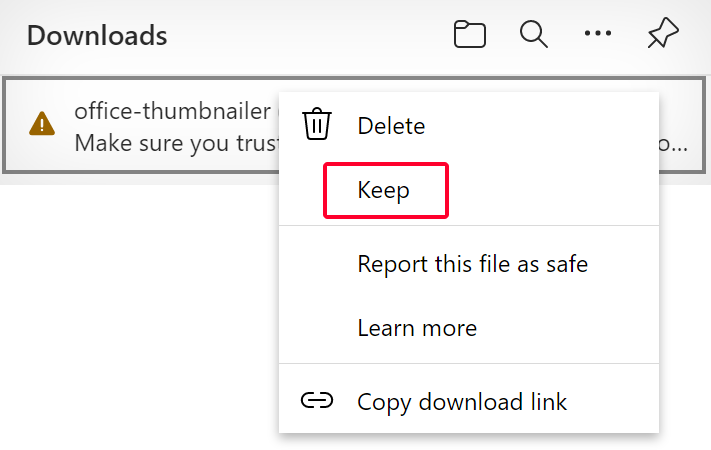
- If you see “office-thumbnailer is not commonly downloaded” in the downloads pane, right-click the message and select “keep.”
- Click on “Show more” when the warning box appears.
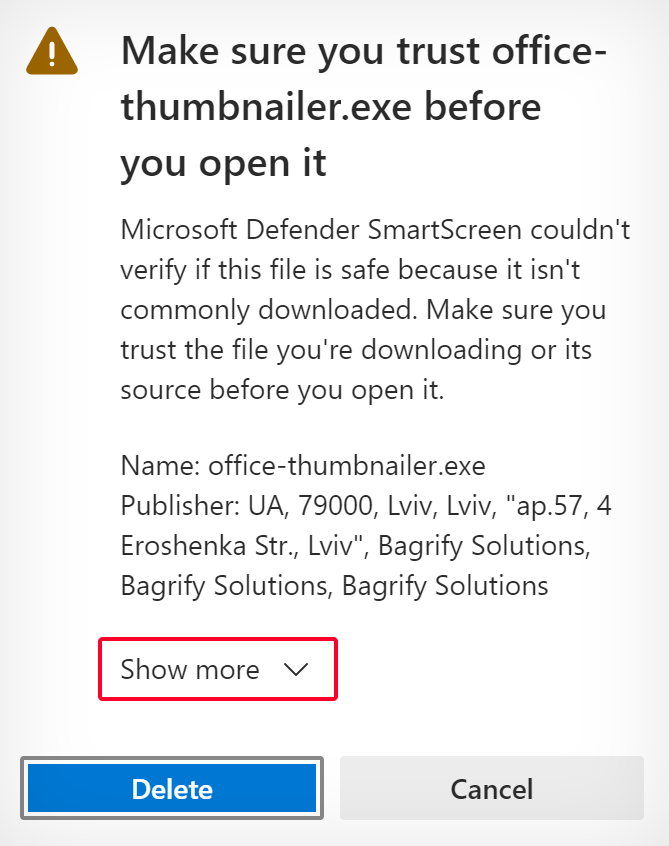
- Then select “Keep anyway.”
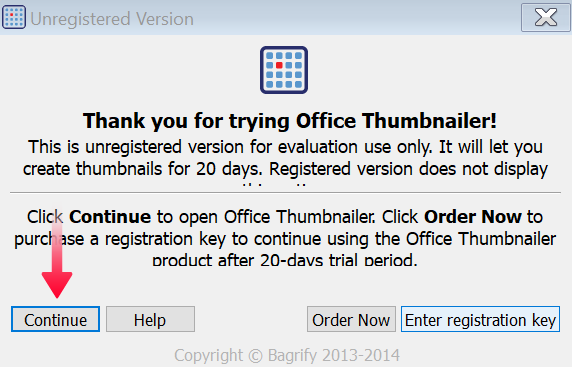
- Once you’ve installed the program, open
 Office Thumbnailer.
 - Click the “Continue” button.
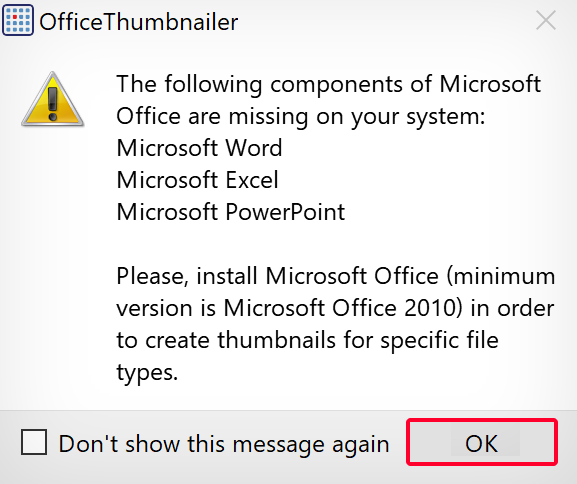
- If the program fails to detect your Microsoft applications, click “OK.”
- You can use this free online converter to convert your docx files to PDF.
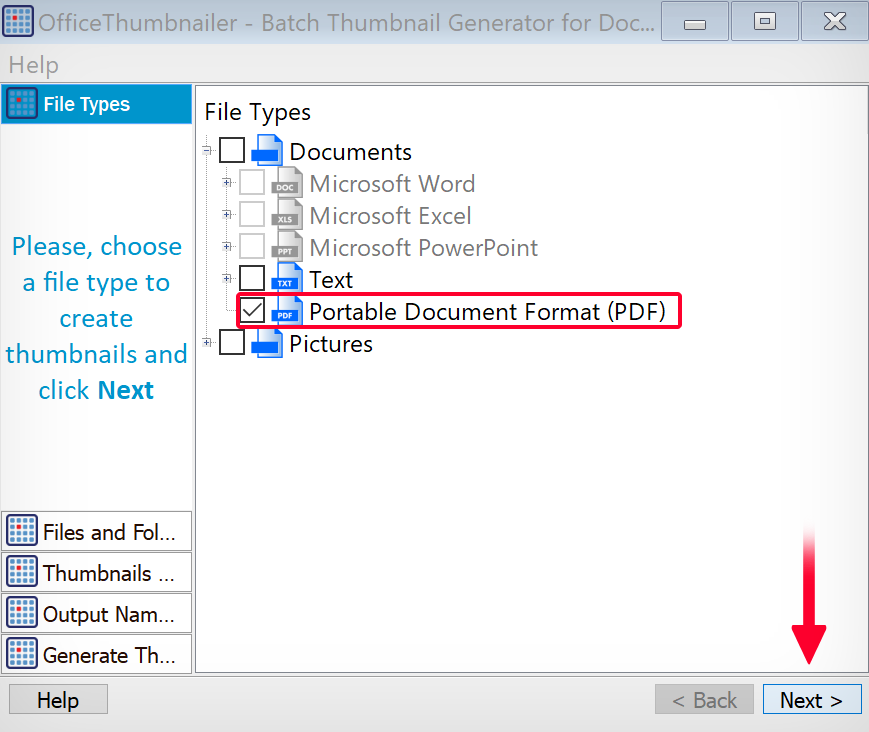
- Inside the application, select “Portable Document Format (PDF).”
- Then click on “Next.”
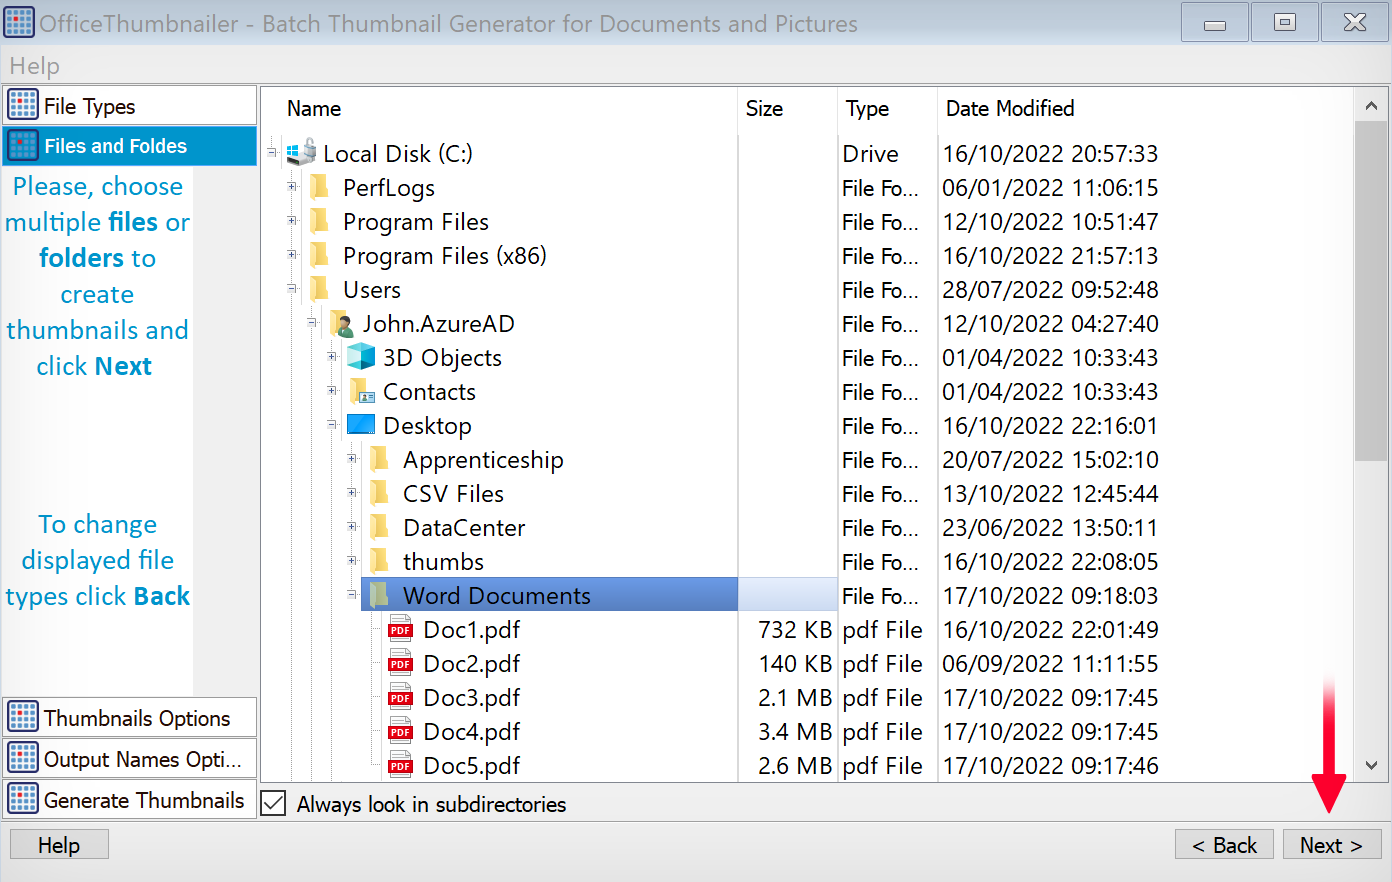
- Now select the documents to create thumbnails for.
- You can do that by selecting individual files or by selecting a folder or folders.
- Once you’ve selected the files or folders, click “Next.”
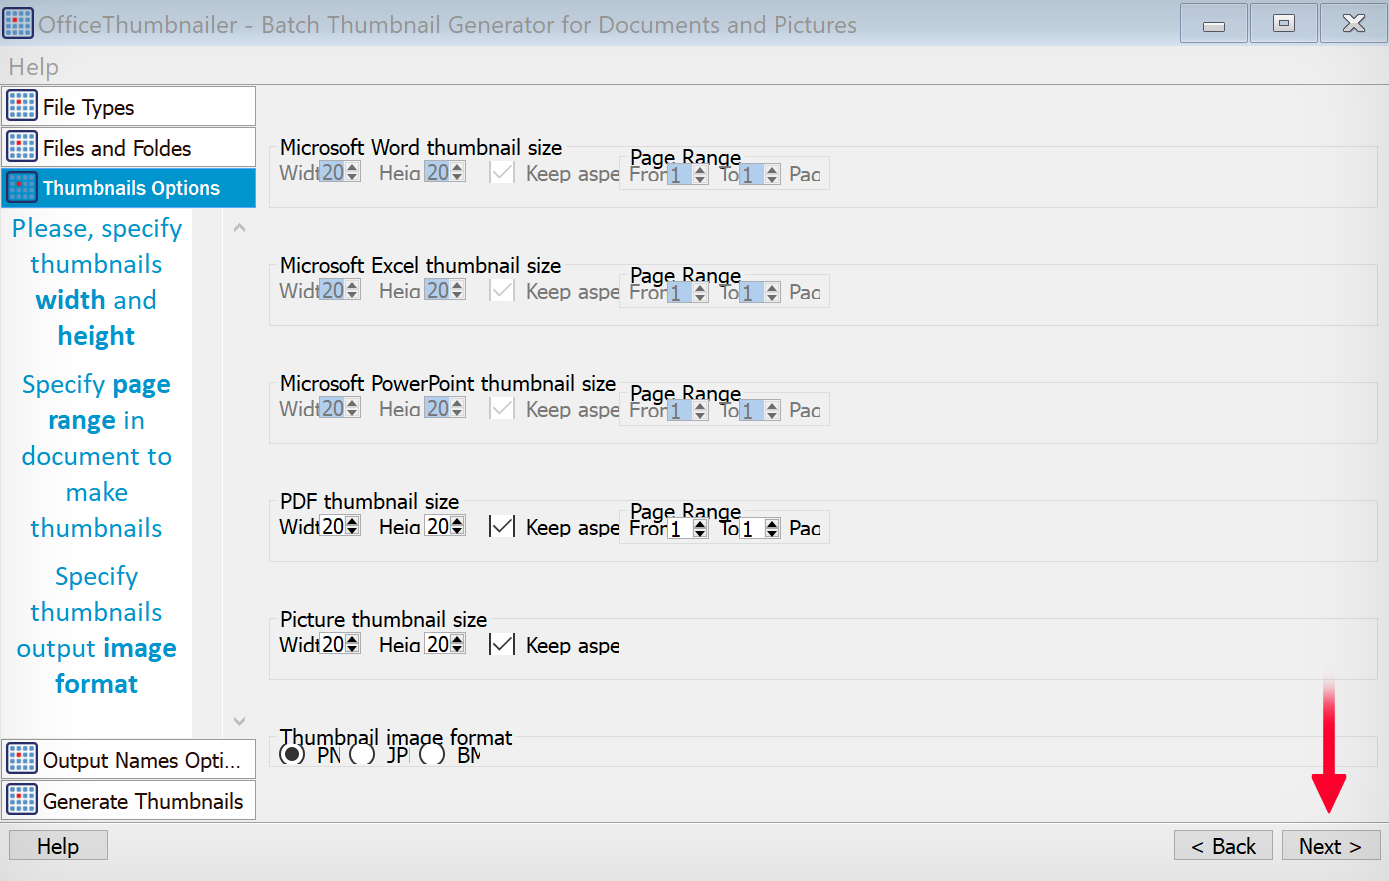
- In the next section, you can modify the size and file type of the thumbnail image.
- Unless you need a specific size, you can click “Next” to continue.
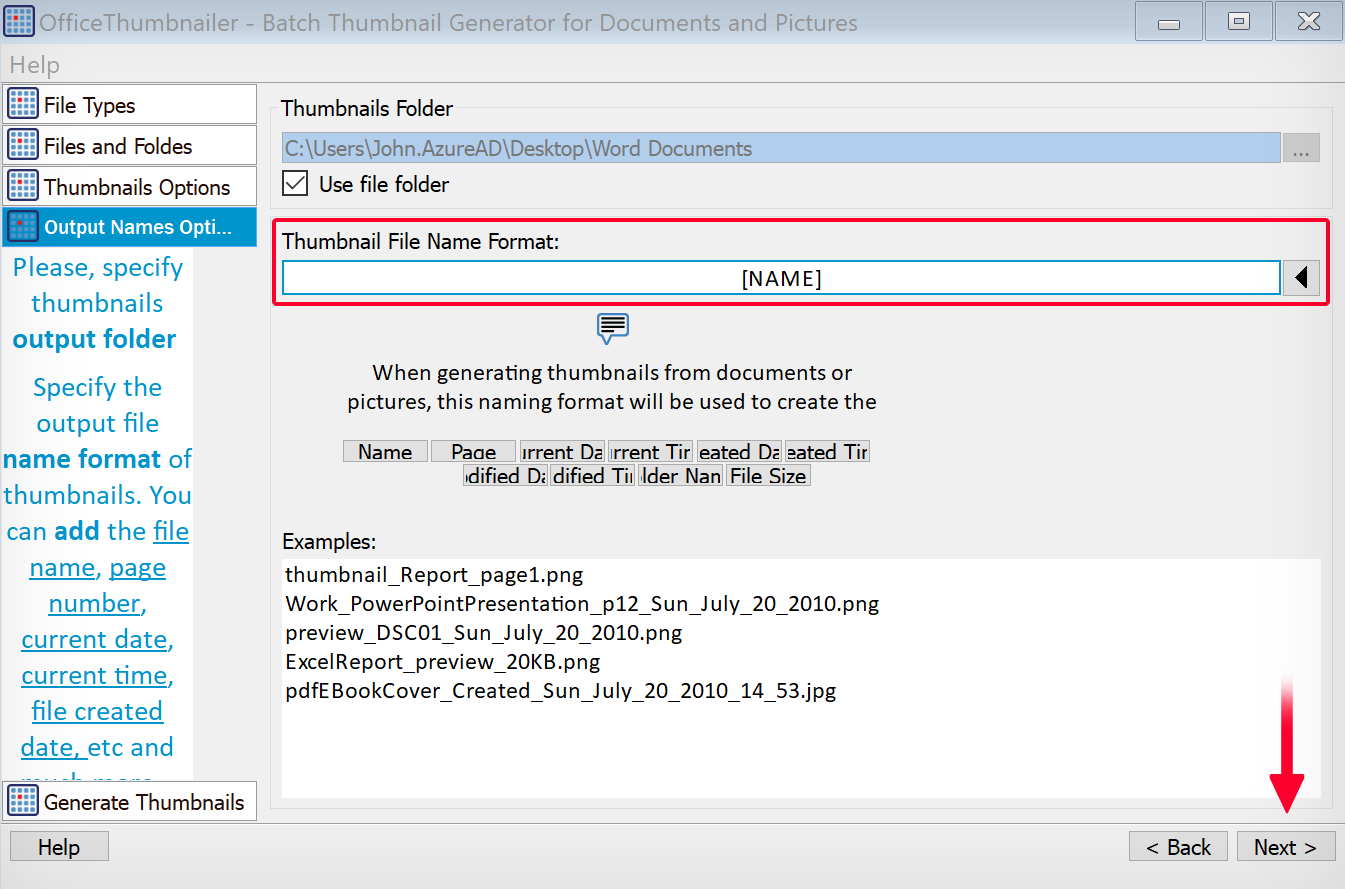
- In the next section, click the three dots and choose a location for your output thumbnails.
- If you want the thumbnails to appear in the same folder as your documents, check the box next to “Use file folder.”

- You can customize the name of the thumbnails under “Thumbnail File Name Format.”
- Please view the table below to learn how.
| Format | Description |
|---|---|
| [NAME] | This format will give your thumbnails the exact name of the document. For example, if your document is called Doc1.docx your thumbnail will be called Doc1.png. |
| [PAGE] | Adds the index of the document to the thumbnail’s name. |
| [DATE] | Adds the current date to the thumbnail’s name. |
| [TIME] | Adds the current time to the thumbnail’s name. |
| [CDATE] | Adds the date on which the document was created to the thumbnail’s name. |
| [CTIME] | Adds the time at which the document was created to the thumbnail’s name. |
| [MDATE] | Adds the date on which the document was last modified to the thumbnail’s name. |
| [MTIME] | Adds the time at which the document was last modified to the thumbnail’s name. |
| [FOLDER] | Adds the name of the folder in which the document is located to the thumbnail’s name. |
| [FILESIZE] | Adds the size of the document to the thumbnail’s name. |
- You can use any combination of the formats in the table to modify the name of the thumbnail.
- In our case, we used “[NAME]” as the format.
- You can type the formats into the text box or click the buttons below.
- When you’re happy with the format, click “Next” to continue.
- Finally, click the “Generate” button.

- Now open File Explorer and navigate to your output folder.
- Alternatively, you can right-click the thumbnails list and select “Go to File.”
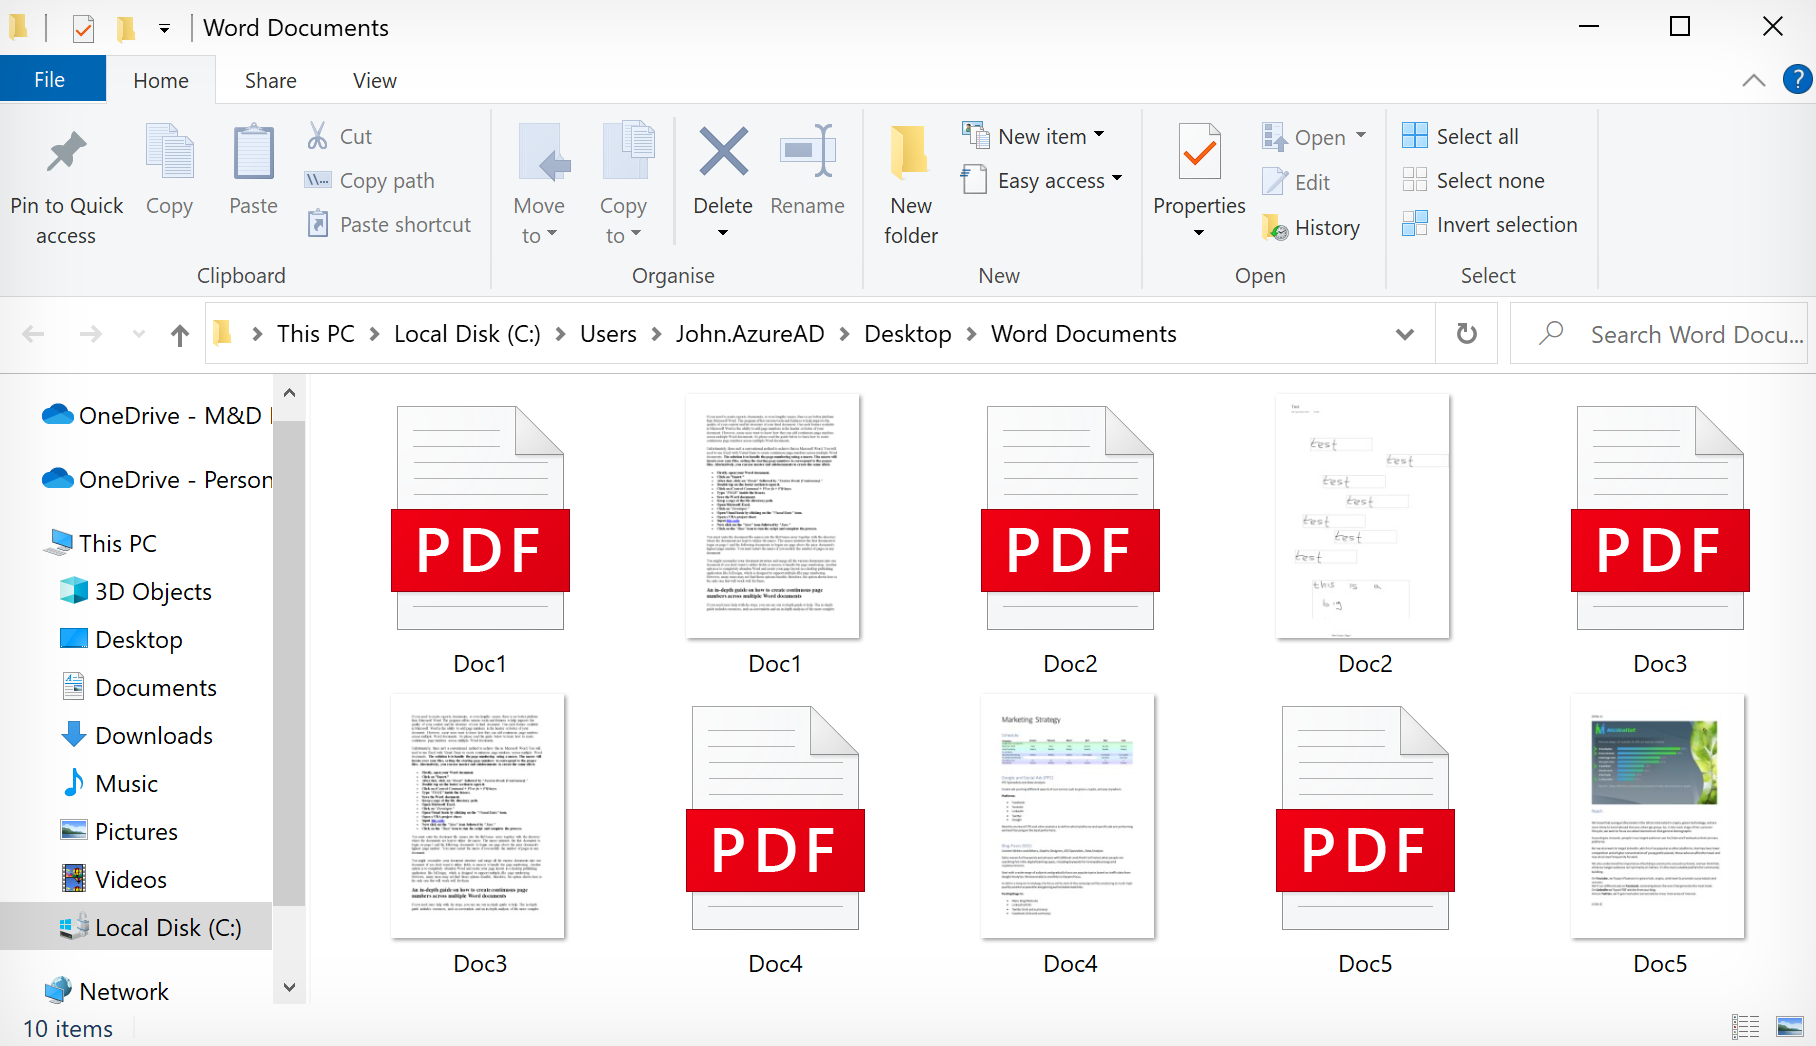
The result of the operation will be a collection of thumbnail images with the same name as the original document. And the thumbnails will be images of the contents of the document.
How to change a docx icon to a thumbnail in Microsoft Word
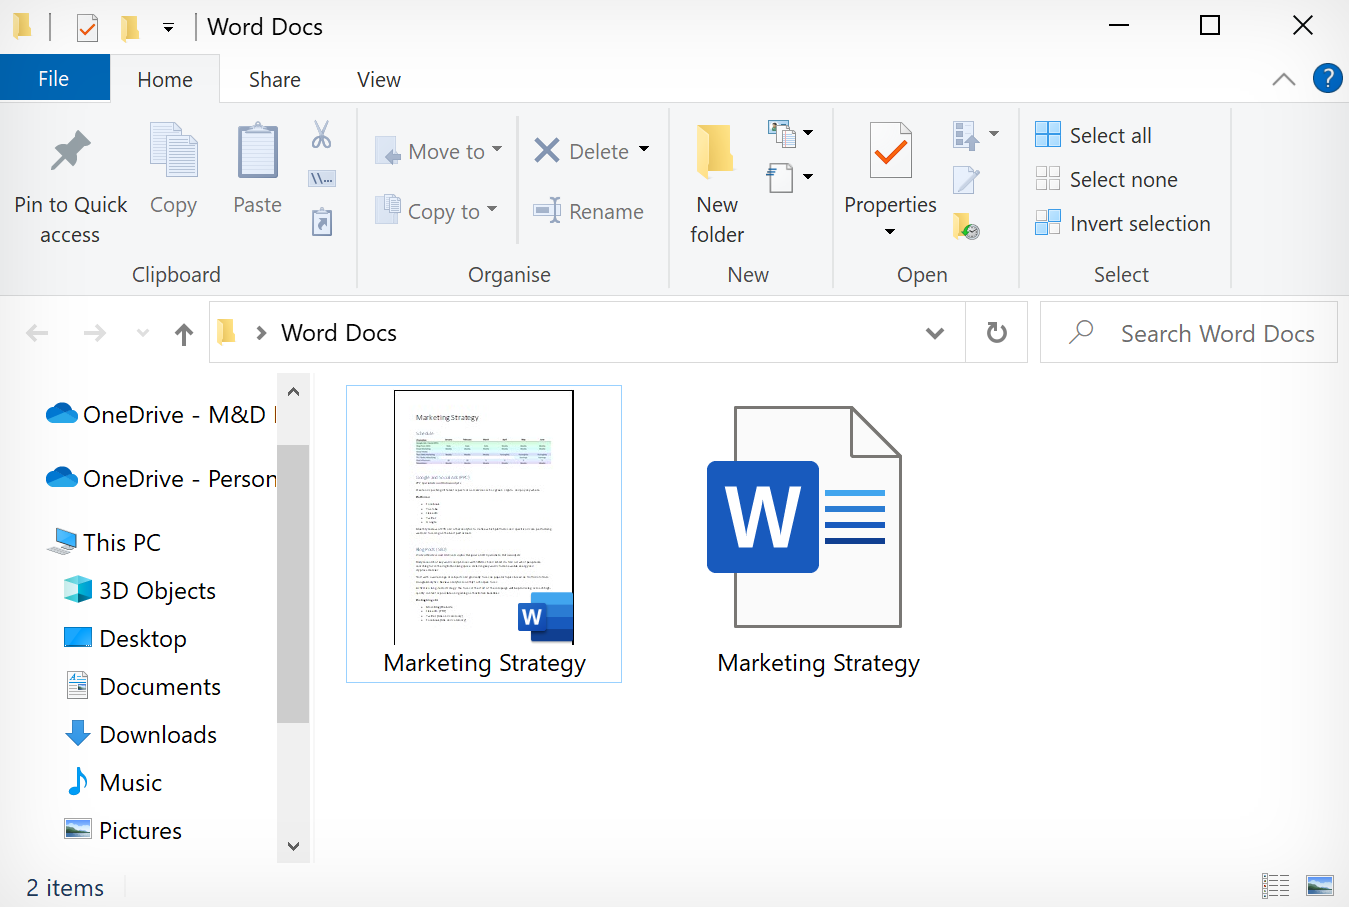
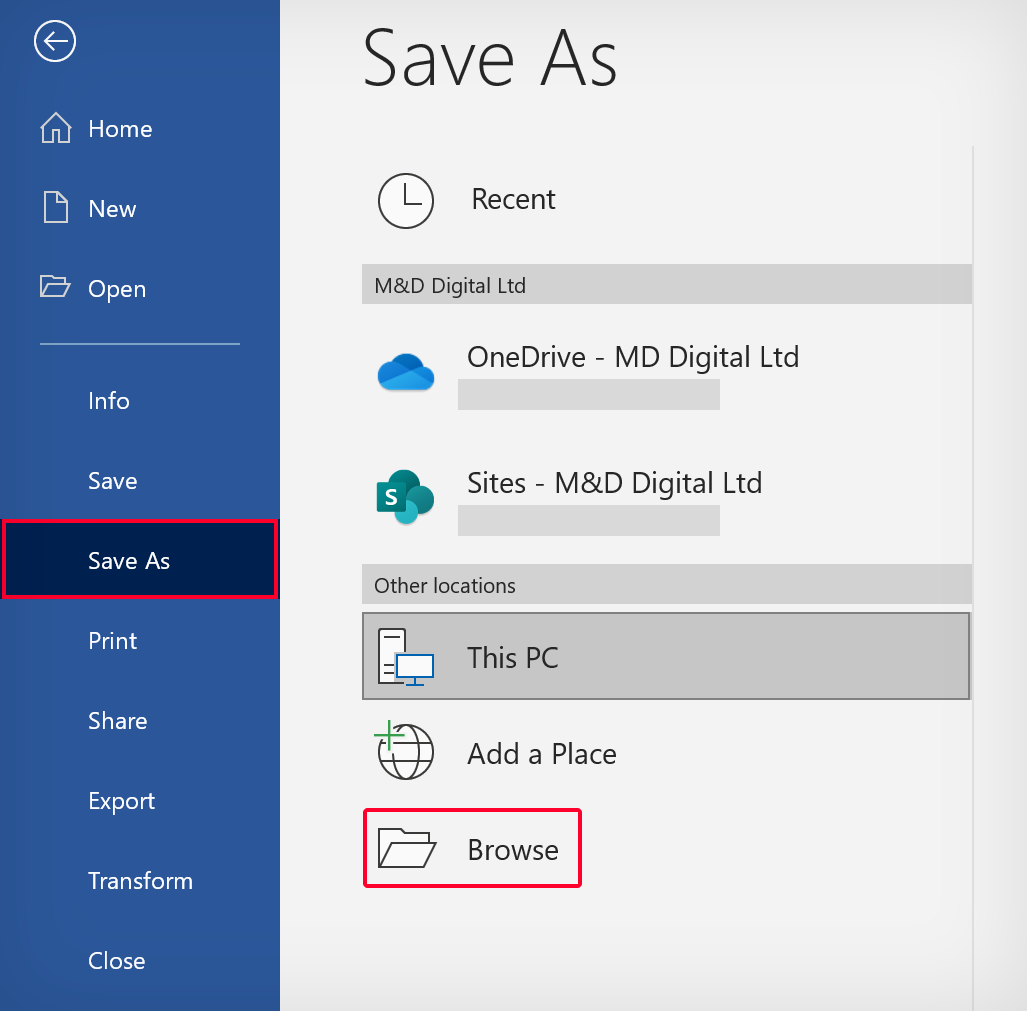
To change the standard docx icon to a thumbnail of the contents, you can first open the document in Microsoft Word and click on “File.”
- Next, go to “Save as” on the left menu.
- Click the select box for the file type and choose (*docm) or (*doc).
- Finally, click the “Save” button.
You will now be able to see the thumbnail of the file’s contents instead of the standard Word document icon. And if you have multiple “docx” files that you want to convert into “doc,” you can do that using this free converter. Please continue reading for more methods.
- Open your Word document and click on “File.”
- Next, go to “Save as” on the left menu.
- Then click “Browse.”
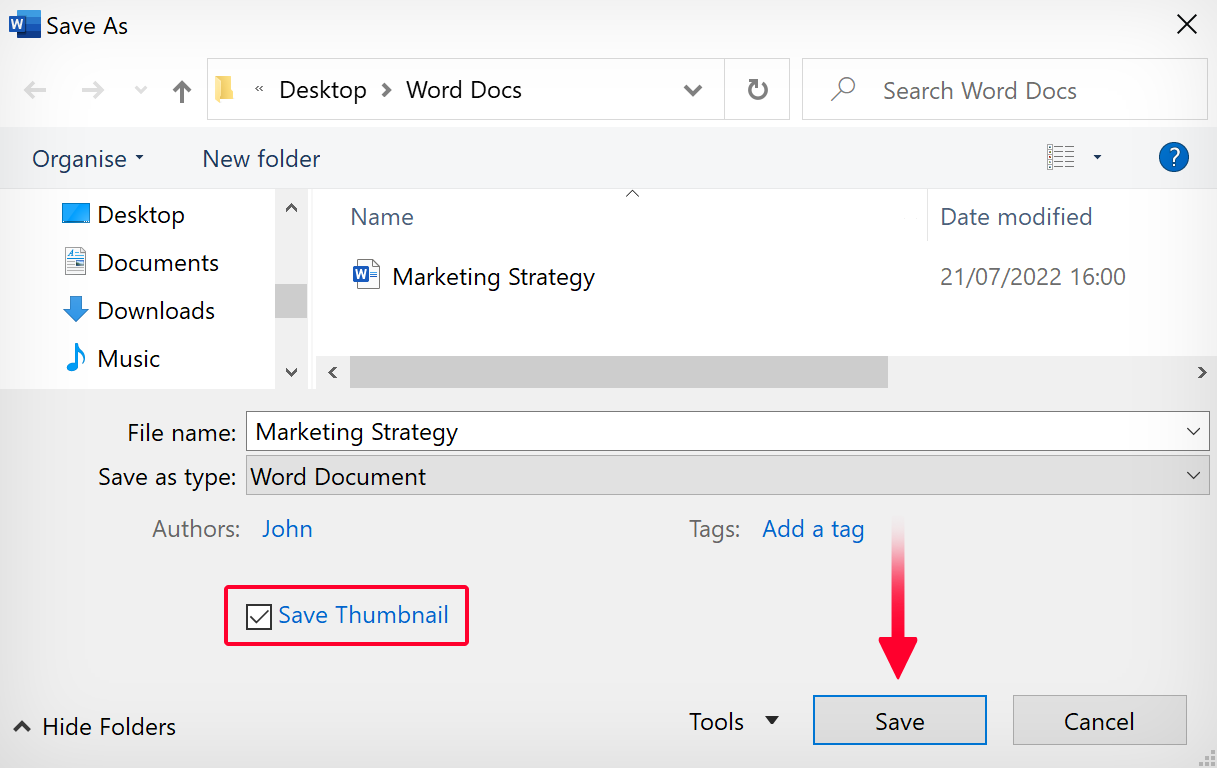
- Check the box next to “Save Thumbnail” in the Save As window.
- Then click “Save.”
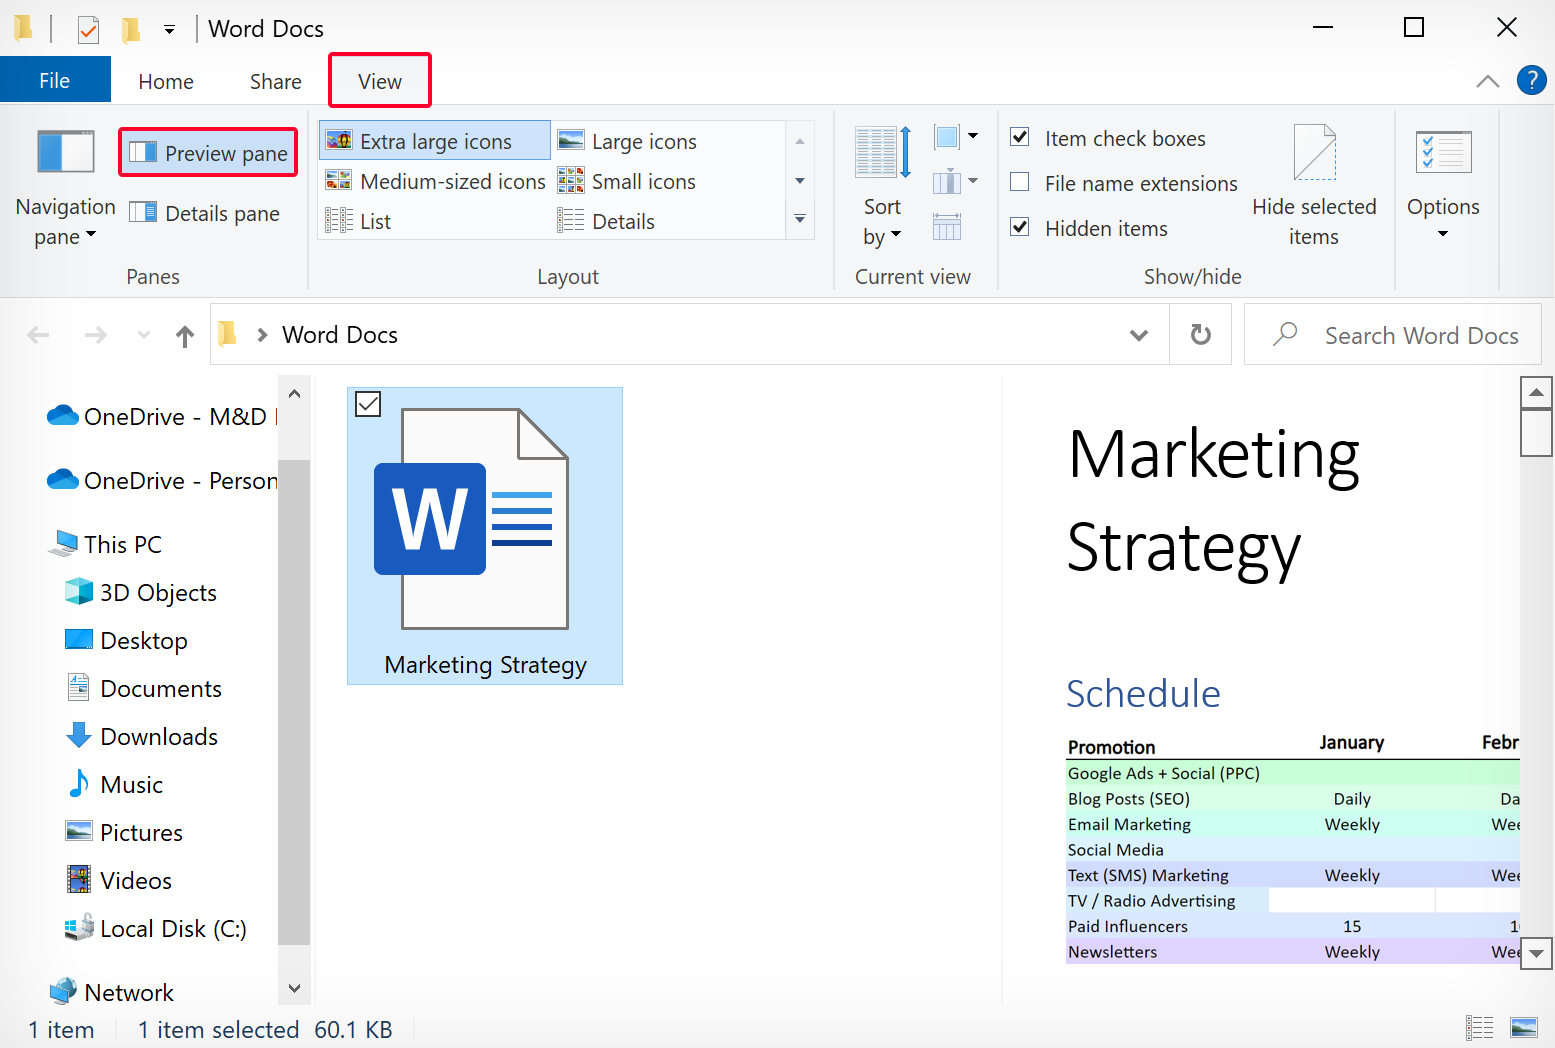
Another way to view the content of the document is to click on “View” in File Explorer and turn on “Preview pane.”
Conclusion
Thank you for reading our guide on how to make batch thumbnails for docx files in Microsoft Word. You can use third-party software to create thumbnail images or change the default icons to thumbnails by saving the files as “doc.”
You can use this free online converter if you need to convert multiple docx files to doc. And if you have any more questions related to this subject, please leave us a comment.