Sharing files is a fantastic way to help users get the required information. For instance, in an institutional environment such as a school where you need to deliver an important notice to all users, you can do so by sharing the file in Microsoft Teams. However, users now want to know how to restrict files to Read-Only. Microsoft Teams allows users to limit a file to Read-Only, which stops people from editing the file.
You will need to access the SharePoint Permissions section to change files to Read-Only:
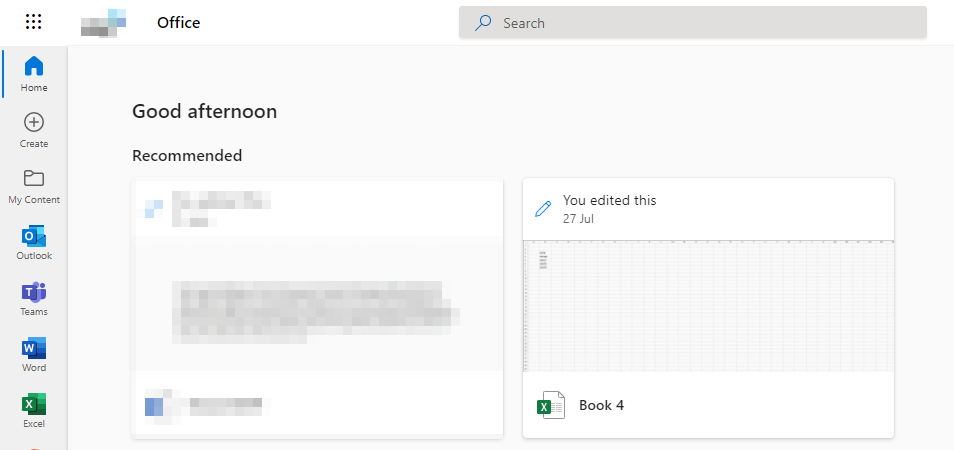
- Firstly, open Office 365.
- Now click on the launcher.
- Click on the option for “SharePoint.”
- Choose the group site that is associated with your team.
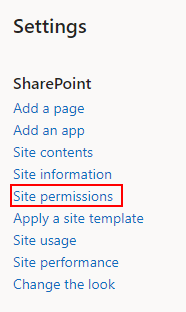
- Now you need to click on the option for “Settings.”
- From the list, click on “Site permissions.”
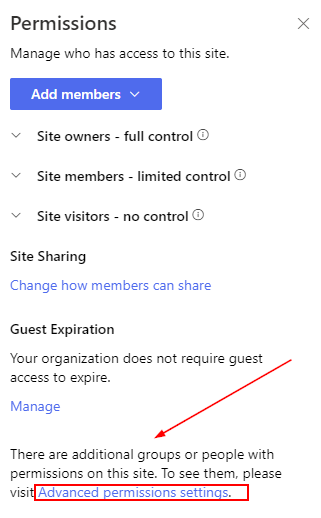
- Now you need to click on the “Advanced permissions settings option.”
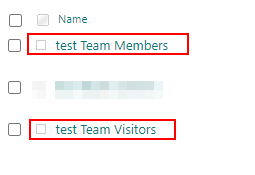
- Now select the option for “Members/Visitors.”
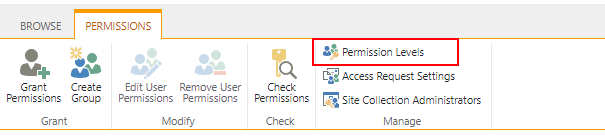
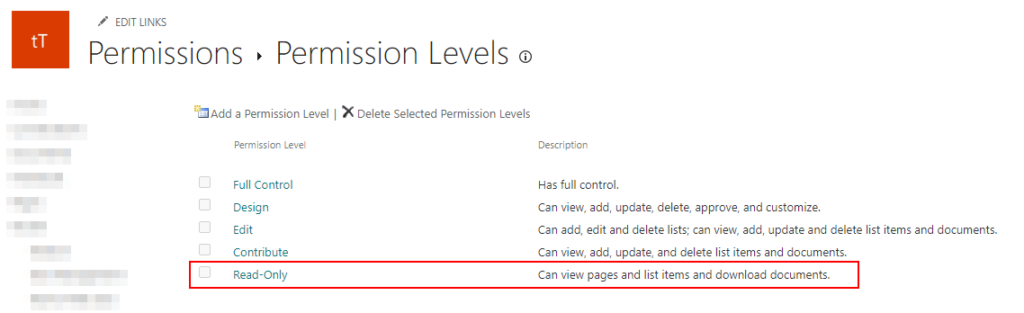
- Click on “Permission levels.”
- Choose “Read-Only.”
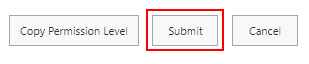
- Click on “Submit” to complete the process.
Once these steps are complete, you will have changed the permission levels of files in a Microsoft Teams group to read-only. You can make these changes to ensure users don’t accidentally edit files they are not supposed to.
An in-depth guide on how to make files Read-Only in Microsoft Teams
Here you will find an in-depth guide with screenshots to help you through the process without any issues. We have also provided some additional information for the more complicated steps within the process.
- Firstly, open Office 365.
- Now click on the launcher.
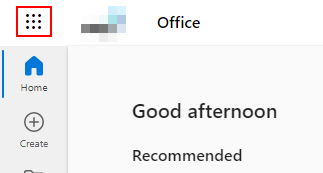
Nine dots illustrate the launcher on your Office 365 dashboard in the display’s top left corner. Simply click on it to view all the applications provided by Microsoft 365.
- Click on the option for “SharePoint.”
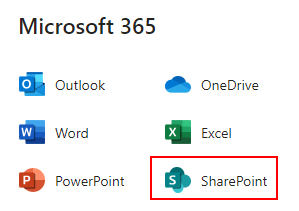
From the launcher, there will be a list of different applications you can choose from; you will need to select the option for SharePoint.
- Choose the group site that is associated with your team.
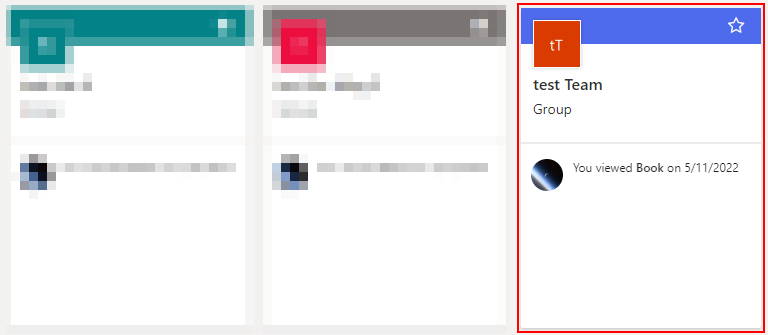
As illustrated earlier, group sites in SharePoint are your team’s group content. SharePoint is the main hub for all your Microsoft Teams content, from file access to members. There is an integration between Microsoft Teams and SharePoint so that files you create in SharePoint will be available for groups in Microsoft Teams. In my example, the test team links to the test group site in SharePoint. So to access all my team’s content from SharePoint, I will select this option to proceed.
- Now you need to click on the option for “Settings.”

- From the list, click on “Site permissions.”
- Now you need to click on the “Advanced permissions settings option.”
- Now select the option for “Members/Visitors.”
- Click on “Permission levels.”
- Choose “Read-Only.”
- Click on “Submit” to complete the process.
File permission settings will automatically be updated when the steps above a complete. You need to ensure you have the correct level of permissions enabled, such as group ownership or added in as a group owner. Group owners have executive permissions to manage these settings, so you must have permissions enabled.
With the process above, I have changed the file settings for the group visitors and members. You can edit the file access for any number of users or groups, such as guests or members. I do not want these group members to make changes to the files I have on this team.

Why may you want to make files Read-Only in Microsoft Teams?
You may want to make files Read-Only in Microsoft Teams because you do not want users to access the files. Only you, as the creator of the file, will have access to edit the document, allowing you to make necessary changes if necessary. For example, suppose you have important content that you must deliver to users but want to ensure the file remains unedited. In that case, you can use the process above to ensure the file remains unedited.
Another reason why you may not want people to edit documents is because of security-related reasons. Suppose you want to prevent your data from being breached by other members of your organization or external members. In that case, you can keep files restricted to Read-Only to prevent users from making changes to those essential documents.
Conclusion
Thank you for reading our content on how you can change file settings to Read-Only in Microsoft Teams. As you can see from the process above, you cannot make changes to file settings in Microsoft Teams; you need to access SharePoint for this. Once you are in SharePoint, you can access the member’s section to change the permissions of those files.
I have also provided reasons why you may want to make these changes to files in Microsoft Teams. If you are someone who values data, you need to ensure that these files are protected to prevent a breach of company information. If you encounter any issues trying to follow the steps, you can drop a comment below, and we will address them.