For some time, OneNote moved the section tabs to the left side of the window. The purpose was to make the user experience more intuitive and create consistency across the web and app versions of OneNote. However, Microsoft reversed this change in Office 2019.
Mac users can view sections at the top by reverting to an older version of OneNote (15.33) using Apple’s Time Machine or by installing Office 2019 or above. However, there are several other ways of modifying the look and layout of sections in OneNote so let’s explore them in this article.
Please continue reading our visual, step-by-step guide on how you can change the layout in OneNote.
Change the layout in the Web version of OneNote
There are fewer options for changing the user experience in the web version of OneNote. However, you could try these tweaks to help you modify the layout to your advantage.
Shrink the page and section columns
- Hover over the vertical lines on the right side of the page and section columns.
- When you see the adjustment icon, click and drag the bar to the left.
Hide the page and section columns
- Click the library icon on the far left side to hide the columns.
- Click the icon again to reveal the columns.
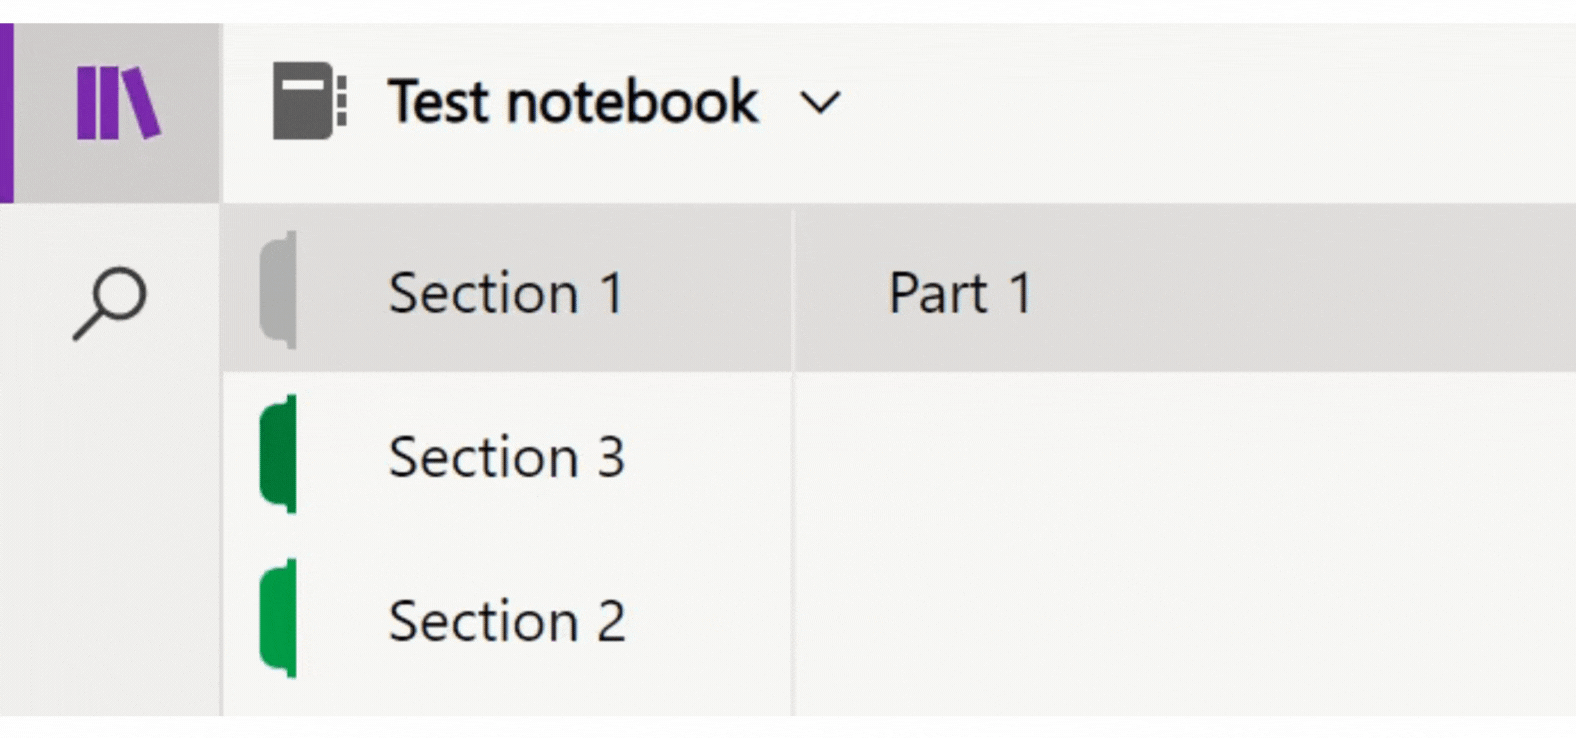
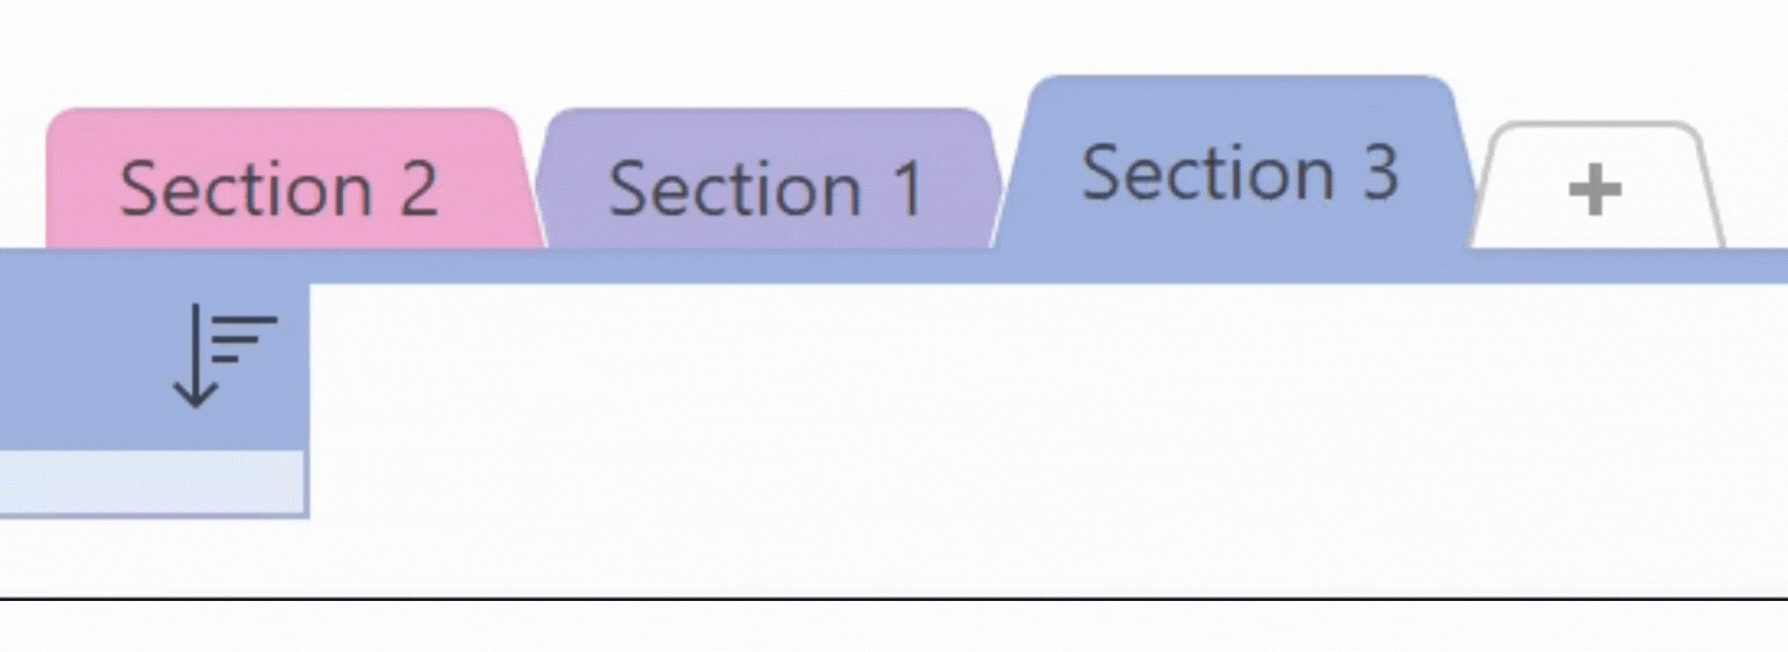
Reorder Sections
- Click and drag any section up and down the list.
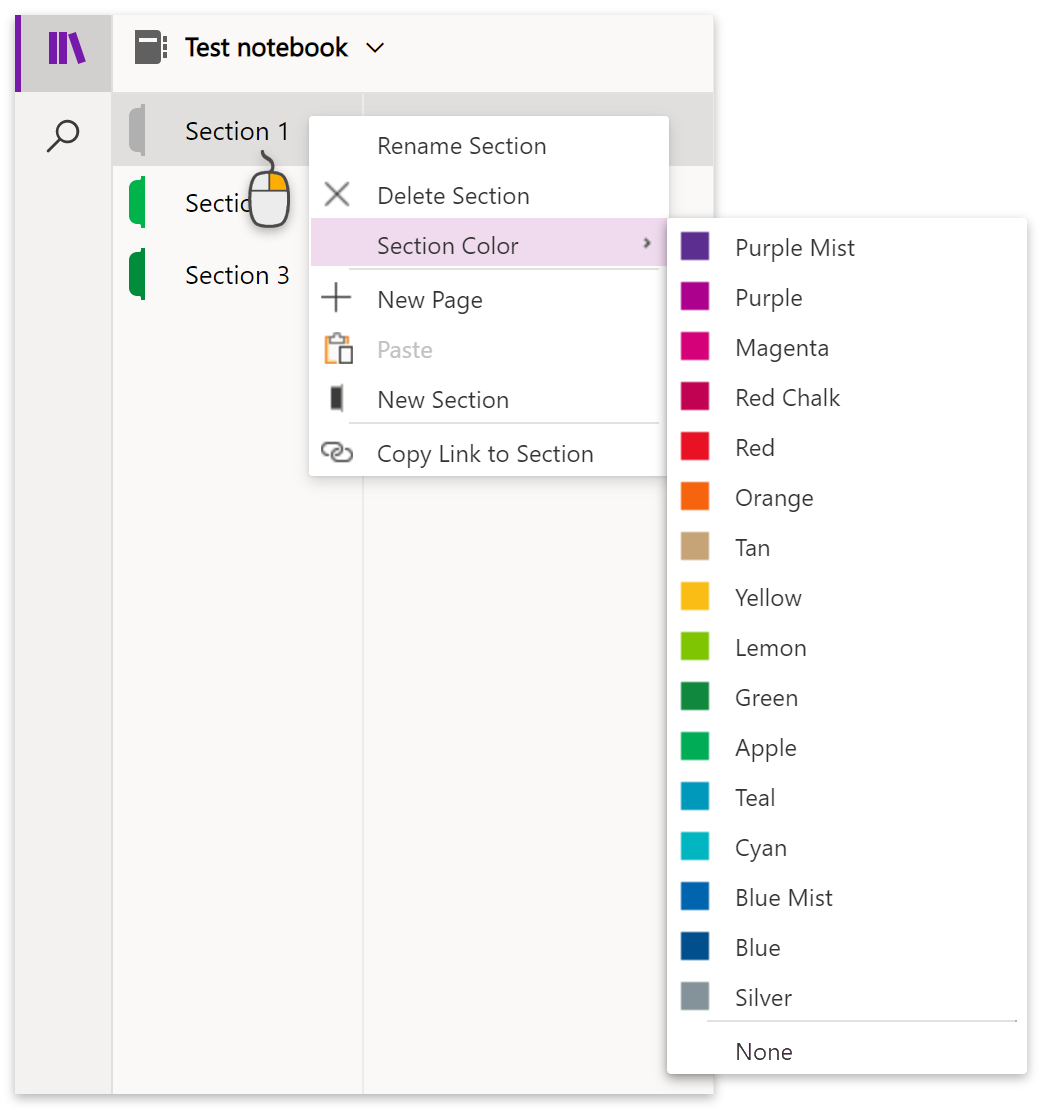
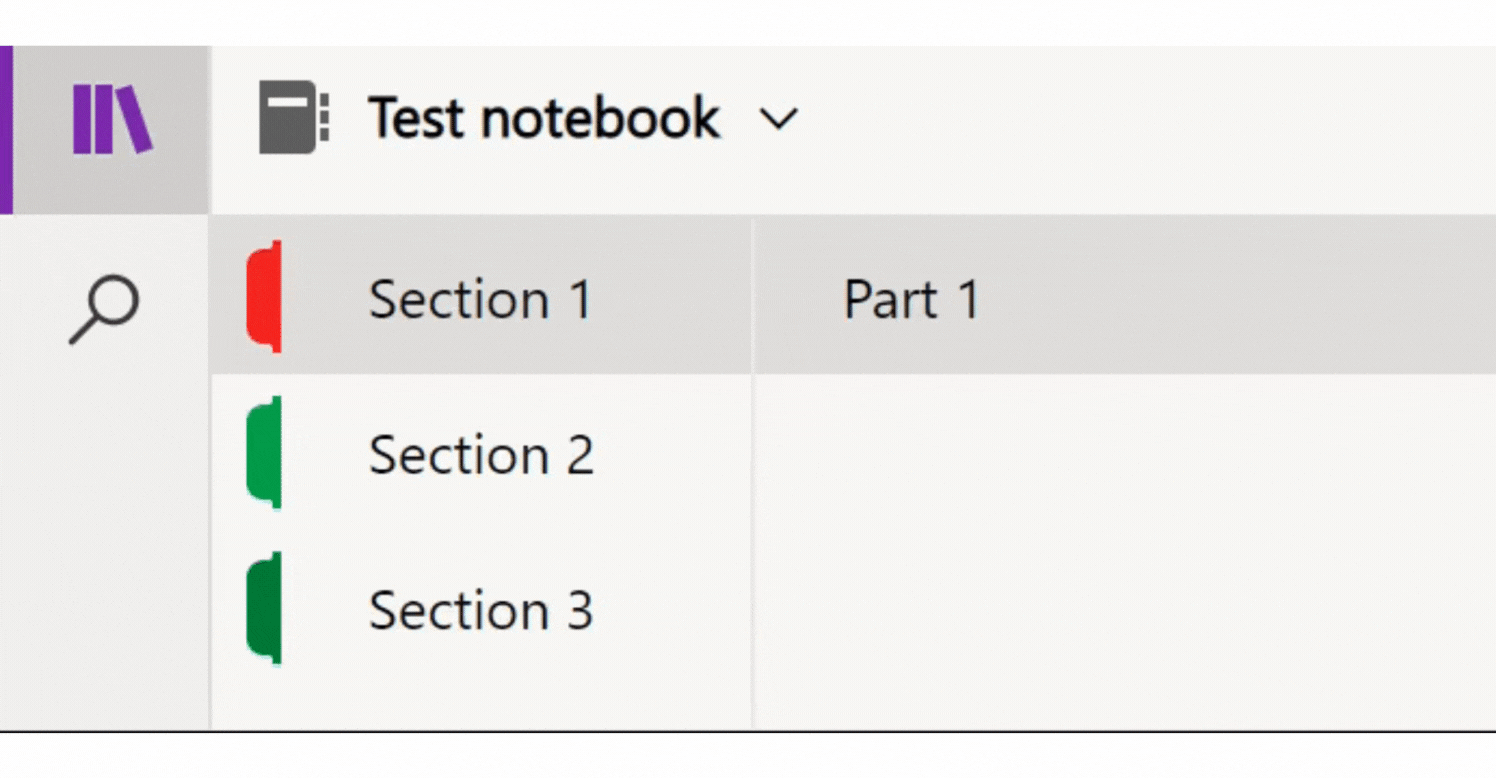
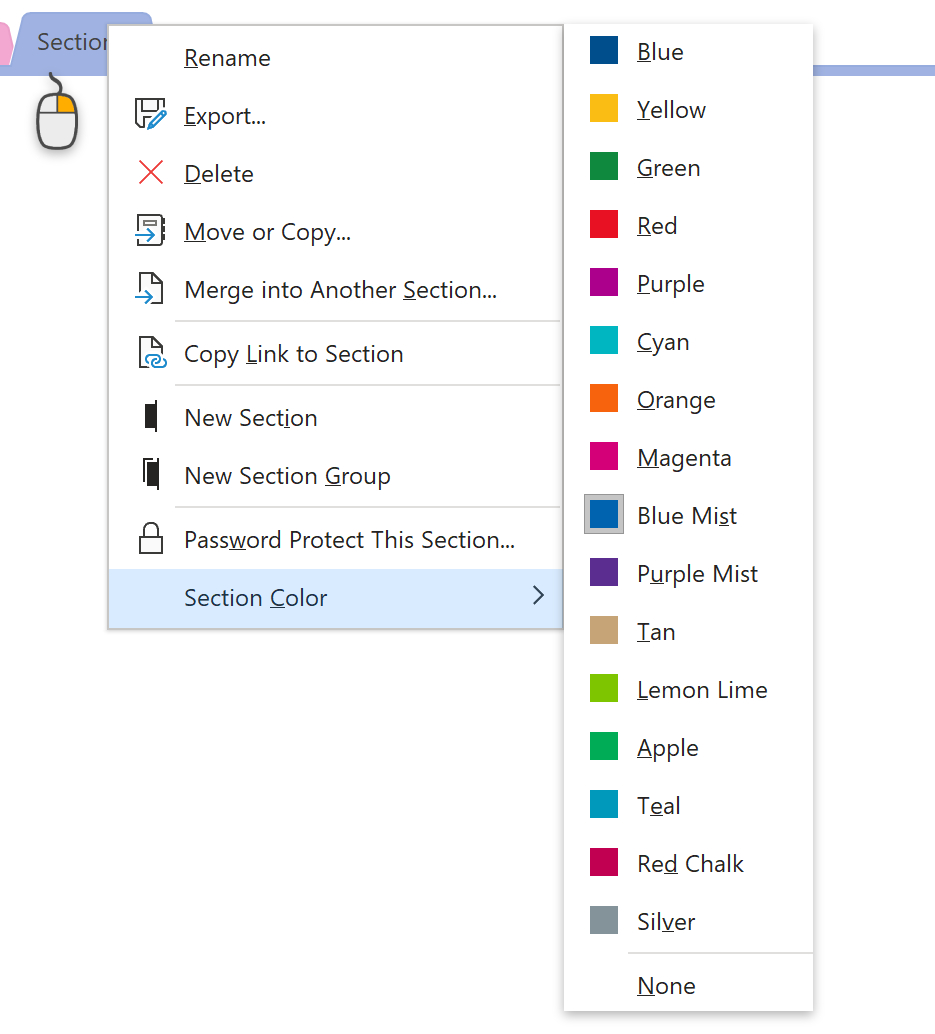
Change the section colors
- Right-click on a section tab that you want to change.
- Select Section Color from the popup menu.
- Then select a color from the list.
Drag pages into new sections
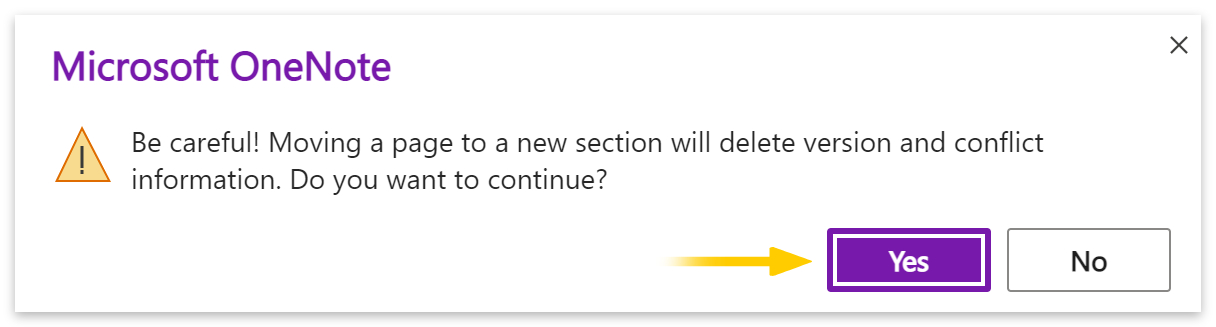
While it may not affect the look and layout of the page, it might be interesting to know that you can drag pages into new sections from the page column.
- A confirmation box will appear after you drag a page into a different section for the first time.
- Click the YES button to complete the move.

Change the layout in the App version of OneNote
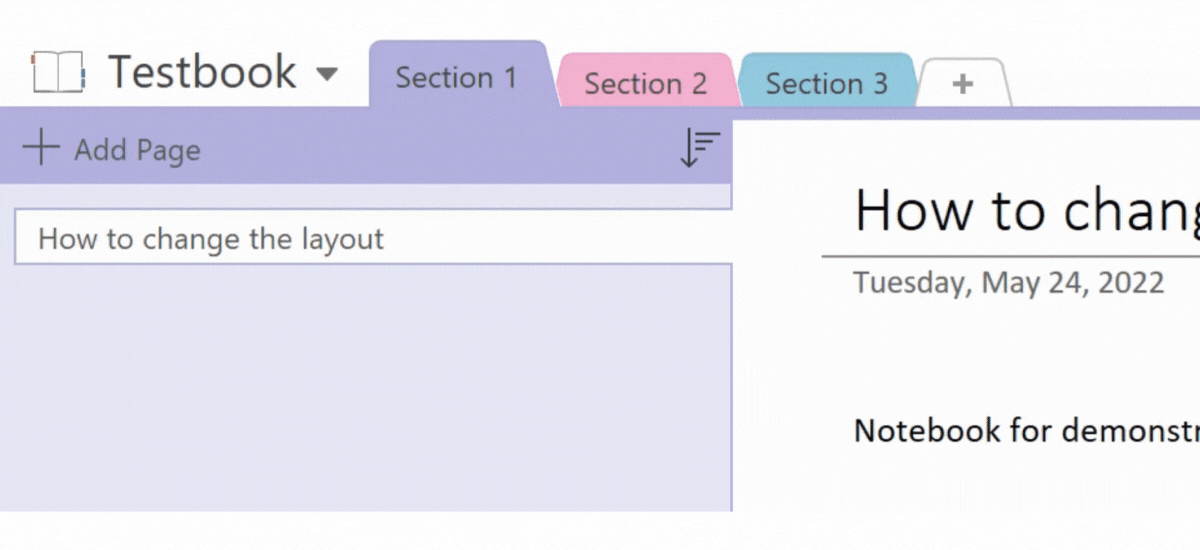
Move the pages column to the left side
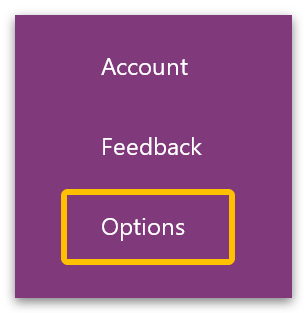
- Click on File on the top menu.

- Go to Options at the bottom of the left menu.
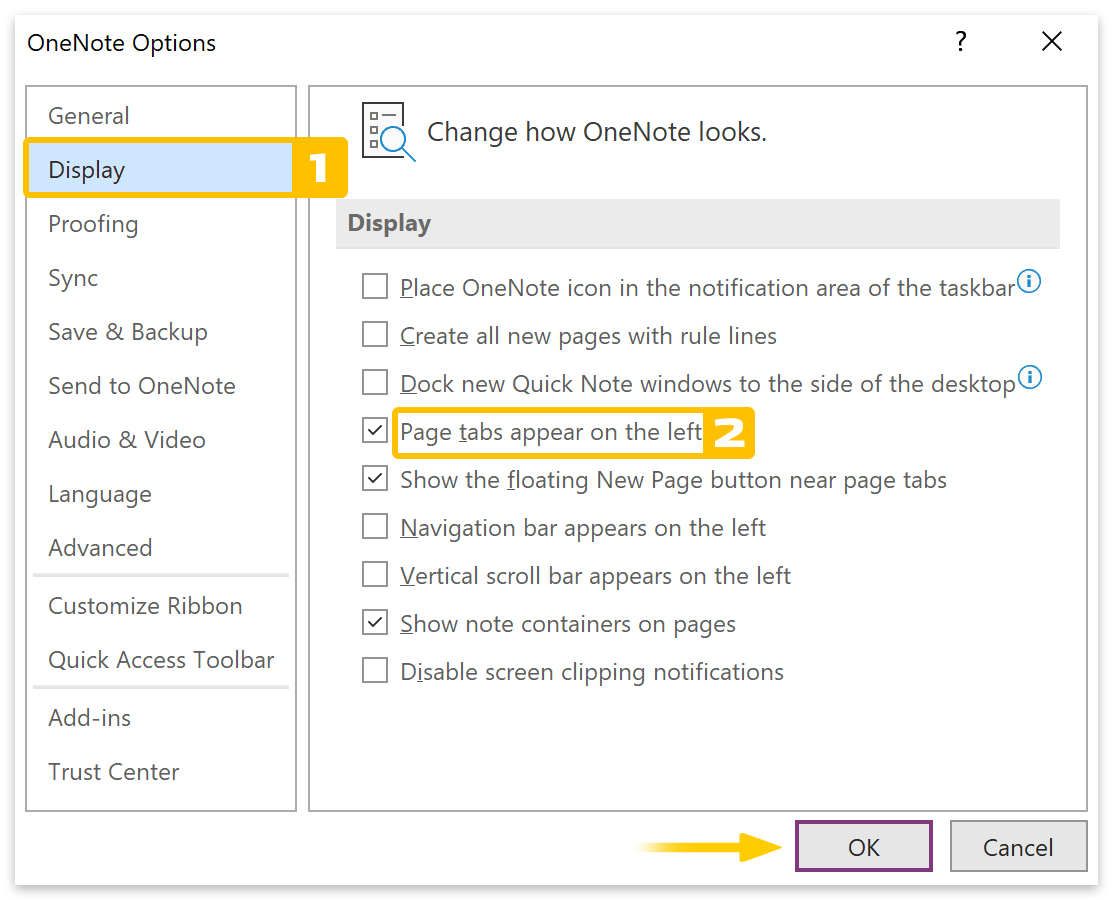
- Go to Display on the left menu of the options box. (1)
- Check the box next to Page tabs appear on the left. (2)
- Then click the OK button.
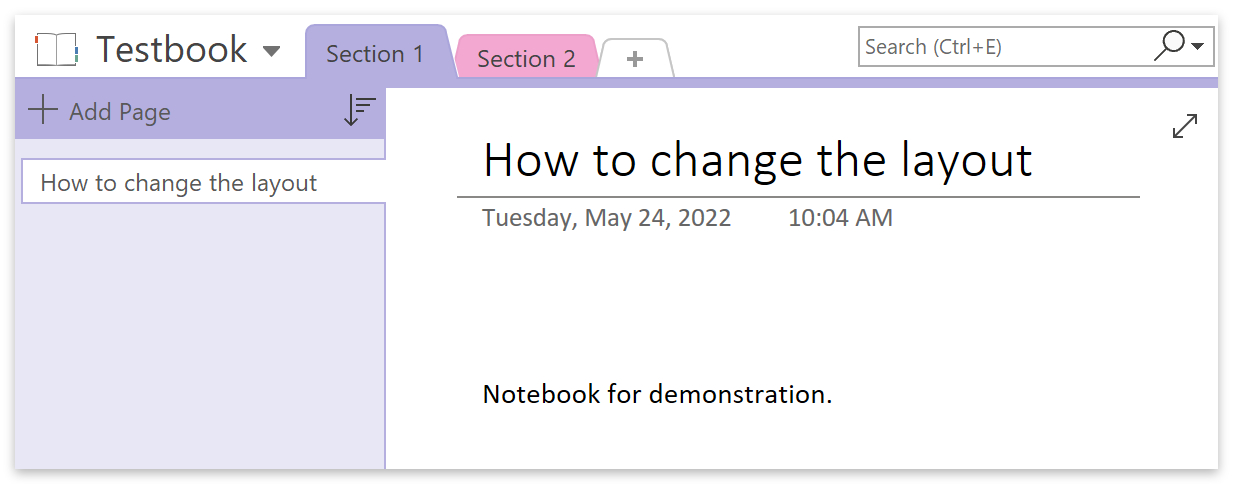
- The pages column will now be displayed on the left side, as shown below.
Reorder sections
- Click and drag the section tabs left or right to reorder them.
Change section colors
- Right-click a section tab and go to Section Color on the popup menu.
- Then select a color from the list.
Adjust the pages column width
- Hover over the column’s border until the adjustment icon appears.
- Then click and drag to make it larger or smaller.
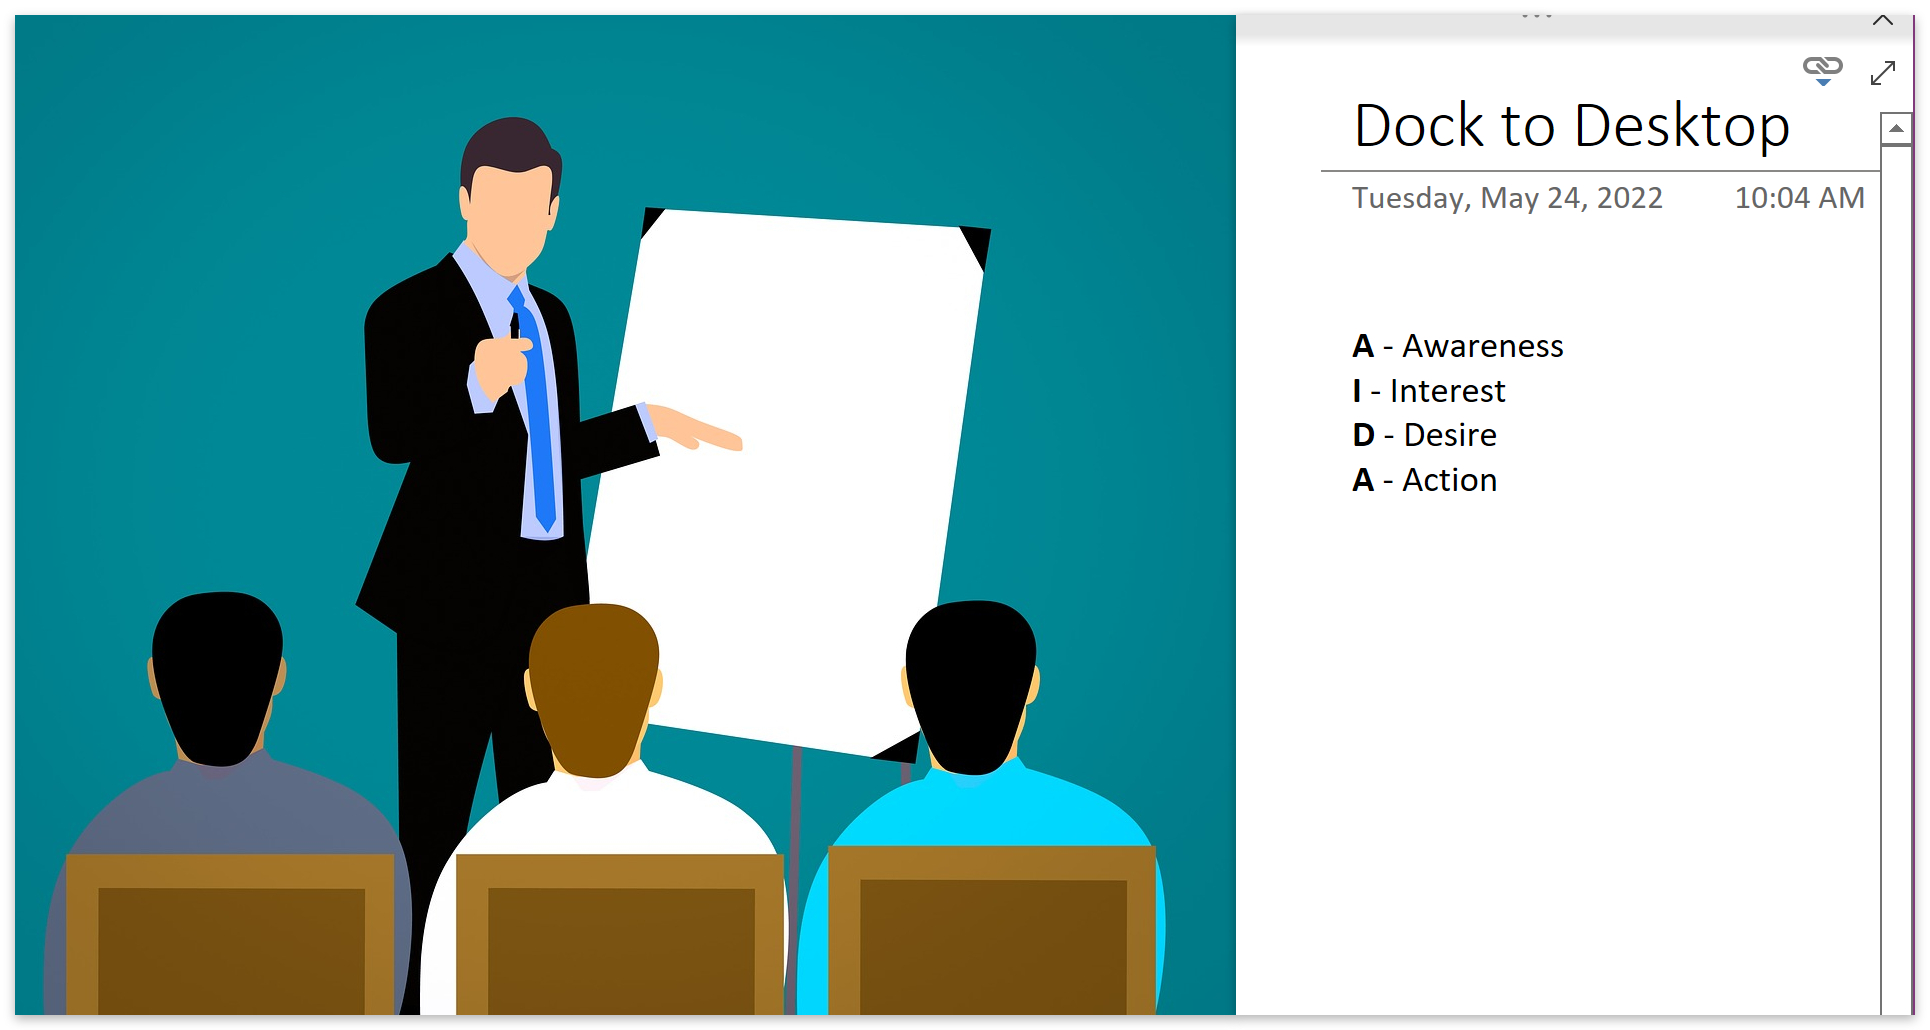
Dock to Desktop
Docking your notebook to the desktop is an effective way of taking notes while viewing online content. To do that, click on View on the top menu.

- Then click on Dock to Desktop.
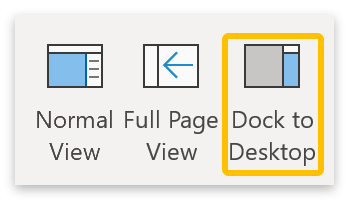
- The notepad will dock to your desktop, allowing you to take notes and browse at the same time.
Choose a free or paid template
While templates won’t customize the look and feel of your sections, they can help organize your notebook. Free and paid templates are available, which you can access from OneNote and online sources.
Use templates in OneNote:
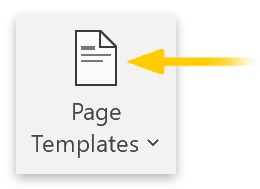
- Go to Insert in the desktop version of OneNote.

- Click on the icon above Page Templates.
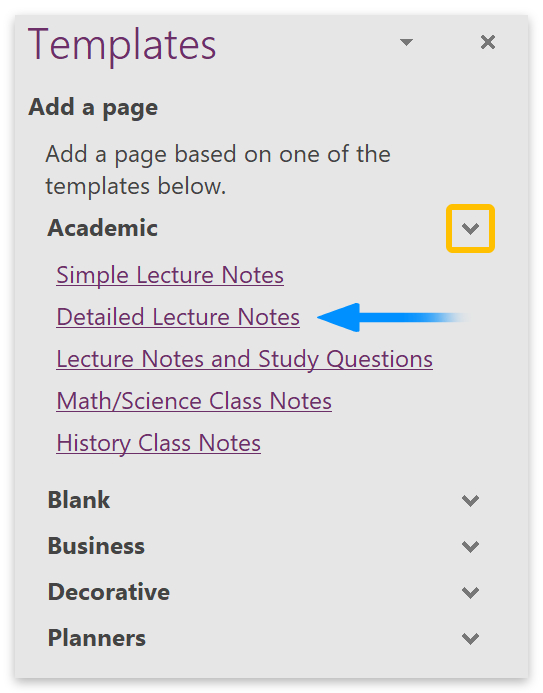
- Click the down arrow next to a category to view the available templates.
- Then select a template to use.
Download templates from the web:
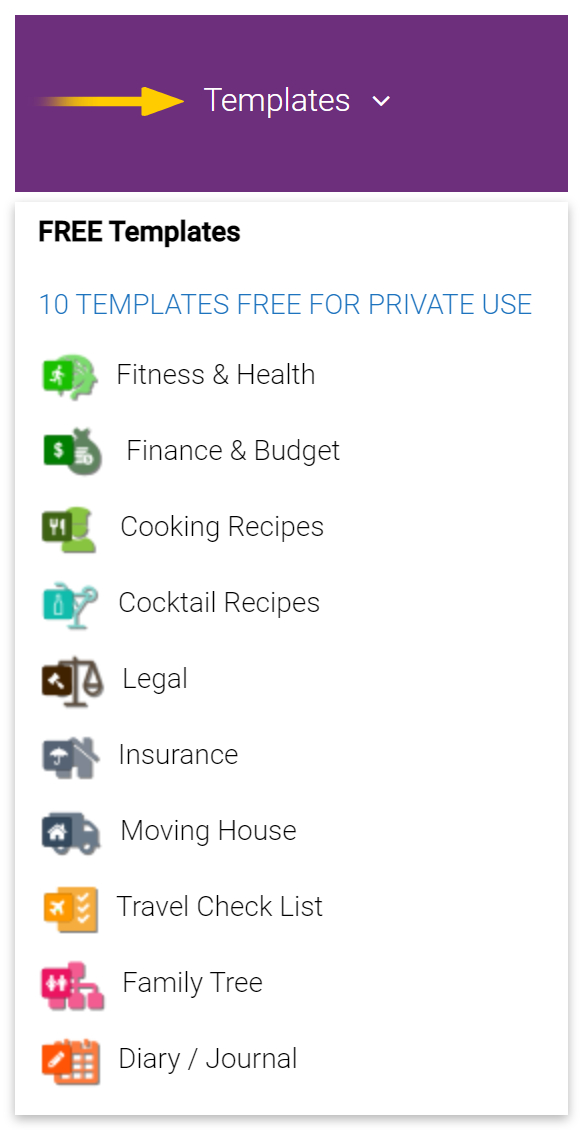
- Go to Onenote.auscomp.com
- Hover over the Templates link at the top.
- Select any template to use; there are ten free templates from which to choose.
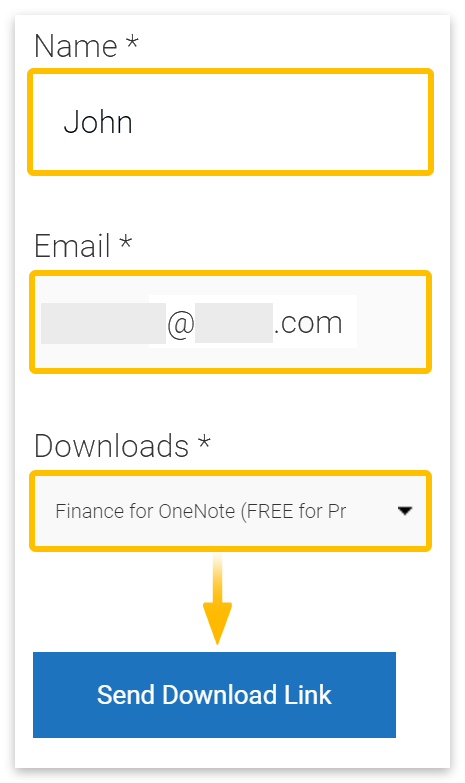
- Enter your name and email address, and select the template you want to download.
- Then click the Send Download Link button.
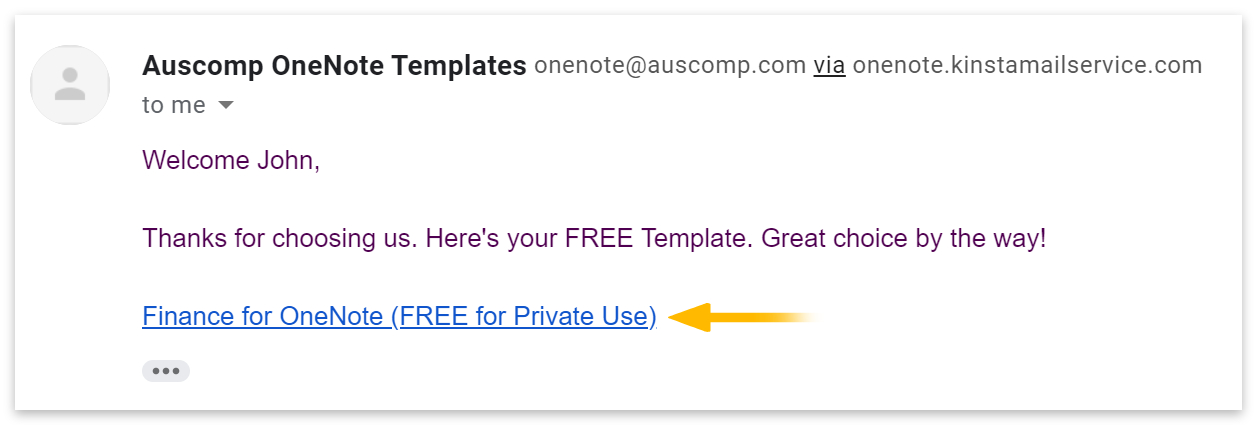
- Open the email and click the link to download the template.
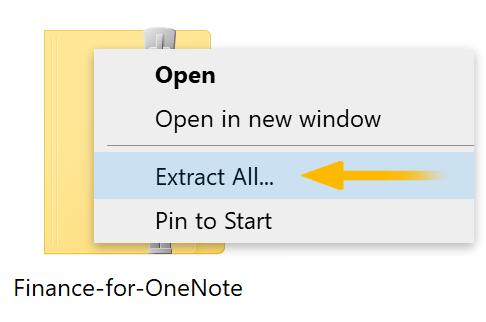
- Locate the downloaded folder.
- Right-click the folder and select Extract All from the popup menu.
- Extract the folder, then open it and navigate to For OneNote Desktop.
- Double-click on the notebook to open and use it.
Conclusion
Since Office 2019, you can view sections at the top of your desktop application. However, they are still located on the left side of the window in the web version of OneNote. There is currently no way of changing the location of the sections in either version. However, there are several ways to customize the section tabs and modify the layout of the page.
Thanks for reading.