One of the benefits of SharePoint sites is creating lists for its users. Businesses primarily use this and allow people to share content and news. As information would need to be shared with its users, a notification alert should be set for when something changes.
I will be covering how you can set an alert for new items being created in SharePoint. This will work on any platform as it can be done on any browser using a Microsoft account. Read on to find out how you can do this.
Method
- Go to office.com and sign in
- Go to SharePoint
- Select the site list to set an alert on
- Click on the list
- Click “…”
- Press “Alert me.”
- Pick the options you want
- Choose “Ok”
Content list
- Why are notifications important?
- How to create a SharePoint list
- How to send a notification when a column is changed in a SharePoint list
- Conclusion
Why are notifications important?
Before setting up a notification alert, I will cover why it is essential to send notifications. Notifications are important for businesses and schools because they are one of the main ways that users can be kept in the loop about any updates that may be needed to be sent their way. One of the primary ways users receive notifications is through email; in a business, users should have a work email that they should check often to keep updated.
Notifications are essential because if users are not made aware of content or news they should receive, it would negatively affect the business, affecting workflow and wasting time. Another notification delivery method would be notifications sent through text; this method is different from email. Instead of using a work email or signing in to email software, users can sometimes request to be sent certain types of information updates via an SMS text message on their mobile device.
In regards to the context of this article, users that are part of a SharePoint site can edit certain parts of the content that is located on it; this can include a SharePoint list which could contain a list of data that users can view and as there are many different types of things the list can cover. For example, the list could be about events that the business will undertake or contain a list of work articles to write. The thing to be aware of is if users have the privileges they can edit data in the list. You should set up an alert to let users know about any changes made to the list, including new items being added; this is important because if someone adds a new item to SharePoint, then users should be made aware as it could be related to work that needs doing.

How to create a SharePoint list
In case you don’t have a SharePoint list or even a site yet, that is the first step you should take before you can set an alert. Creating a SharePoint site is a simple process that can be done by going to SharePoint from office.com; I have created a guide with screenshots to show you how to do this.
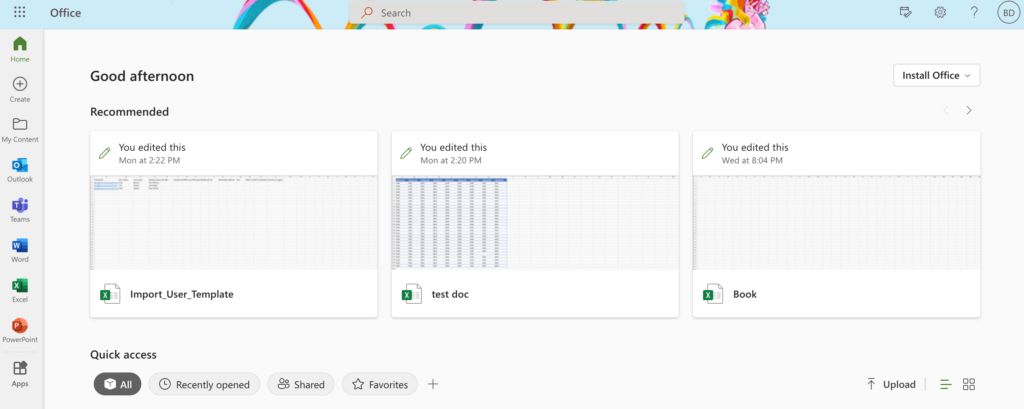
- Firstly, go to office.com and sign in with your Microsoft account.
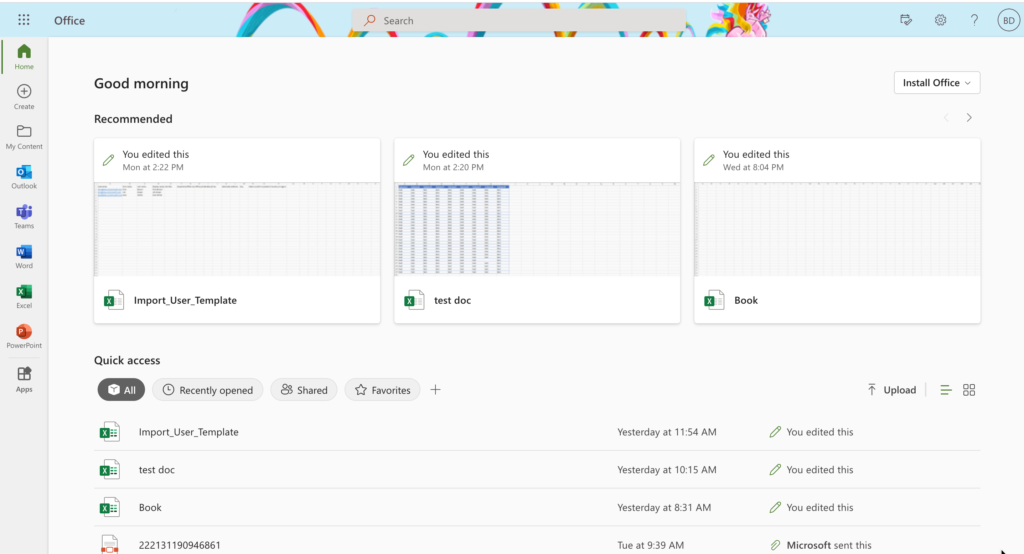
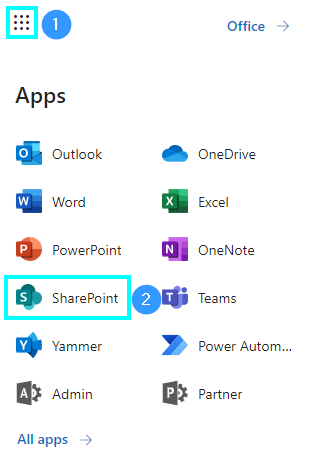
- Press on the nine-dot icon in the top left corner and select “SharePoint.”
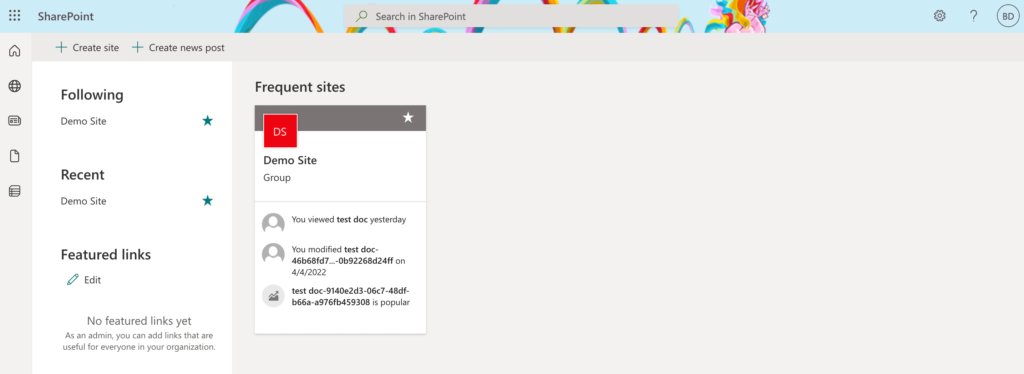
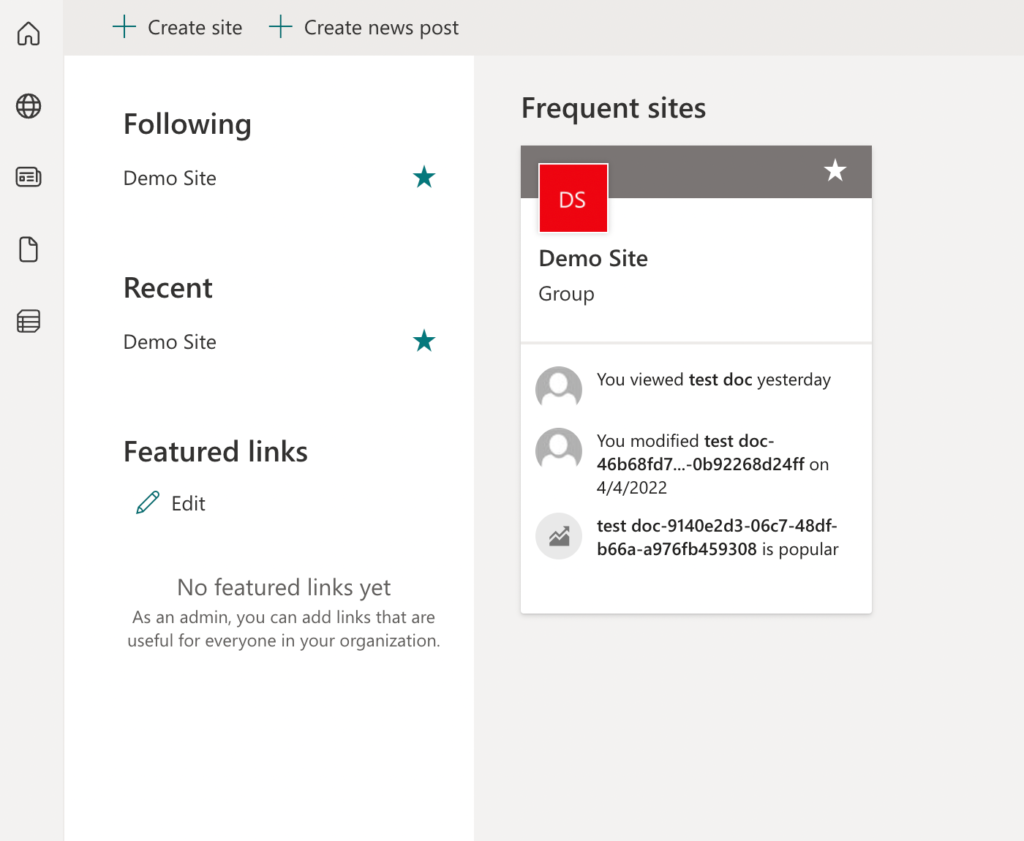
- Once on SharePoint, press “Create site” to start making a new SharePoint site.
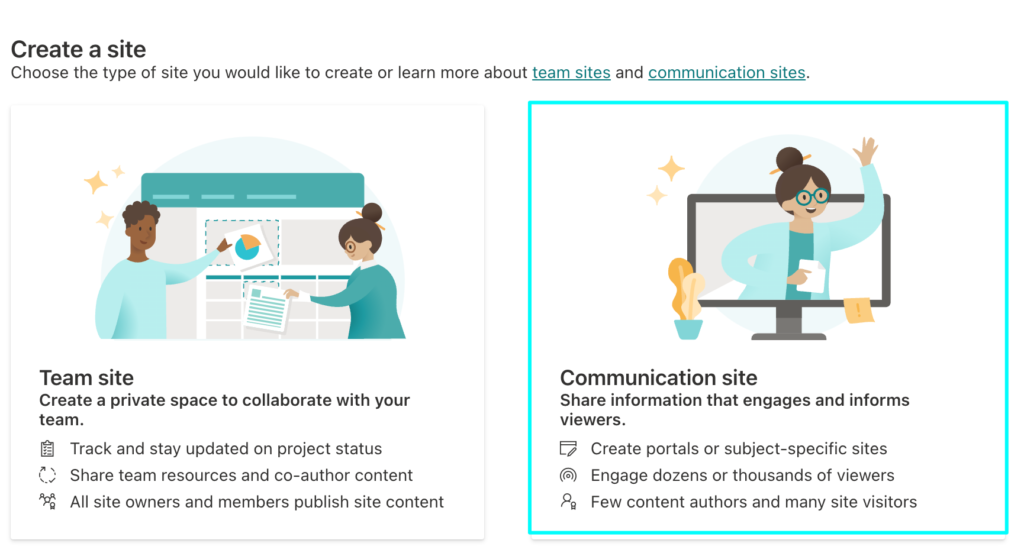
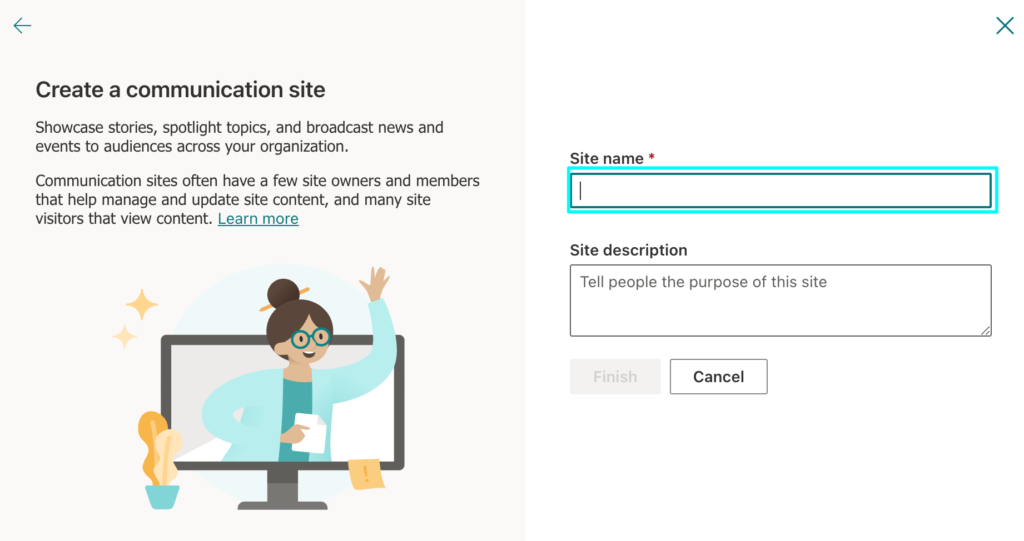
For this guide, I will use “Demo Site” as I have already created it; however, to create a new site, press “create site” this will bring up two choices to pick between. These are “Team site” and “Communication site.” There is a difference between these types of sites, this being communication sites are used by the whole business to share content and broadcast information, while smaller groups of users use team sites. They can be used to create content for work or edit documents and share content. In this guide, I will make a communication site.
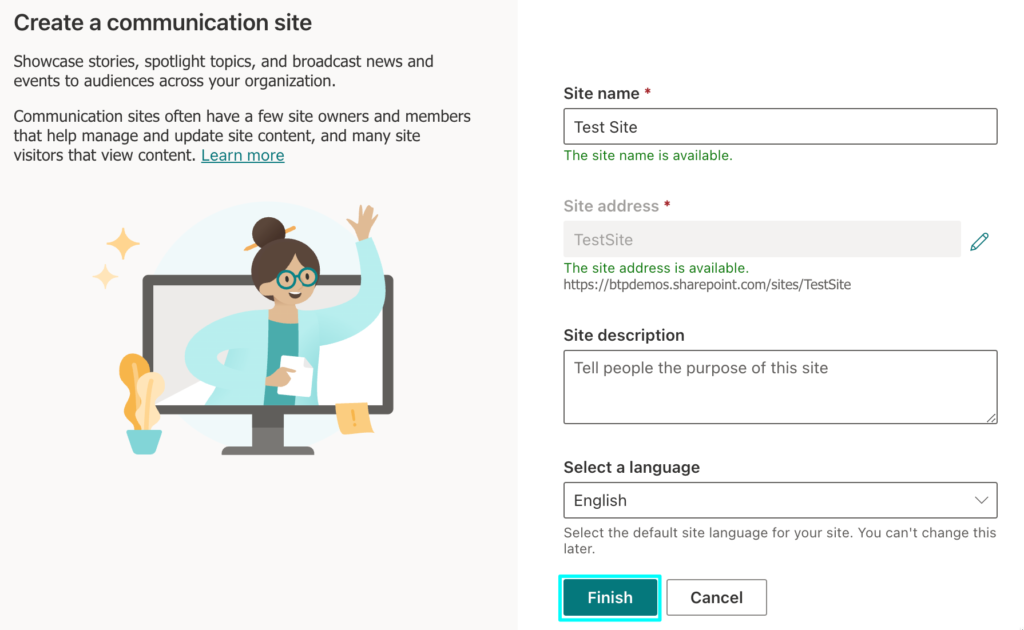
- You will need to name the site and add users to it for the next part.
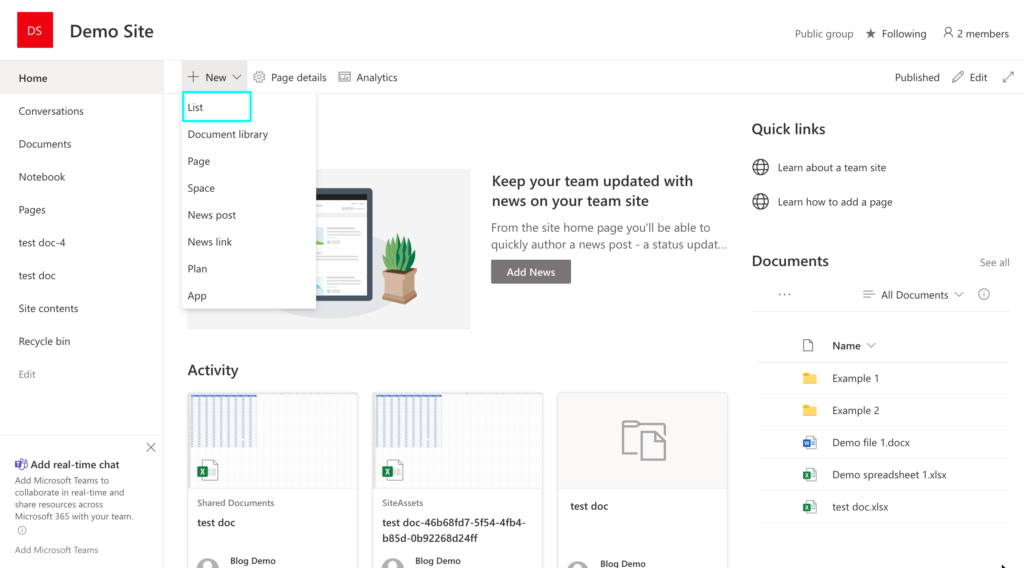
- Now click “New,” then press “List.”
- After clicking on “list,” it will give you the choice of three options; these are “Blank list,” “From Excel,” and “From existing list.”
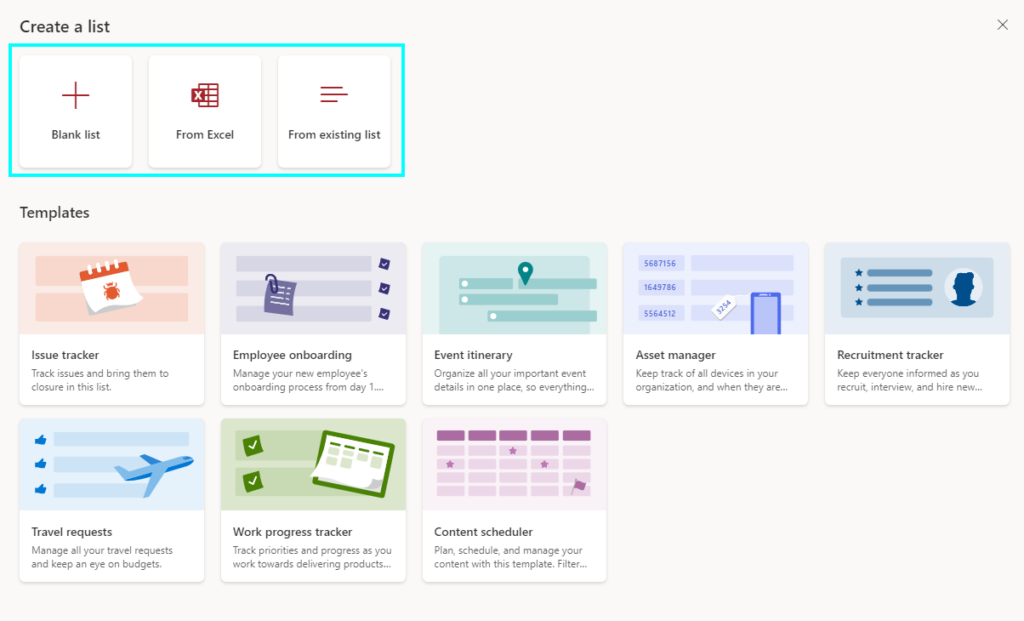
The best choice for when you don’t have an existing list to start with is “Blank List” this is what I will be using.
- Next, fill in the information, such as a name and description, and press “Create.
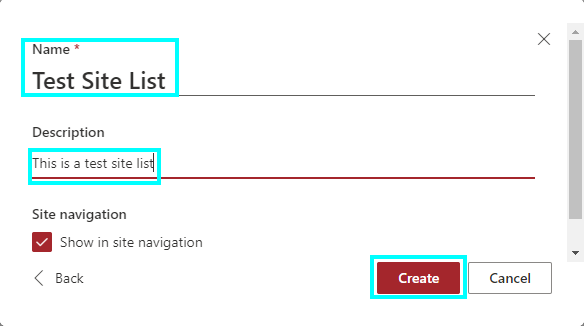
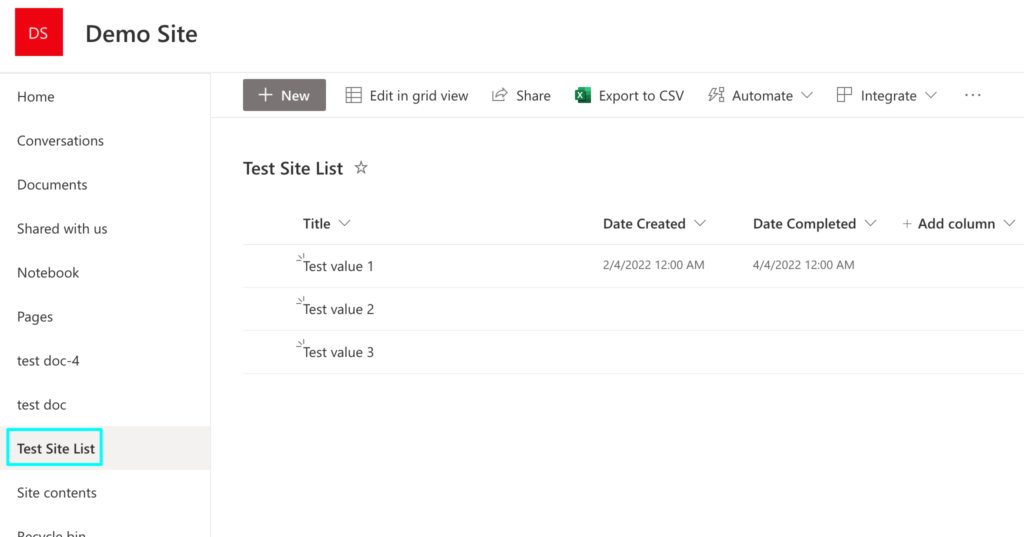
This will display the list on the left sidebar of the SharePoint site.

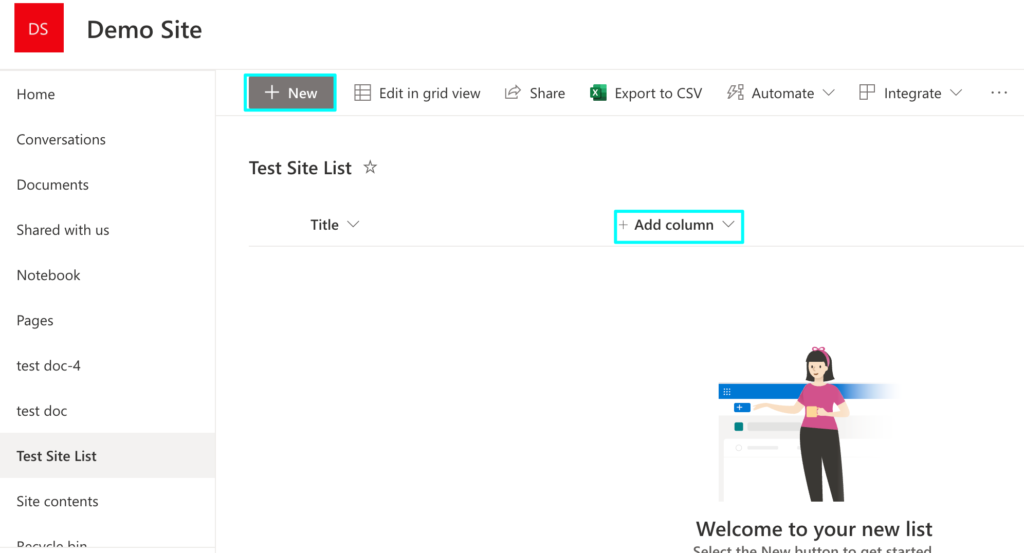
After clicking on the newly created list, the page will give you the option to add new features to it. These are options like adding new titles and columns to it, editing the list in different view methods, etc.
- Next, you need to add titles and some columns to it; you can do this by clicking “+ New.”
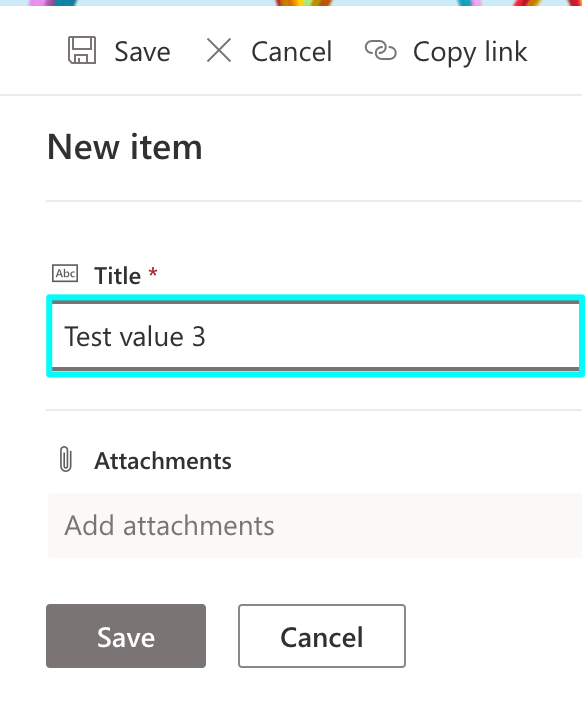
I have added three titles to the list called test value 1-3, these can act like rows that contain the name of the topic, and the columns will contain any information you give them. The amount of content will increase with how many columns you add.
- To add columns, click on “+ add column,” which will let you fill in the information you want.
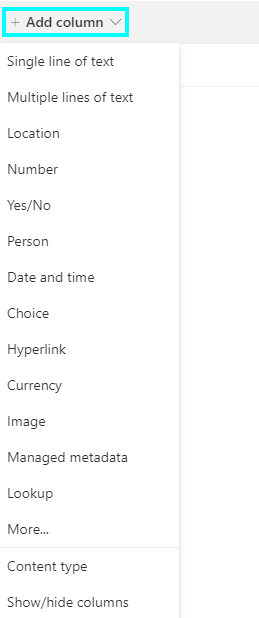
- Fill in the required options with what you want the column to be called, and you can add data to it afterward.
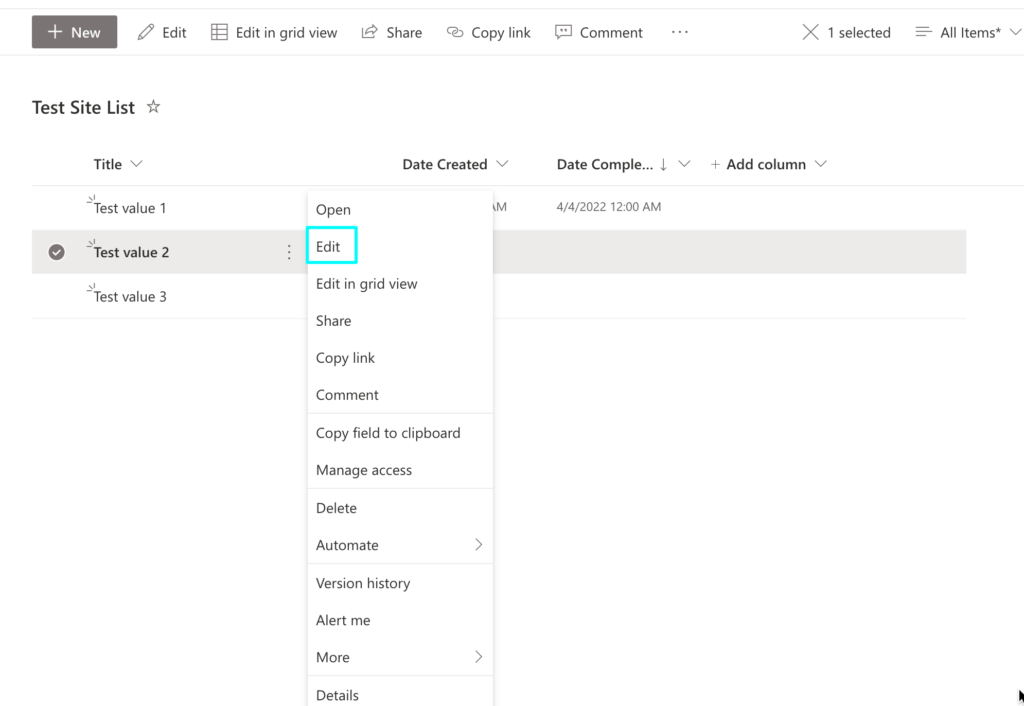
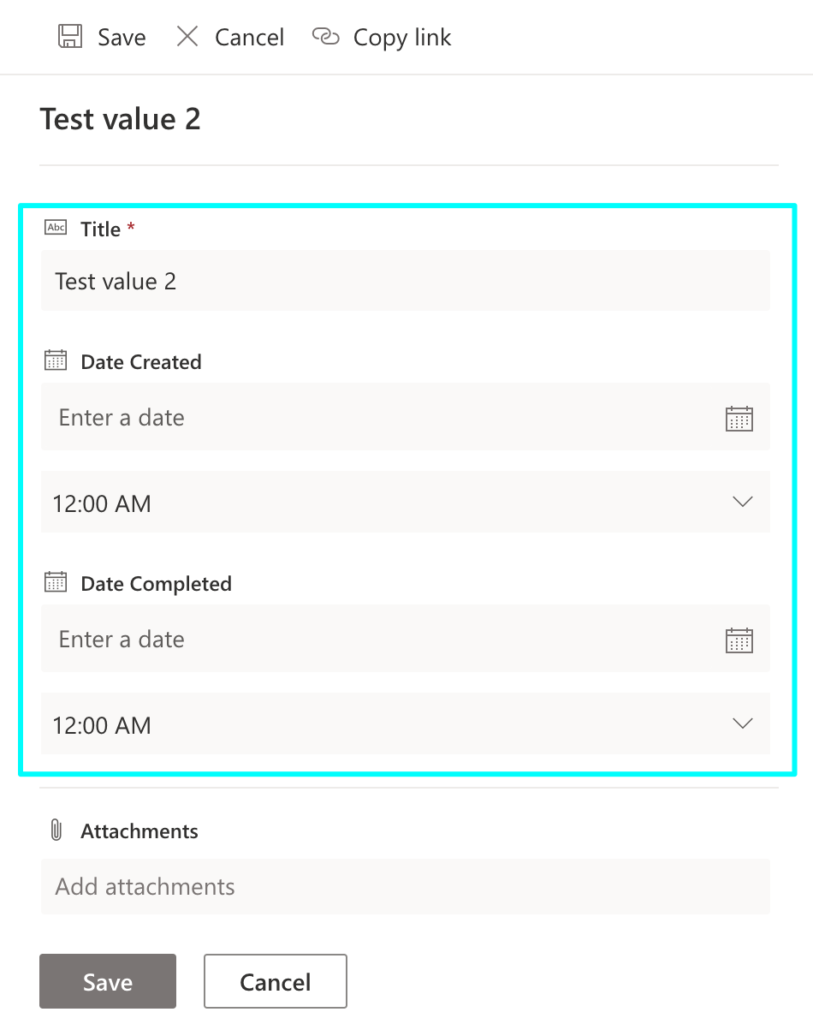
- You can choose how many more columns and rows you want by clicking on “+ Add column” again. To add data to the list, click on the three-dot button next to the titles, choose “Edit,” and input the data.
- After putting all the data your business needs, click “Save.”
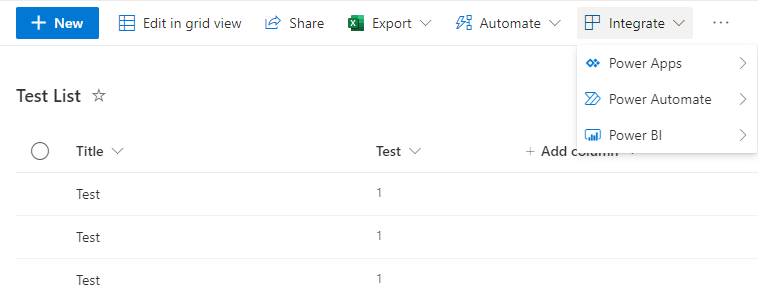
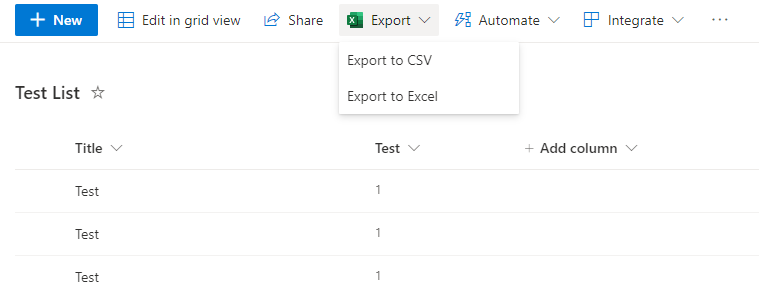
That is the entire process of setting up a brand new SharePoint site list; you will be able to add as much content as you want. There are a few other options that you can do with the list, including integrating “Power Apps,” “Power BI,” and “Power Automate.” Once the list is complete, users can export it into CSV or Excel. Now that the site list is created, you can continue reading.
How to send a notification when a column is changed in a SharePoint list
At this point, we are looking to find out how to set alerts for when content changes; specifically, we want to make a notification for when someone changes one of the columns. Setting an alert involves naming it and choosing the options that suit what we want. Keep reading for a step-by-step with screenshots on how to do this. If you followed the previous steps or already have a SharePoint list set up, we can continue with the guide.
- First, go to office.com and sign with your Microsoft account.
- To get to SharePoint, press on the app launcher, the nine-dot icon on the office.com homepage.
- After reaching SharePoint, find the site where you will create the alert. If you have been following this guide from the start, you should use that site, and I will make the alert on “Demo Site.”
- Find the list to set an alert on; I will use “Test Site List.”
- Once the list has loaded, press “…” to bring up the options for creating and managing alerts.
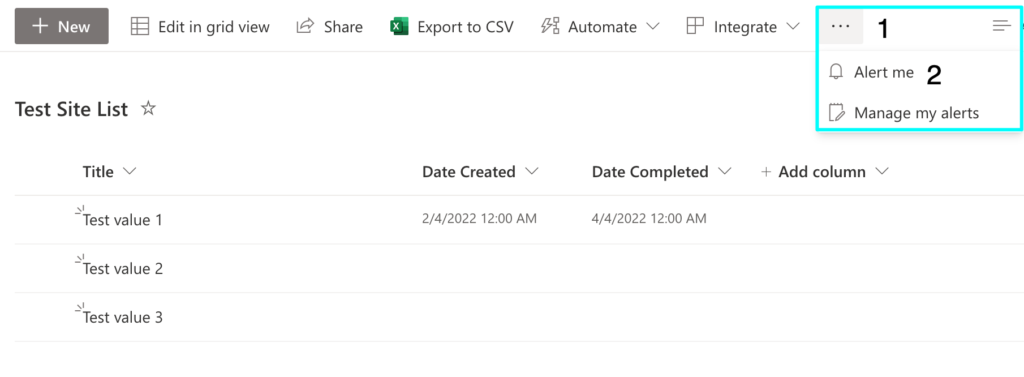
- For this part, you need to click “Alert me” after this, it will bring up a list where you can pick what you want the alert to notify users. Here you want to give the alert a name; this will be the name of the notification that users will receive, so it will have to be suitable. I have given this the name “Test Site List.”

- The next segment asks you for the users to be included in the alert, meaning that you can choose individuals or distribution groups who will receive it.

- Next, choose the delivery method which will determine where people will receive the notifications; you can choose between “Email” or “Text Message.”

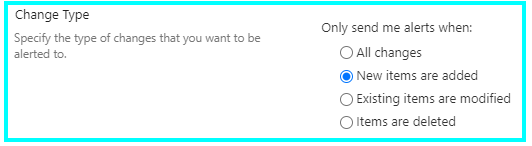
- After that, you can choose what the alert will be sent over. There are a few options to choose from; these include “All changes,” “New items are added,” “Existing items are modified,” or “Items are deleted.” I will be setting it to “New items are added” for this guide.
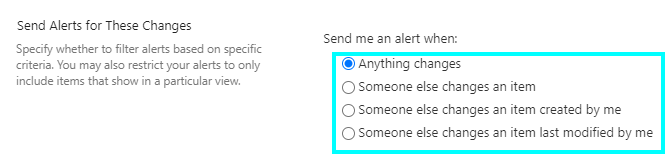
- Then you can choose to filter alerts based on specific criteria; this includes changes made by other people.
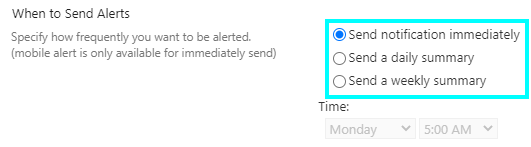
- Pick how frequently you want the notifications to be sent out. These options are immediate notifications, daily notifications, and weekly notifications.
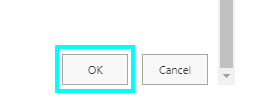
- The final step is to hit “OK,” which will create the completed alert.
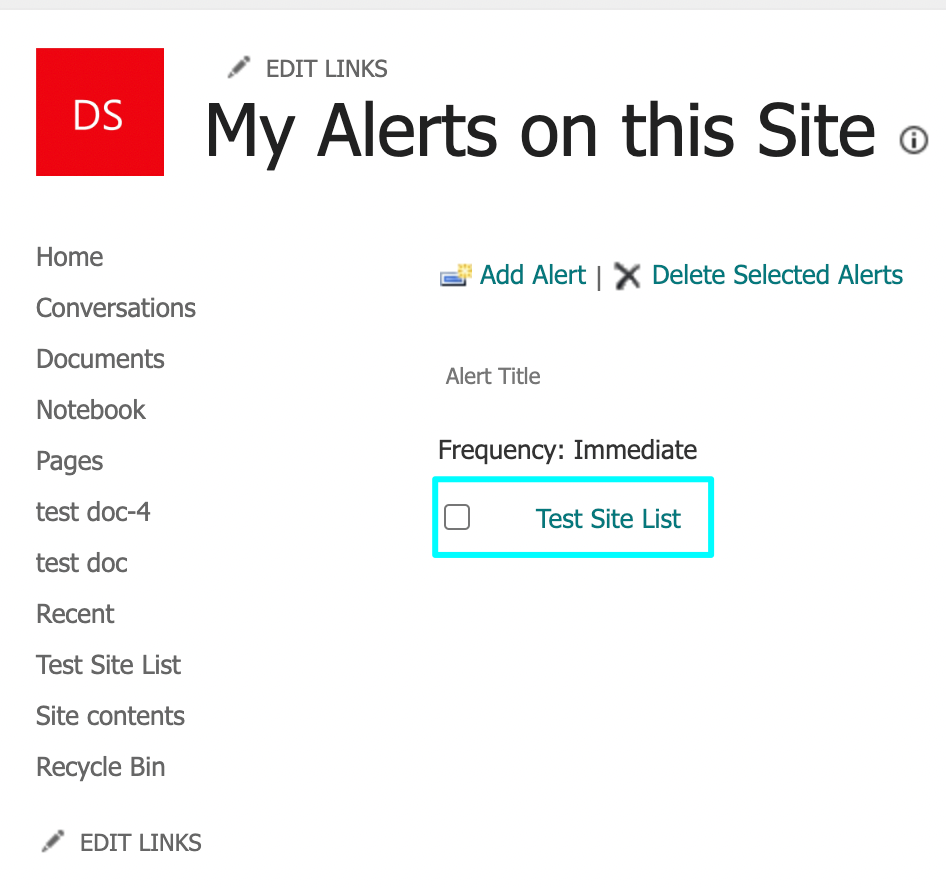
Once you create any alerts, you can view them by going back to the list and pressing “…” again, then going to “Manage my alerts.”
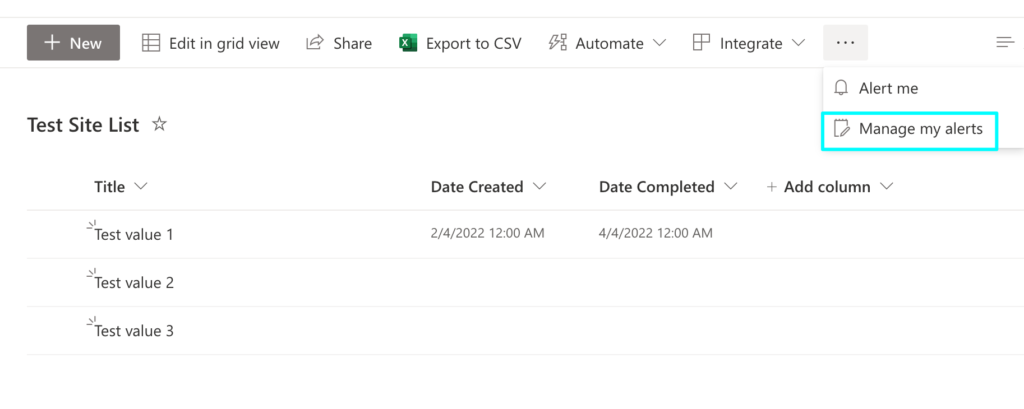
This area hosts all alerts made, and you can choose to delete any alerts that no longer serve a purpose.
Conclusion
Thank you for reading this article; I hope it covered everything you were looking for. To conclude, users can set alerts on SharePoint whenever something changes to the SharePoint sites and lists, specifically when a new item is added to it. The option to create alerts for SharePoint list changes is helpful because of how many users have access to the list and use it for work; if someone, such as a manager, adds work for staff to do; the staff needs to be made aware of updates as not to fall behind. This can be accomplished by going to the SharePoint site you want to use and finding the list you want to make the alert. On the list, press “…” and select “Alert me” this will allow you to fill in the information and options you desire to set. If you have any concerns, we have hundreds of other guides, so feel free to check them out; you can also email our staff if you have any other questions.