SharePoint for Microsoft 365 is an excellent document repository solution for organizations, but it can be a little difficult to access and use, often resulting in teams not making the most of it. By pinning SharePoint and its files to an easily accessible location, you can circumvent the issue.
Here are ways I would recommend you pin a SharePoint file or folder to easily accessible locations:
- Pin files/folders to top within the SharePoint Documents section for quicker access
- Customize your SharePoint homepage and include a link to files/folders you need quick access to
- Sync files/folders to your local computer so they show in File Explorer
One of the methods above should help you ‘pin’ a SharePoint file or folder in a place that makes it easily accessible to you and your team. I’m going to explain how you do all 3 of the suggestions above and include screenshots so you can do the same for your business.
Pin Files/Folders To Top In SharePoint Online Document Library
Depending on how your organization uses SharePoint, you could have hundreds or thousands of documents in your SharePoint Sites’ document libraries.
For new starters and existing employees alike, that can make navigating your SharePoint Sites challenging. While SharePoint’s document libraries are an excellent solution for storing and protecting files, the more files you have, the more convoluted the process for finding even the most important of files.
Pining files/folders to the top in SharePoint Online’s document library is a simple process. Here’s a step-by-step guide:
- Go to Office.com.
- Sign in using your Microsoft 365 credentials.
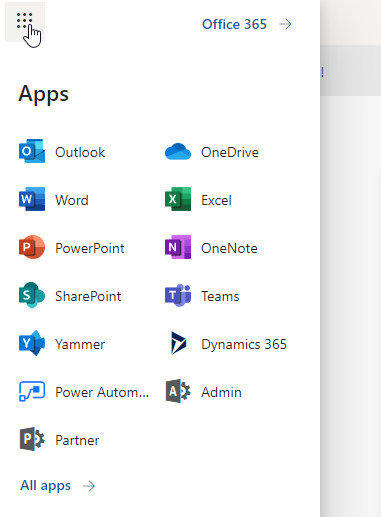
- Click the app launcher and then open SharePoint.
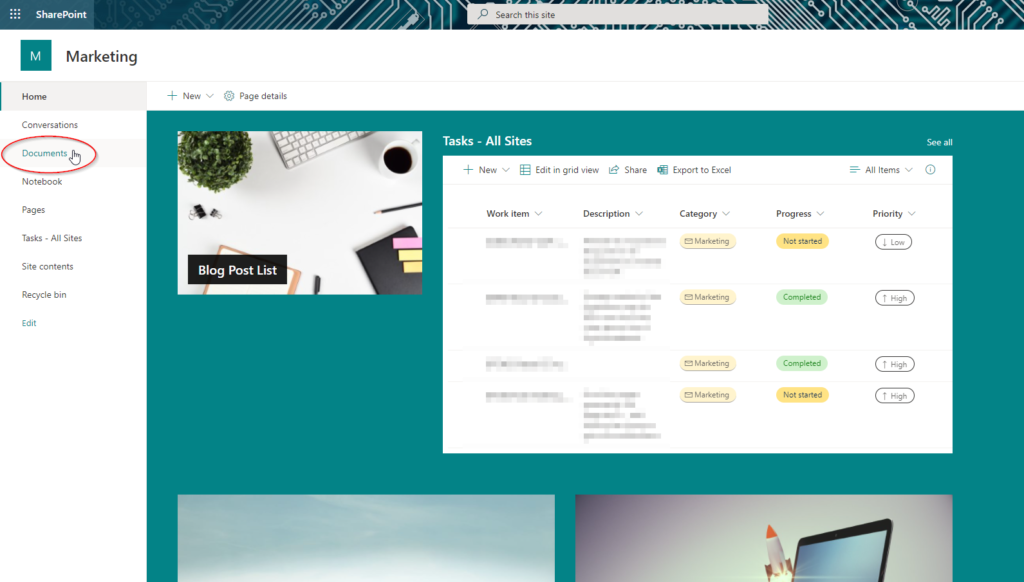
- Navigate to the appropriate SharePoint Site and click ‘Documents.’
- Locate the file or folder that you want to pin, then click ‘Pin to top.’
- Rearrange pinned files/folders as needed using the ‘Edit pin’ option.

- Sign in using your Microsoft 365 credentials
If you’re unsure what your Microsoft 365 credentials are, it’s likely to be your work email address – for example, [email protected] – and whatever password you use to sign into your system.
If you’re unsure, you can speak to your Microsoft 365 admin and they can reset your password for you.
- Click the app launcher and then open SharePoint
- Navigate to the appropriate SharePoint Site and click ‘Documents’
- Locate the file or folder that you want to pin, then click ‘Pin to top’
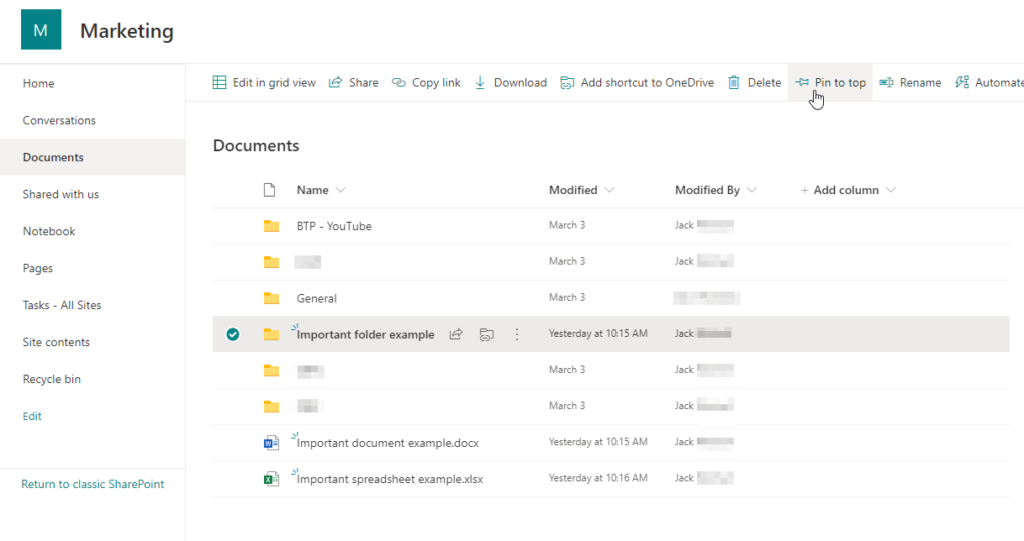
Select the folder or file that you want to pin to the top of your SharePoint documents. After selecting the folder/file, select ‘Pin to top’.
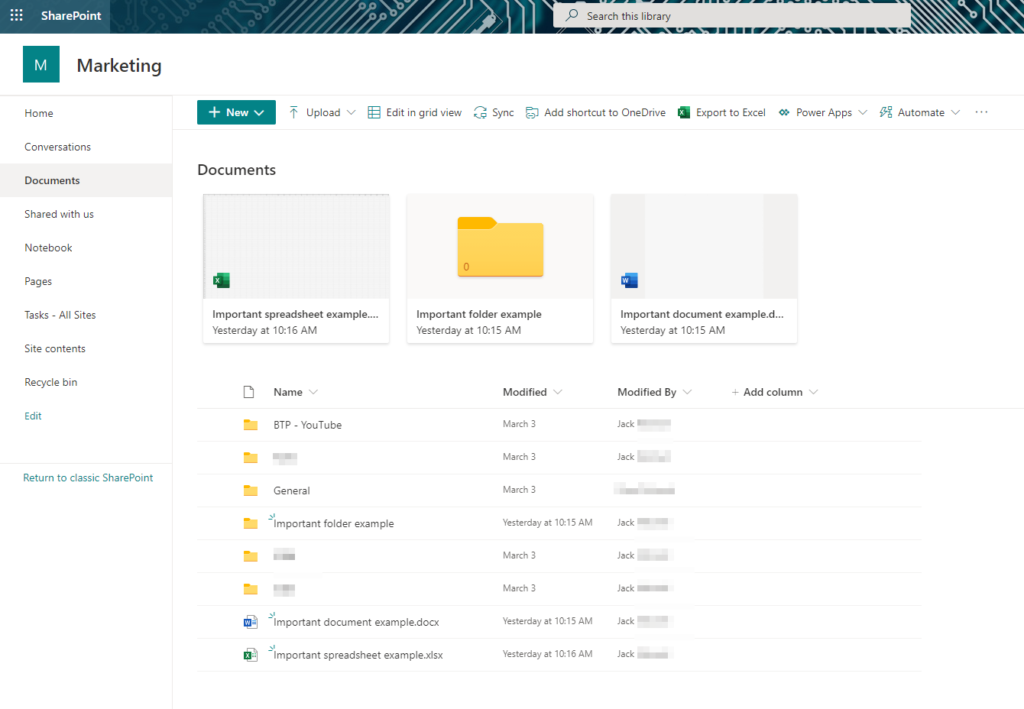
In the screenshot below, you can see what it looks like once you have pinned a file and a folder to the top of your Documents.
- Rearrange pinned files/folders as needed using the ‘Edit pin’ option
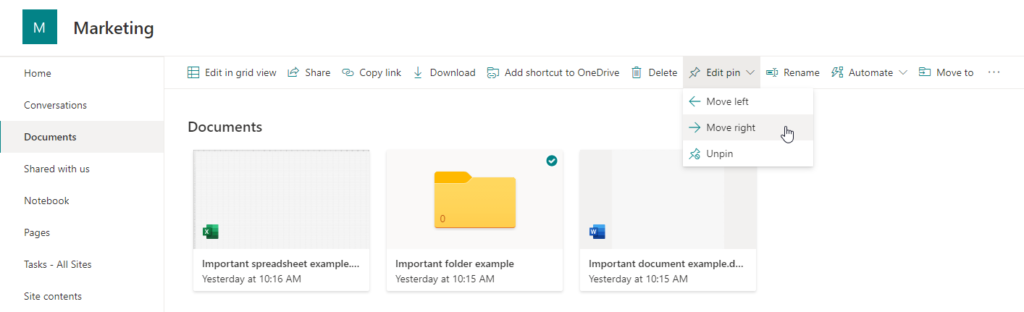
If you’re pinning numerous files and folders to the top of your document repository, there are little features you can use like ‘Move left’ and ‘Move right’ to tidy the appearance up and change the order of the pinned files/folders.
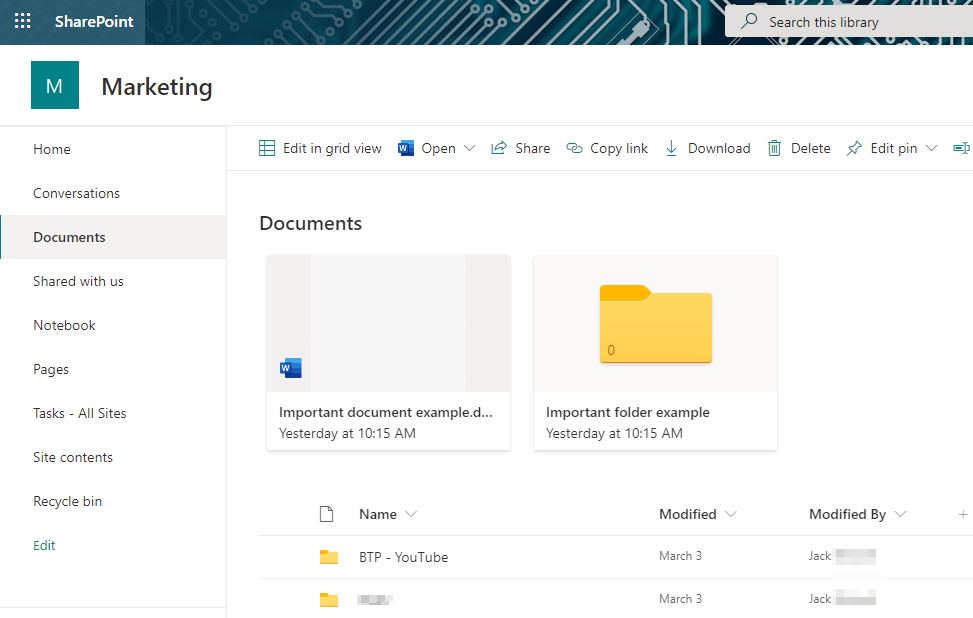
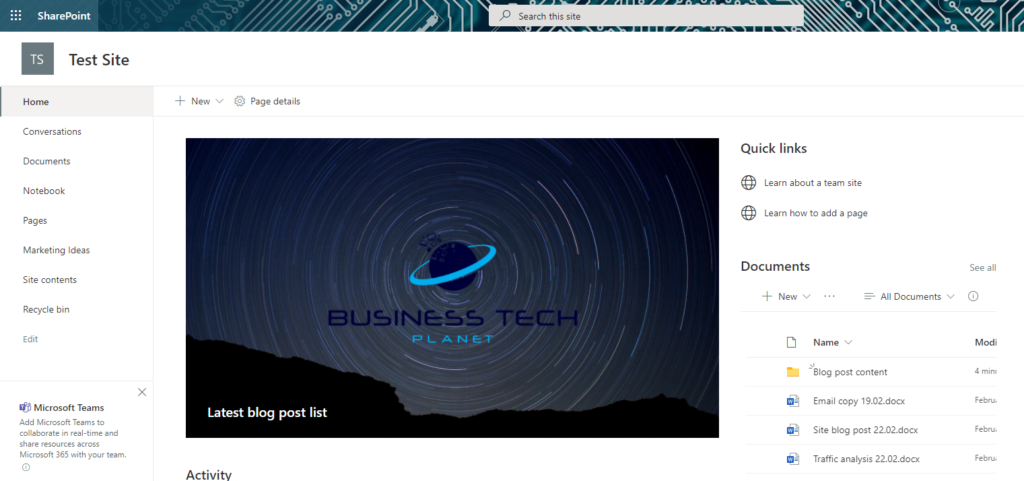
Now we’ve pinned some files and folders to the top, here’s what your SharePoint Documents section will look like.
This is a great way of making certain files and documents more accessible to teams. However, a major drawback is that you can only pin files and documents that are in the root Documents section.
For example, if I open our ‘Important folder example’ folder, select a file stored in there, and then pin it, it will only be pinned within that folder. In other words, that file will not be pinned in the same section seen above.
If you have tons of folders with important documents in them that need to be easily accessible, you could move all the important documents to the root Documents folder. Alternatively, take a look at the next section where I demonstrate how you can edit your SharePoint site home page to make any folder or file easily accessible as soon as you sign into SharePoint.

Customize your SharePoint homepage and include a link to files/folders you need quick access to
SharePoint Online gives you the infrastructure to make websites and intranets. When you first log in and select a SharePoint site, you land on the site’s homepage.
A SharePoint site’s homepage is fully customizable, so you can link to important documents and folders here in a visually pleasing way. Following the steps below, I’ll talk you through customizing your site’s homepage to link to all your important documents and folders.
Please note: The steps outlined below presume that you have already created a SharePoint team site.
- Go to Office.com
- Sign in using your Microsoft 365 credentials
- Click the app launcher and then open SharePoint
- Select the site that you want to edit
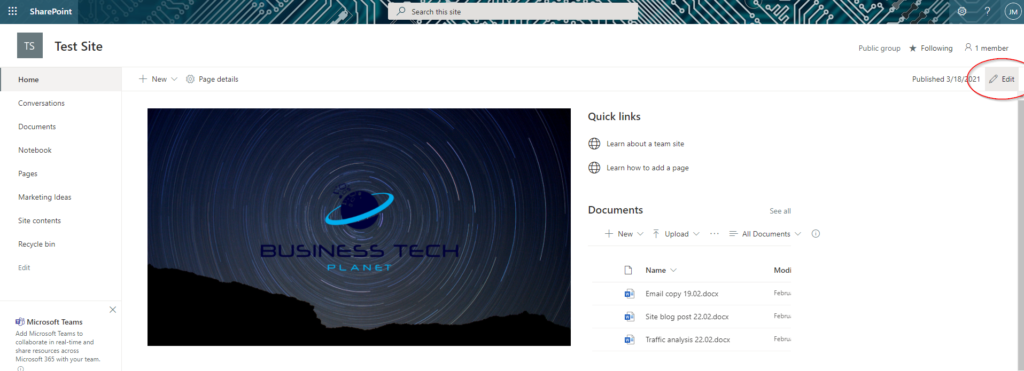
- Click ‘Edit’ in the top right corner on the home page
- Click ‘Add a new web part’ then choose Image [recommended] or Text
- Select image from your SharePoint site, OneDrive, stock, or upload one from computer
- Edit image, select ‘Add text over image’, and link image to SharePoint file/folder
- Go to a web browser and type office.com/sharepoint in the address bar
- Sign in using your Microsoft 365 credentials
If you’re unsure what your Microsoft 365 credentials are, it’s likely to be your work email address – for example, [email protected] – and whatever password you use to sign into your system.
If you’re unsure, you can speak to your Microsoft 365 admin and they can reset your password for you.
- Click the app launcher and then open SharePoint
- Select the site that you want to edit
- Click ‘Edit’ in the top right corner on the home page
Something to note here is that you might be unable to edit the SharePoint site, depending on your permissions. If you do not have permissions to edit the site, you’ll be unable to follow the steps.
In this case, contact your Microsoft admin and ask them to give you permissions to edit the SharePoint site homepage. They should be able to help you with that.
- Click ‘Add a new web part’ then choose Image [recommended] or Text
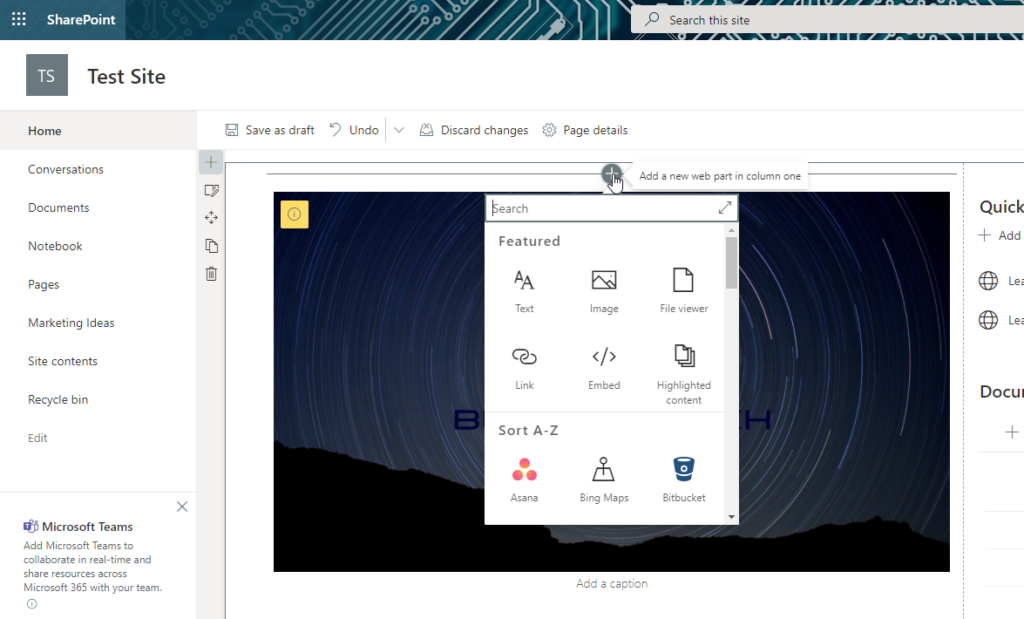
I recommend choosing ‘Image’ here, as I believe it’s visually pleasing versus text. However, text does the job just as well, and text might be a better option if you’re wanting to link to several important documents or folders.
- Select image from your SharePoint site, OneDrive, stock, or upload one from computer
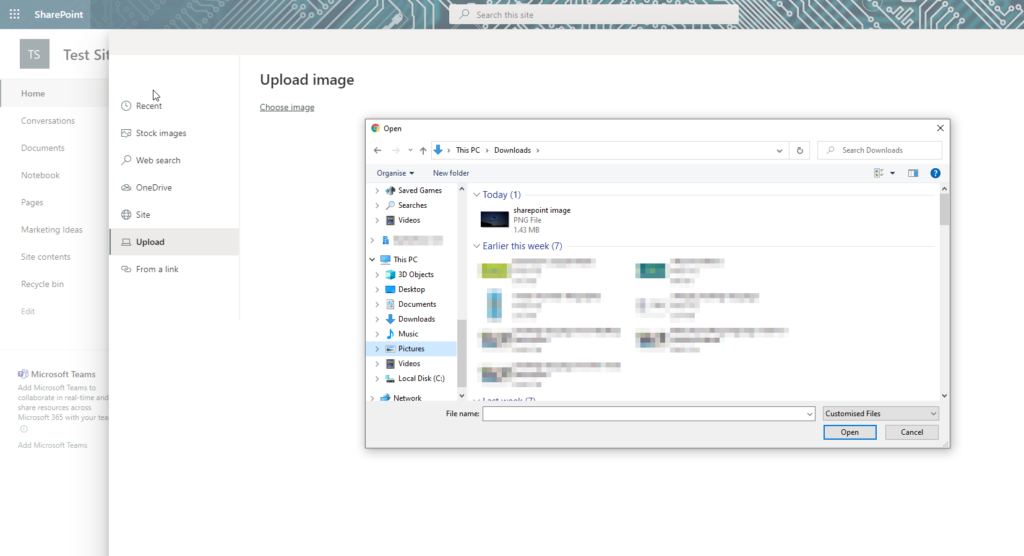
Upload an image of your choice or simply use stock. Uploading your own images can help make your SharePoint site’s homepage look super professional.
- Edit image, select ‘Add text over image’, and link image to SharePoint file/folder
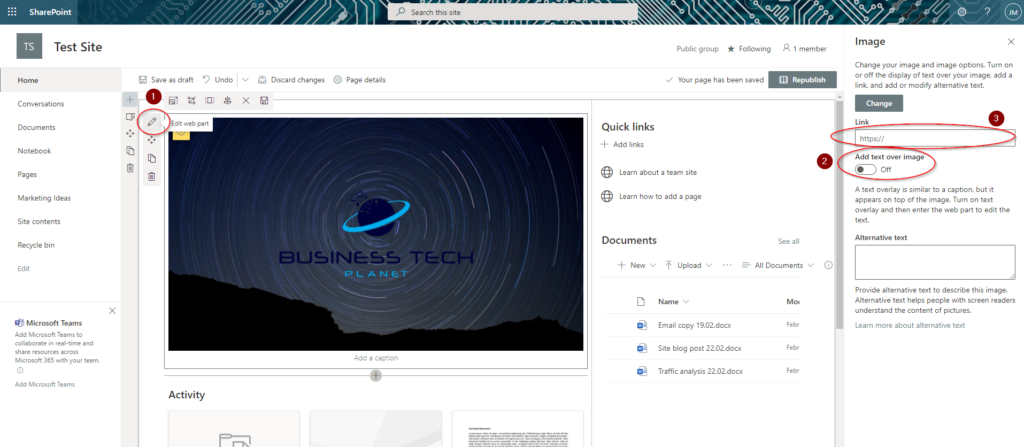
Firstly, select the image and then click ‘Edit web part’.
Next, turn on ‘Add text over image’. This allows you to add a text overlay, telling SharePoint users where the image links to. In our case, that’s our latest blog post list [as you’ll see below].
Finally, enter the link to the file or document on your SharePoint. You can do this easily by navigating to the folder and copying the site address, or opening the file and copying the site address. Simply pop this address into the ‘Link’ box and then click ‘Republish’.
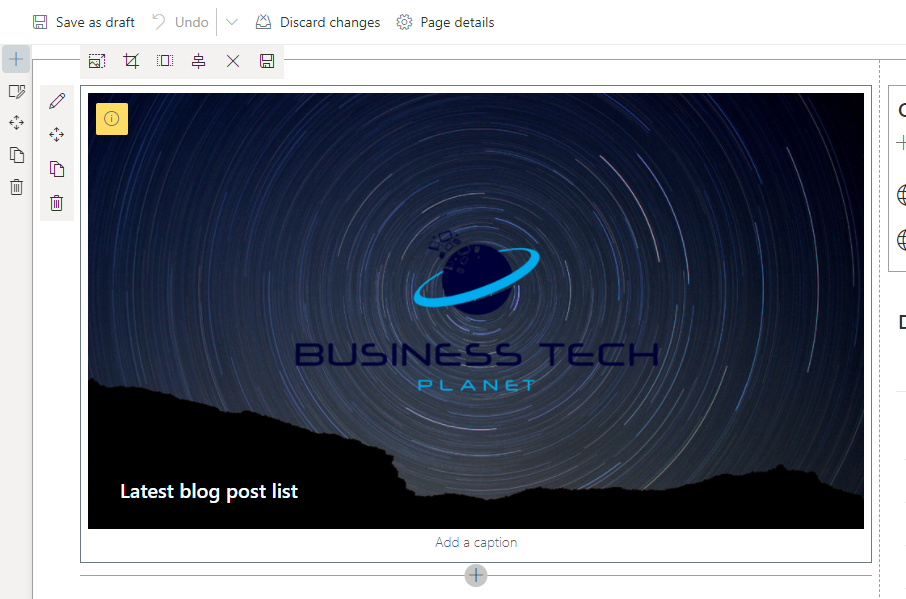
If you’ve followed all the steps correctly, you should end up with something similar to what you see below!
If I click the image above, it now takes me straight to our blog post list, opening up an Excel for web file.
If you linked to a folder rather than a particular file, it will take you straight to that folder on SharePoint. This makes it much easier for your team to find important files and folders quickly – if they have access to SharePoint. If you don’t want your staff accessing SharePoint or you think it’s too complicated, you can sync files to their local devices. That’s what I’m talking you through next.
Sync files/folders to your local computer so they show in File Explorer
If you don’t want your staff having access to your SharePoint, you think it’s too complicated, or you want to ensure they can still access synced versions of files when they’re offline, syncing SharePoint files and folders to local devices – so they appear in File Explorer – is the best way to go.
Here’s a step-by-step guide to syncing files/folders to local devices:
- Go to Office.com
- Sign in using your Microsoft 365 credentials
- Click the app launcher and then open SharePoint
- Select the site the files/folders are stored in and select ‘Documents’
- Locate the folder/files you want to have available locally [skip to the next step if you want to sync the entire Documents folder]
- Select ‘Sync’
- Check File Explorer to ensure all files have synced correctly
- Go to a web browser and type office.com/sharepoint in the address bar
- Sign in using your Microsoft 365 credentials
If you’re unsure what your Microsoft 365 credentials are, it’s likely to be your work email address – for example, [email protected] – and whatever password you use to sign into your system.
If you’re unsure, you can speak to your Microsoft 365 admin and they can reset your password for you.
- Click the app launcher and then open SharePoint
- Select the site the files/folders are stored in and select ‘Documents’
Navigate to the site that the files/folders are stored in, then select ‘Documents’.
- Locate the folder/files you want to have available locally [skip to the next step if you want to sync the entire Documents folder]
Once you’re into the ‘Documents’ area of your SharePoint site, navigate to the files or folders that you want to sync to your local device.
Alternatively, if you want to sync all of your documents, skip to the next step!
- Select ‘Sync’

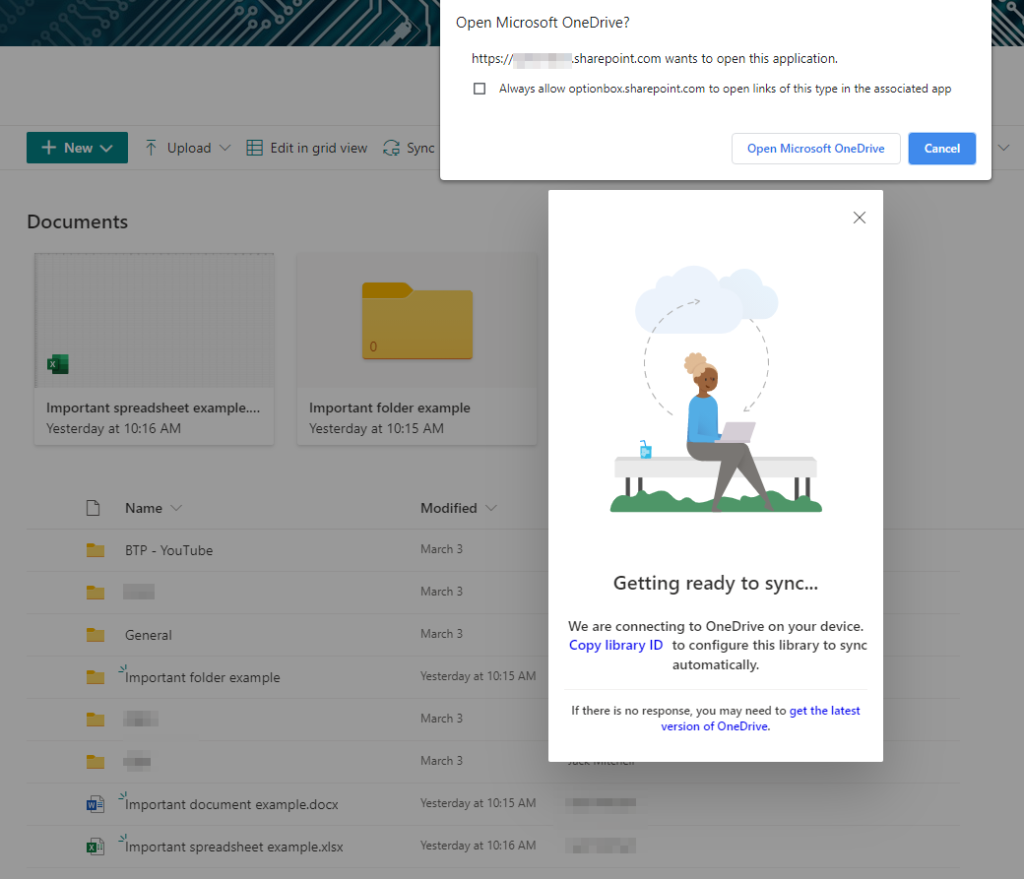
Once you have located the files and folders that you want to sync locally, select the ‘Sync’ button I’ve highlighted in the screenshot above.
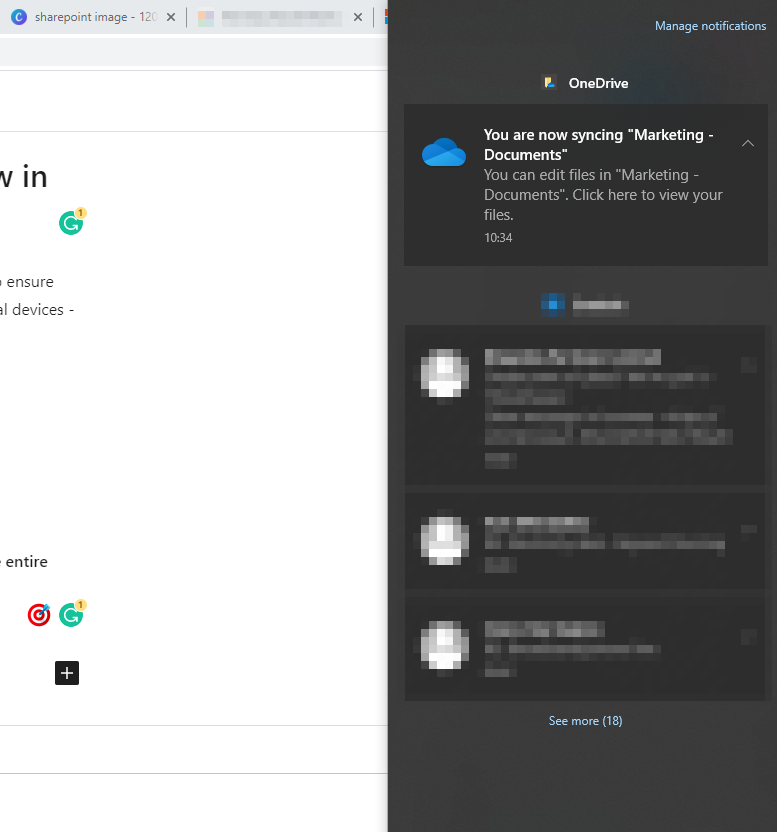
You may get some pop-ups like these [in the screenshot below]. Just accept the pop-ups, clicking ‘Open Microsoft OneDrive’ to begin the syncing process. You should then get a notification [screenshot 2 below] that informs you the sync has begun.
- Check File Explorer to ensure all files have synced correctly
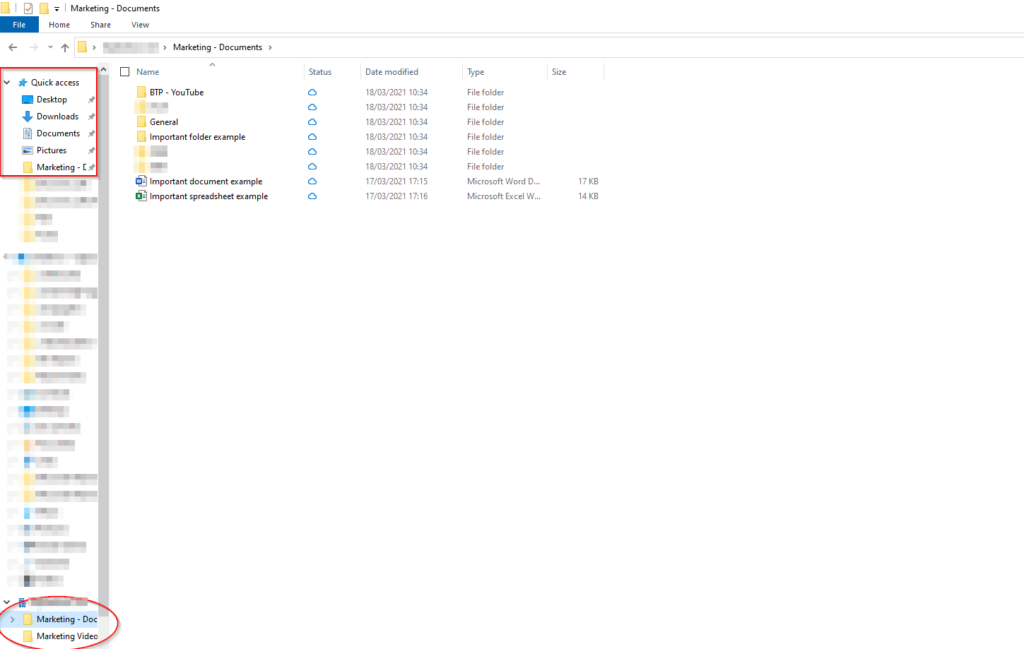
Open up File Explorer after starting the sync just to double check all files are now available locally.
As you can see in the screenshot above, all of my files have synced from SharePoint without an issue. I can go into these folders, open files, make changes, and that will sync back to SharePoint so everyone using the files has the same version that can be collaborated on in real-time.
A quick bonus tip here is to right click on the files/folders you need to quickly access and select ‘Pin to start’ or ‘Pin to quick access’ so you can quickly and efficiently access the folders and files you use regularly without wasting time searching your files for them.
I hope you’ve found this blog post useful and now can make it easier than ever for your teams to access important files and folders stored on SharePoint Online. If you have any questions, please feel free to leave a comment below and I’d be happy to help out.