If you are an admin member of a company or organization, it is your responsibility to ensure that the company software is safe and secure. You may need to carry out routine checks on user accounts, or you may need to actively remove accounts from devices. However, what can you do to remotely remove Microsoft 365 from a device? Have a read-through and see what you can do to remotely remove Microsoft 365 from a device.
You will require global admin permissions to remotely remove Microsoft 365 from a device. You need global admin permissions because your changes will actively change user access to accounts. Once you have admin permissions, you can simply access the device section and remove an active device from the M365. Our step-by-step guide shown below will give more context on how you can remotely remove Microsoft 365 from a device.
- Firstly, open Office 365 from your browser.
- Now click on the launcher illustrated by nine dots.
- From there, you need to click on “Admin.”
- In the admin section, click on “Devices.”
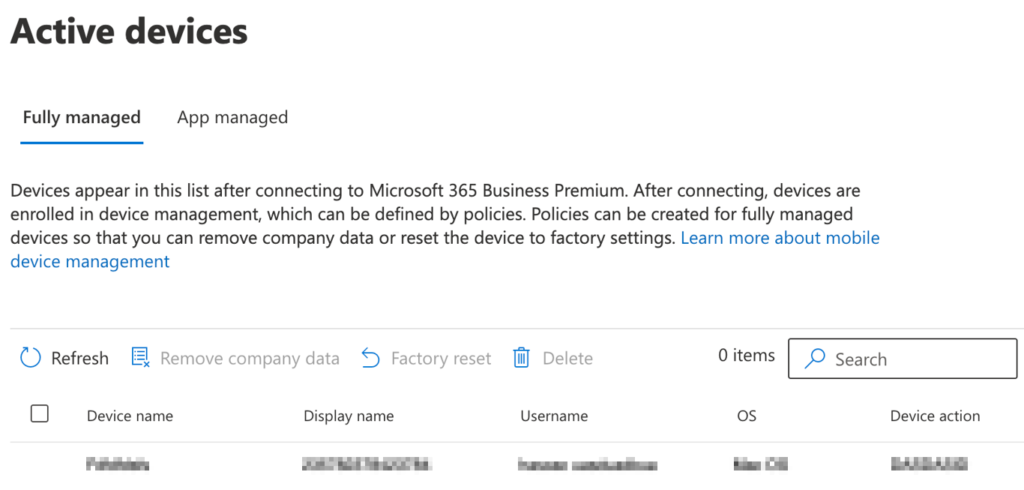
- After that, press the option for “Active devices.”
- Now select a device from the list.
- From there, click on “Delete.”
- Click “Delete” again on the security prompt to end the process.
When you have completed the steps shown above, you will have removed Microsoft 365 from a device. As your company-based information needs to remain safe and secure from potential threats, the changes will completely remove all accounts access from that device until reassigned. Changes made here are instant, so there is no waiting around to ensure the changes take effect. You may experience delays only if there are conflicting policies; however, the prompt will override any enabled securities or retention policies.
An in-depth guide on how to remotely remove Microsoft 365 from a device
Here is an in-depth guide on remotely removing Microsoft 365 from a device. If you require more assistance with the steps shown above, you can use this guide to help. The guide shown here includes screenshots to help you better understand the process. If you struggle to navigate the UI, you can use the below to help. The guide also includes more information on the step and what it will do. Those additional points will help you understand the more complex steps in the process.
- Firstly, open Office 365 from your browser.
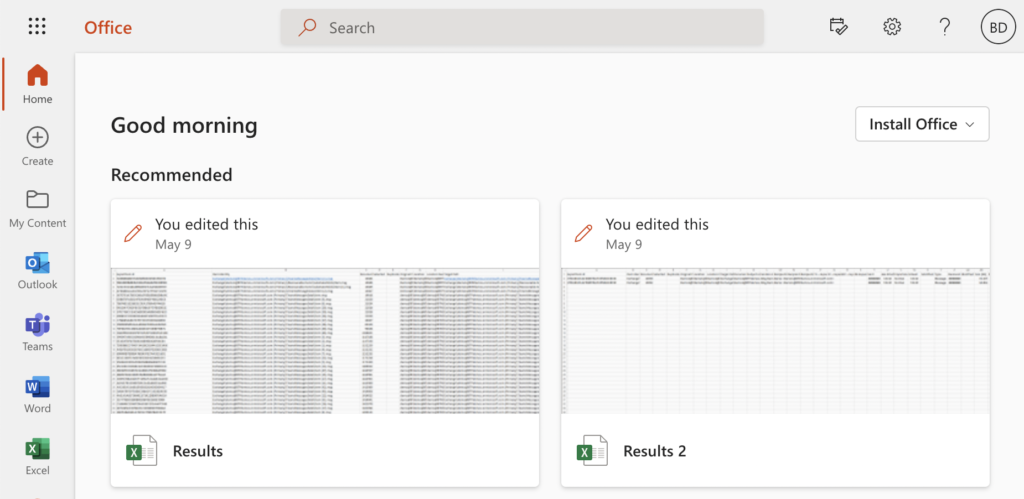
You need to first open Office 365 from your browser to begin the process. As mentioned before, you need to make sure you have the correct level of permissions to make sure you can make the changes necessary. You will need global admin permissions to make the necessary changes and complete the below-mentioned process.
- Now click on the launcher illustrated by nine dots.
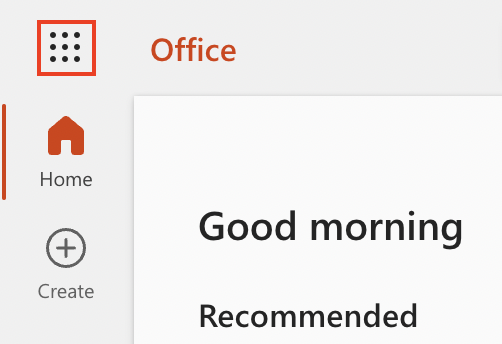
Once you have accessed Office 365, you will now be able to access the admin section of the program by clicking on the launcher. Nine dots illustrate the launcher on the top left side of the Office 365 dashboard.
- From there, you need to click on “Admin.”
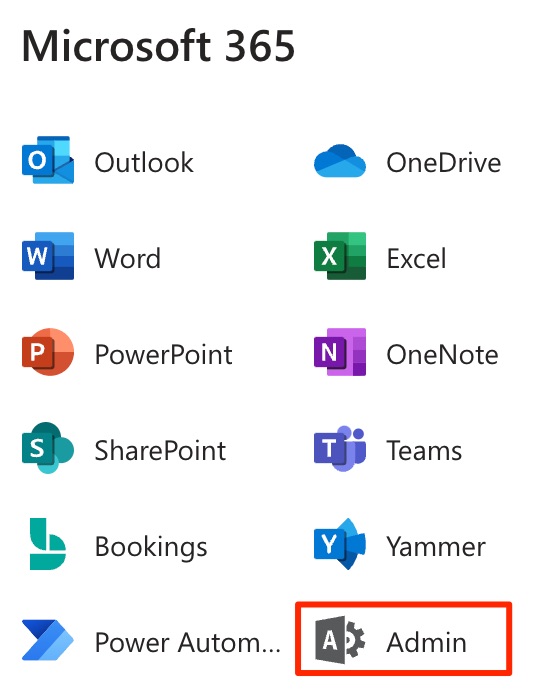
When you click on the launcher, you will be shown a list of applications part of your subscription. You can access the admin section from the launcher menu. The admin section is an administrative dashboard used to authorize control over company-based accounts on the Office network.
- In the admin section, click on “Devices.”
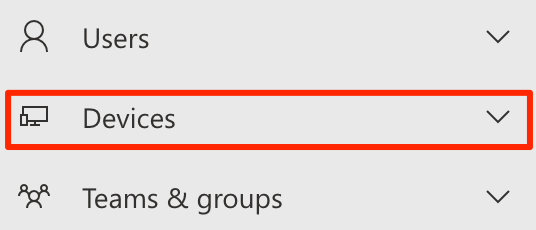
There will be an option for devices in the admin section for Office 365. The option, when clicked, will open a dropdown menu where you can proceed with the next steps.
- After that, press the option for “Active devices.”
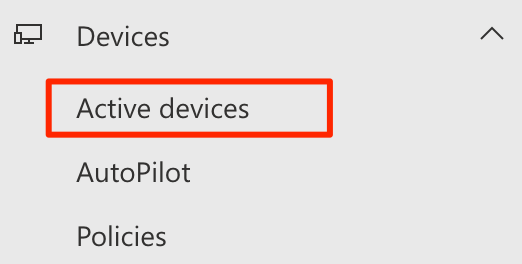
Once you have clicked on the option for “Devices,” there will be another list of options; here, you need to click on “Active Devices.”
- Now select a device from the list.
- From there, click on “Delete.”

- Click “Delete” again on the security prompt to end the process.

Microsoft 365 will be removed from a device when the steps above have been completed. There is no need to keep an eye and see if the changes have been made. The program will automatically and instantly remove M365 from devices once the steps above have been completed. If there are competing policies, you will face delays; nonetheless, the prompt will override any activated secure or retention policies. Because your company’s data must be kept safe and secure from possible dangers, the adjustments will deactivate M365 and all accompanying programs on that device.

Why may you want to remove M365 from a device?
Portable devices such as laptops and smartphones are getting increasingly feature-rich. This makes it easier for your users to save and access sensitive company information on the move, such as personal identity or company data. If one of these devices is lost or stolen, deleting it can help protect your company’s data from falling into the wrong hands. You can use the steps shown above to ensure that account information remains safe and secure.
When a user leaves the company with a personal device registered with your company M365 account, a device removal can help prevent company-based data from being taken. If they have access to this information, it could be a potential breach of account information and potentially end up in the wrong hands. These impactful situations could harm your company if action is not taken. You can use the steps illustrated above to prevent an issue like this from occurring.
If your company gives equipment to its employees, such as laptops, you may need to reassign them from time to time. Before assigning a device to a new user, follow the procedures above to verify that any sensitive information from the prior owner is removed.
Conclusion
Thank you for taking time out and reading our content on how to remotely remove Microsoft 365 from a device. If you follow the guide shown above, you will better understand how to remotely remove Microsoft 365 from a device. The guide includes a step-by-step breakdown of the process, which allows you to remove Microsoft 365 from a device. The guide also includes instances where you may need to remove M365 from a device. If you find that you have issues following through, simply add a comment below, and we will address them as soon as possible.