If you ever need to remove someone’s access to a SharePoint site, you don’t need to be a SharePoint expert. In fact, I’ll be demonstrating how to remove Site Access in this blog post with a step-by-step tutorial. This guide will walk you through the entire process, demonstrating how to remove and modify user permissions in SharePoint Online.
How To Remove Access To A SharePoint Site: Step-by-step Guide:
- Navigate to
 Office.com and log in using your Microsoft 365 credentials
 - Click SharePoint in the app launcher
- Navigate to your SharePoint site
- Click Settings (cog icon)
- Click Site contents
- Select ‘X members’
- Open up dropdown and click Remove from group
Please note that you must have the appropriate permissions to remove users from a SharePoint site. You must be a site owner.
We’ve also created a video to help guide you through the steps:
Here is a step-by-step demonstration of the process outlined above — including screenshots — so you can easily follow along.
   |
How To Remove Access To A SharePoint Site: Step-by-step Guide
To remove access from SharePoint, it is important to start by using your Microsoft 365 credentials to log in to ![]() Office.com — then open the SharePoint application. Once you have navigated to SharePoint Online, you can adjust permissions — and revoke access — for specific people by opening up the Site Contents section and selecting who should be removed from a group.
Office.com — then open the SharePoint application. Once you have navigated to SharePoint Online, you can adjust permissions — and revoke access — for specific people by opening up the Site Contents section and selecting who should be removed from a group.
1. Navigate to Office.com and log in using your Microsoft 365 credentials
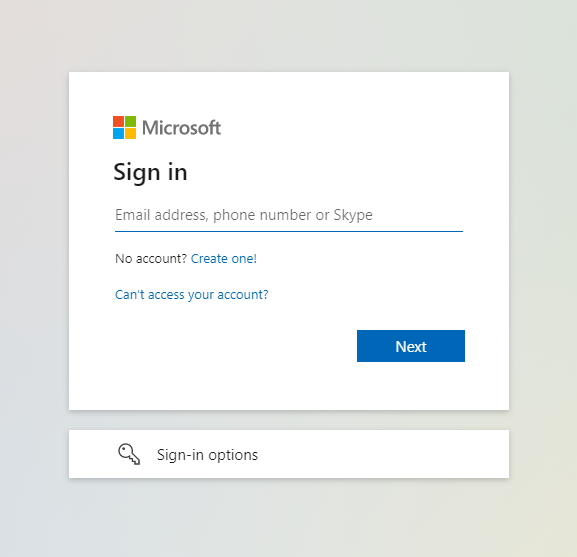
Firstly, you’ll need to log in to ![]() Office.com using your Microsoft 365 account. If you’re unsure what your login details are, it’s likely your business email — i.e., [email protected] — and the password you use to log in to your device.
Office.com using your Microsoft 365 account. If you’re unsure what your login details are, it’s likely your business email — i.e., [email protected] — and the password you use to log in to your device.
Logging in to the Microsoft 365 portal can be done through any web browser. Simply open up a new tab on your machine, go to office.com and enter your login details (email address and password).
2. Click SharePoint in the app launcher
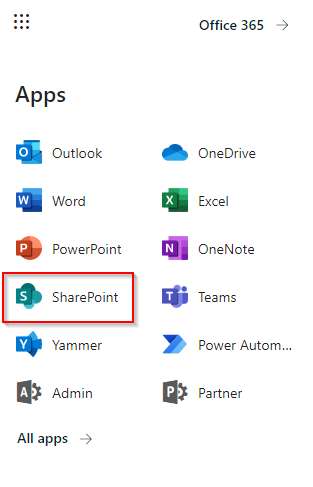
Once you’re logged in, click the SharePoint icon on the app launcher and navigate to your SharePoint site. You can also search for it by using the search bar at the top of the Microsoft 365 portal.
3. Navigate to your SharePoint site
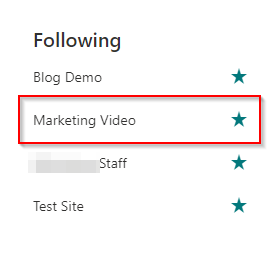
Open the SharePoint site that you want to remove users from.
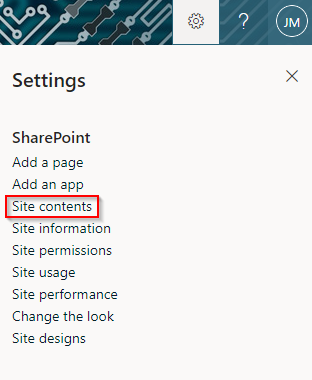
4. Click Settings (cog icon)

Once you’ve opened your SharePoint site, click the cog icon (Settings).
5. Click Site contents
6. Select ‘… members’
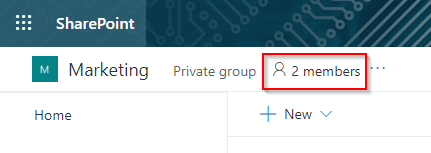
On this particular SharePoint site, there are only two members. Even if you have more than 2 members, you should see something very similar to the screenshot above. Click where indicated.
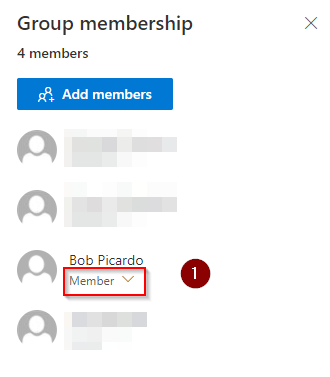
Once you open up the list of members, there’s a few functions you can control. For example, you can add members, change the role of a member, and remove members.
7. Open up dropdown and click Remove from group
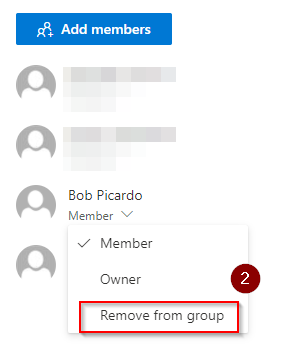
Once you click Remove from group, the user immediately loses access to the SharePoint site. Keep in mind that this isn’t always instant — the user may retain access for roughly 5 – 10 minutes in some cases.
This is handy if you have someone leave your team, for example. For security purposes, you only want people within (or outside of) your organization accessing what they need to.
Once you’ve removed someone as a user, the SharePoint site will no longer display when they log into the SharePoint application. Furthermore, they cannot access the site via other means — e.g., a link that you’ve sent them in the past.
If they do try and access the SharePoint site via a link that you’ve sent them in the past, here’s what the user will see.
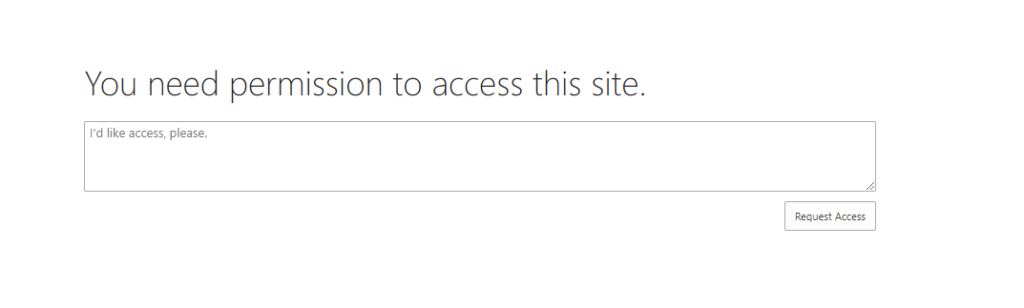
As you can see, they can no longer access the site from any device — or the folders and files stored within the site. They can request access, but this request will come to the site owner. Assuming you are the site owner — or have the appropriate permissions to accept/reject requests for access — you can simply turn down this request.
It is worth noting, however, that files and folders stored within the site can still be shared with users you remove (depending upon your sharing settings). If you’re concerned about site members sharing items and folders with users that aren’t also members of the team, you can disable link sharing and control the functionality of the ‘Share’ button you see throughout the SharePoint application.
I wrote the blog post How To Remove Share Button In SharePoint Online which explains that while you cannot disable or remove the share button, you can tweak its functionality to the point where it’s essentially useless to site members and visitors so only site owners can share the site and its contents. That’s well worth a read, especially if you need to ensure your SharePoint site is super secure.
That wraps up this tutorial! Thanks for reading my blog post on how to manage access permissions in SharePoint Online. I hope you found this information useful. If you have any questions, please feel free to leave a comment below and I’ll get back to you as soon as possible.
If you’d like to read more about SharePoint Online, I’ve written a few articles recently that you might find useful.
- How Do SharePoint Communication Sites Share With External Users? In this blog post, I explain how you can edit the settings for your communication sites so you can share content with external users. With default settings, communication sites cannot share with external users — this blog post explains how to change those settings.
- SharePoint: Anyone With The Link Sharing Option Greyed Out – How To Fix. Is the ‘anyone with the link’ sharing option grayed out? This blog post talks you through the steps needed to troubleshoot the issue and activate this sharing option.
- Disable Link Sharing On SharePoint Online. If you don’t want members of your SharePoint sites sharing files and folders externally, this guide walks you through disabling link sharing on SharePoint Online.