Audio devices are crucial for producing and processing sounds in Microsoft Teams. However, some users want to know how to remove an audio device, as there is no native feature that allows you to do that. So, in this guide, I will give you instructions on how to remove a Microsoft Teams audio device.
![]() How to remove Microsoft Teams audio device on Windows:
How to remove Microsoft Teams audio device on Windows:
- Open the Control Panel app.
- Click on the dropdown next to “View by.”
- Select “Small icons” in the dropdown.
- Open the “Sound” settings.
- Locate the audio devices in the “Playback” and “Recording” tabs.
- Right-click on the audio device and then select “Disable.”
 How to remove Microsoft Teams audio device on Mac:
- Open “System Preferences.”
- Click on “Sound.”
- Select the option for sound “Output/Input.”
- Right-click on a device you want as a default.
- Select “Use This Device For Sound Output.”
 How to remove Microsoft Teams audio device on Mobile (Android):
- Open “Settings” on your phone.
- Click on “Sound and vibration.”
- Turn on “Separate app sound.”
- Click on “Select.”
- Choose the “Teams” app.
- Click on “Audio device.”
- Select one of the audio devices connected to your phone.
Once you have completed the steps, you will have removed the audio devices from Microsoft Teams. Now your default devices will be used to process sound when using Teams. To ensure that the steps have worked, restart your Teams app by right-clicking on the Teams icon in the Windows taskbar. Then select “Quit” and reopen the application.
 How to remove Microsoft Teams audio device on Windows:
- Firstly, open the “Control Panel” app.
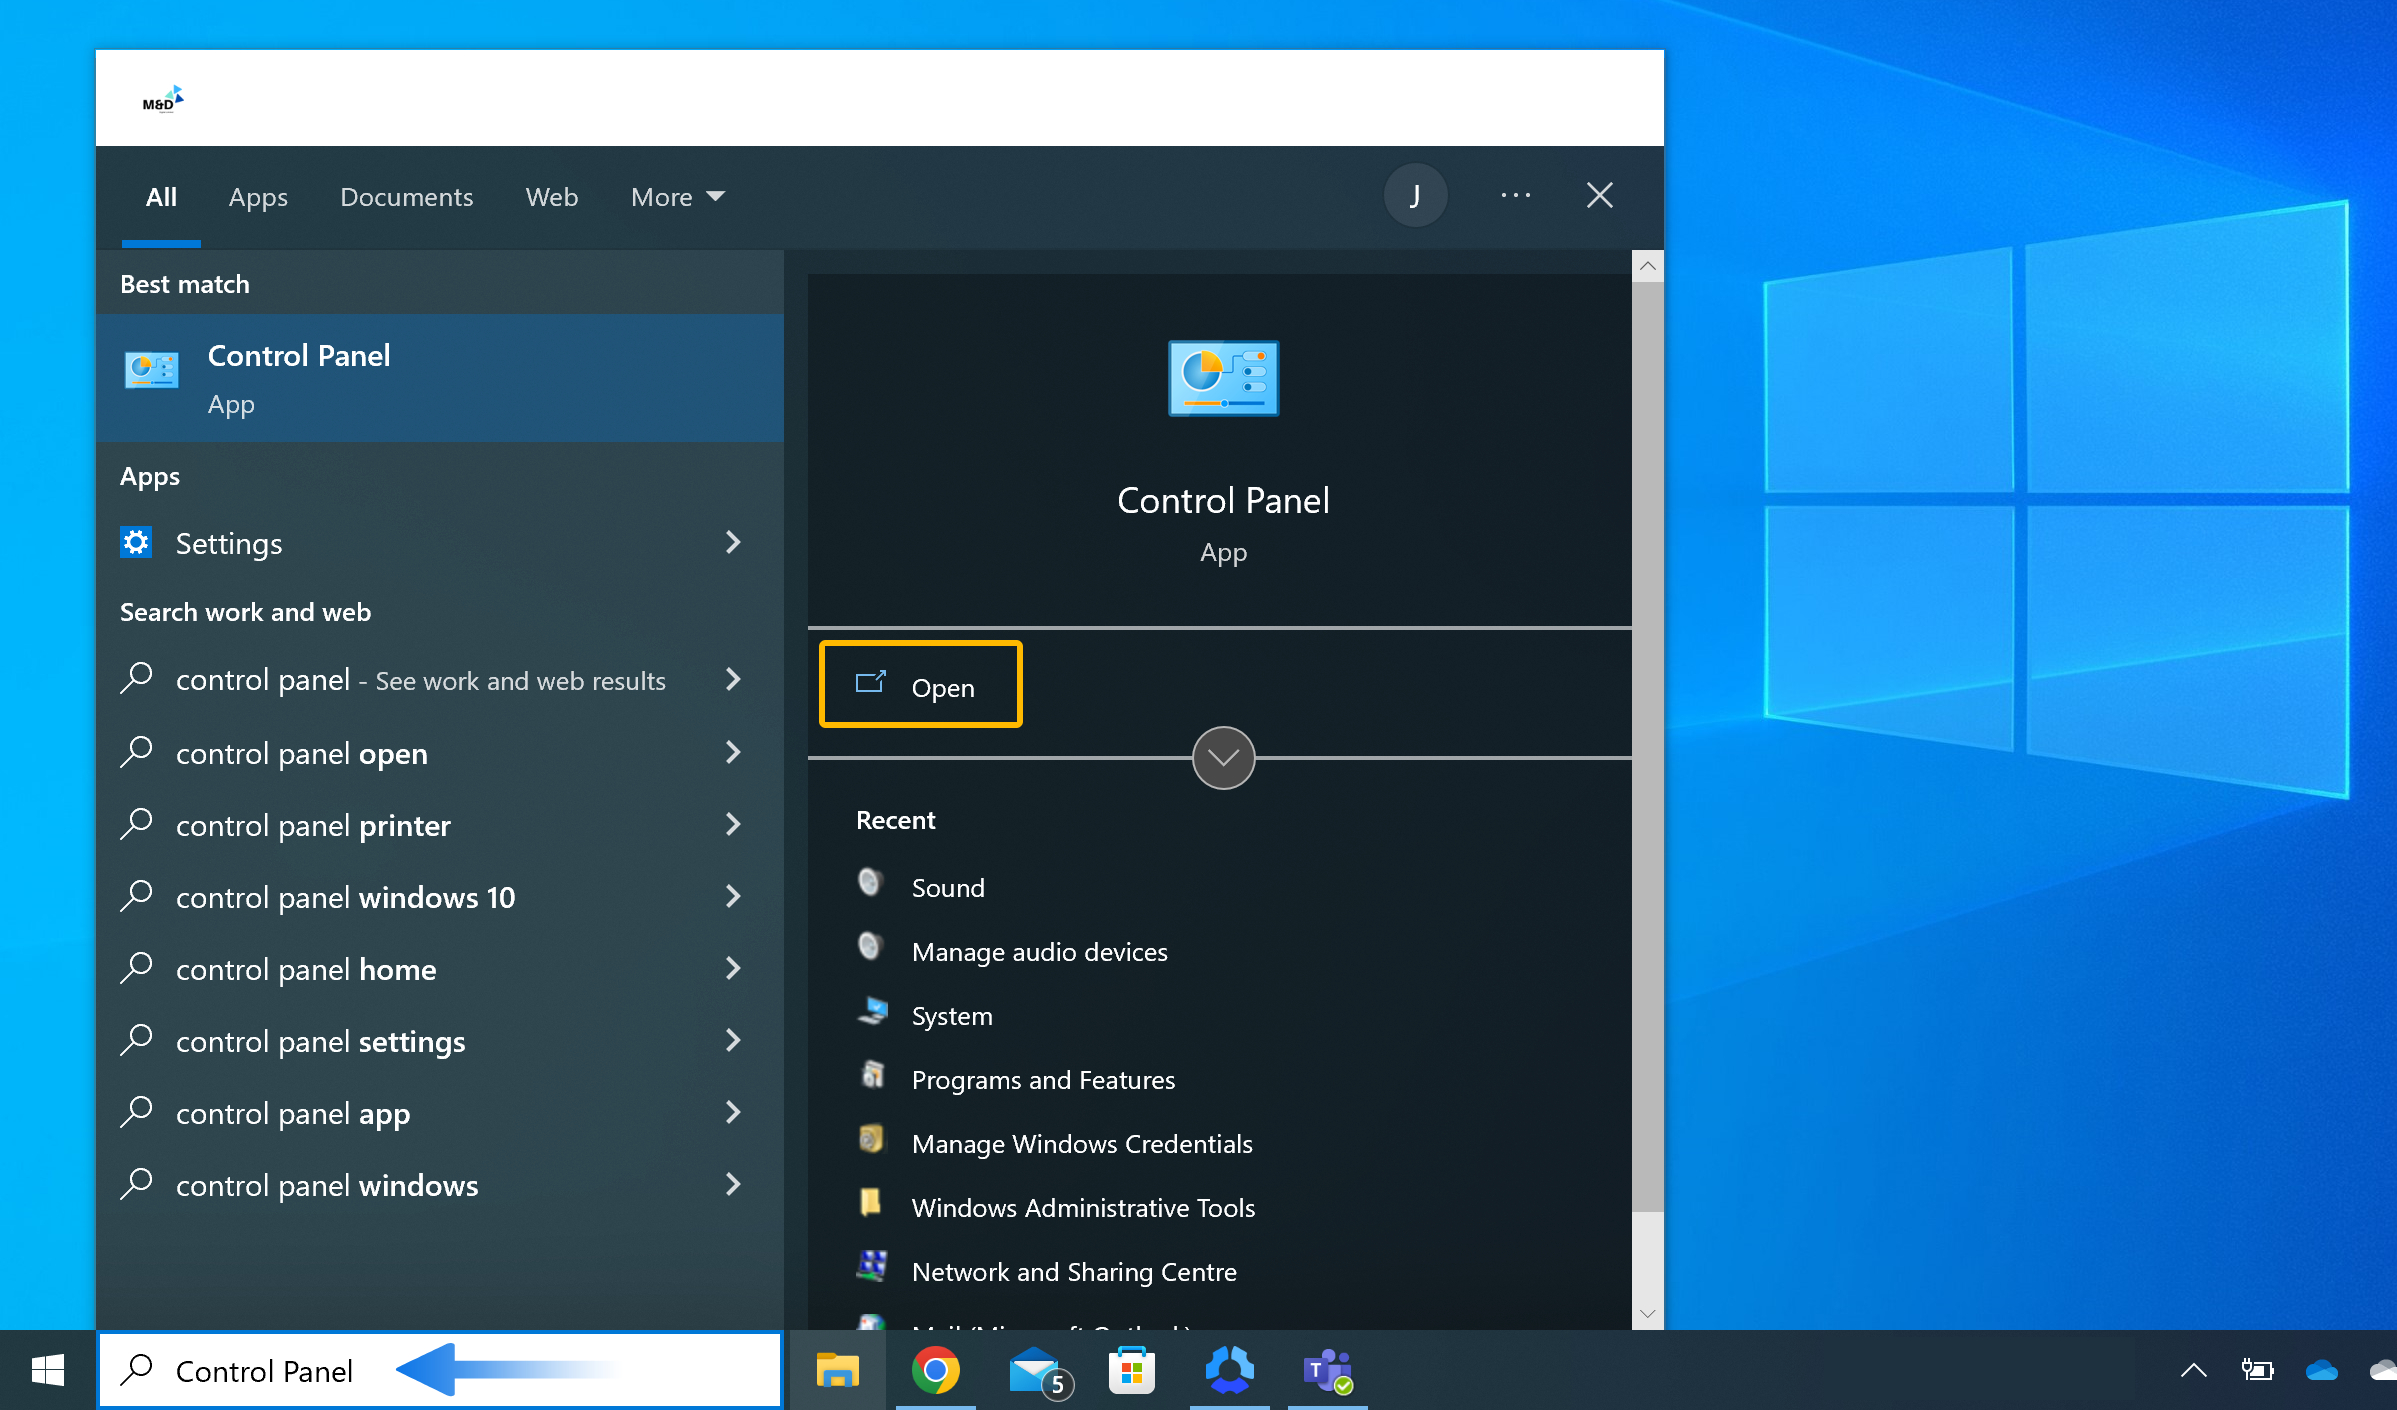
To open the Control Panel, you can type “Control Panel” into your Windows search bar and “Open.” If you can’t find the Windows search bar, press the ![]() Windows key + S on your keyboard.
Windows key + S on your keyboard.
- Click on the small dropdown next to “View by.”
The “View by” option allows you to view more options in the Control Panel. By default, the options are sorted by “Category.” In the Category view, you can access your sound settings by going to “Hardware & Sound” and then “Sound.”
- Select “Small icons“ from the dropdown box.
- Open the “Sound“ settings.
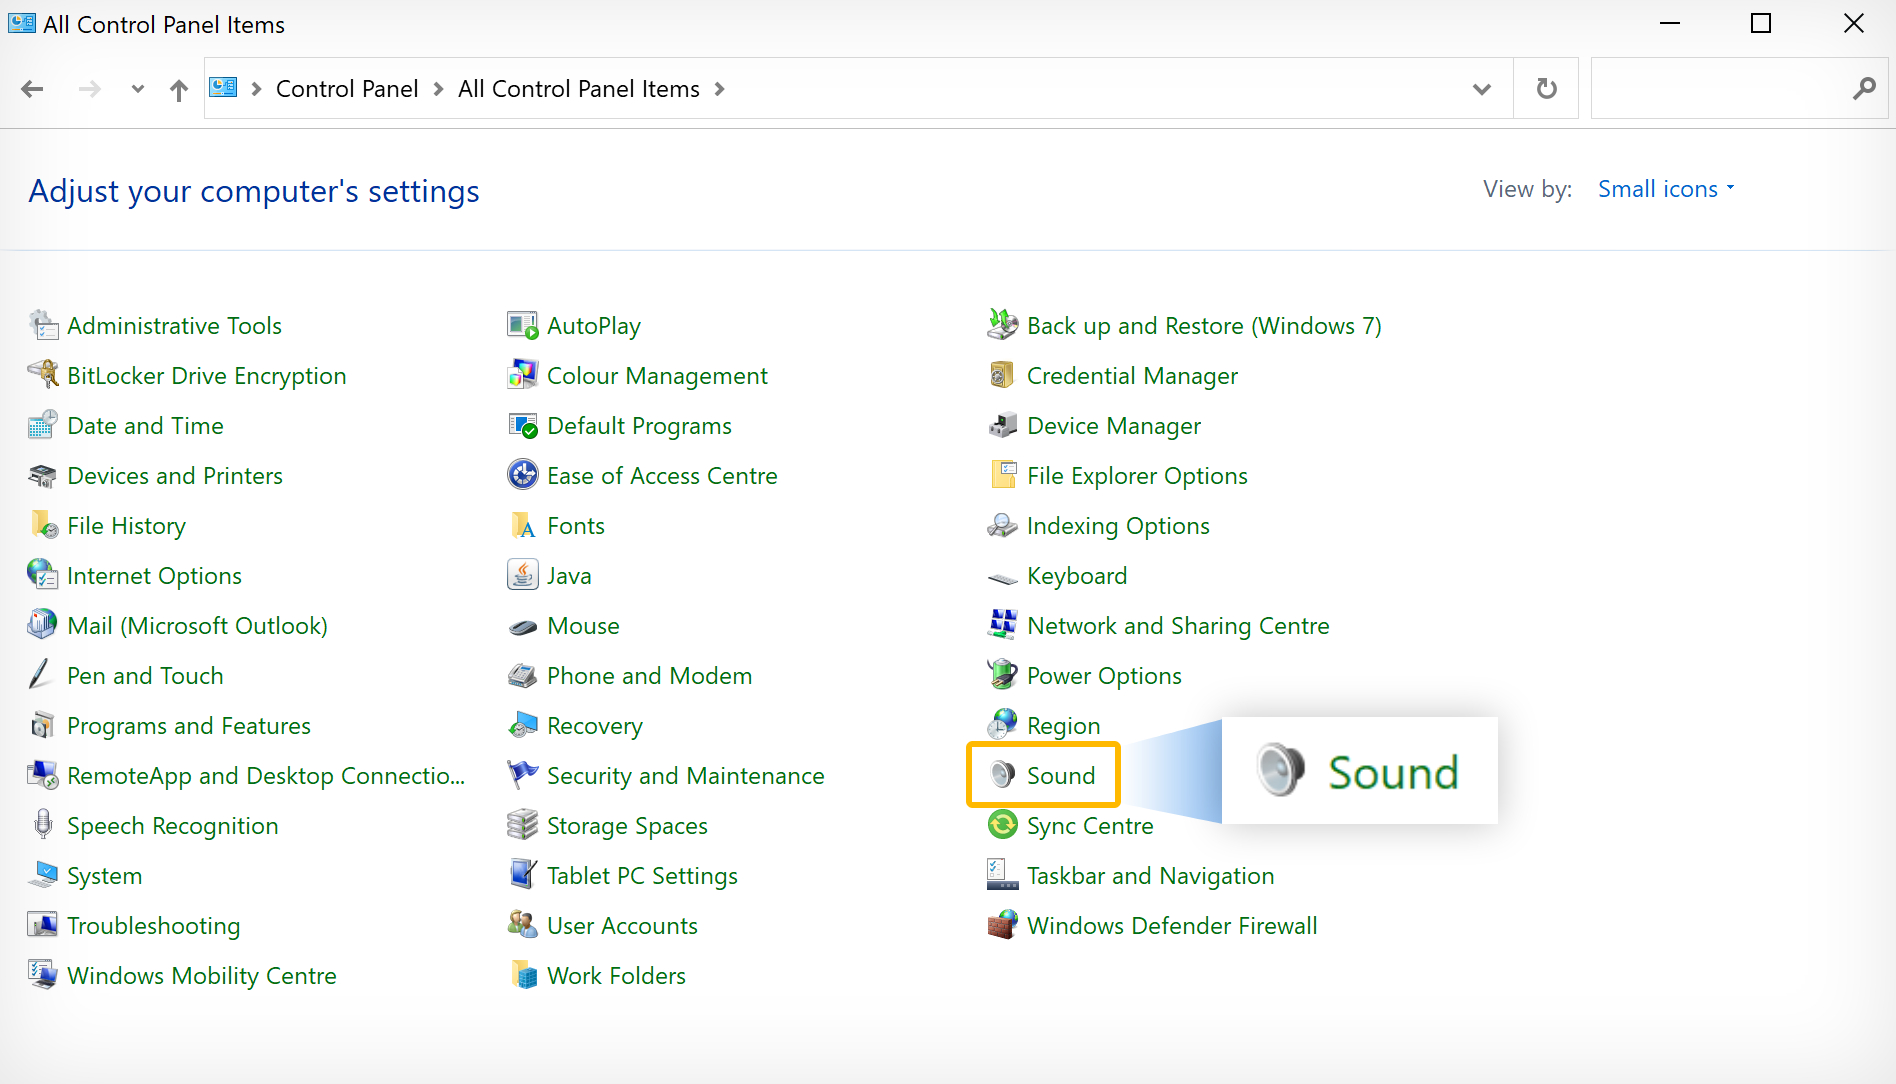
- Choose from either “Playback” or “Recording“ (both include Teams audio devices).
- Right-click the device you want to remove.
- Select “Disable” from the dropdown menu.
- Then click the “OK” button.
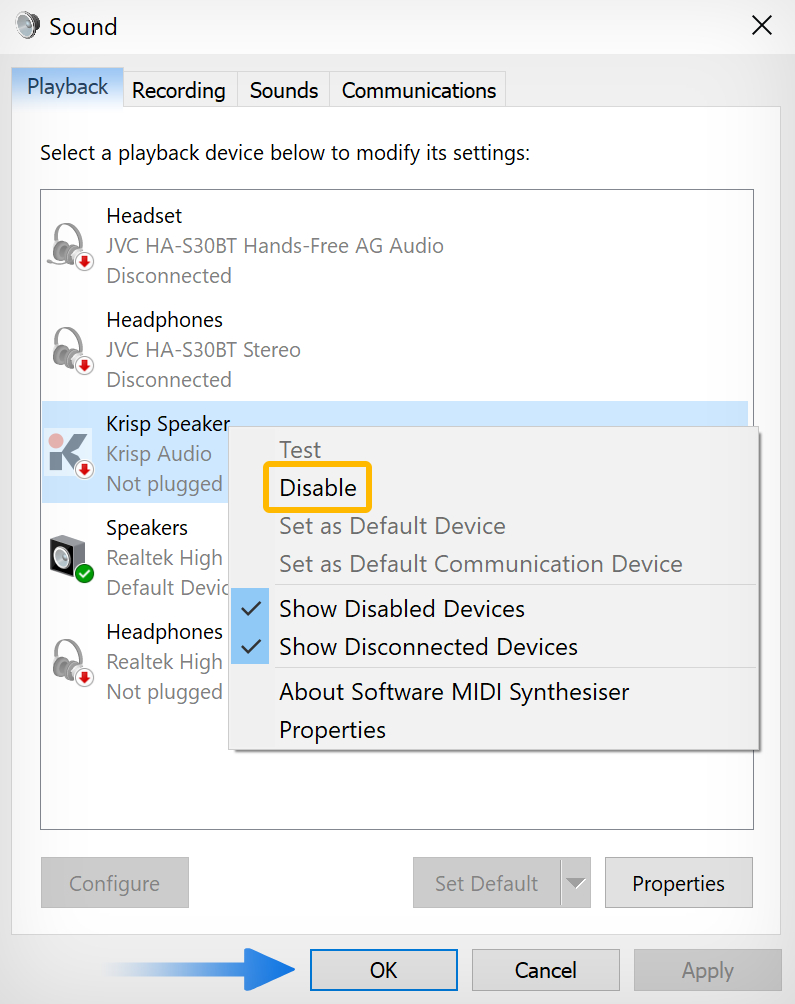 |
Once you have completed the steps, you will have managed to remove an audio device from Teams. The program will need a device if you have removed your current one, so in this instance, the program will revert to the original default device. You can choose another device by selecting it in the sound settings if needed.

How to remove Microsoft Teams audio device on Mac:
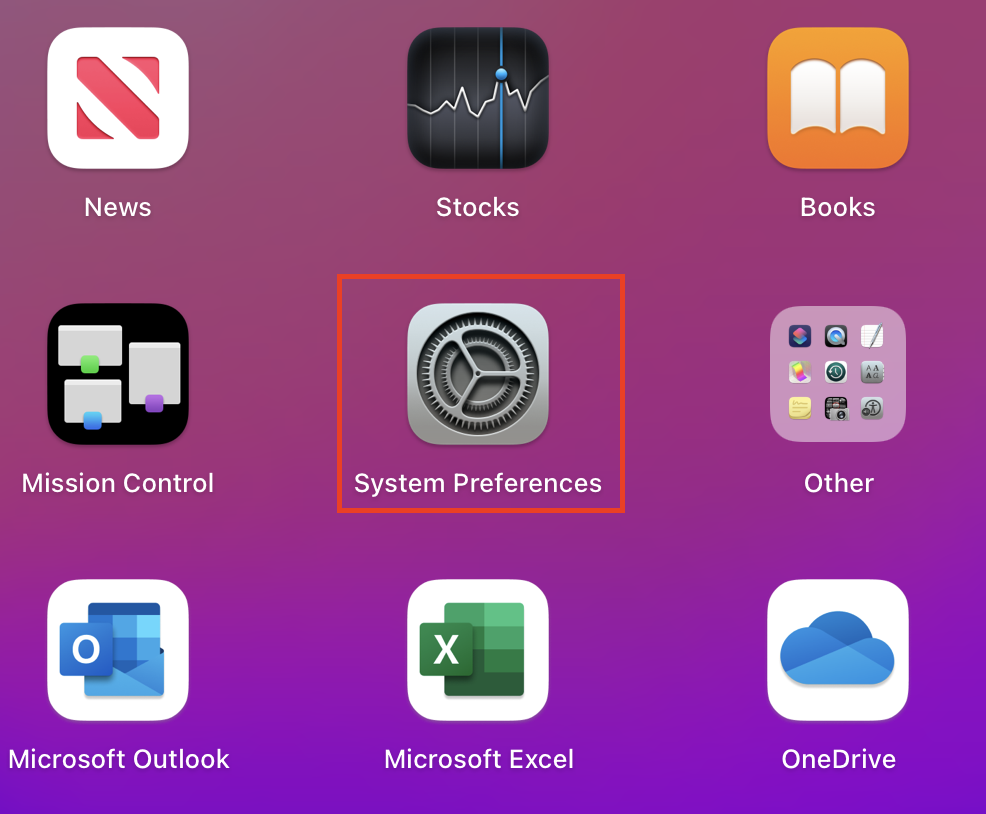
If you have a Mac OS device, you can use these steps to remove an audio device from Teams. Like Windows, the Mac OS version of Teams doesn’t include a native way of removing an audio device, so you will need to use these steps to remove an audio device on Mac devices.
- Firstly, open “System Preferences.”
 |
- Now click on “Sound.”
 |
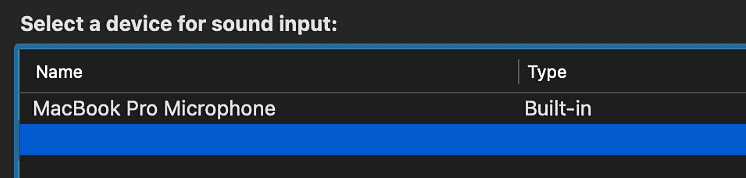
- Select the option for sound “Output/Input.”
 |
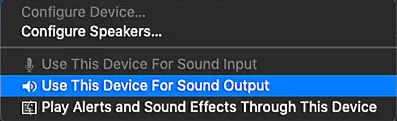
- Right-click on a device you want as a default.
 |
- Then select “Use This Device For Sound Output.”
 |
Once you have chosen this option, the default device for Teams will change to the one you have selected. Unfortunately, the only way you can remove an audio device is by removing the audio device. If you want the original device to stay enabled, you must select a new default.
How to remove Microsoft Teams audio device on Mobile (Android):
Like Windows and Mac, mobiles — in this case, Android — use audio devices to process playback and recorded sounds. And you can manage how audio devices are used in your phone settings. Below I will show you how to remove an audio device on an Android phone.
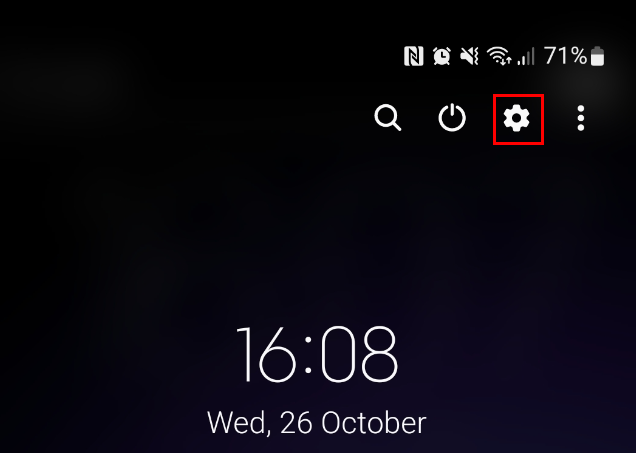
- Firstly, swipe down from the top and tap the
 “Settings” icon.
 |
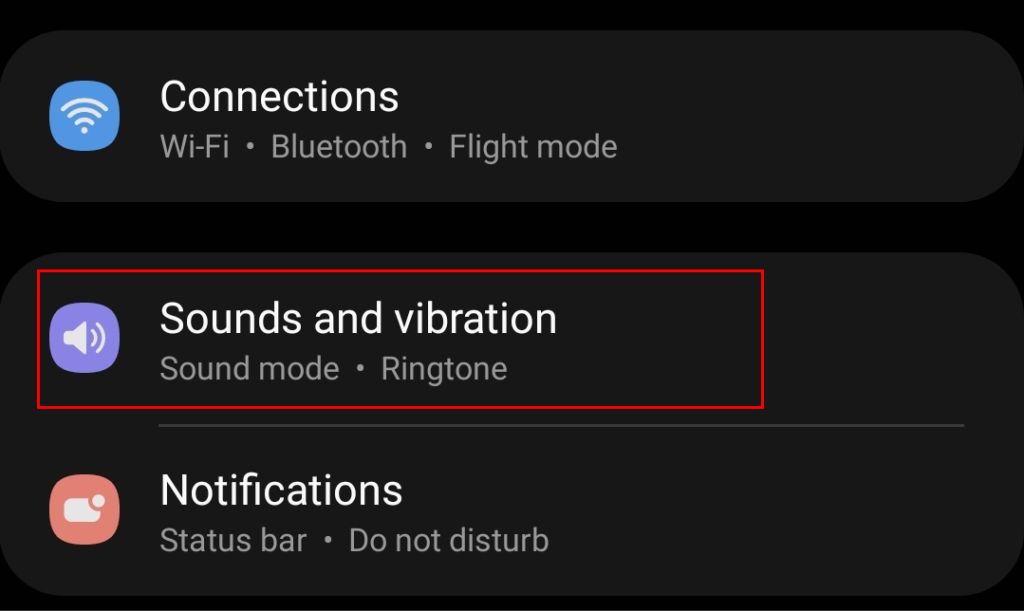
- Now click on “Sound and vibration.”
 |
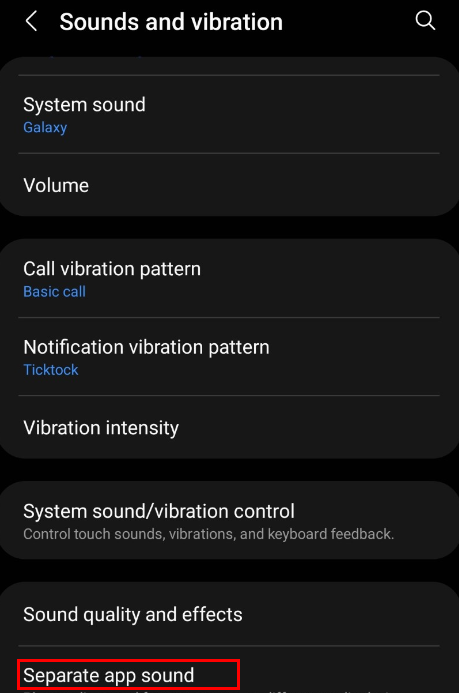
- Now choose the option for “Separate app sound.”
 |
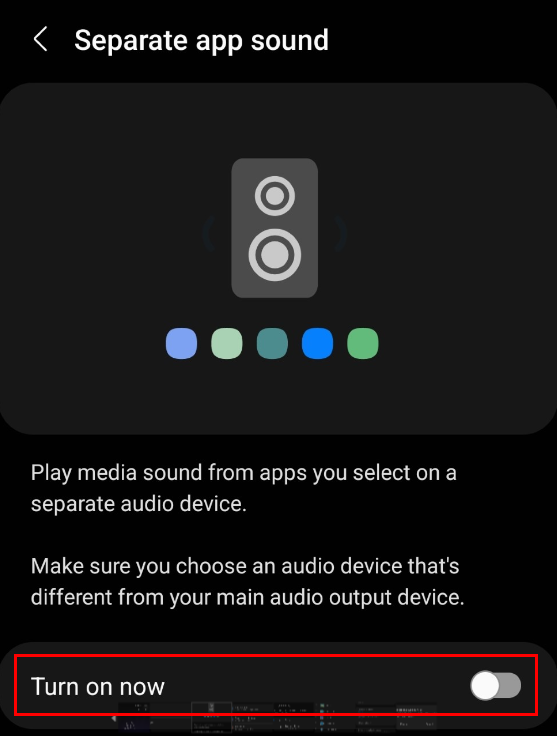
- Use the toggle to “Turn on now.”
 |
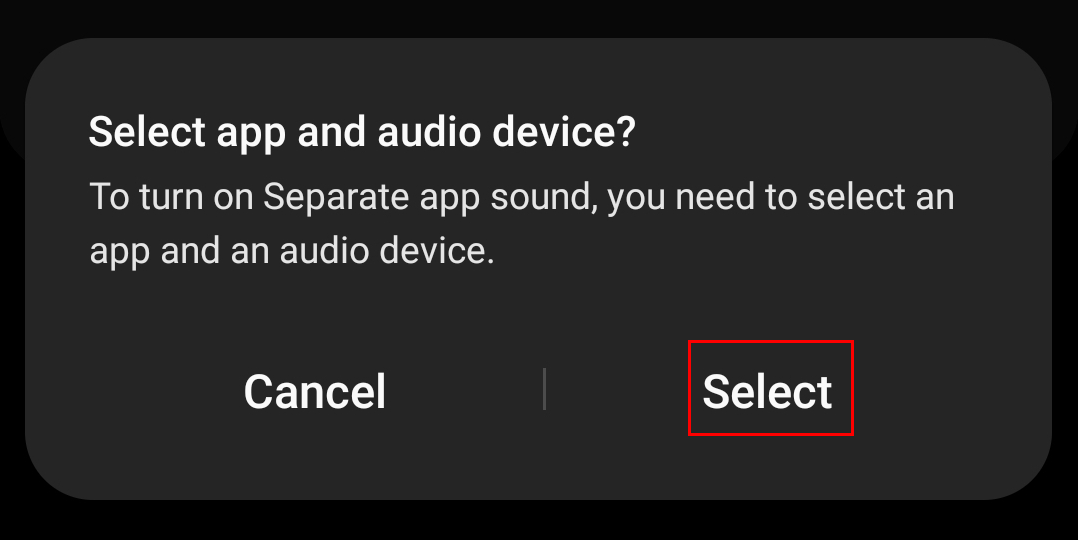
- Now click on “Select.”
 |
- After that, choose the “Teams” app.
 |
- Now click on “Audio device.”
 |
- From there, select one of the audio devices connected to your phone.
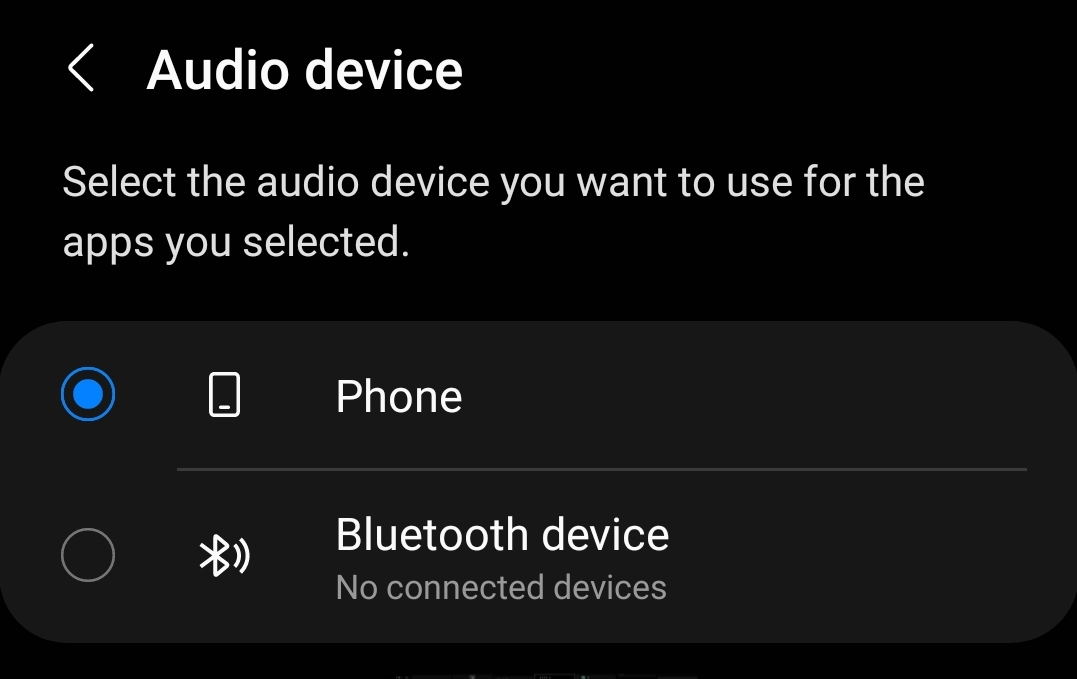 |
You can use this feature to play audio onto your main stereo setup and communicate with members from your regular mobile speakers. Like the Mac OS devices, you cannot eject a connected device without disconnecting the device therefor; Teams will continue to emit audio from the source. However, if you use this feature on your mobile device, it will allow you to ensure that the audio device is connected; however, Teams will use another source.
Why would you want to remove Teams’ audio device?
One reason you may find removing an audio device useful is that you no longer require the audio device to be enabled on Teams. If you have a Mic connected and don’t want to use it in Teams and don’t want to disconnect it, you can use these methods to help remove the device. On Mac OS, you cannot simply offload a device; you will need to switch the default. Removing the device from the system is the only way to clear it.
Another reason is that the audio device is broken or doesn’t provide good-quality audio for you to use. If you are in this situation, you can use the methods shown here to remove those devices and ensure you have good-quality audio outputs and inputs.
Replace your Microsoft Teams audio devices
If you need a replacement because your audio device is faulty, take a look at the HyperX – SoloCast. You can find more devices like this on Best Buy or Amazon. We recommend searching for ![]() Headsets or
Headsets or ![]() Microphones. Buying the best quality hardware will ensure that you deliver the best quality sound in your Teams calls and meetings.
Microphones. Buying the best quality hardware will ensure that you deliver the best quality sound in your Teams calls and meetings.

The ![]() HyperX – SoloCast Wired Cardioid USB Condenser Gaming Microphone is a fantastic microphone, delivering 24-bit, 96kHz recordings with high bit depth and sampling rate. And the microphone’s flexible stand makes it simple to adjust. It’s easy to set up, too; just “Plug N Play” with a USB-C connection.
HyperX – SoloCast Wired Cardioid USB Condenser Gaming Microphone is a fantastic microphone, delivering 24-bit, 96kHz recordings with high bit depth and sampling rate. And the microphone’s flexible stand makes it simple to adjust. It’s easy to set up, too; just “Plug N Play” with a USB-C connection.
   |
Conclusion
Thank you for reading our content on how you can remove an audio device from Teams. I have provided the steps on how you can achieve this as well as an in-depth guide if you require further assistance. I have also included links to some good-quality audio devices if you require them. If you need more help, add a comment, and we will address them.