If your organization stores sensitive information within its SharePoint sites, chances are you’ll want to disable sharing to protect your files and folders. As part of working for a managed service provider, many customers asked us whether they can remove the share button in SharePoint. That’s why I decided to write this blog post and explain.
There is no supported way of removing or hiding the Share button in SharePoint. That being said, you can control the functionality of the share button so that site members cannot share the folders and files stored in the site.
It’s unfortunate that there is no way to remove the share button within SharePoint. However, you can really restrict the functionality of the share button to the point where only site owners can share content stored within the site. This blog post explains two things:
- How to disable external sharing for your SharePoint sites
- How to disable all sharing and access requests for your SharePoint sites
How To Disable External Sharing for SharePoint Sites
If you want to make sure your organization’s data is secure, it makes sense to disable external sharing for certain SharePoint team sites. For example, if you have a team site for your finance team, you don’t want them sharing sensitive documents with users outside of your organization.
Following the process outlined below, you can disable external sharing for SharePoint sites.
- Navigate to Office.com and sign in using your Microsoft 365 credentials
- Click Admin on the app launcher
- Open the SharePoint admin center
- Open the ‘sites’ dropdown and click Active sites
- Select the site(s) you want to alter the sharing settings for
- Click Sharing — or Bulk edit and then Sharing if you selected more than one site
- Click Only people in your organization then click Save
Please note your user must have the appropriate privileges to follow the tutorial. You must be a SharePoint admin or a Microsoft 365 global admin.
I’m going to demonstrate this entire process with screenshots, so please follow along.
1. Navigate to Office.com and sign in using your Microsoft 365 credentials
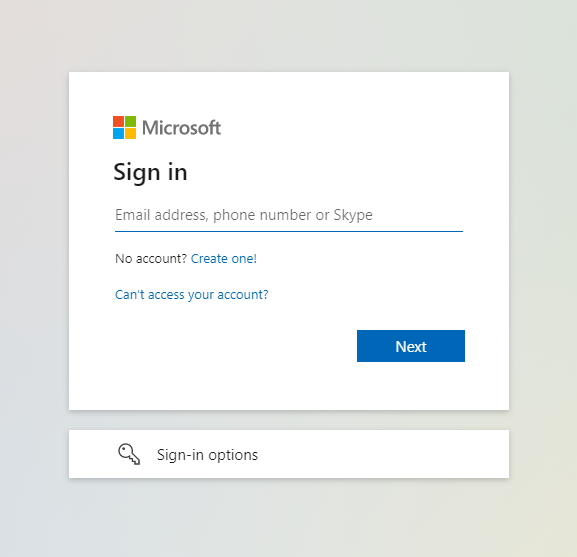
Remember that you’ll need to be a Microsoft 365 global admin or SharePoint admin to follow this entire tutorial. Without the right privileges, you cannot access the SharePoint admin center and make the required changes.
2. Click Admin on the app launcher
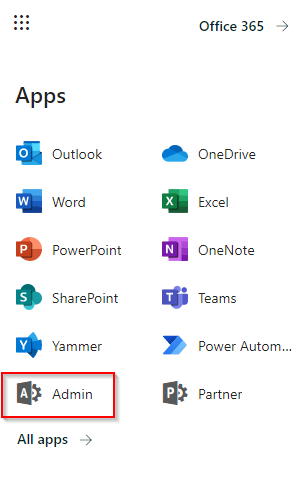
Remember that if the Admin application isn’t showing in the app launcher, you don’t have the right privileges assigned to your user.
Speak to your Microsoft 365 global admin and they can assign the privileges you need — SharePoint admin or global admin — to your user.
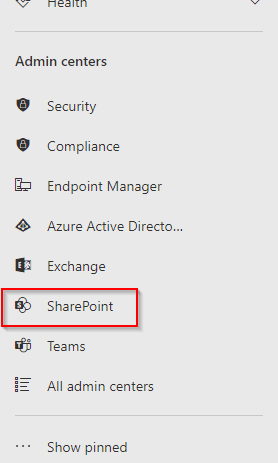
3. Open the SharePoint admin center
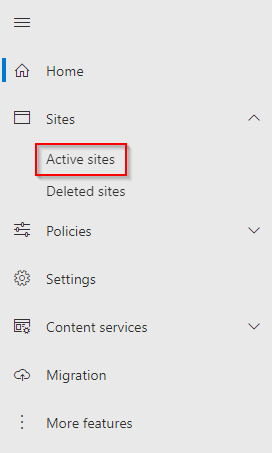
4. Open the ‘sites’ dropdown and click Active sites
5. Select the site(s) you want to alter the sharing settings for
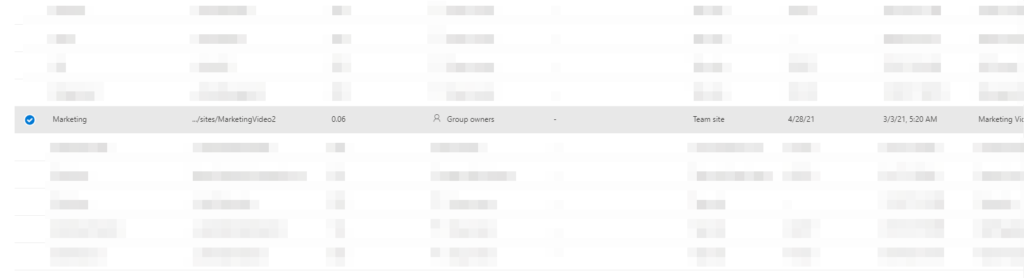
If you want to change the sharing settings for more than one site, you can select numerous sites at the same time using the blue tickboxes (far left of the screenshot above).
Alternatively, if you’re wanting to prevent external sharing for every site within the organization, you’re better off changing sharing settings at organization level.
If you’re wanting to change sharing settings at organization level rather than for individual sites, the process below is the one to follow.
- Go to Office.com
- Sign in using your Microsoft 365 credentials
- Select Admin from the app launcher
- Click Show all and select the SharePoint admin center
- Select the Policies dropdown and click Sharing
- Under External Sharing, move the SharePoint slider down to Least permissive
My blog post Disable Link Sharing On SharePoint Online walks you through all the steps above and includes some handy screenshots. Click here if you want to read that blog post.
Otherwise move onto the next step.
6. Click Sharing — or Bulk edit and then Sharing if you selected more than one site
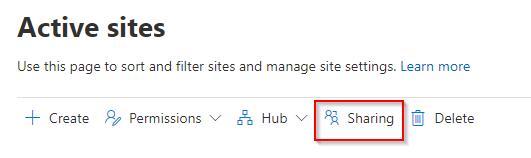
If you selected just one site, the options on the menu above the list of sites will have changed. You’ll now see a button called ‘Sharing’ — as you can see on the screenshot above. Click this button and the sharing options for the site will open up.
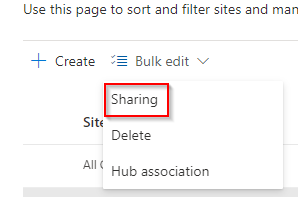
If you selected more than one site, you’ll see a button called ‘Bulk edit’. Click this button then click Sharing.
7. Click Only people in your organization then click Save
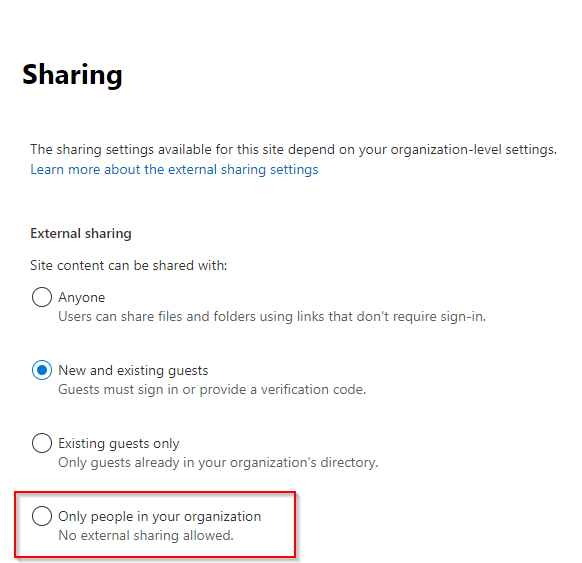
Once the ‘Sharing’ menu opens up, click Only people in your organization.
This will adjust the setting for the site(s) so that files and folders can only be shared with users within your organization. If you want to restrict things even further and make it so the site users can’t share the site or its contents at all, click here to jump to the next section of this blog post.
Once you’ve clicked Only people in your organization, click Save. The menu will close and the settings will be reflected immediately. To demonstrate this, here’s a screenshot of me trying to share a file stored in our site ‘Blog Demo’ with an external user:
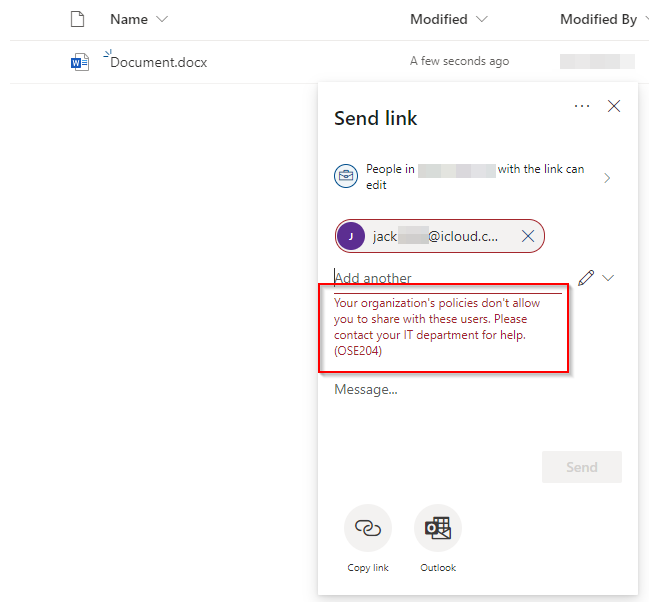
As you can see, the settings we’ve changed have had the desired effect. While the ‘Share’ button is still visible, it doesn’t allow external sharing anymore. But what if you want to lock things down even further — to be precise, preventing sharing the site and its contents at all (even with users within your organization)?
That’s what I’ll demonstrate next — configuring a site’s sharing capabilities in such a way that only the owner of a team can share the site or the content stored within.

Disable All Sharing and Access Requests for Your SharePoint Site
If you want to disable all sharing and access requests for your SharePoint site — so that only site owners can add people to the site and share its contents — the steps below will help you to edit the sharing functionality.
- Navigate to Office.com and sign in using your Microsoft 365 credentials
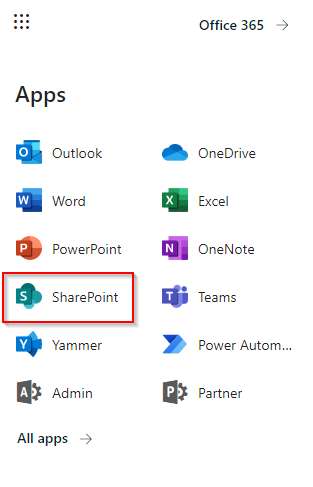
- Open the app launcher and click SharePoint
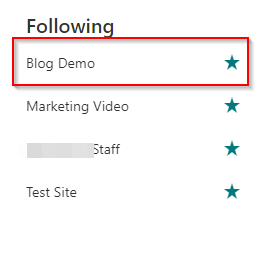
- Open the site you want to modify settings for
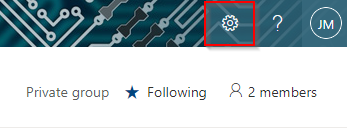
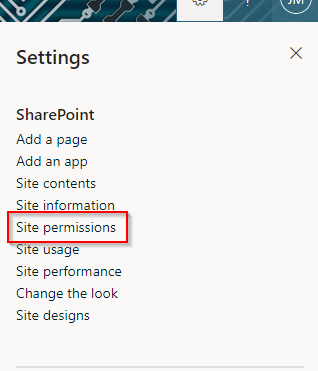
- Click the cog icon (Settings)
- Click Site permissions
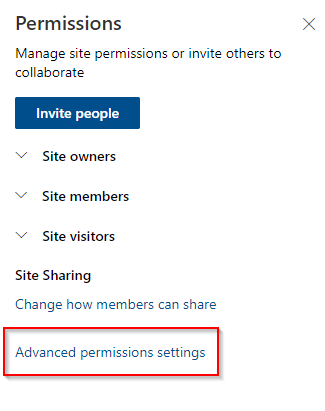
- Click Advanced permission settings
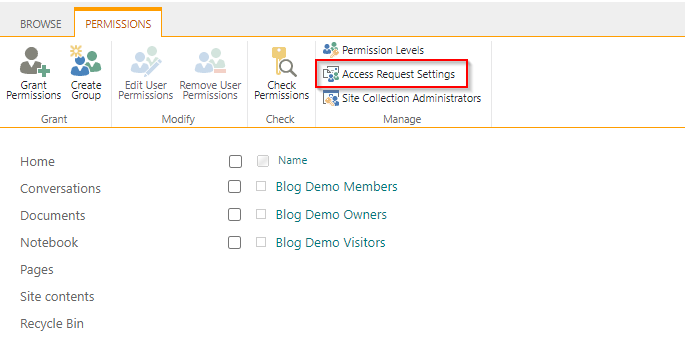
- Click Access Request Settings
- Deselect Allow members to share the site… and Allow access requests, then click OK
1. Navigate to Office.com and sign in using your Microsoft 365 credentials
Remember that you’ll need to be a Microsoft 365 global admin or SharePoint admin to follow this entire tutorial. Without the right privileges, you cannot access the SharePoint admin center and make the required changes.
2. Open the app launcher and click SharePoint
3. Open the site you want to modify settings for
4. Click the cog icon (Settings)
5. Click Site permissions
6. Click Advanced permission settings
7. Click Access Request Settings
8. Deselect Allow members to share the site… and Allow access requests, then click OK
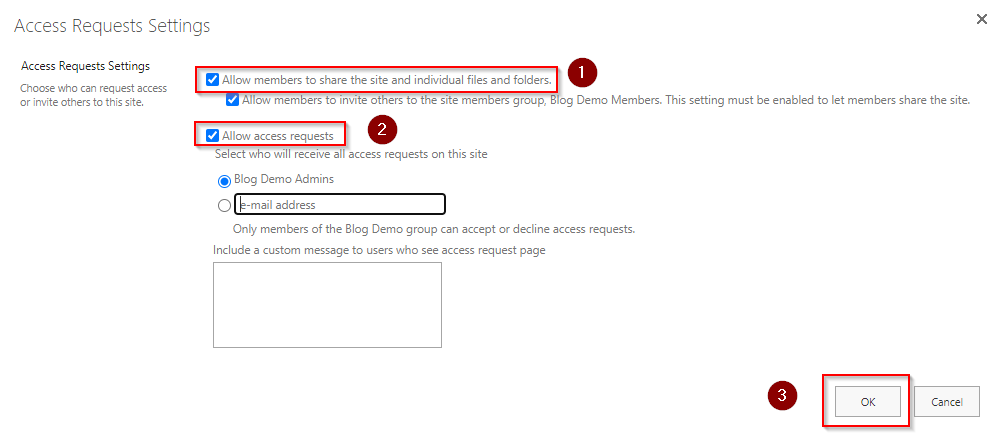
After clicking Access Request Settings, you need to deselect:
- Allow members to share the site and individual files and folders
- Allow access requests
Once you have deselected both of these, click OK and the changes you’ve made will save.
To demonstrate this, I’m logging into a demo account and attempting to share a file.
The screenshot below shows what happens when a site member — other than the site owner(s) — tries to share any of the content stored in the document repository.
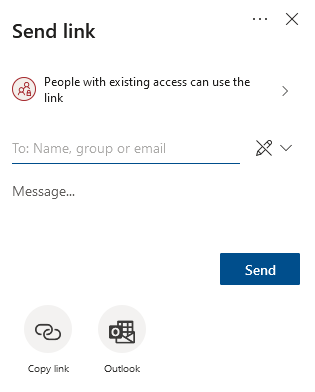
As you can see, when you go to send a link, the only sharing option is ‘people with existing access can use the link’. People with existing access are only other members of the team site. If you try and share it with anyone who isn’t already a member of the team, you get an error message stating the file cannot be shared.
That wraps up our blog post on restricting sharing in SharePoint. While there’s no supported way to remove/hide the share button featured throughout SharePoint, the steps above let you customize and restrict the sharing functionality a great deal.
Thanks for reading! If you have any questions, please feel free to leave a comment below and we’ll get back to you as soon as possible.