A business may want to replace the root site for your SharePoint site; it could be that your current site isn’t holding up, and you want to modernize or swap to another root site. The process to swap the site is straightforward, but you will need to take note of certain information.
This guide will cover how to replace the root site of your business’s SharePoint. The process can be achieved using a browser; hence, Mac and Windows users can complete it via the SharePoint admin centre. You will also need to remove a home site if there is one; follow this guide to find how to do this.
Method
- Go to Office.com, then go to Admin
- Click “Show all,” then SharePoint admin centre
- Click “Active Sites”
- Select “All sites.“
- Click the “URL” tab to view in “A to Z.”
- Find the current root site.
- Press “Replace site.”
- Enter the new URL
- Press “Save”
Content list
- What is a root site?
- Make sure that you have a replacement site
- How to remove your current home site
- How to replace the root site for SharePoint Online
- Conclusion
What is a root site?
A root site is a top-level site created when a business uses Microsoft SharePoint; it is the site above all of the other sites that the business has. Until 2019, Microsoft used to create the site in the form of a classic team site; instead, it will now create the site as a communication site, and this will be created as the root site for the business. It is also where the site collection settings like “Site collection admins” or “Site collection features” can be changed. If you created this site before 2019, you could do a couple of methods to update your site.
| Method #1 | I will cover this in more detail further on, but if you are using a root site but you find or create a new site that you want to use instead of the older one, you can replace the root site with the newer one. |
| Method #2 | Keep the classic site but make a new homepage and updated features, for example, full-size pages that can be navigated horizontally. |
| Method #3 | Keep using the classic site but modernize the page and the site page library. |
There are a few things that you need to take note of before you follow the method to replace the root site.
- First, make notes on any essential links on your Site page; they will need to be added once you have replaced the site.
- Also, take notes of the external sharing settings, policies, and permissions to make the new site have the same.
- Finally, you have to make sure that all users will be aware of any site changes to prepare the users and avoid confusion. This will allows users to make sure to organise any files so they aren’t lost in the recycling bin.
When you do this, it will create a site redirect. This will redirect any traffic the source site would get and send it to the root site. Another thing is if you have the audit log search option turned off, you can record these events.
| The event | What it means |
| “Scheduled site-swap” | This means that a site replacement/swap has been scheduled at the time of recording. |
| “Swapped Site” | This means that the replacement/swap of a site has been successful at the time of recording. |
| “Failed Site Swap” | This means that the site replacement/swap has failed at the time of recording. This also won’t be tried again. |
Make sure that you have a replacement site.
Before you can replace the root site, you need to have created or found a site that can replace it. To create one, you need to go to office.com and then SharePoint.

From there, press “+new site,” where it will give you the option of two types of sites.


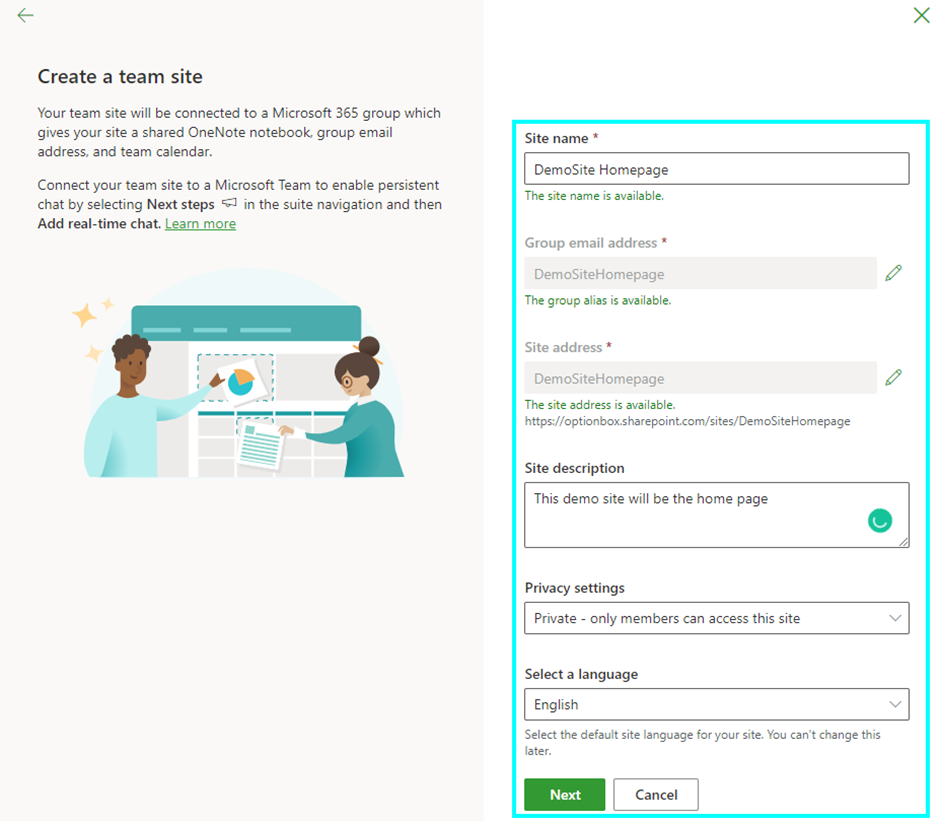
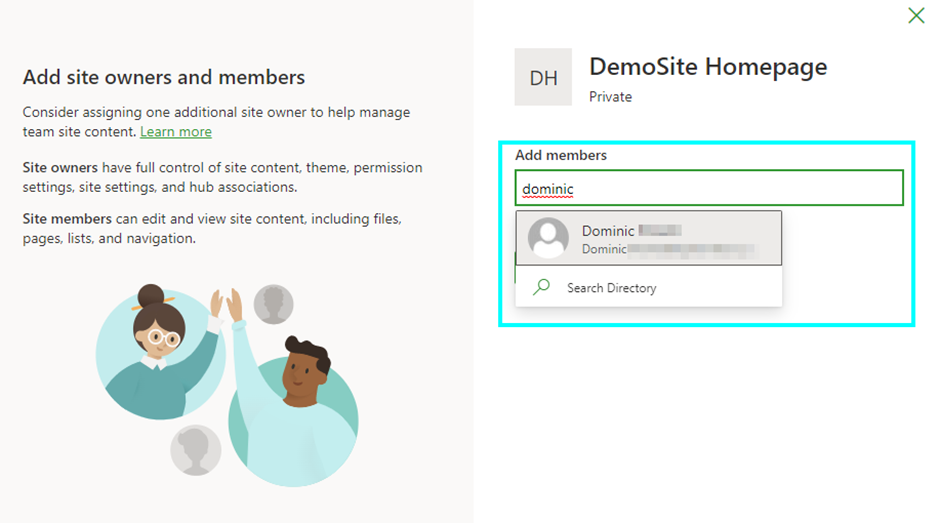
The site you are replacing the older one with needs to be a “communication” site, then you need to name it, then add members; then, once it is done, you can add pages to the site and customise what users will see.
After your site has been created, you will need to find the site URL to replace the root site later. You can find this by going to the settings on your business SharePoint. This will show you other things about the business SharePoint and if you can change it. The URL for the business site will look like this and is structured like <business name>.sharepoint.com.


How to remove your current root site
Before we go any further, go to “Settings” to ensure that there is no currently set “home-site,” as this will block you from replacing the root site if the home site is the root site.
Go to office.com and use the app launcher to go to SharePoint

This will bring up a list of SharePoint settings that can be changed; we are looking for the home site.

Click on the home site so you can remove the current home site.

After doing this, you can continue replacing the root site.
Step by step – how to replace the root site
- Go to Office.com and click on Admin using the app launcher.

- Click “show all,” then go to the SharePoint admin centre.


- Once on the SharePoint admin centre, click on “Active Sites.”

This will bring up a list of sites under your company.
- On the top right, be sure that you have chosen “All sites” in the filter on the top right of the screen.

- In the column called “URL,” click on it to show the option to view them alphabetically in”A to Z.” This will bring your root site to the top.

- Next, choose the current root site.

- Next, click “Replace site.”

- Enter the new URL of the site you want to replace it with.

- Then click “Save.”

After you press save, the site may show a 404 error or “not found,” but it should only show this for a couple of minutes.
You need to be aware that after you swap the site, any content on it will need to be “recrawled” this will refresh the page on the site. Until you recrawl the page, there may be issues with the site’s search index.
Another thing is if the root site is a news site for the business, you will have to update the URL.
- Once the older site redirects you, then you will have to update any links, apps, and files so they will link to the new URL.
Conclusion
When you want to replace the root site on SharePoint, you need to follow these steps correctly. Once you have completed this guide, your business’s SharePoint site will now host a new site in its place. The business will have to take notes of certain things before updating the site; these include any featured links; these will have to be replaced after swapping the root site. You will have to ensure that all permissions, policies, and sharing settings are the same as the site you have replaced. The SharePoint Online root site URL is created when your business sets up the Office 365 subscription.
As you used to be able to delete the root site, Microsoft has introduced some conditions for replacing the root site, for example. It is now impossible for you to delete the root site for the business. This means that admins can’t remove the site from the SharePoint Modern Admin Center or the Manage Site Collections page in the SharePoint Admin Center. When admins choose the site and go over the delete button, it will be shaded out, and they won’t be able to click on it. Instead, SharePoint admins can replace the root site with another site; this is when the ‘Site Swap’ feature was introduced.
Thank you for reading through this guide; I hope you found it helpful and solved what you were looking for. If you want, you can leave feedback to say how we did and if you have any questions, you can look at our other guides if you have any other tech issues.