SharePoint offers a wide range of diverse tools to both manage and share files with users either external or internal to your organizations. With this comes the real chances of data leakage from users who have access to content within your network. You can block access for certain users if you have their ID, however, how do you prevent access from either untrusted networks or users. You can by using a SharePoint tool called Conditional Access by Network Location. This policy can assist avoid data loss and satisfy legal requirements by preventing untrusted network access. From the SharePoint Admin dashboard, IT managers may restrict access to certain network ranges. Any user attempting to access SharePoint and OneDrive for Business from beyond the designated network boundary (through a web browser, desktop app, or mobile app on any device) will be banned once configured. Follow the steps below to see how you can restrict SharePoint access by IP.
Step by step process: how to restrict SharePoint access by IP
- First, sign into your Office 365 account.
- Use the app launcher and navigate to admin.
- Click on “Show All” to reveal “Admin centers”.
- Here click on “SharePoint”.
- Under “Policies” click on “Access control”.
- Click on “Network locations”.
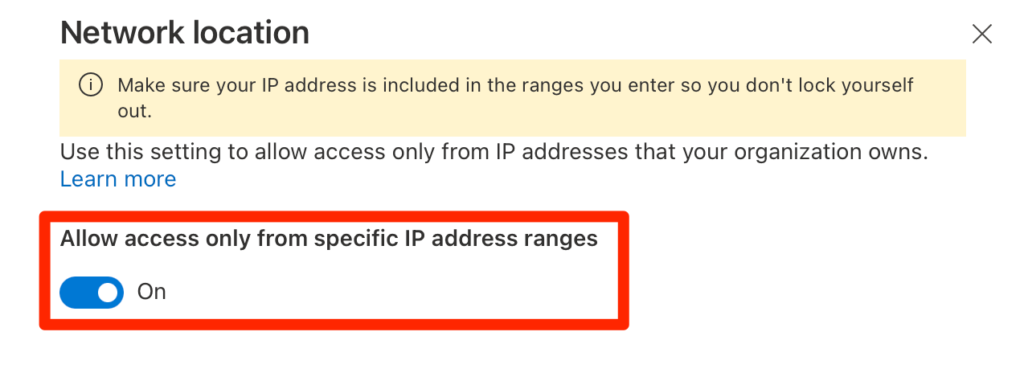
- Switch on “Allow access only from specific IP address ranges”.
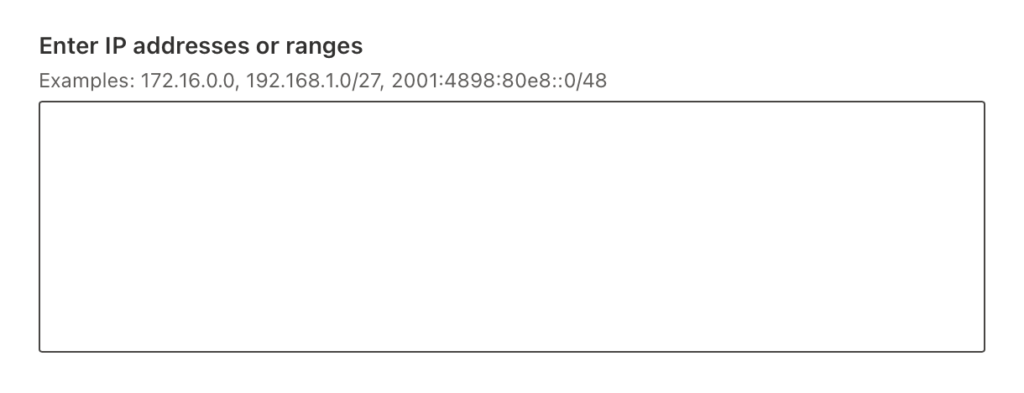
- Enter the IP addresses and address ranges that you wish to enable access to SharePoint and OneDrive, separated by commas.
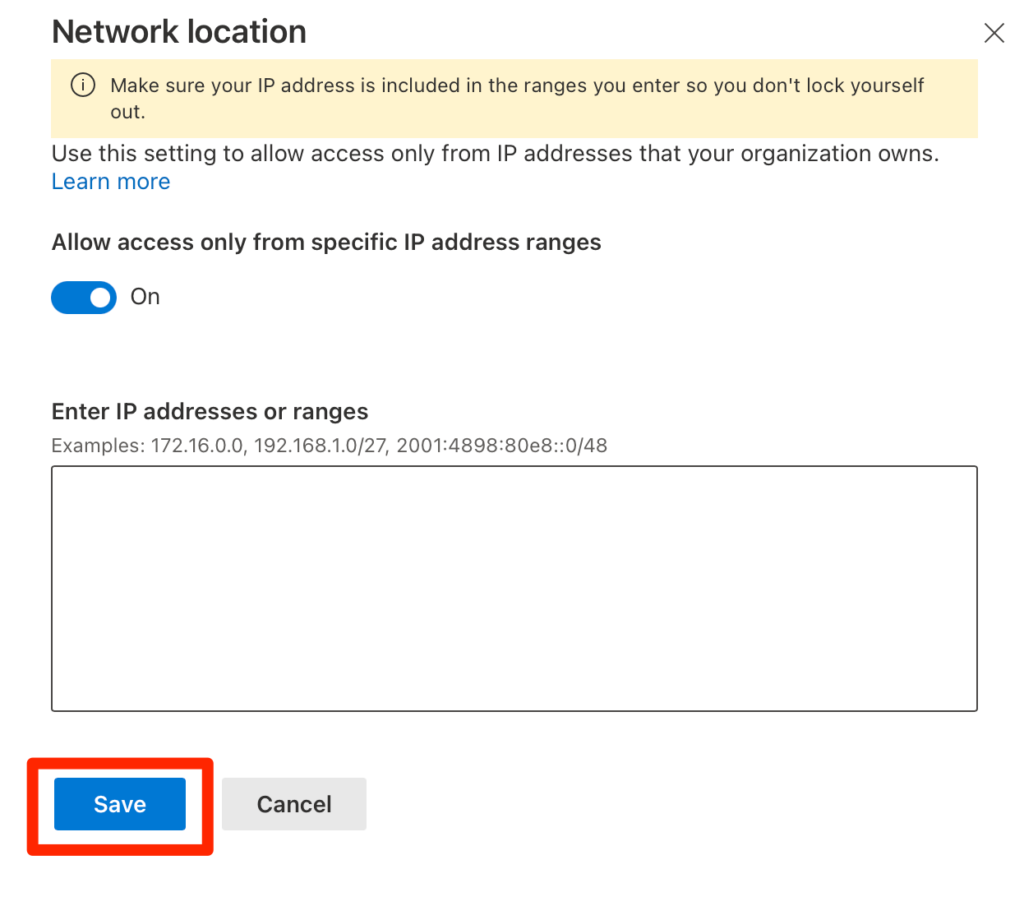
- Finally, Select “save”.
We’ve also created a video to help you restrict SharePoint access by IP:
That’s it, you have successfully restricted access for all devices external to the network, you can grant access by adding an IP address, or restrict access by removing the IP address from the panel. You can add as many as you need, from either a spreadsheet you can add in this information or manually if you want. Commas help separate values also known as CSV. It is a great way to keep data values in a single dialogue box, separated and it helps the algorithm used to operate Sharepoint understand the content of the IP addresses entered. Make certain you enter your external address (internet IP address). You will not be able to access any SharePoint Online sites, including the SharePoint Administration Center if you input the incorrect IP address. In this scenario, you’ll need to submit a request to the Office 365 support staff to get the limitation lifted.
You will want to ensure that the IP address you entered is correct as you may be aware that IP addresses are not mandated by SharePoint and will incur repercussions if they are entered incorrectly. We highly suggest you ask users of your network to check their network access to ensure they are not restricted, if they are then the IP address of that user has been entered in the box.

Administrative access and notable points when restricting SharePoint access by IP
Administrators must ensure that any network ranges contain their present machine’s IP address. Because IP address ranges are tightly controlled, inputting one that does not contain the administrator’s computer will result in the administrator’s session being locked out. Please contact support to regain connectivity if this occurs. This policy is disabled by default. If this policy is left unconfigured, SharePoint will impose no limitations at all. This policy’s configuration is entirely optional.
The AADP whitelist is parsed first, followed by the SharePoint policy, if an administrator has also set Azure Active Directory Premium (AADP) to limit location access by IP network range. As a result, a SharePoint administrator may opt to implement a policy that is more stringent than the AADP policy. A SharePoint administrator, on the other hand, cannot grant access to an IP address range that is likewise blocked by AADP.
Why restrict by IP on SharePoint
Using an IP variation of restriction is a much safer and more stable format of data protection, it has a true visual of the infringing network and access can be restricted for all those users. By default, SharePoint users are granted the IPv6 protocol as well as the IPv4. These are enabled upon access to your SharePoint account and is a more trusted and verified approach to manage your information by IP address. This can be used with SQL server to authenticate device network preferences and ensure only trusted members of an association can be granted access to the network.
SharePoint does not support the setting of IPv6 literal addresses when selecting an outgoing Simple Mail Transfer Protocol (SMTP) server. It is recommended that the SMTP server be given a DNS name that can resolve to an IPv4 address, an IPv6 address, or both. You can specify the matching ipv6-literal.net name for the address if you don’t have a DNS name for the SMTP server and must give an IPv6 address.
In depth – Step by step process – How to restrict SharePoint access by IP
Step by step breakdown:
- First sign into your Office 365 account.
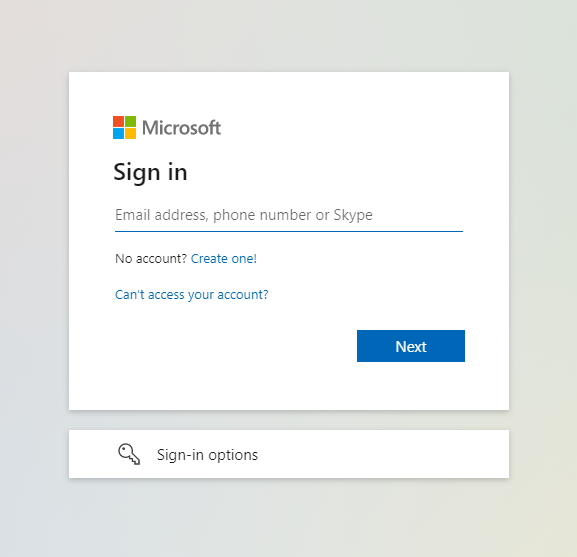
Use your account details or if you have a current Skype account with the Office account in question, you can use this.
- Use the application launcher to navigate towards “Admin”.
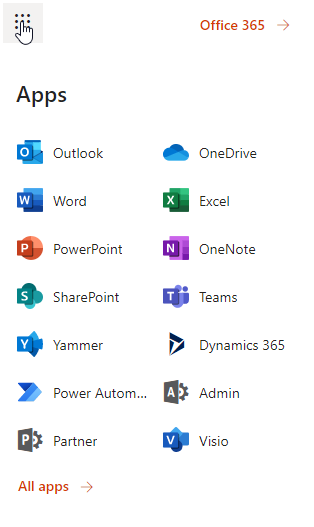
The launcher is illustrated by nine dots in the right corner, click on it and find “Admin” as shown above.
- Click on “Show All” to reveal “Admin centers”.
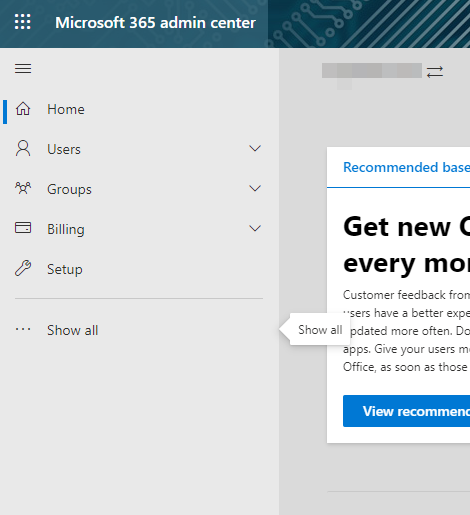
You may not need to click on “Show all” if for instance the admin center content that is required is pinned to the main menu. In this case, just follow the next step and proceed to remove the blocked user.
- Here click on “SharePoint”.
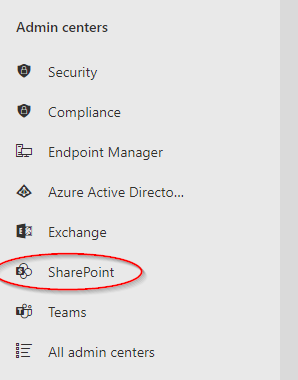
Users can be assigned the SharePoint admin role by global admins in Microsoft 365 to assist with Microsoft SharePoint administration. The global admin role already has all the permissions of the SharePoint admin role.
- Under “Policies” click on “Access control”.
- Click on “Network locations”.

- Switch on “Allow access only from specific IP address ranges”.
- Enter the IP addresses and address ranges that you wish to enable access to SharePoint and OneDrive, separated by commas.
- Finally, Select “Save”.
That’s it for this Blog thank you for taking time out to read our content, please feel free to email our team about how it went if you followed the steps or if you need more help with the questions we answered in this Blog.