Inbox rules, which are available in Outlook and Outlook on the web, are similar to mail flow rules. The major distinction is that mail flow rules operate on communications while they’re in route, rather than after they’ve arrived at their destination. Mail flow rules include a larger number of criteria, exceptions, and actions, allowing you to design a wider range of message regulations. You may use mail flow rules (also known as transport rules) in Exchange Online organizations or Exchange Online Protection (EOP) companies without Exchange Online mailboxes to detect and act on messages that pass through your organization. However, having a good idea of who created the rules adds a layer of confidence that the creator of the rule is an actual member of the organization. Admins may also like to take advantage of finding out who created a rule within their network for referral purposes. However, there is no direct approach to see who created a mail flow rule. Follow the steps below to see how you can track the user who created the mail flow rule.
Step by step process – How to see who created a mail flow rule: Office 365?
- First, sign into your Office 365 account.
- Use the app launcher and navigate to admin.
- Click on “Show All” to reveal “Admin centers”.
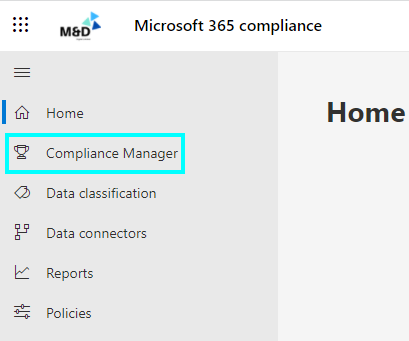
- Under “Admin centers” on the left, click on “Compliance”.
- Then click on “Compliance Manager”.
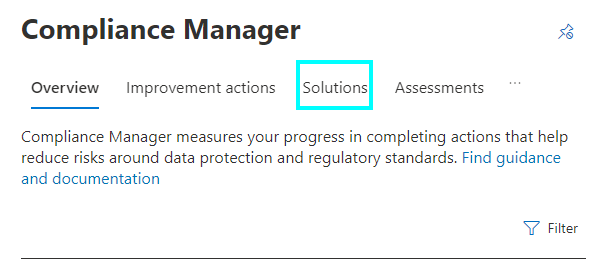
- Now click “Solutions”.
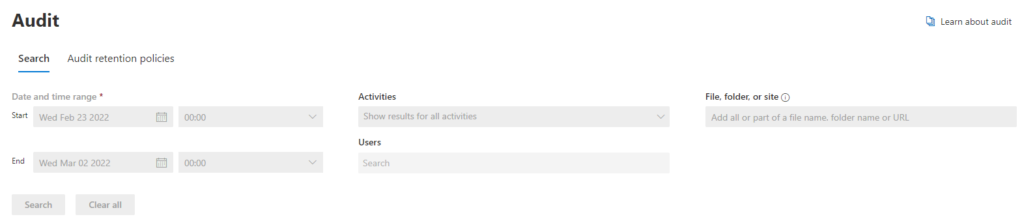
- In the “Audit” solution row click on “Open”.
- Then click on “Audit Retention”.
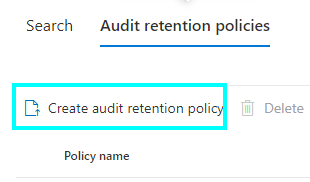
- Now click “Create audit RP”.
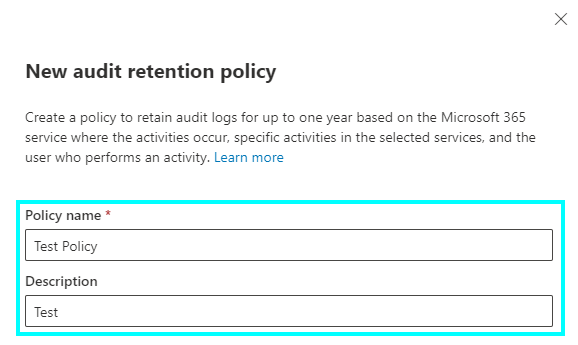
- Fill in the name and description, this should relate to the audit mail flow task.
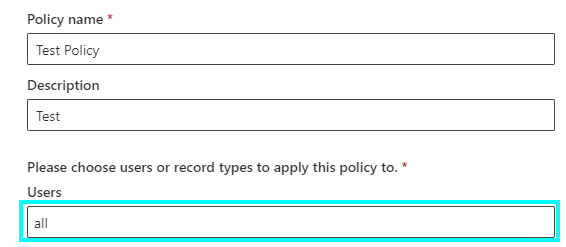
- Under users, type “all”.
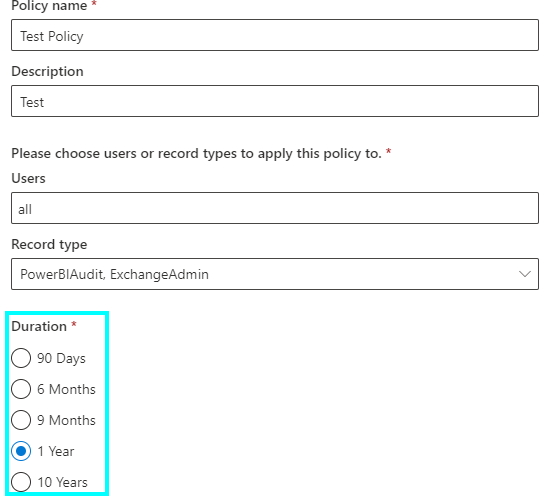
- Under Record type, click on “Mail-flow, ExchangeAdmin, PowerBIAudit”.
- Duration: set it to just before the mail flow rule was created.
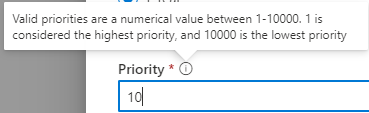
- Set the priority number to a level you think is necessary: the higher the faster it will log the information.
- Then click on “Save”.
Once this is complete, you will need to wait a few minutes to log the audit especially if there are multiple audit logs, however, once the wait is over you will be presented with a list of mail flow rules created in the associated Exchange account. Where you can see information such as the time of rule creation, the purpose of the rule, the compliance of EAC, the effects on prioritized network users, and most importantly who created the rule.
Choose which messages the actions should not be applied to. Message-IDs are provided in exceptions in the same way they are in conditions. Exceptions override conditions and prohibit rule actions from being applied to a message, even if all of the set criteria are met.

More information about Compliance Manager and mail flow
Microsoft Compliance Manager is a function in the Microsoft 365 compliance center that makes it easier and more convenient to handle your organization’s compliance needs. Compliance Manager can assist you with every step of the way, from assessing your data security threats to managing the intricacies of establishing controls, maintaining up to date on legislation and certifications, and reporting to auditors.
Compliance Manager gives you points for taking improvement activities to comply with a regulation, standard, or policy, and then adds those points together to give you a compliance score. Depending on the possible dangers involved, each action has a distinct influence on your score. Your compliance score can assist you in determining which actions to take in order to enhance your overall compliance status.
Based on the Microsoft 365 data protection baseline, Compliance Manager assigns you an initial score. This baseline is a collection of controls that incorporates essential data protection and data governance rules and standards.
To assist you in managing your compliance operations, the Compliance Manager makes use of a variety of data components. It’s useful to have a basic awareness of the essential elements: controls, assessments, templates, and improvement actions, as you utilize Compliance Manager to assign, test, and monitor compliance tasks.
Functional elements of compliance manager
Custom assessments to match your specific compliance needs, or pre-built assessments for common industry and regional standards and laws (available assessments depend on your licensing agreement; learn more).
Workflow features to let you perform your risk assessments quickly and efficiently using a single application.
Detailed step-by-step guidance on suggested improvement activities to assist you in complying with the most important standards and requirements for your company. You’ll see implementation details and audit results for Microsoft-managed tasks.
A risk-based compliance score that measures your progress in completing improvement initiatives to help you understand your compliance posture.
Mailbox Audit in Exchange Online
Because mailboxes might contain sensitive information with a high business impact (HBI) and personally identifiable information (PII), it’s critical to keep track of who accesses them and what actions they take. Tracking access to mailboxes by users other than the mailbox owner is extremely essential. Delegate users are the people who manage other people’s accounts.
You may define which user activities (for example, accessing, moving, or deleting a message) will be logged for a logon type when you activate audit logging for a mailbox (administrator, delegate user, or owner). Important information such as the client IP address, hostname, and processor the client used to access the mailbox is also included in audit log entries.
In depth step by step process – How to see who created a mail flow rule: Office 365?
Step by step breakdown:
- First sign into your Office 365 account.
Use your account details or if you have a current Skype account with the Office account in question, you can use this.
- Use the application launcher to navigate towards “Admin”.
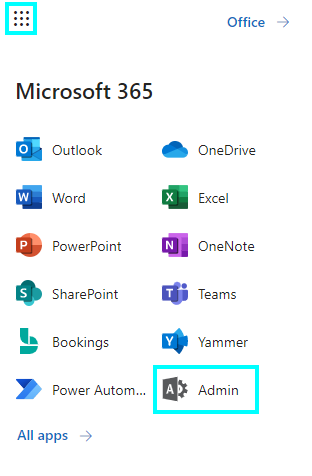
The launcher is illustrated by nine dots in the right corner, click on it and find “Admin” as shown above.
- Click on “Show All” to reveal “Admin centers”.
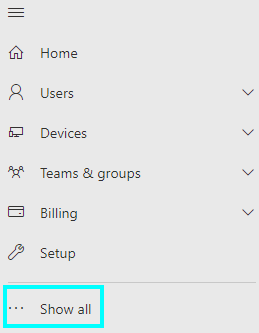
You may not need to click on “Show all” if for instance the admin center content that is required is pinned to the main menu. In this case, just follow the next step and proceed to remove the blocked user.
- Under “Admin centers” on the left, click on “Compliance”.
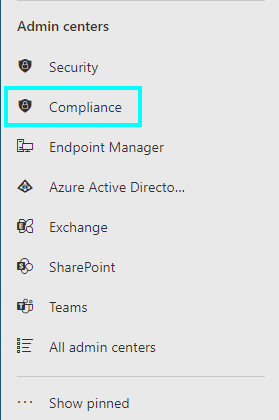
Originally both the “Security” and “compliance” tab was as one single software however in the latest few updates by Microsoft both the security feature and the compliance feature have been separated. This improves functionality and refines what the user wants.
- Then click on “Compliance Manager”.
- Now click “Solutions”.
- In the “Audit” solution row click on “Open”.

- Then click on “Audit Retention Policies”.
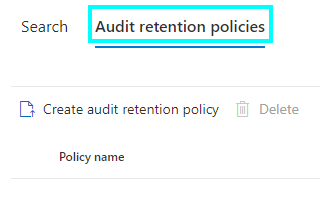
- Now click “Create audit RP”.
- Fill in the name and description, this should relate to the audit mail flow task.
- Under users, type “all”.
- Under Record type, click on “Mail-flow, ExchangeAdmin, PowerBIAudit”.
Needs screenshot
- Duration, set it to just before the mail flow rule was created.
- Set the priority number to a level you think is necessary, the higher the faster it will log the information.
- Then click on “Save”.
That’s it for this Blog thank you for taking time out to read our content, please feel free to email our team about how it went if you followed the steps or if you need more help with the questions we answered in this Blog.