There are several alert types in SharePoint that can be sent to a distribution list. The available alerts are for item creation, deletion, or modification. In this tutorial, we will guide you through the process of sending alerts to a distribution list from SharePoint.
There are two ways of sending alerts from SharePoint to a distribution list. The first method includes pasting a list of names or email addresses into SharePoint’s alert feature. The second method includes automatic forwarding to a list of contacts in Outlook.
Method 1:
- Create a new list in SharePoint or select an existing list.
- Locate the Alert Me button.
- Add a list of users to receive email alerts.
- Manage alerts where required.
Method 2:
- Set up an alert for list modifications in SharePoint.
- Trigger an alert.
- Find the email in Outlook and create a new rule.
- Forward all emails from SharePoint to your Outlook group.
Continue reading for our visual, in-depth guide for sending SharePoint alerts to a distribution list.
Let’s get started…
Method 1 & 2 – Setting Up Alerts in SharePoint
Setting up alerts in SharePoint is the first step for methods 1 and 2. For method 1, multiple users will be added to the alert notification. For method 2, a single user will forward alerts in Outlook.
STEP 1 – Create a New List or Select an Existing List
In this step, we will learn how to create a new list. If you have an existing list, skip this step and continue reading from Step 2.
- First, head over to your SharePoint site and click ‘New‘ > ‘List.’
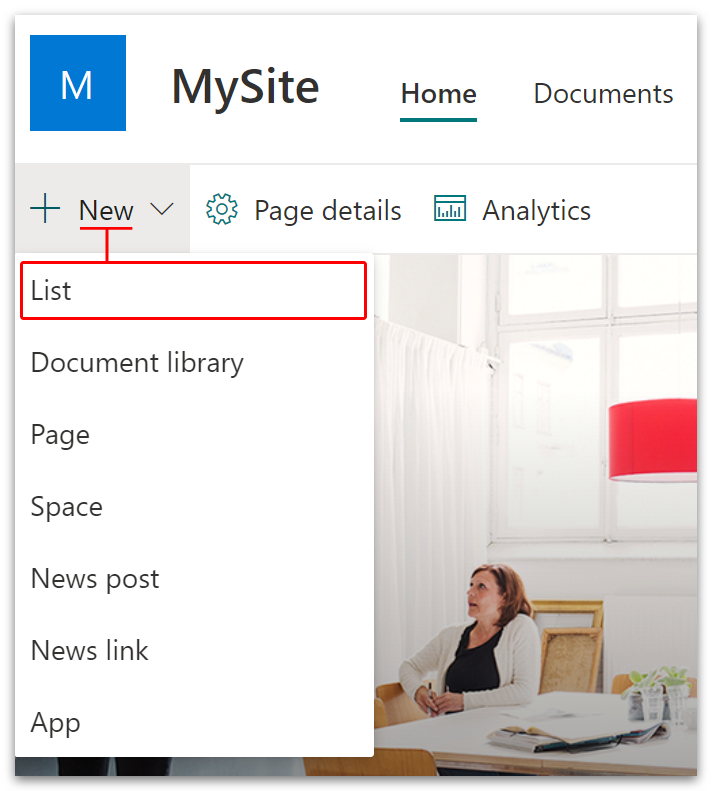
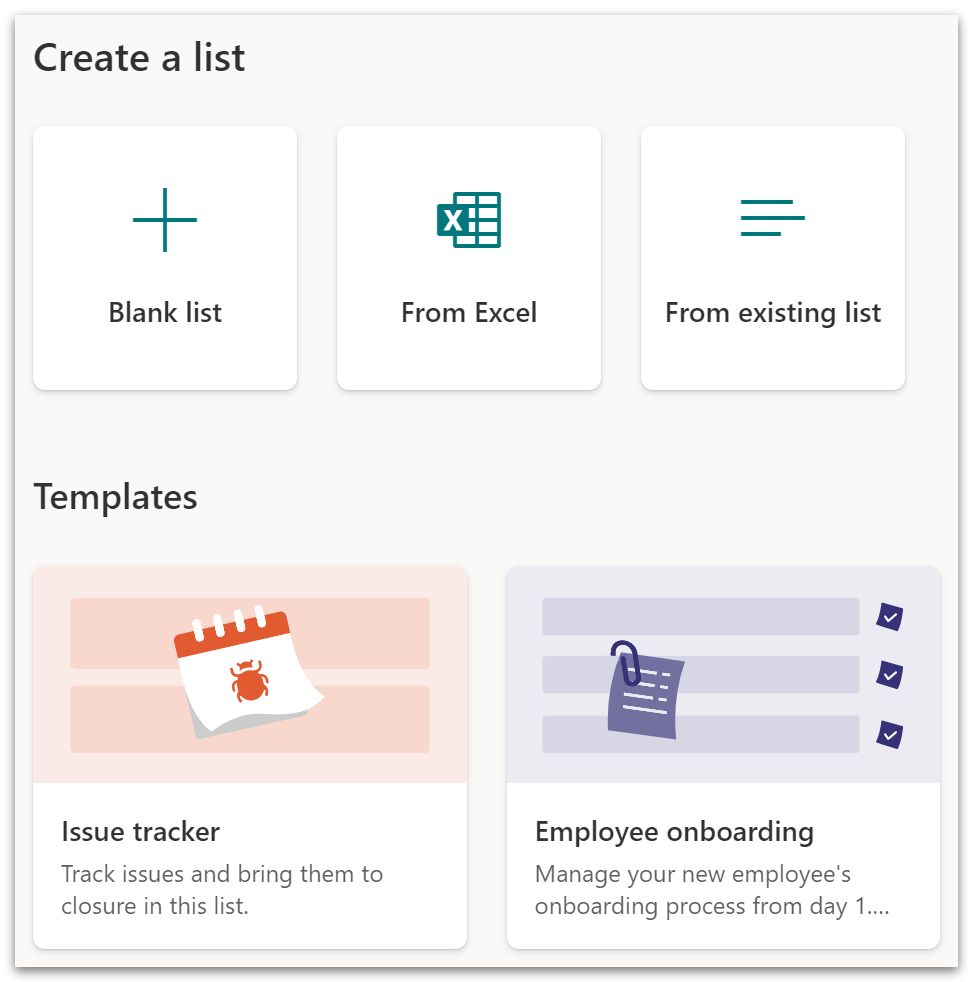
- From the pop-up menu, create a custom list or select a template. For the sake of this tutorial, I created an Issue Tracker.
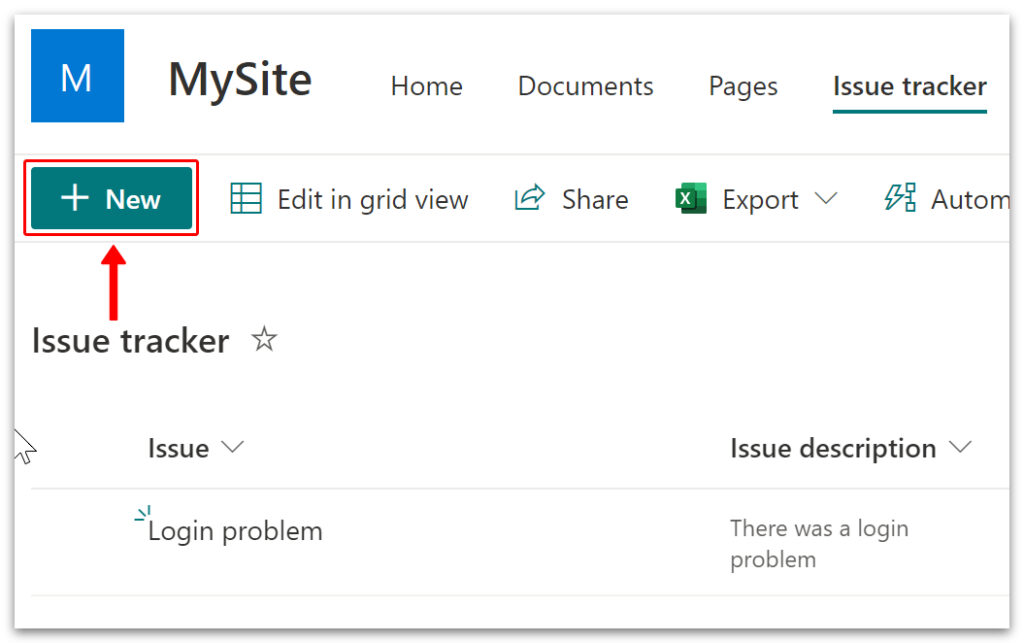
- Add new items by clicking ‘New‘ and entering the required fields on the pop-up menu. It’s not necessary to add items right now. But I added a new item for demonstration purposes.
Now that you have a list to play with, it’s time to set up some alerts.
STEP 2 – Create Alerts For List Modifications
In this step, you will learn how to add and customize alerts. And you will learn how to add multiple users to the alert function.
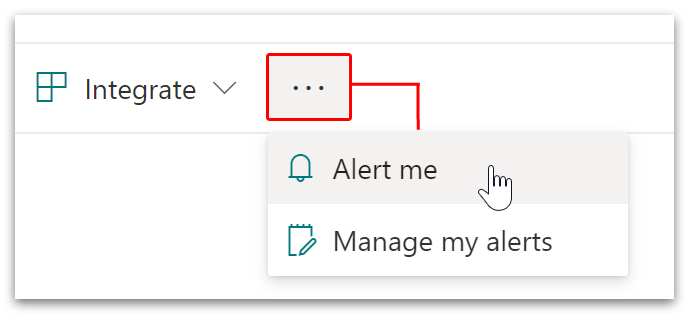
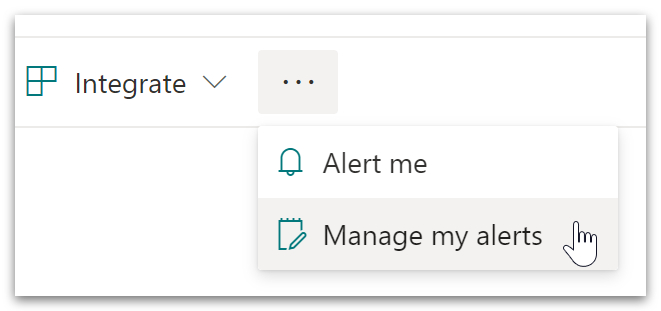
- Locate and click the three dots and select ‘Alert Me‘ from the menu.
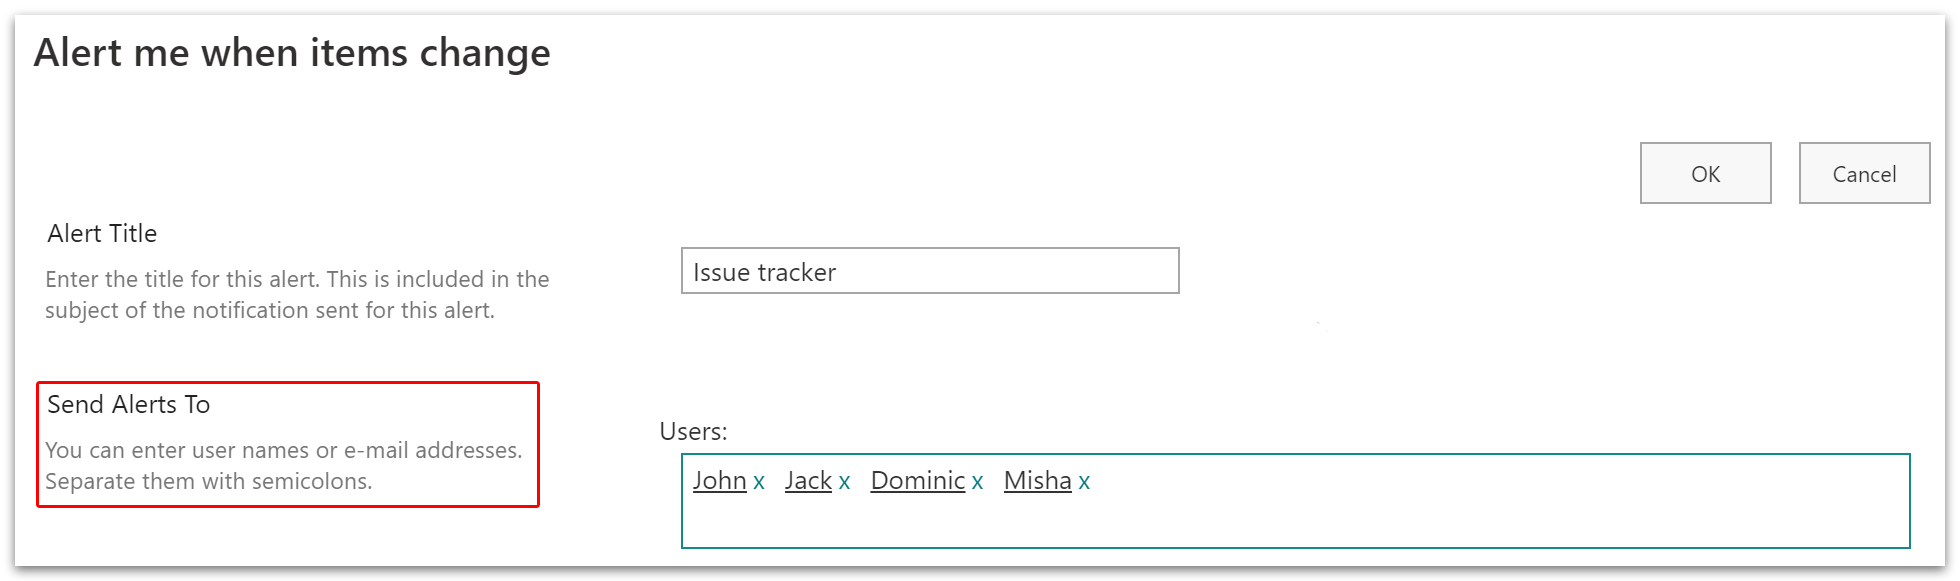
In the pop-up window, you will be able to:
- Edit the alert title.
- Choose who to send alerts to.
- Select delivery method (e-mail/Text SMS).
- Select what to send alerts for (new items, deleted, modified, or for all changes).
- Filter alerts based on specific changes.
- Choose when to send alerts (immediately/daily/weekly).
- Go to ‘Send Alerts To‘ and click the box to the right.
- For method 1, type in the names or email addresses of the people who need to be alerted.
- For method 2, use your name or email address.
- For method 1, select names from the drop-down menu as they appear. Or simply type in a semi-colon after the name or email address.
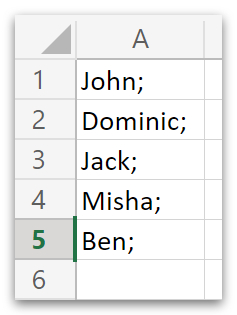
- For method 1, copy the names and email addresses into an Excel sheet or a standard text document. Remember to add a semi-colon after each entry.
- Finally, click ‘OK.’
To automatically forward your alerts to an Outlook distribution list, head down to method 2. To learn how to manage your alerts using an Excel sheet or a text editor, continue reading.
STEP 3 – Alert Management
This quick step will show you how to manage your alerts and how to add or remove users from the distribution list.
- Relocate and click the three dots. This time, select ‘Manage my alerts‘ from the menu.
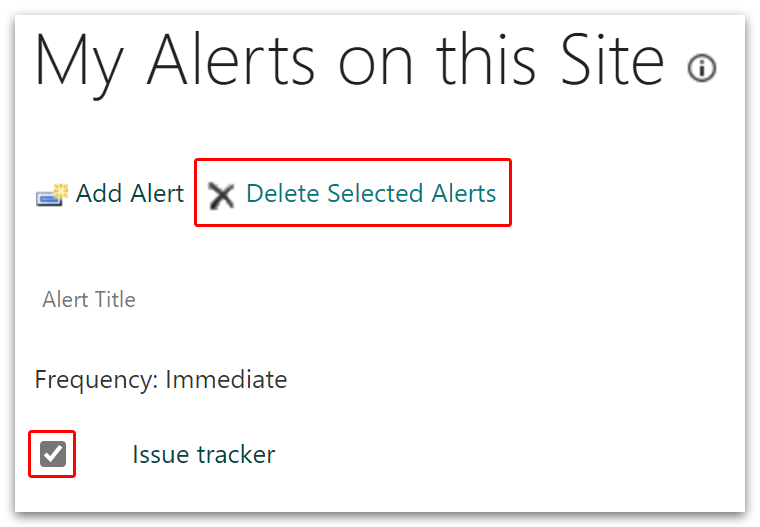
- Check the box next to your list and click ‘Delete Selected Alerts.’
- Now create a new alert by following the process from Step 2.
- We want to add a new name to the distribution list. So find your Excel sheet or text document and copy your new distribution list. Paste the list into the box next to ‘Send Alerts To.’
- A red line will appear under any names with formatting issues. Click the name(s) to resolve.
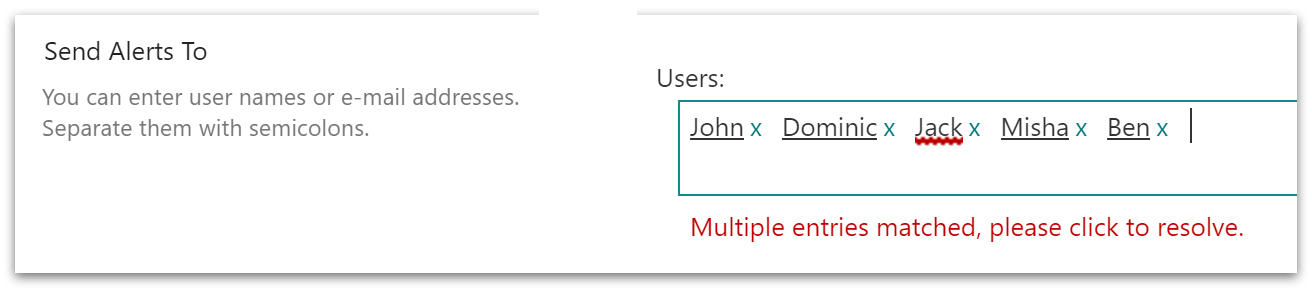
- Select your preferred settings as outlined in Step 2 and click ‘OK.’
Congratulations, you are now sending alerts to your external distribution list!

Method 2 – Forward SharePoint Alerts to an Outlook Group
In this section, you will learn how to forward alerts to an existing distribution list in Outlook. If you haven’t set up your alerts yet, please Click Here.
STEP 1 – Trigger an Alert in SharePoint
For this step, we need to trigger an alert and receive an email from SharePoint.
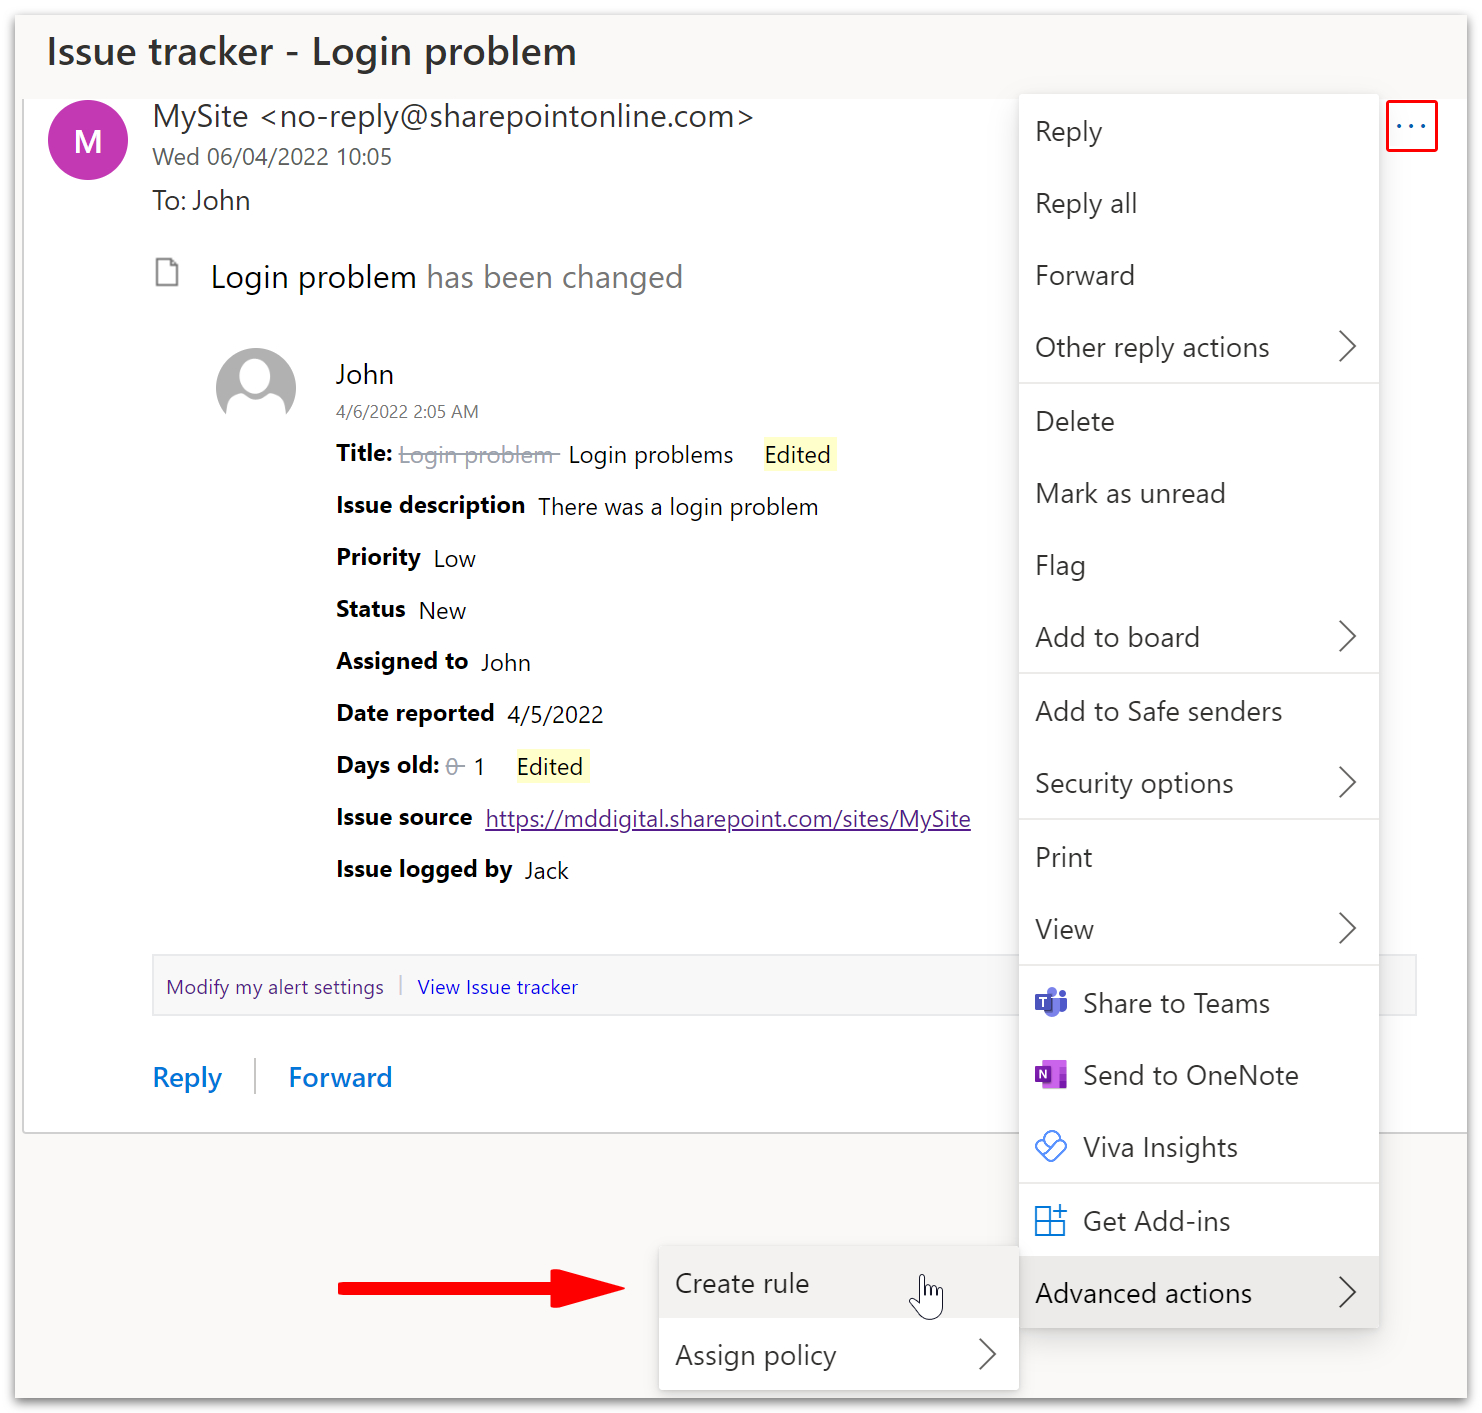
- Go to your list in SharePoint and add, delete, or modify an item.
- Head over to Outlook and locate the new email.
- Locate the three dots (top-right), click and select Advanced actions > Create rule.
- From the pop-up box, select ‘More options.’
- In the next pop-up box, head down to ‘Add an action‘ and select ‘Forward to‘ from the menu.
- Click on the box to the right and add in your groups or contacts and click ‘Save.’

Congratulations, your SharePoint alerts will now be forwarded to your Outlook Group!
Note: if you can’t find your group, continue to Step 2.
STEP 2 – How to Allow External Emails for Groups in Outlook
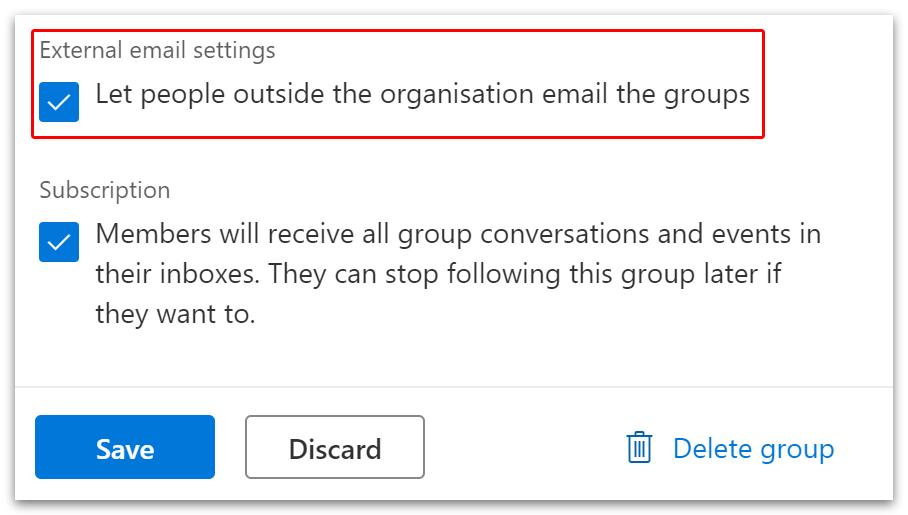
By default, groups cannot receive emails from external accounts. Follow this step to allow email forwarding to your group from SharePoint.
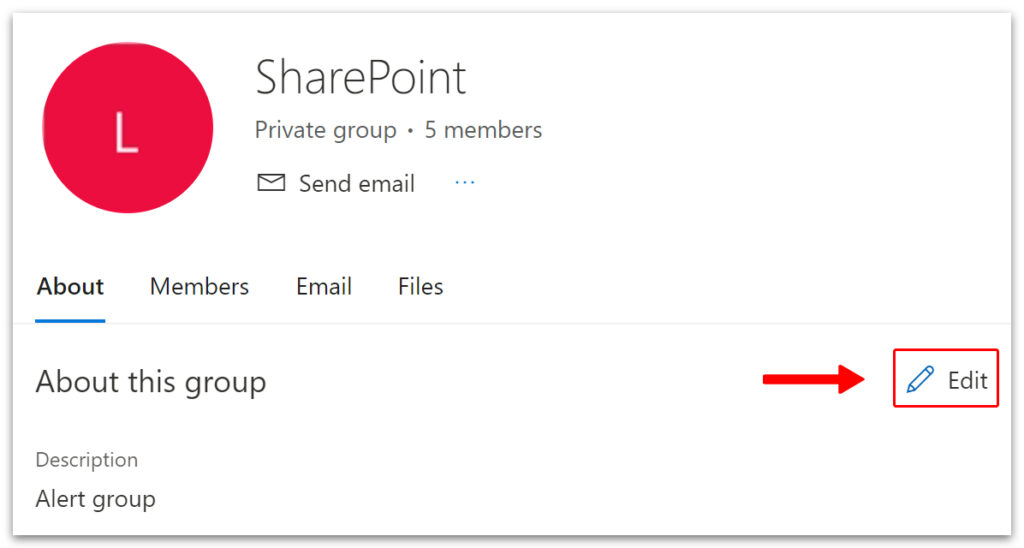
- From the left menu, select Groups > Manage Groups.
- Select your group and click ‘Edit.’
- On the pop-up box, head down to ‘External email settings‘ and check the box.
- Click ‘Save.’
- Now return to Step 1 of method 2 and add your group to the forward list.
Conclusion
The method you choose will depend on how you want to store your distribution list. If you have a list of emails in an Excel sheet, then method 1 is the best solution. If you have a list of contacts in Outlook who you want to alert, then method 2 is the better choice.
Thanks for reading.