Within Windows, you as the user are able to set a default mail client. By ‘mail client’, we mean a desktop application that can configure multiple email inboxes at once, allowing each of them to be utilised as email addresses through which the user can send and receive emails, as well as much more.
Chances are that, if you are reading this article today, then the current mail client you have is one that you are looking to change to Outlook. Thankfully, the means by which you would attain this desire are incredibly simple, and are what we will be discussing in today’s article.
So, in order to set Outlook as the default mail client within your Microsoft Windows system, you must select Outlook under the ‘Email’ sub tab of the ‘Default Application’ section of your computer options.
Now, if that alone is not enough detail for you to work with, then don’t worry. For some, it may well be enough. If not though, we will be breaking down the method in two further ways.
First, we will offer you a step by step guide of the process, a bullet pointed list that may prove sufficient enough for some readers. If not though, again, do not worry, as following that will be a detailed breakdown of the process. Complete with thorough explanations and annotated screenshots, this will be the most analytic discussion of the two, and will no doubt prove to be helpful for most reading.
Step by step: How to set Outlook as default mail client on Windows
- Look towards the bottom of your monitor.
- Here, within the taskbar of your computer, look to click on the navigation bar.
- Here, search for ‘Settings’ and click the first result that appears for you.
- Clicking ‘Settings’ will bring you to the main dashboard of your Windows computer settings.
- On this menu, there should be an option to manage your applications. This will simply be titled ‘Apps’, and is what you will want to click.
- Now, look to the left hand side of your screen. There should be a list of subheadings that you are free to browse.
- Of these subheadings, you should look to click ‘Default apps’.
- Now, on the main menu of your ‘Default apps’, there will be a subheading that simply reads as ‘Email’.
- Under this you will be shown the current preference for a mail client for your computer.
- To change this, you will need to click on the currently preferred mail option, and this should cause a dropdown menu to appear.
- On this list should be Microsoft Outlook, and it is this that you will want to click.
- This change will autosave.
So, as we said before, we will now delve into the process in further detail, in the hopes that the accompanying screenshots will provide that little bit more aid to those that feel they need it.
Your first step of the process will be to navigate to the ‘Settings’ menu of your computer. Now, you may have a shortcut for this, which of course will be more than okay to use in order to reach the menu quicker.
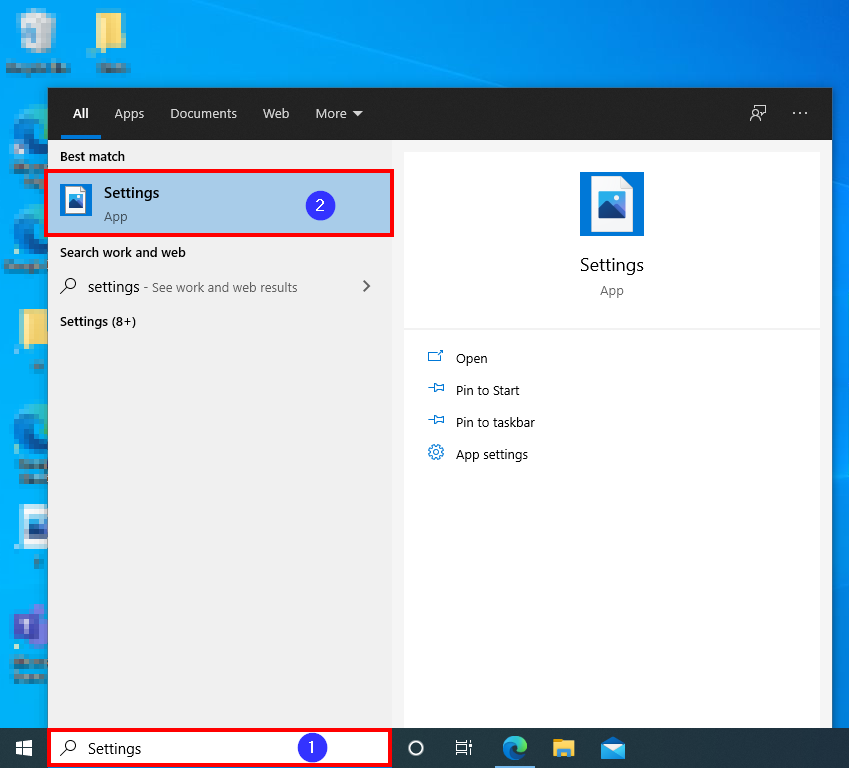
If you lack a shortcut though, your best bet would probably be to look towards the taskbar of your Windows device. Here, located within the taskbar, is a search bar in which you can enter anything you want your computer to look for. It is here that you should enter ‘Settings’, and after doing so, you should click the first option that appears to you.
Should you need any further assistance, there is a highlighted screenshot of the process below.
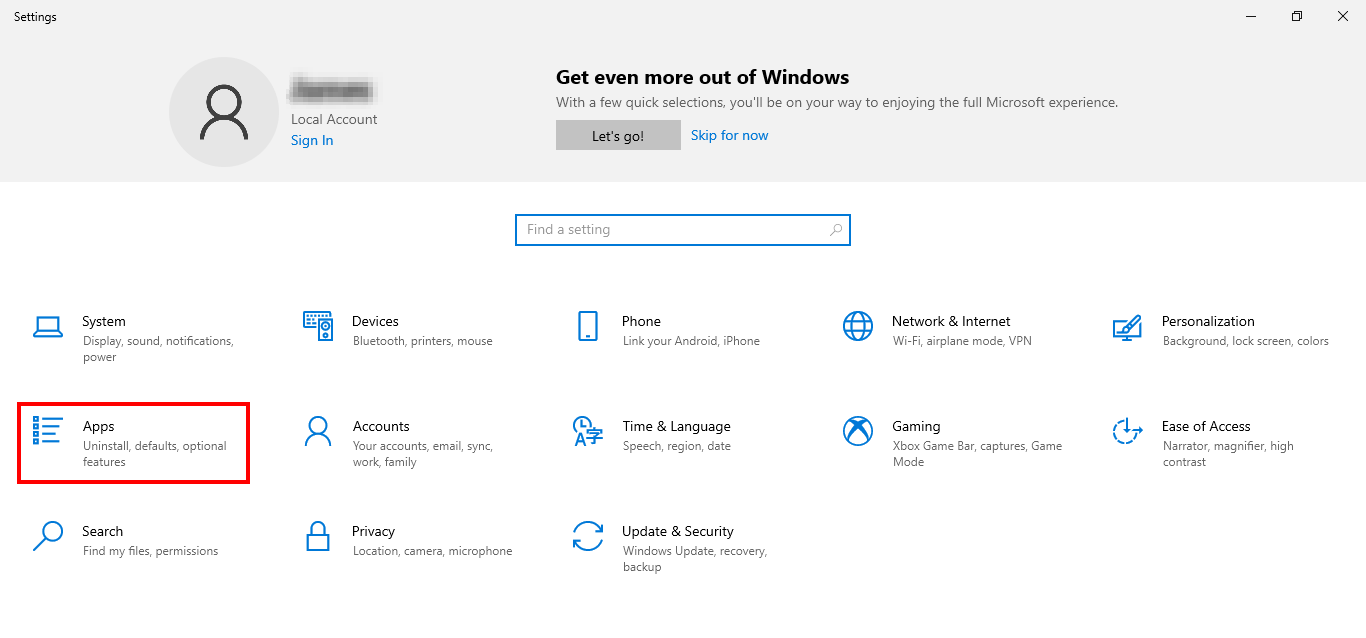
Clicking ‘Settings’ will bring you to the main dashboard of the settings of your computer. Here, there will be numerous subheadings, each in relation to a certain section of options within the Windows device you are using.
Of every subheading that you can see, there will be one towards the left of your screen that is titled ‘Apps’. This is the section you will want to click. Yet again, should you need it, the ‘Apps’ section has been highlighted in the image below.
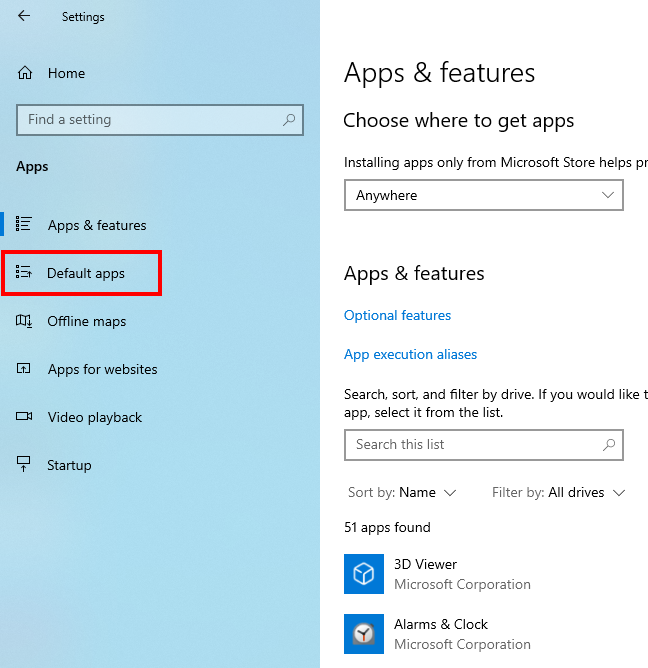
Now, unsurprisingly, you will be on the main menu of the application specific subsection of options. If you look to the left hand side of your screen, you should see a list of each bracket of application settings. By default, you will most likely be on the option highest on the list, ‘Apps & Features’.
Instead of being here, you will want to look towards the option listed just below ‘Apps & Features’, which is titled ‘Default apps’. It is this that you will want to click in order to progress with the walkthrough. Again, check the highlighted screenshot below if you need further assistance.
After clicking this, you will see the list of default applications within your computer. Of these applications listed, the one at the very top should be the ‘Email’ application that your computer currently favours. Chances are, especially if it is a Windows device, then it will be ‘Mail’, as you can see below.
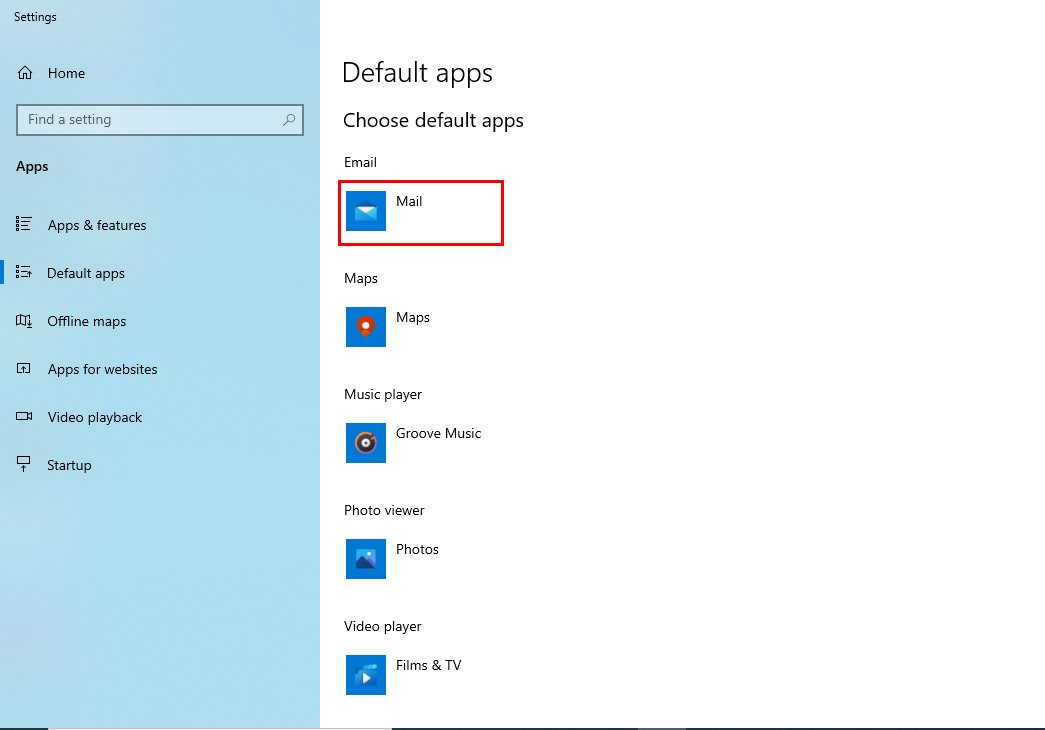
In order to change this, click on where it currently says ‘Mail’. This should cause a dropdown menu to appear, on which ‘Outlook’ should be an option. As you can probably expect, it is this that you will want to click.

This change will autosave, and so you do not need to worry about manually doing so. After clicking ‘Outlook’ and making sure it is confirmed as your option, you will have successfully set Outlook as the default mail client of your Windows device!
Thank you for taking the time to read this blog, I hope you found it as helpful as you wanted it to be when you clicked on it! As is the case with every article that we write and publish, if you encounter any sort of issue when following the tutorial, or simply wish to share some thoughts you may have on the piece, then please do not hesitate to get into contact with a member of our team.