If you’re tired of having a dull, standard background on Microsoft Teams and have meetings often, it makes sense to consider changing to a custom background to spice things up. You may have seen your colleagues using custom backgrounds and wondered if you could have that too, read on to find out how to do this on Microsoft Teams.
To answer the title, you only can set a custom background on Microsoft Teams when a meeting has already started; you won’t find the option by looking over Microsoft Teams. In a meeting, press the three dots; it will show the option for background effects; this can also be done on Windows or Mac.
Method
- Start a video call with someone
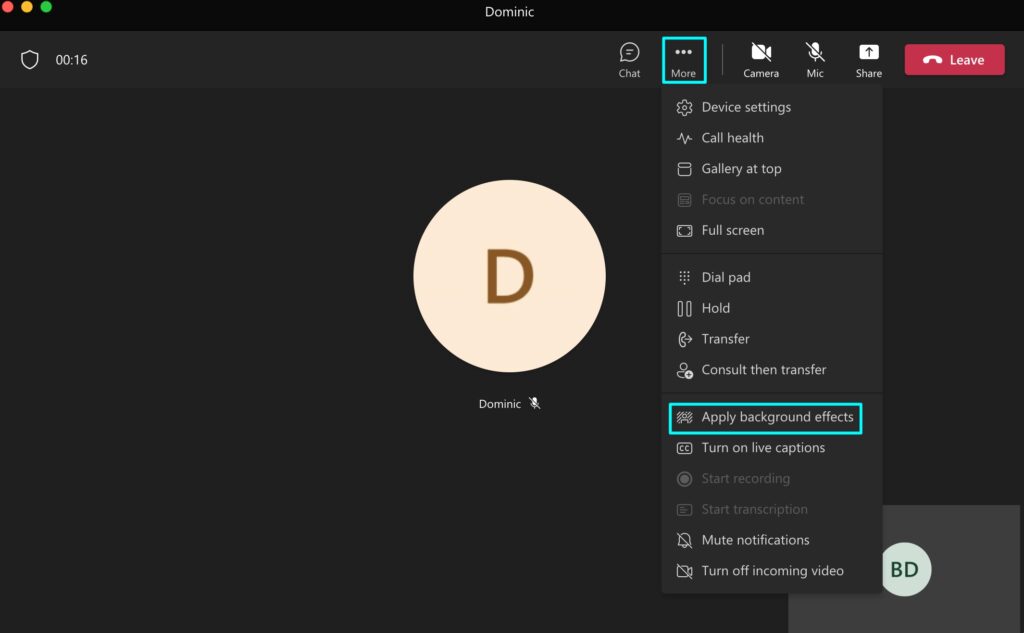
- Press the three dots called “More.”
- Then press “Apply background effects.”
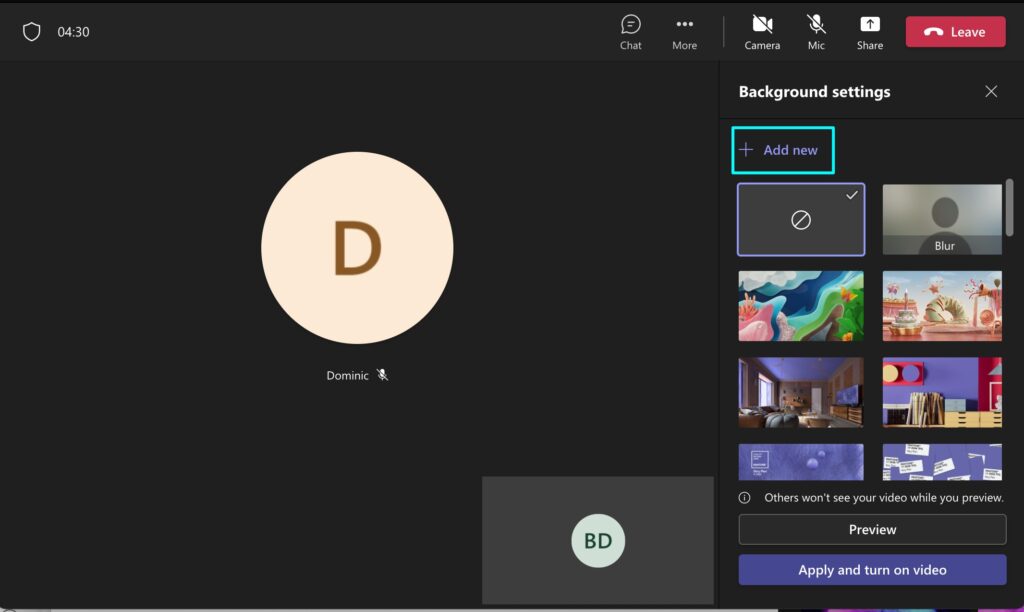
- Click “Add new.”
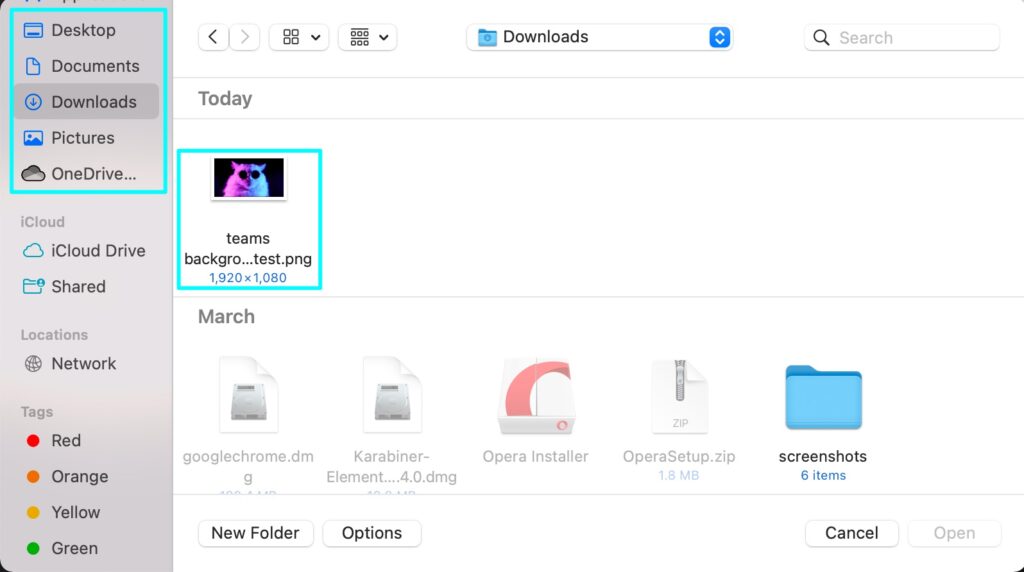
- Choose an image from your documents folder
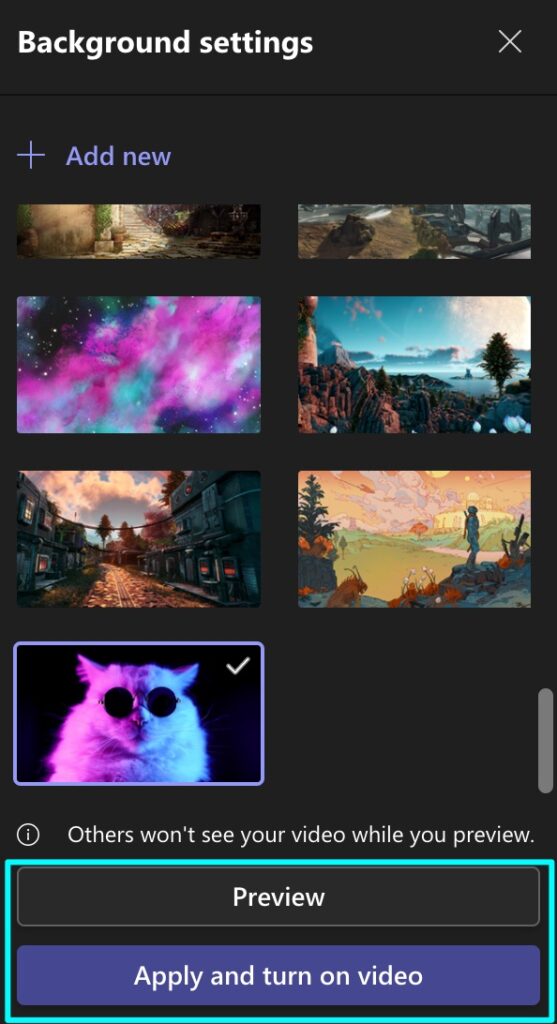
- Scroll down the list to see the new background
- Click review or Apply
- Check the camera is on
Content list
- Why should you use a custom background?
- What are some of the problems with using custom backgrounds?
- How can you find images for a custom background?
- How to set an image as a custom background.
- Conclusion
Why should you use a custom background?
The purpose of a custom background is to be fun and expressive as you can use whatever you want as long as you keep it professional and it isn’t offensive and unsuitable to the business; they’re supposed to allow you some freedom and show some of your personality if you choose to. A side benefit of using a custom background is that it can help colleagues get to know each other a little better by allowing people to use a background of something they’re interested in; this could be something like a show or something that they like, and if the team knows each other better than the team has the opportunity to work better.
There is another reason you might want to use a custom background; for example, if you need to work from home and make video calls but don’t have enough time to clean your background up, it would be an excellent time to set up a custom background.

What are some of the problems with using custom backgrounds?
While using a custom background isn’t a bad option, there can be a few downsides, so look at these before you decide to use one.
- Is the image appropriate for the business? – You may take the opportunity to use a joke picture as your custom background; however, it may be distracting for you or others to look at and cause the conversation to be interrupted. When selecting your image, you should think about if the image would be suitable enough to display around the work environment.
- Does it match the color of your clothes? – Something to know about custom backgrounds is that they work in a specific way by detecting the user and the background as separate things, so if the image is the same color as what you’re wearing, it will make your clothes blend in with the background.
- Is the quality of the image high enough? – One of the more minor things that you might overlook when choosing an image is the image quality; if this isn’t high enough, then the custom background will be highly pixelated, which will be very distracting and it won’t look good on you, so you should do your self a favor and find an image of good quality.
How can you find images for a custom background?
There are a few ways to find an image for a custom background; for example, you can choose an image saved on your downloads or pictures folder and see if the quality of the picture is good enough to be a background image. Alternatively, you can use a search engine for backgrounds by searching things like “high-quality backgrounds for Teams” or “1920 x 1080 wallpapers.” If you have an image idea in mind, you can use that as long as it would be suitable for work use; an example of this is to take a background and try to replicate a scene from “The Office,” or you can download a stock photo you like the look of.
How to set an image as a custom background
Setting an image as a custom background is a simple process; however, it can only be done on video calls or meetings as they are the only places you can see backgrounds because it requires a camera. This method can be done on any platform; the only requirement you will need is a camera for a video chat, as the custom background will appear behind your person instead of whatever is in the background usually.
To do this method, start a video call with someone, then:
- Press the three dots called “More,” then press “Apply background effects.”
- Click “Add new.”
- Choose an image from your documents folder.
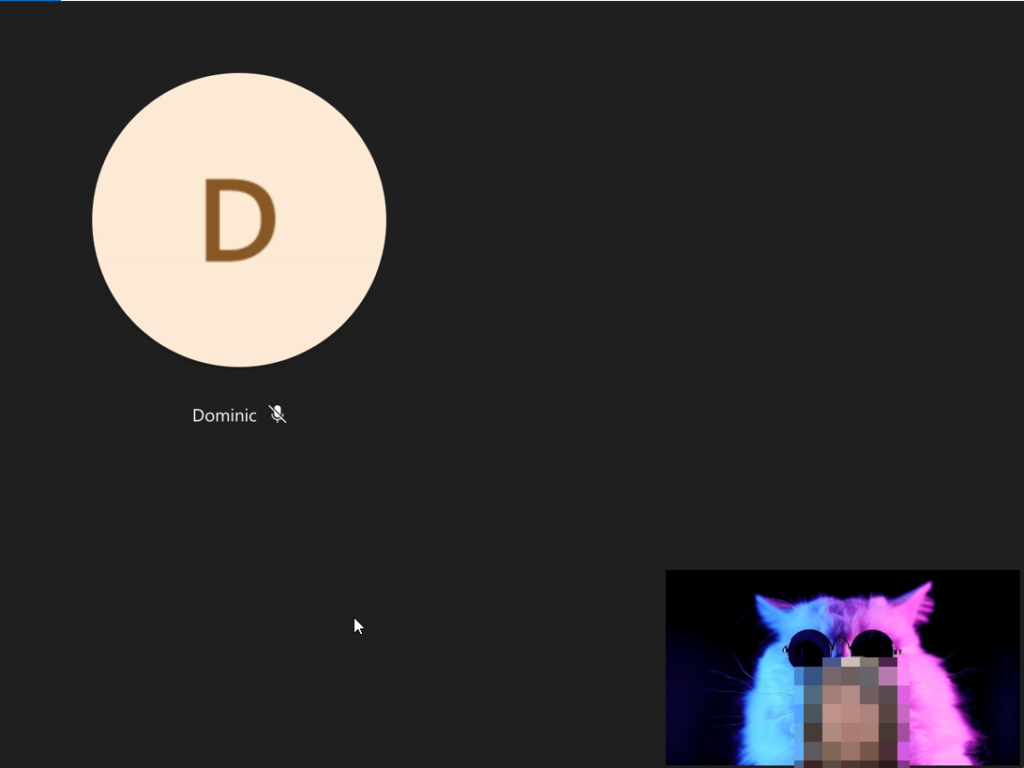
Scroll down the list of backgrounds to see the new custom background. I am using a high-quality image of a cat with sunglasses on.
- Then choose “Preview” or “Apply and turn on video.”
This will attach the background you have chosen to your camera background, meaning whenever you open Teams and do a video chat, it will be there unless you unselect it.
- Check the camera is on.
Now that the custom background is set check that your camera is on and that the background is functioning correctly.
Now that we see it has worked, you know what to do when you want to update the custom background if you grow tired of the current one or the business deems it unsuitable.
Conclusion
Setting a custom background for Microsoft Teams is simple; however, it can only be done while in a meeting or video call, so if you would like not to show your face until the custom background is set, you can turn off the camera and follow the steps to set one up. To set a custom background, you only need to join or start a video call or meeting, press “More,” then choose “Apply background effects.” Then, choose “+Add new” and upload the image you want to use; then either preview it to make sure it’s correctly set up or press “Apply and turn on video.”
That is the entire process for setting up a custom background in Microsoft Teams; thank you for reading this guide; if you found this guide helpful, let us know what you think by contacting our staff and if you have any concerns about other topics, check out our guides as I am sure that there will be something to help you.