Some people have asked if it’s possible to set up multiple users on a single OneDrive library. The answer is yes. With OneDrive’s sharing feature, multiple users can remotely access shared libraries, folders, and documents from any device.
In this tutorial, we will guide you through the process of setting up a shared library and a root directory that your whole group can access. You will also learn how to manage access and permissions.
Method 1 – Shared library:
- Click ‘Create shared library.’
- Add users who can access the library.
- Add a shortcut to OneDrive.
- Manage users and permissions via SharePoint.
Method 2 – Shared folder:
- Create a folder (root directory) for group access.
- Share the folder with the required group.
- Use Outlook to send the folder’s share link to the whole group.
- Manage users and permissions.
Please continue reading for our visual, in-depth guide on sharing libraries and folders with multiple users.
Method 1 – How to create a shared OneDrive library
A shared library will allow your members to add new files and folders remotely. In this section, you will learn how to create a shared library and manage the library once it’s been created.
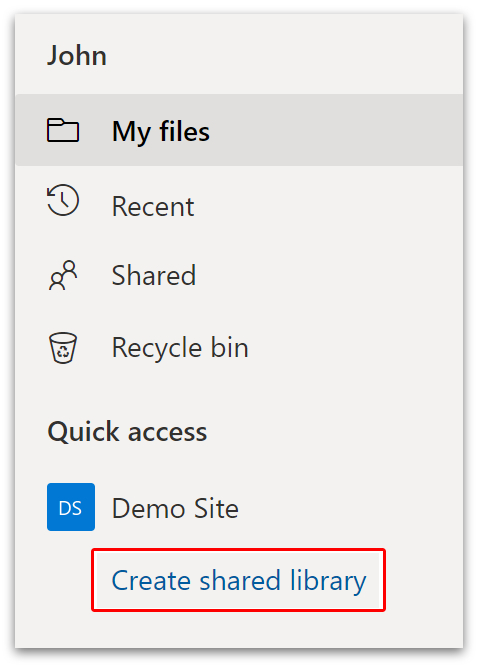
- First, head over to your OneDrive account.
- Click ‘Create shared library‘ at the bottom of the left-side menu.
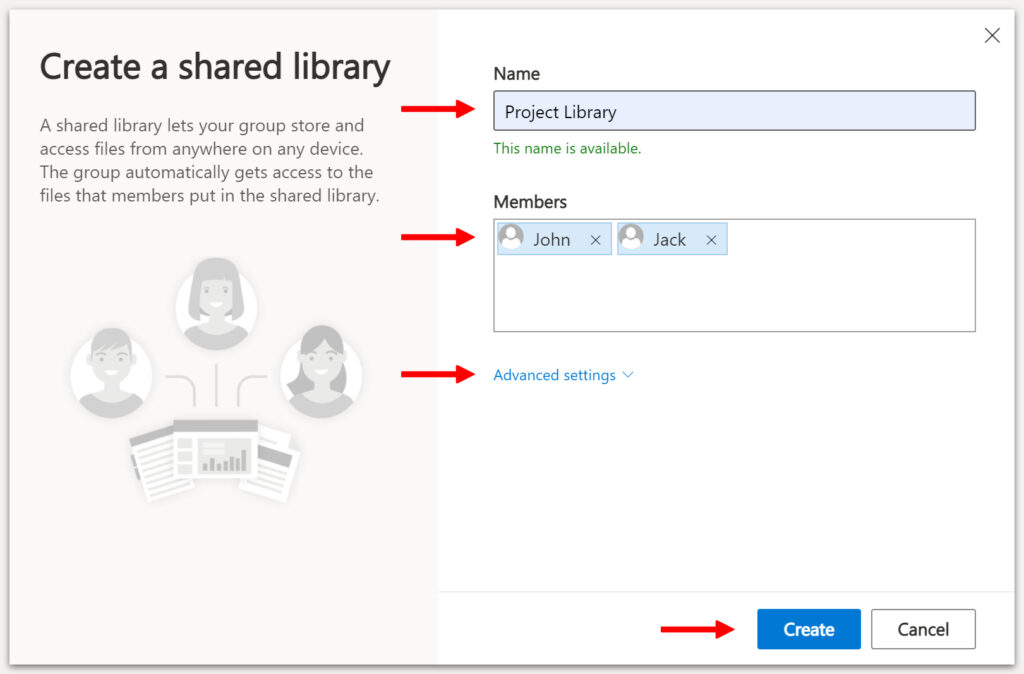
- Create a ‘Name‘ for your library and add ‘Members.’
- Click ‘Advanced settings‘ if you want to edit the language or SharePoint site address.
- Click ‘Create.’
Your can now access your site at https://yourcompany.sharepoint.com/sites/yourlibrary
- To access the library through OneDrive, go to your library’s SharePoint site.
- Click ‘Documents‘ on the left-side menu.
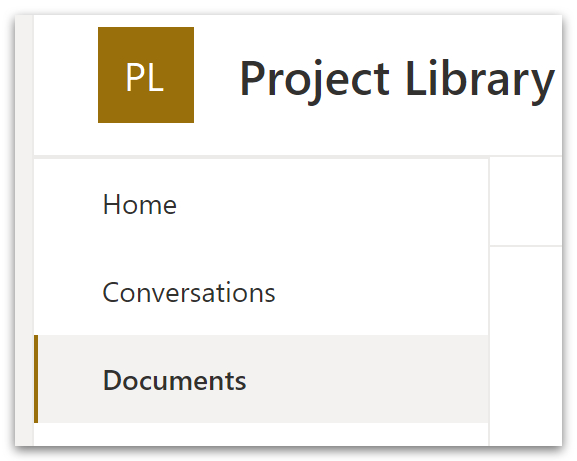
- Click ‘Add shortcut to OneDrive.’ on the top menu.

- Head back to your OneDrive account.
- You will now see a new folder that links to the shared library.
- To change the name of that folder, right-click the folder and select ‘Rename.’
How to add and remove members from the shared library
In this section, we’ll take a brief look at how to add and remove members from the shared library. We will do this through SharePoint, so head over to the site for your shared library.
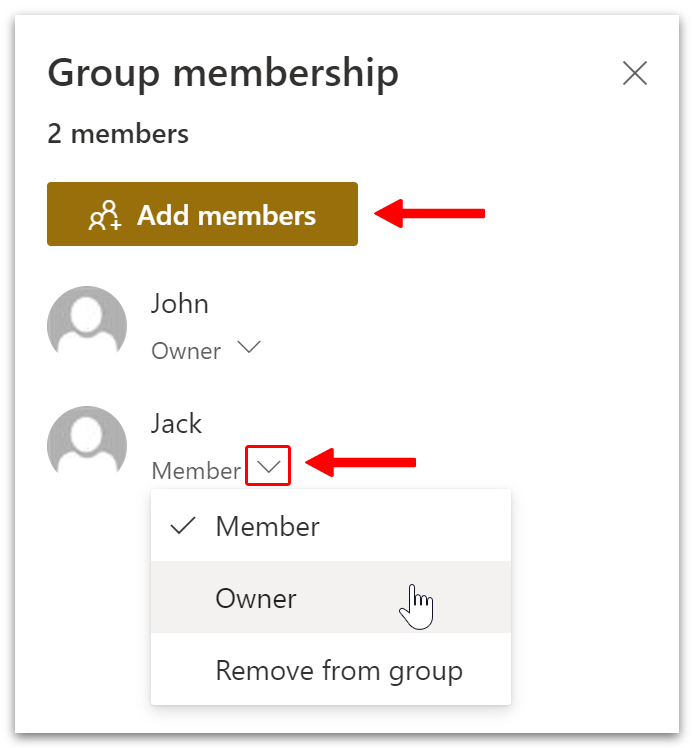
- First, click ‘members‘ on the top-right side.

- Click the down-arrow next to the member’s name to change or remove permissions.
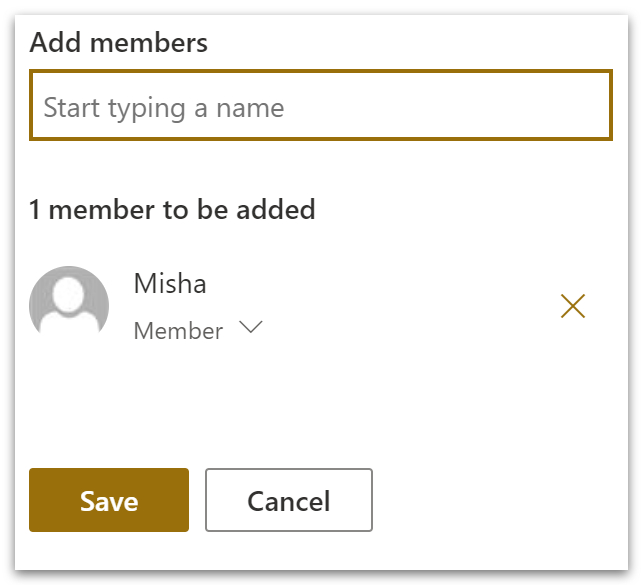
- To add new members, click ‘Add members.’
- Type in the name of any new members you want to add.
- Click ‘Save.’
Note: Site members can view and edit files and folders in the library. But only site owners can set permissions.

Method 2 – How to create a folder for group sharing in OneDrive
With synchronous file-sharing in OneDrive, you don’t need multiple users accessing the same library. You can share a single folder that will act as your root directory. In this section, you will learn how to set up your root directory.
- Head over to your OneDrive library.
- Click
 on the top menu and select
  .
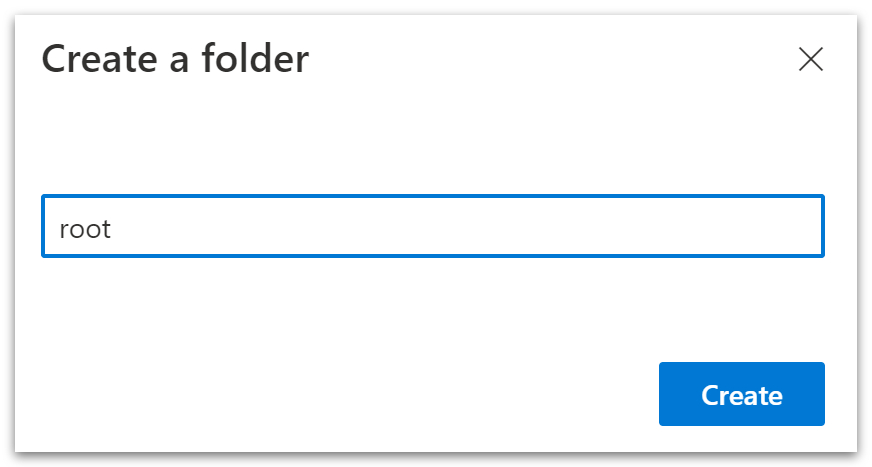
. - Create a name for your folder. We set the name as root.
- Click ‘Create.’
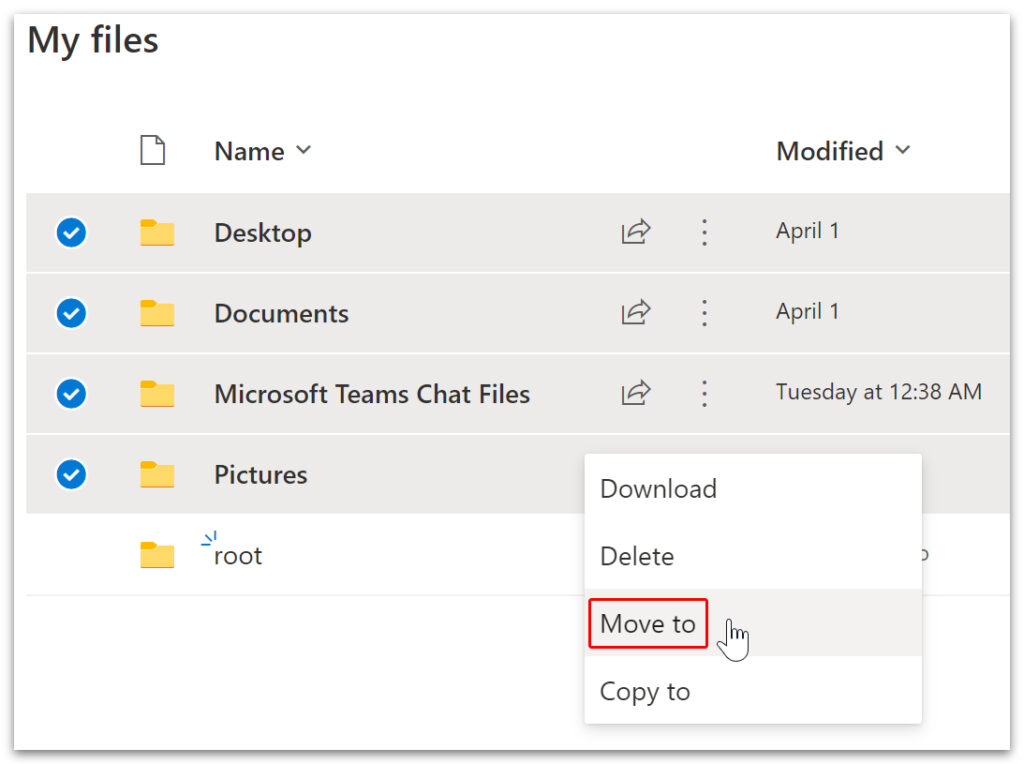
- Select all existing files or folders you wish to be included in the root directory.
- Right-click on any of the selected files or folders and click ‘Move to.’
- Select your new
 folder and click
  .
.
How to configure the sharing options
There are two options available for sharing your folder. The first option establishes who can view the folder. The second option establishes who can edit the folder. In this section, you will learn how to configure these settings to share the folder with specific users.
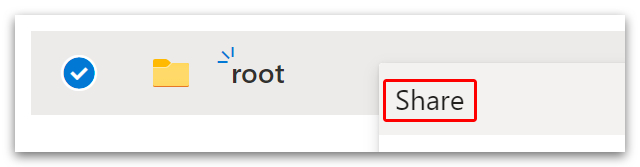
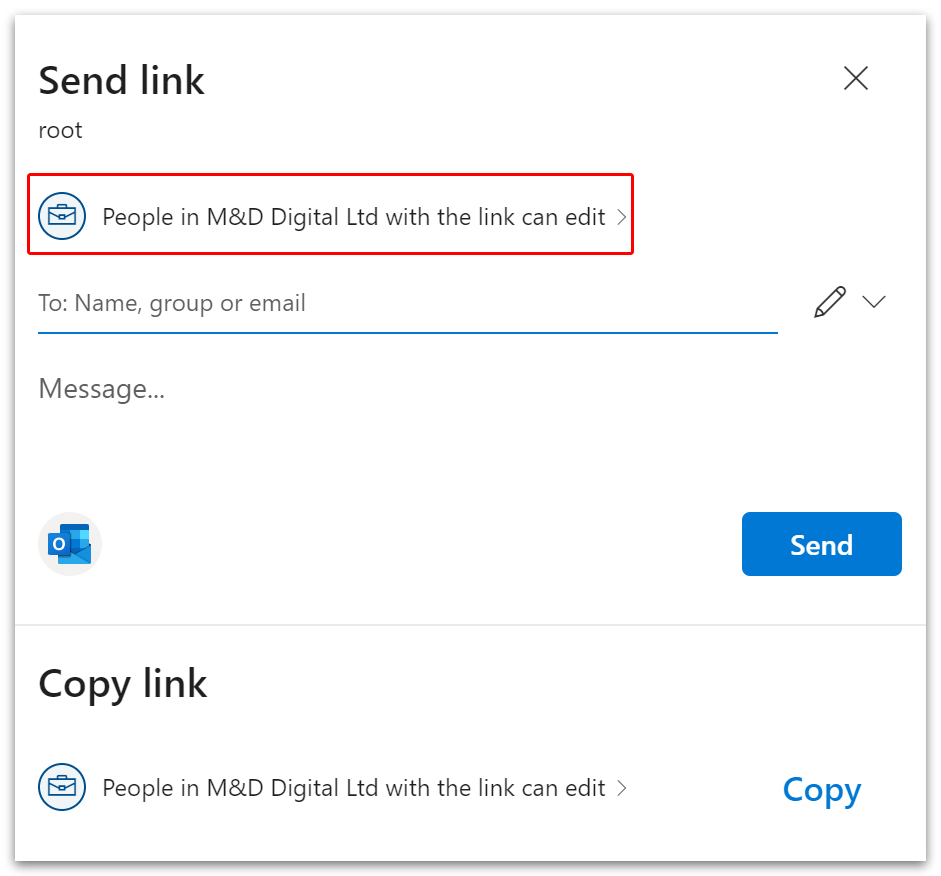
- First, right-click on your folder and select ‘Share.’
- In the pop-up box, select the link highlighted in red.
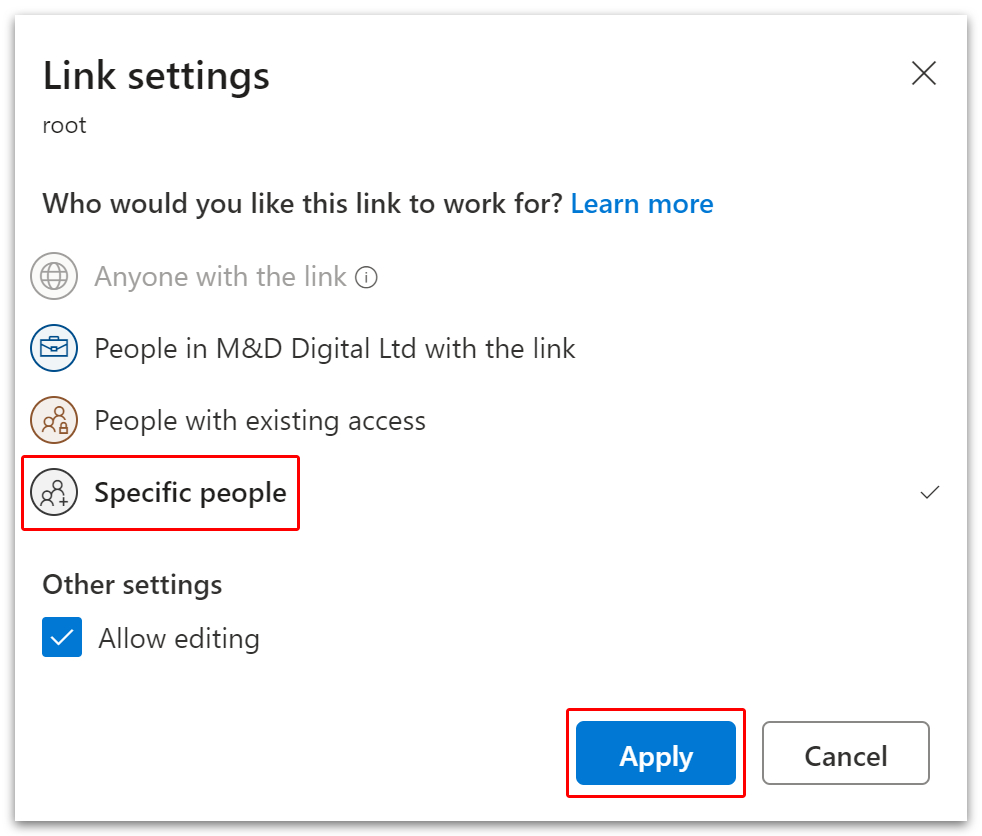
- Select who can edit files inside the root folder.
- To grant full access to specific people within the company, click ‘Specific people.’
- Be sure that ‘Allow editing‘ is checked, then click ‘Apply.’
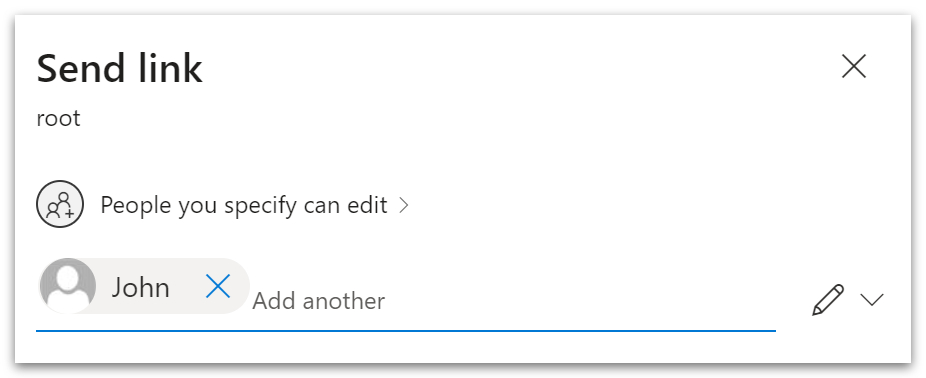
- Now add the names or email addresses of the users who will be accessing the folder.
- To do this, click on the box that says ‘To: Name, group, or email.’
- As you type, suggestions will pop up. You can click on suggestions to add users or press Enter on your keyboard when the name has been fully entered.
Share the access link with specified users
You have created a folder and established who can view/edit the contents. Now it’s time to direct the users toward the folder. Described below are two ways of doing this.
1: Email
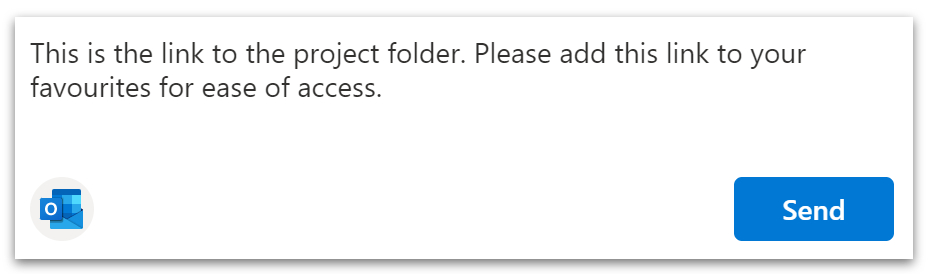
a – Send an email and message directly from the pop-up box
- Write in your message and click ‘Send.’
- We encouraged our users to add the link to their favorites.
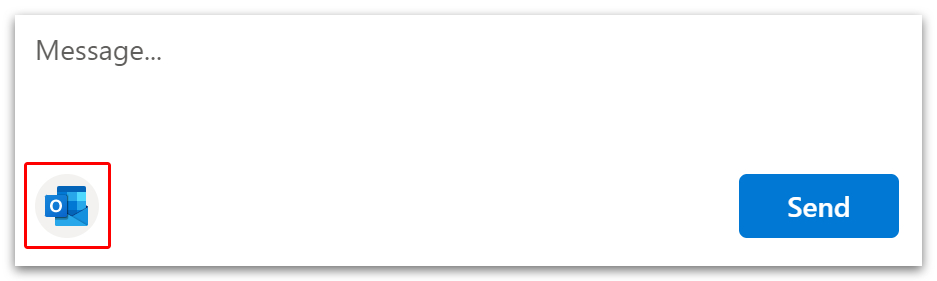
b – Write a custom email
- Click the Outlook icon in the bottom-left corner.
- When Outlook opens, you can send your link along with a message or attachments.
2: Copy and distribute
- Click ‘Copy‘ in the bottom-right corner.
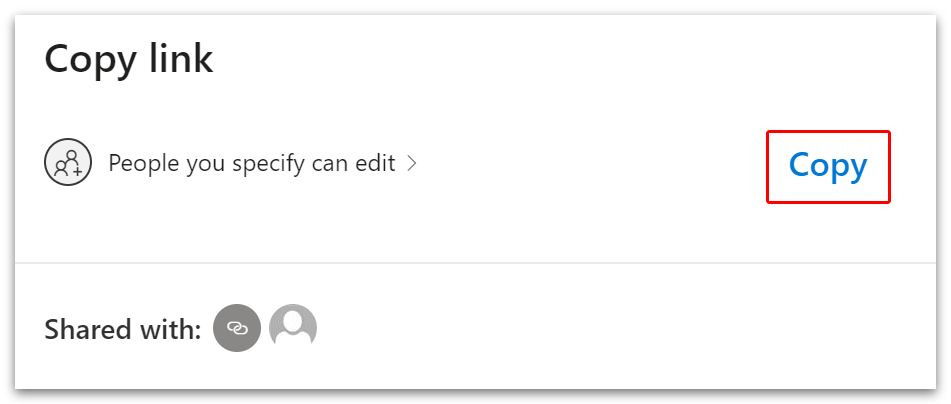
- A box will pop up confirming that you have copied the link.
- Send your link via email, messaging apps, Microsoft teams, etc.
How to manage access to the root directory
Sometimes, you may need to add or remove users or change permission levels. In this section, we will show you how to achieve this. Please note that access to private or confidential folders should not be shared with people outside the company.
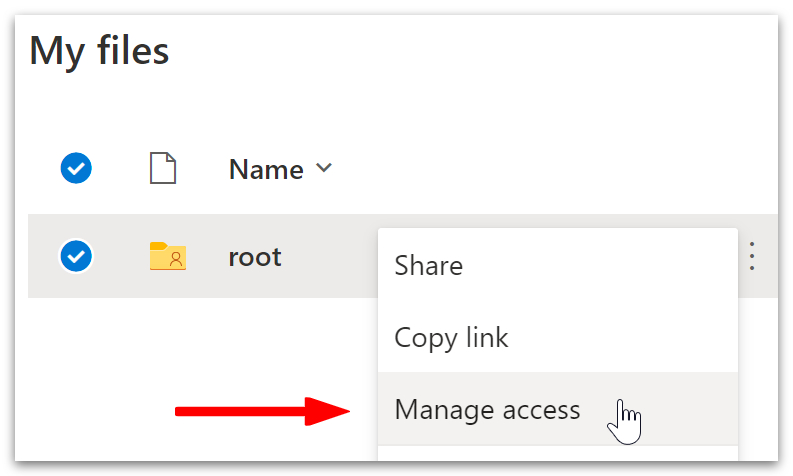
- First, right-click on your folder and select ‘Manage access.’
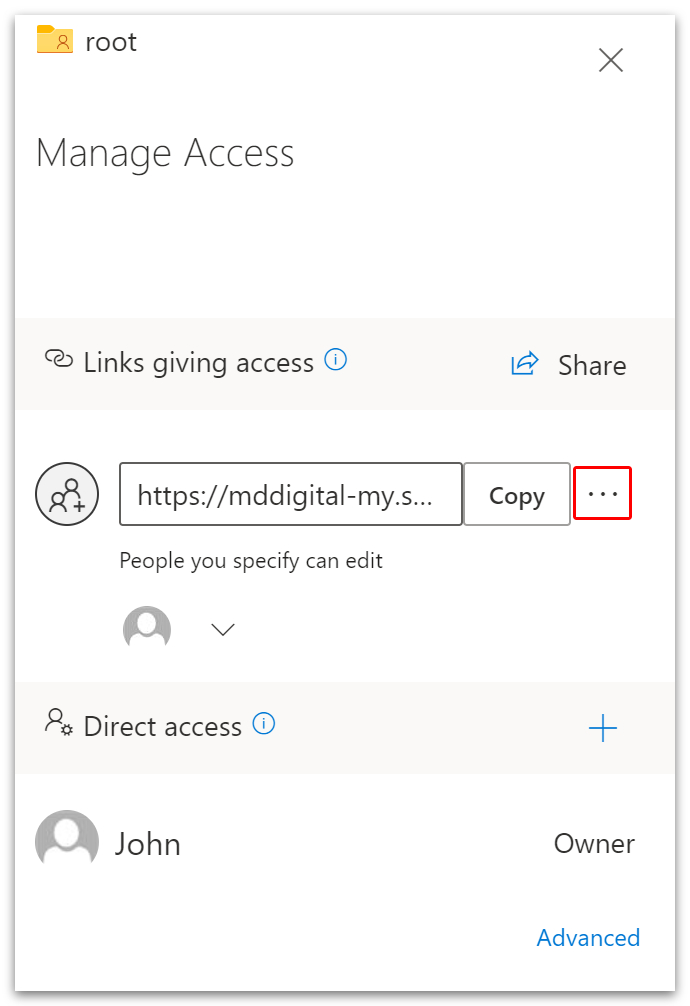
- A menu will open on the right side of the browser window.
- On that menu, locate and click the three dots next to the folder’s link.
- Under ‘Link settings,’ select if the specified users ‘can edit‘ or ‘can view.’
- You can also add new users to the list under the ‘This link works for‘ heading.
- To remove specific users, click the ‘x‘ next to their name and click ‘Remove‘ in the pop-up box.
- To remove access for all specified users, click the ‘x‘ next to the link and click ‘Delete link‘ in the pop-up box.
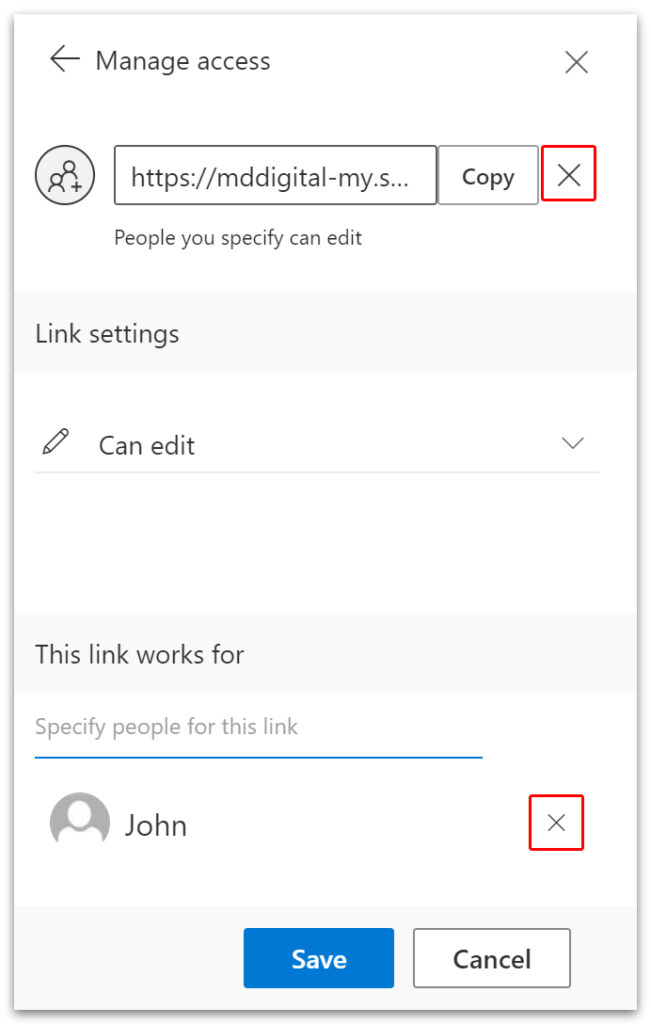
- Finally, click ‘Save.’
Note: By default, the creator of the folder will have full control over the file. For that reason, the group leader must create the root directory. The root can then be shared with the rest of the group.
Conclusion
Your OneDrive library can be accessed by anyone at any time, from any device. And the scope of access will depend on the permissions you grant. A team will never have to log into the same OneDrive account to access the same files. By sharing a folder or library, the whole team can have remote access.
Method 1 is a simple solution that requires SharePoint. Method 2 is a useful alternative, but you can only have one owner.
If you’d like to learn more about accessing shared folders, read our guide on How to add a shared folder to your PC.
Thanks for reading.