SharePoint has been the preferred collaboration platform for businesses all around the world for quite an extensive length of time. The platform’s sophisticated capabilities provide a secure environment for data capture, document sharing, and information exchange. You can open a SharePoint file even if you aren’t a normal user thanks to one of these features. We’ll talk about externally sharing files and folders with SharePoint online users in this blog.
The platform is well-suited to exchanging files in a variety of formats. The process is straightforward due to the user interface’s ease of use. Here’s how to use SharePoint to exchange documents externally with SharePoint online:
- Go to Office 365 using your browser. Use your email, phone number, or Skype profile to log in to your Microsoft account.
- Use the app launcher to navigate to SharePoint; the app launcher is illustrated by nine dots.
- Go to the site where the file or document is located.
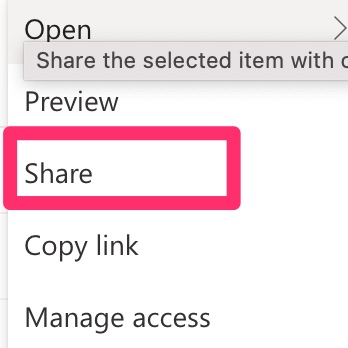
- Highlight the ones you want to share. SharePoint also allows you to select entire folders. Click the “Share” button in the top-left corner.
- You now need to change the Share preferences to “Specific people” – what this will do is allow you to refine your share link to only those who have access whether external or internal within your organisation. Only the external members selected can view the document.
- Click on “apply” once you have selected the “specific people” box.
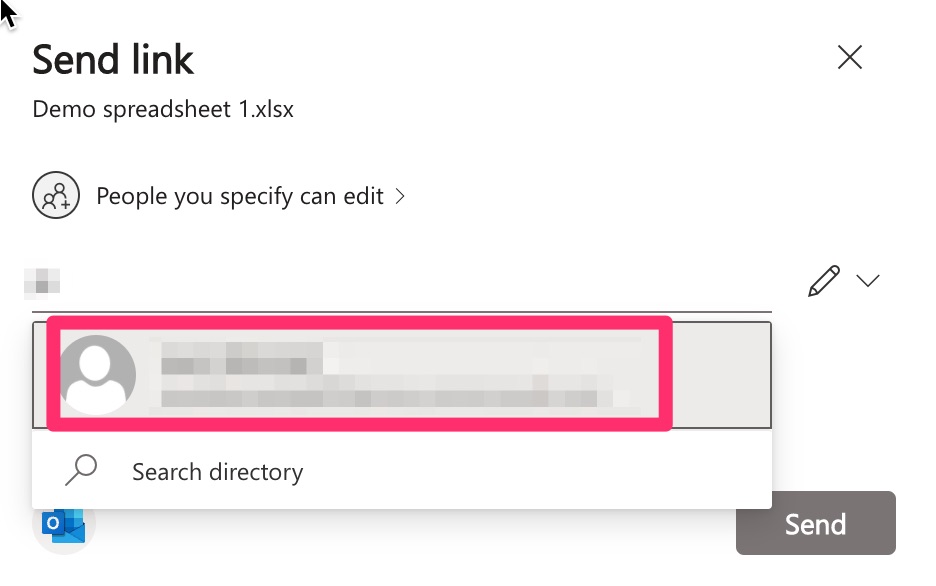
- A new box will show and here type out the names of the members you wish to share the content with.
- Once this is complete you can either click “send” to send the link directly (if they have a Microsoft account) or click on “copy link” if you want to send the link on a third party platform like Gmail.
The method above is an effective approach as the link share method allows users to effectively transfer documents and files with external users without the inconvenience of having internal members look at the file. If the link is in the wrong domain it won’t open as you’ve set the share settings to “Specific people” only.
Manage SharePoint guests to share files and folders only with external users:
You have the power to change the sharing settings for the whole company if you’re a global or SharePoint admin. That implies you get to choose the amount of Guest user engagement on the SharePoint server. Depending on your needs, you may pick from a variety of sharing options.
Here’s how to edit the guest share feature:
- Visit your Office 365 Admin section by using the app launcher.
- Open the “External Sharing” tab.
- Select the desired sharing level for your organization. Usually, the default setting is “Anyone.”
A multitude of different share settings allows for the admin status users to refine the settings to the preferences they require. If you’re an admin user all you need to do is make sure to choose one that corresponds to the type of document you’re sharing.
Below are the settings you change to.
- Anyone:
- Users can use this option to distribute URLs that do not require authentication. As a result, they may distribute it to both existing and new guests. You may specify an expiration date for each link as an administrator.
- New & Existing guests:
- Guests must check in with their Microsoft account to access the URL with this setting. They can also use their User ID from school or work. This is due to the fact that these sorts of linkages necessitate the usage of identity verification codes.
- Only Existing Guests:
- You’ll be able to share files from your directory with Guests this way. This includes anybody who has already accepted your invites. It also refers to Guests you personally added using Azure B2B or other collaboration tools.
- Only members of your organization:
- Choose this option if you wish to restrict external users from viewing your directory. It prohibits external sharing and retains all of your files within your company.
Guests who were previously allowed access can still join the server if you stop external sharing and then enable it again. If you don’t want Guests to be able to access certain sites again, you must disable the option for each site separately.
Control over external sharing – How to turn on and off?
Everyone with site permission has access to the files you save on your SharePoint server. You may, however, want to share specific files with folks who don’t use SharePoint on a daily basis. This is when the capability of external sharing comes in handy.
You must be a SharePoint admin in Microsoft 365 to enable the setting. External sharing cannot be enabled or disabled by site administrators. Here’s how to go about it:
- Go to the SharePoint admin center’s web page and log in.
- Next you need to go to the left-hand column and choose a website from that list.
- Toggle the sharing option you wish to activate by clicking the circle next to it.
The available alternatives are determined at the corporate level. Any links you shared on that site will no longer work if you disable external sharing on that site.

Indepth step by step process – Here’s how to use SharePoint to exchange documents externally with SharePoint Online
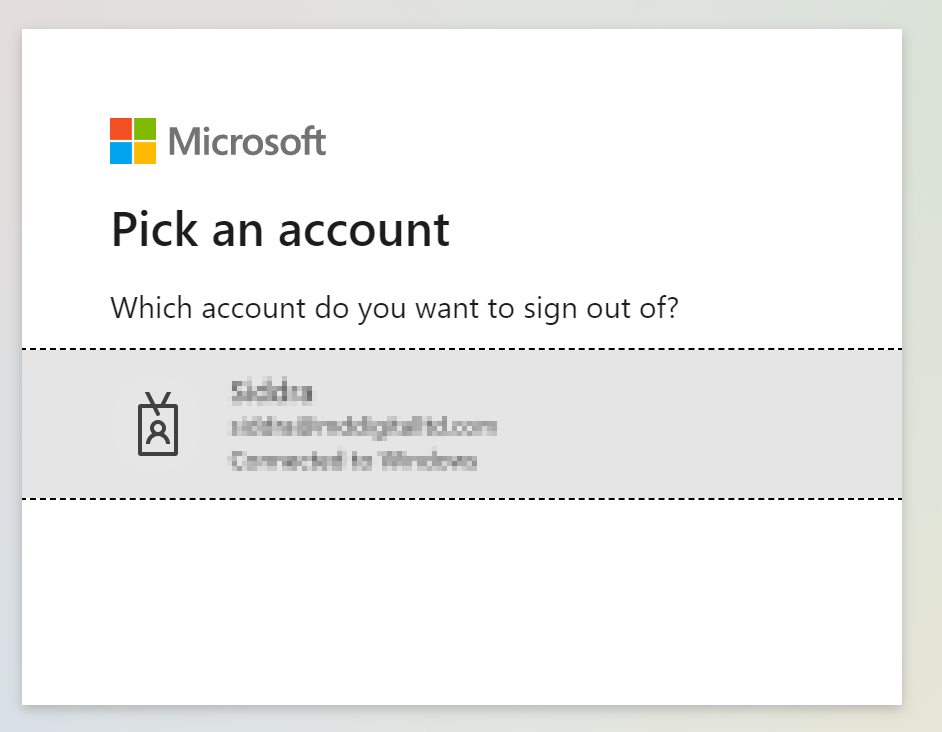
- Go to Office 365 using your browser. Use your email, phone number, or Skype profile to log in to your Microsoft account. Create an account using your preferred information if you haven’t already.
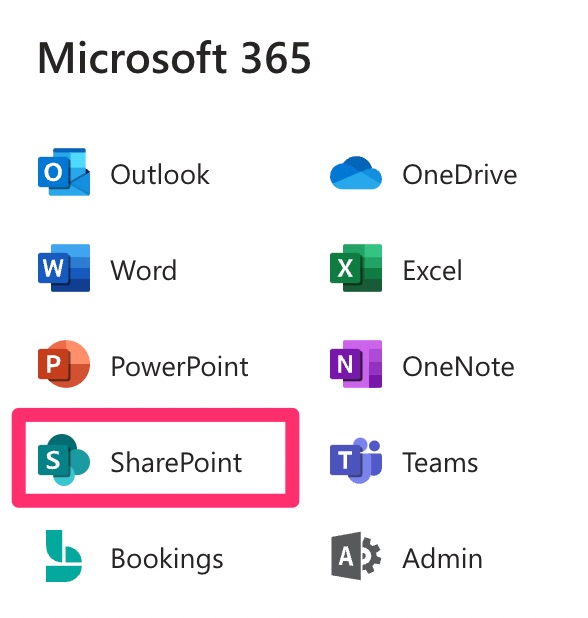
- Next you need to navigate to the SharePoint dashboard by first clicking on the app launcher which is illustrated by nine dots and then clicking on SharePoint.
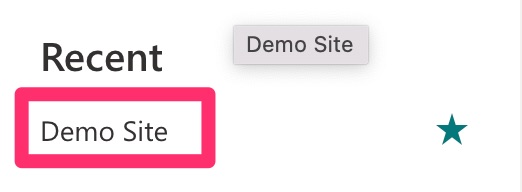
- You now need to visit the site where the file or document is located.
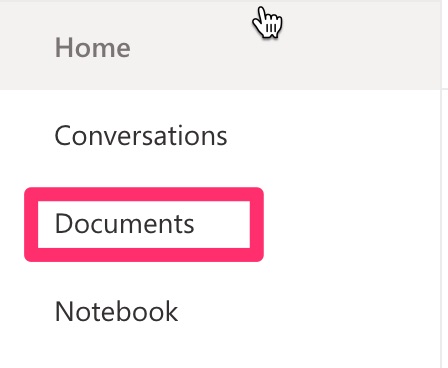
- Now click on documents listed in the left hand corner menu.
- You will now be presented with a list of files and documents and from here select the ones that you need to share, the “Share” symbol is highlighted below click on it to share the document to the specific user.
- A new box will open and here you need to click on “specific people” which will allow you to select individuals who can receive the link to view or edit the content.

- Finally click on “Apply” which will save the new Share settings.

- After that you need to type out the name of the individual you want to share the file with and click “send”. This will then send the user the final link.
- Alternatively you can click on “copy link” which will copy the link and you can now send it to users who have an external platform such as Gmail. As the normal send link method only sends to Microsoft account users only.
Thanks for reading! We hope you’ve found this blog post useful. If you have any other questions, please feel free to leave a comment below and I would be more than happy to help.