When you use SharePoint, you may encounter the problem of having insufficient storage to continue file management. The problem has frustrated many users, so in this blog, I will provide a few different solutions you can use to help resolve the issue of having full storage in SharePoint Online.
- The first solution you can use to help fix the storage-related issues on SharePoint is to empty the secondary recycling bin.
- The second solution to help fix the storage issue in SharePoint is to increase the storage if your plan allows it.
- The final solution is to delete outdated files that you no longer require.
Please continue reading for a visual, in-depth guide on everything you need to know about solving full storage in SharePoint.
- How to empty the secondary recycling bin SharePoint.
- How can you increase the storage in the SharePoint admin section?
- What can you do to remove outdated folders and files in SharePoint?
How to empty the secondary recycling bin SharePoint to make more storage space
One of SharePoint’s simplest features is emptying the recycle bin to clear up space. In SharePoint, when you remove anything, it goes into the site’s Recycling Bin. While you may be aware of the regular SharePoint recycling bin, many users are unaware that a secondary recycling bin stores your data if you need to restore content deleted from the primary recycling bin.
However, once the content has disappeared from the secondary recycling bin, it will no longer be available on the server for you to restore. If you have content that you need to remove from the recycling bin, you can go into the secondary recycling bin and permanently clear it to make space for new content.
- Firstly, use the launcher in Office 365 and navigate to SharePoint.
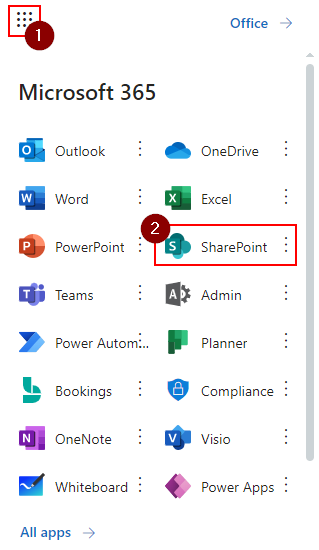
- Select a site.

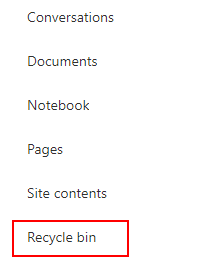
- Click on the option for “Recycle bin.”
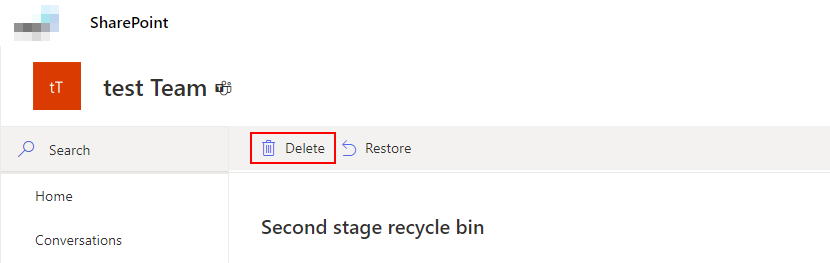
- Now click on “Second-stage recycle bin.”

- Select the files you want to delete.

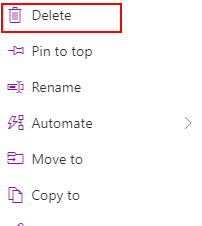
- Click on the option for “Delete.”
- Finally, click the “Delete” button.
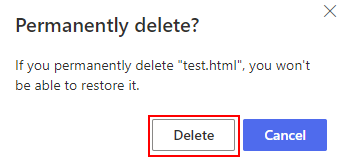
Once you have completed the steps, you will have deleted content from SharePoint permanently. The space provided by removing unnecessary files and folders will allow you to save new content.

How can you increase the storage in the SharePoint admin section?
The second method you can use to create more space in SharePoint is to increase the storage capacity in your admin center. Once SharePoint is activated, you will get a defined amount of storage depending on your plan. However, if you are an admin of your network, you can increase the storage in SharePoint.
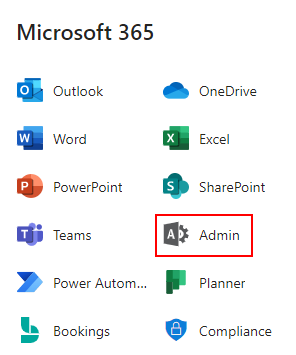
- Firstly, use the launcher to navigate to “Admin” in Office 365.
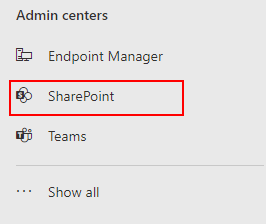
- From the list of admin centers, select “SharePoint.”
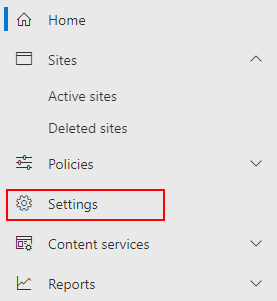
- Now click on the option for “Settings.”
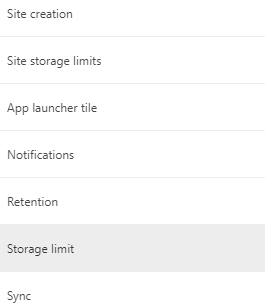
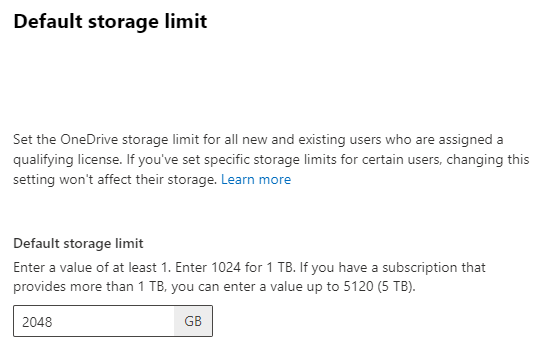
- Click on “Storage limit.”
- Increase the storage up to the limit set by your plan.
- Click on “Save” to complete the process.
Once the steps are complete, you will have managed to increase the storage in SharePoint. You should always delete unnecessary files to free up additional space despite having extra storage.
What can you do to remove outdated folders and files in SharePoint and make more storage space?
Eliminating unwanted or out-of-date content from your SharePoint site is another way to create space. If your company hasn’t established any retention guidelines, there may be unnecessary documents in your SharePoint account. Even if the individual files or folders are small, a sufficient number can consume lots of space. So deleting unnecessary files is always the best practice for maintaining storage space.
- Navigate to the SharePoint site you want to make room for.

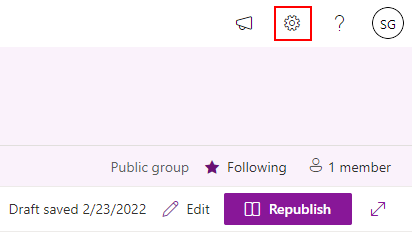
- Click on “Settings” at the top.
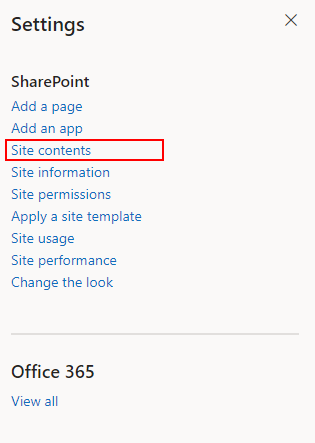
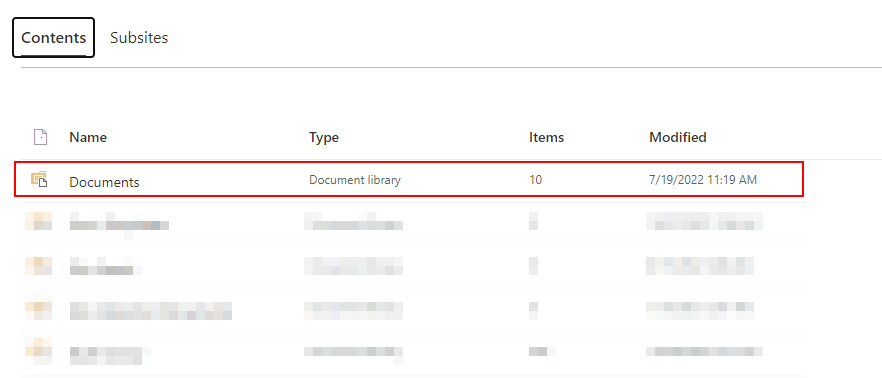
- Click on the option for “Site contents.”
- Select a folder by clicking on it.
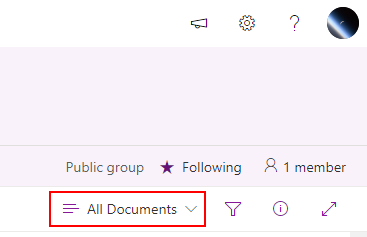
- At the top of the page, click on “All Documents.”
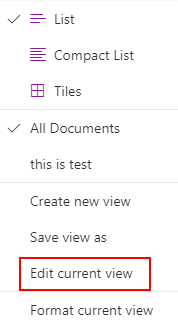
- To edit the current view, click “Edit current view.”
- Continue to scroll until you reach the “Filter” section.
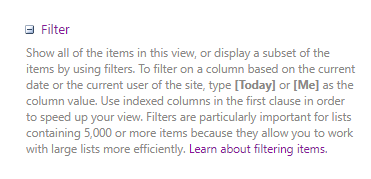
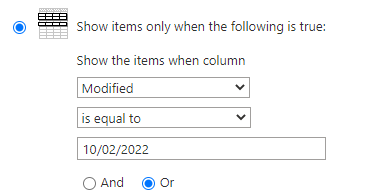
- Change the details under “Show the items when column” to “Modified,” “is less than or equal to,” and then the date of your choosing.
- At the bottom, click “Ok.”
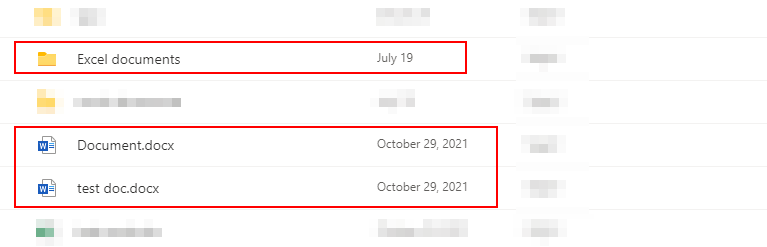
- Now, SharePoint should display all of the files that need deleting. Choose the files you want to remove, then do so.
Upon completion, you will have removed unnecessary files. Make sure you go into the recycling bin and clear the secondary recycling bin to remove the content you have just deleted.
Conclusion
You can obtain extra storage in your SharePoint admin center or by removing unnecessary files in SharePoint. By following the guidelines above, you can ensure that your organization’s SharePoint has adequate space for anything you need. We will answer any questions you may have concerning storage in SharePoint if you leave a comment below.