Email notifications are a great way to keep up-to-date information about certain activities on any accounts you may have. Microsoft Teams uses email notifications for various reasons, such as notifying users of changes to their accounts. Even if a user has sent a message, an email will be sent to that user. However, sometimes users may find it annoying to be constantly emailed, so in this blog, we will cover the steps on how to step Microsoft Teams email notification.
- Stop Teams email notification from the settings page
- Use Mail flow policies to stop Teams email notifications
There are two methods to stop email notifications from Microsoft Teams. You can use Teams native settings to quickly disable the notifications on Teams or use the mail flow policies to stop email notifications on Microsoft Teams. I have included a guide on both the processes; read through for more information on how you can stop email notifications on Microsoft Teams.
Stop Teams email notification from the settings page.
The first method is relatively straightforward; you can use the settings section of Microsoft Teams to stop email notifications. The process is the same for the desktop version of Teams and the browser version. Microsoft Teams will disable all notifications for email-based activities once the steps below have been completed. Follow the steps to stop Teams’ email notifications from the settings page.
- Firstly, open Microsoft Teams.
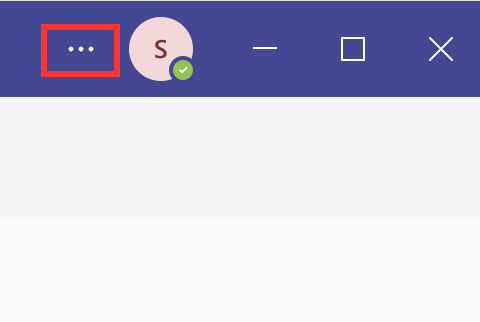
- Click on “Settings and more,” illustrated by three dots.
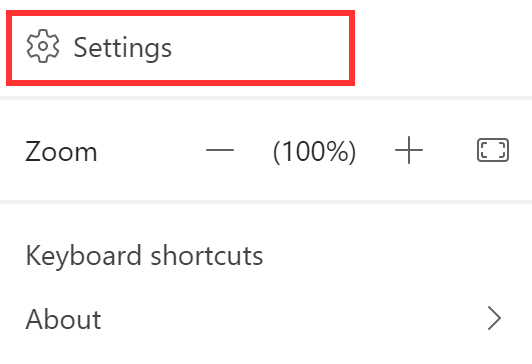
- From there, click on “Settings.”
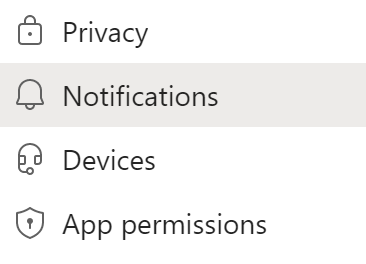
- Now click on “Notifications.”
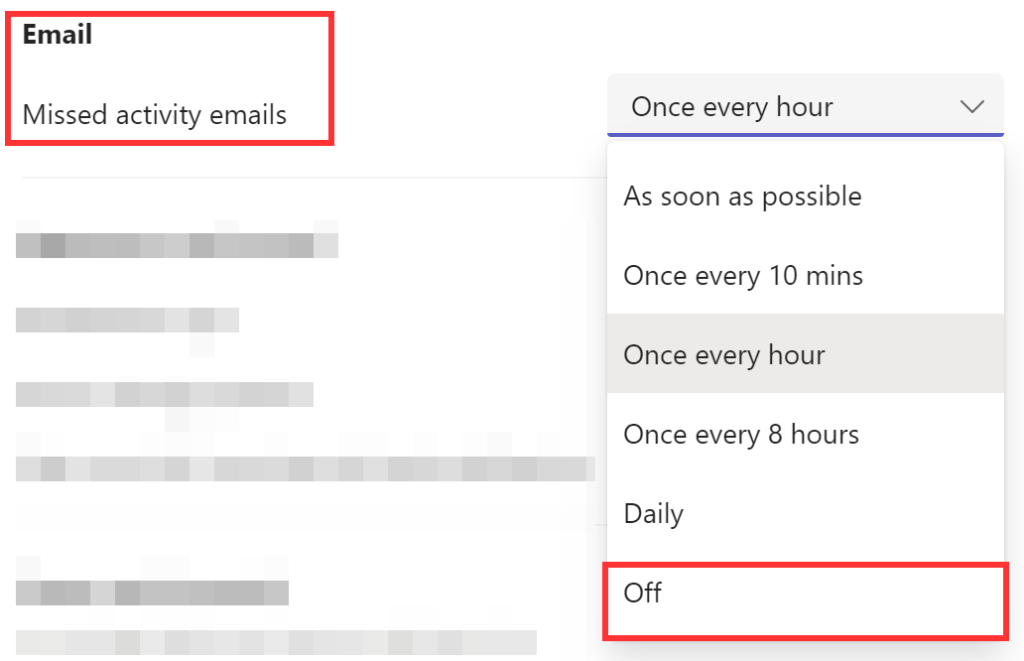
- Make sure “Missed activity emails” are set to off.
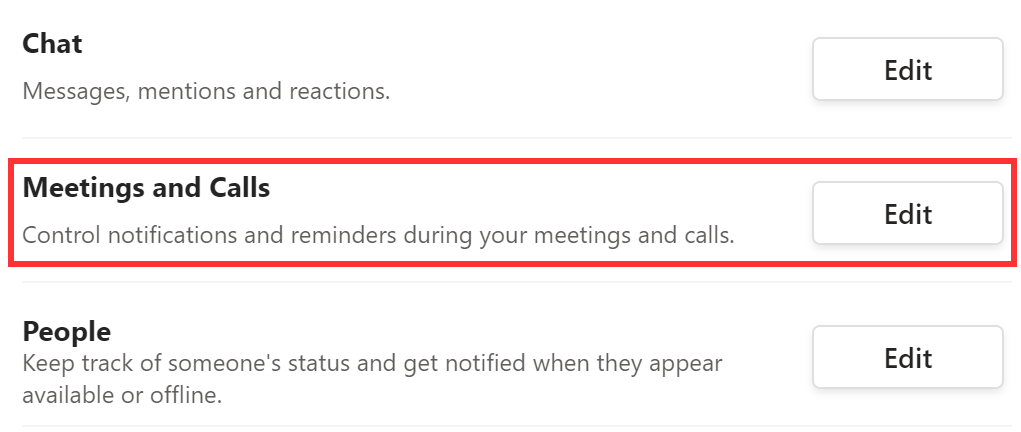
- After that, click on “Edit” next to “Meetings and Calls.”
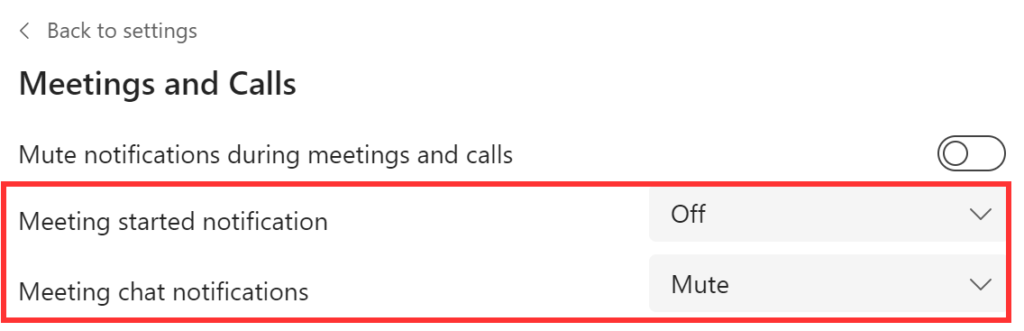
- Set “Meeting started notification” to “Off” and “Meeting chat notifications” to “Mute.”
- Finally, close the settings panel.
Once the steps above have been illustrated, you will have successfully stopped email notifications in Microsoft Teams. The notification symbol in Microsoft Teams may be accessed, received, and managed in various ways. These options include how, when, and where your alerts display, custom channel and private message settings, appearance and alert noises, and turning off certain messages. You can like the email notifications for Teams, disable or enable them using the steps above, and allocate them to the correct function within the program.
Meeting messages in Microsoft Teams can sometimes find themselves in your inbox; therefore, it’s a good idea to mute or turn off those settings to ensure they do not proceed to fill your email inbox with updates on meeting preferences.
   |
In-depth step by step process [with screenshots] – Stop Teams email notification from the settings page
Here is a more in-depth guide on the steps shown above; if there are some issues with the steps illustrated above, you can simply use the In-depth guide below to help you stop email notifications from Teams. A visual approach to displaying the content will provide users with a clear illustration of the steps. The guide below includes screenshots that provide more visual context on the steps illustrated.
- Firstly, open Microsoft Teams.
- Click on “Settings and more,” illustrated by three dots.
- From there, click on “Settings.”
- Now click on “Notifications.”
- Make sure “Missed activity emails” are set to off.
- After that, click on “Edit” next to “Meetings and Calls.”
- Set “Meeting started notification” to “Off” and “Meeting chat notifications” to “Mute.”
- Finally, close the settings panel.

Microsoft Teams’ notification symbol may be accessed, received, and handled in various ways. These choices cover, among other things, how, when, and where your alerts show, custom channel and private message settings, appearance, alert noises, and turning off particular messages. Using the procedures above and assigning to the relevant function inside the software, you may like, deactivate, or enable email notifications for Teams. That’s all; following the procedures outlined above with the screenshots, you’ll be able to disable email notifications in Microsoft Teams.


Use Mail flow policies to stop Team’s email notifications.
Another method you can use to help stop Microsoft Teams email notifications is a mail flow rule to negate notifications from Microsoft Teams completely— this is a more extreme method as it eliminates all auto-based mail notifications from Microsoft Teams. If any notifications are necessary, there may be issues trying to resolve them. However, if it’s a step you want to take, you can use the steps illustrated below to proceed ahead.
- Firstly, sign in to Office 365.
- From there, click on the launcher, followed by “Admin.”
- Under the admin centers, select “Exchange” you may need to click on “Show all” to show this option.
- Under “Mail flow,” click on “Rules.”
- Click on the “+” symbol.
- Now click on “Create a new rule.”
- Name the rule.
- Under “Apply this rule if…”, click on “The recipient address includes…”.
- In the specify words section, apply “Teams.”
- Press “OK” to proceed.
- Under “Do the following,” select “Delete the message without notifying anyone.”
- You can set additional options, if necessary, by clicking on “More options.”
- Finally, click on “Save.”
Once the steps above have been completed, you will have successfully used a mail flow rule to stop email notifications from Microsoft Teams. You must make sure the recipient ID, which is “Teams, is included on the input box” if this is incorrect, you may find that either important messages are not getting through or your inbox is still allowing for Teams-based notifications to enter.
In-depth step by step guide [with screenshots] – Use Mail flow policies to stop Teams email notifications
- Firstly, sign in to Office 365.
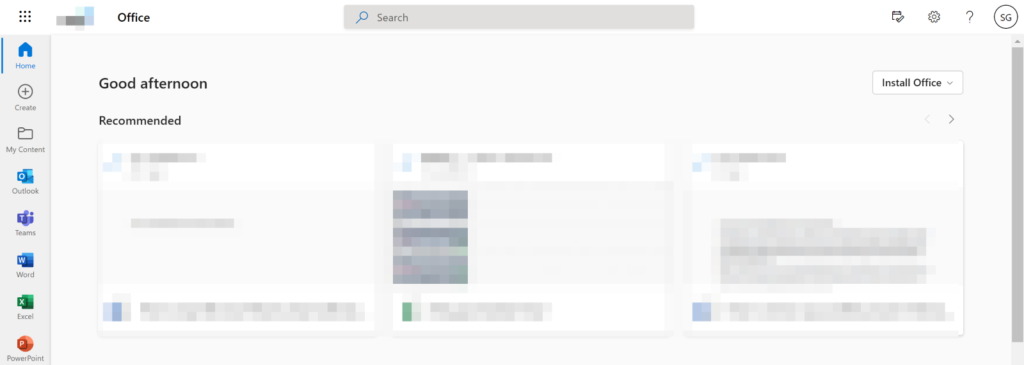
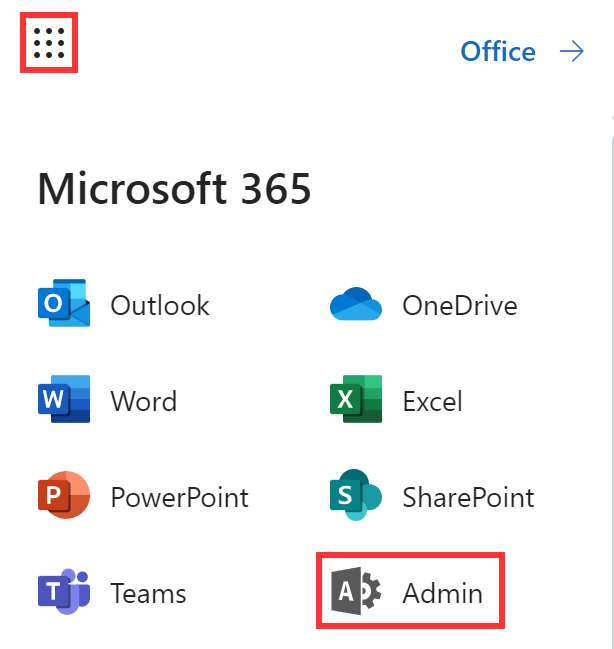
- From there, click on the launcher, followed by “Admin.”
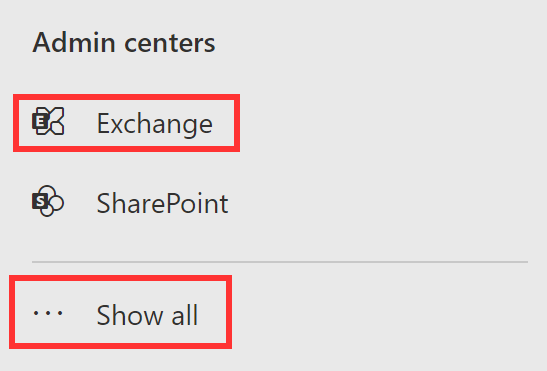
- Under the admin centers, select “Exchange” you may need to click on “Show all” to show this option.
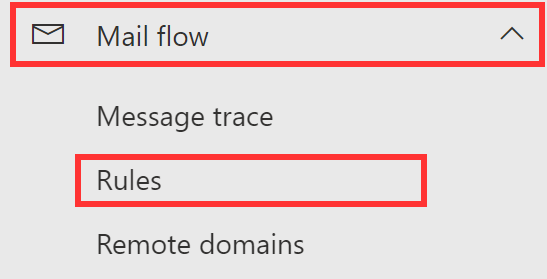
- Under “Mail flow,” click on “Rules.”
- Click on the “+” symbol.
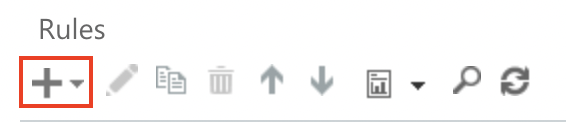
- Now click on “Create a new rule.”

- Name the rule.

- Under “Apply this rule if…”, click on “The recipient address includes…”.

- In the specify words section, apply “Teams.”

- Press “OK” to proceed.

- Under “Do the following,” select “Delete the message without notifying anyone.”

- You can set additional options, if necessary, by clicking on “More options.”

- Finally, click on “Save.”

Conclusion
Thank you for taking your time to read our blog; we hope our content has helped you resolve the process of stopping email-based notifications from Teams. If there are any elements of the process you didn’t understand or require more assistance, you can simply add a comment, and we will try to help resolve any issues you may have.