Users of a company have access to a range of different tools, provided by their company — they have their own mailboxes, their own range of Office tools and most importantly they may also have access to a lot of company information which is classified. In this instance, admin-based users may want to prevent users from accessing Office 365 after a given amount of time or when they are no longer in the office. In Microsoft Office 365, Administrators have been granted permission to allow or stop users on the web access to their Office account using a program called AzureAD. When an access policy within Azure has been created, admins can stop access altogether, or schedule access removal for the time they are not in the office. In this blog, we will be looking at solutions to help admins-based users prevent users from accessing Office 365 outside the office and find alternate solutions to help prevent user access to Office 365. We will also address some of the issues that can relate to users not being able to access Office 365, so users are more aware of what they are dealing with and what approaches they need to take to block user access to office 365. Follow the step-by-step process below to see how you can stop users accessing Microsoft 365 outside of the office.
Step by step process – How to stop users accessing Microsoft 365 outside of the office
- First, sign in to your Office 365 account.
- Use the app launcher and navigate to admin.
- In the admin dashboard, under “admin center”, click on “Azure Active Directory”(you may need to click “Show all” to access).
- Click on “All services”.
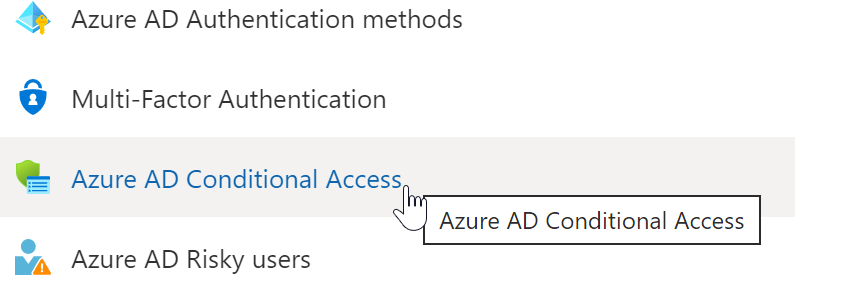
- Now click on “Azure AD Conditional Access”
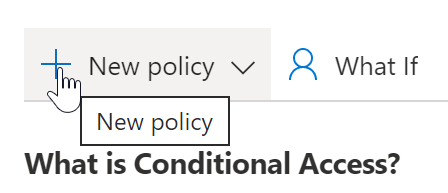
- Click on “New Policy”.
- Name the policy.
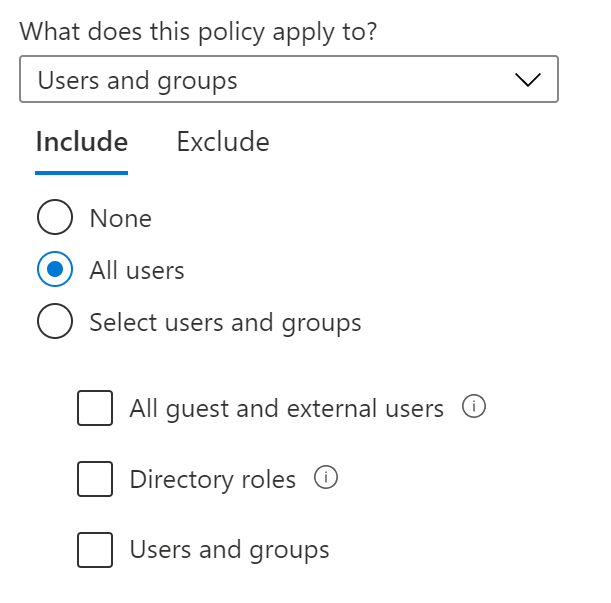
- Assign the users you want to block to this policy,
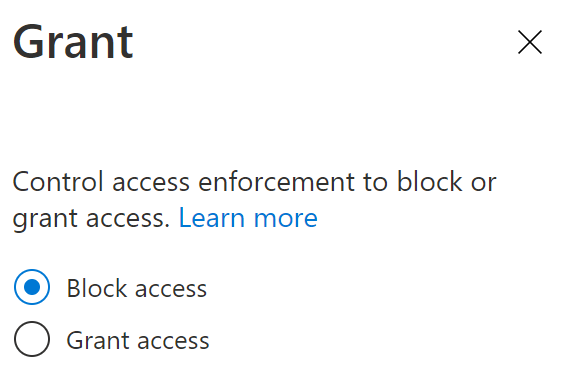
- Now under “Access controls”, the grant should be “Block access”.
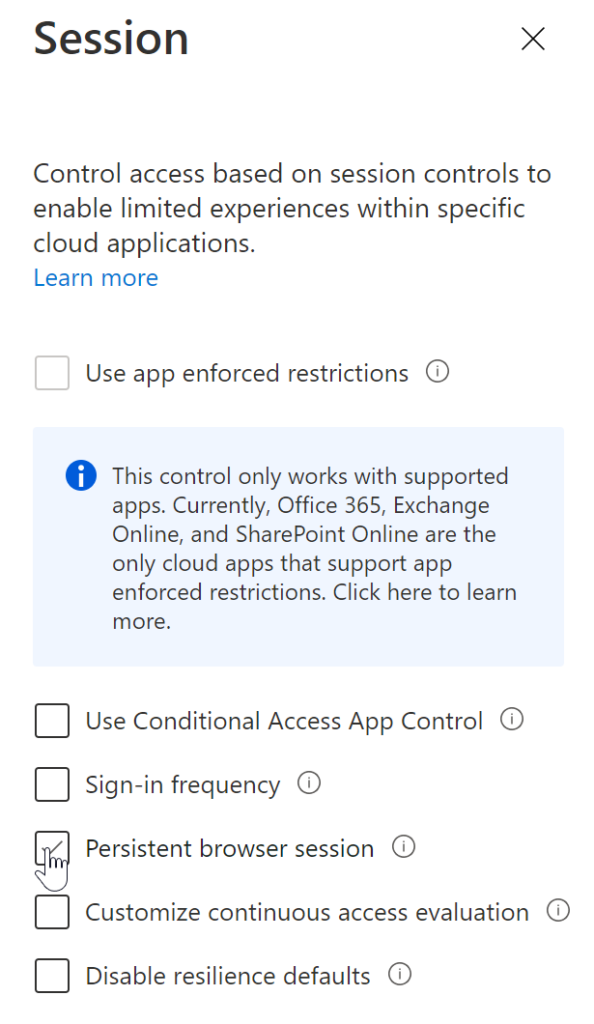
- Assign a session, important if you want to schedule the restrictions.
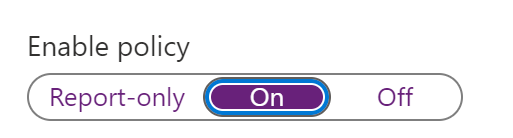
- Set “Enable policy”, report to “On”.
- Finally, click on “Create”.
That’s it, you have now effectively, restricted users access for a duration of time set in by the session category. You will no longer be able to allow the user access to Office 365 until the policy is terminated. AzureAD has these effective features to allow admins to gain more control over how users interact with their domains. This sort of extensive control not only gives admins more control and management over the users, but it also provides data security as access is denied outside the office, there is less chance for classified data being leaked out.

Alternate methods to stop users accessing Microsoft 365 outside of the office
One other method users can use to disable access over a certain length of time is using a PowerShell common using EAC. This allows users of administrative positions, the power to implement a certain time ban over the blocked user. This will allow the user to be blocked automatically when the restriction time starts and automatically release any restrictive access once the time ends. You will need to implement a command in order to restrict user access to the Mailboxes, however, there are plenty of sites where you can find codes specifically related to restricting user access to mailboxes.
Because Exchange Online offers a wide range of connection protocols for mailboxes, you may use the Set-CASMailbox cmdlet to deactivate specific protocols. For both Exchange ActiveSync (EAS) and the Microsoft sync technology used by Outlook mobile, we stop mobile connection for a mailbox in this example:
| Set-CASMailbox -Identity [email protected] – ActiveSyncEnabled:$FalseSet-CASMailbox -Identity [email protected] – OutlookMobileEnabled:$False |
Why are both protocols disabled? Other clients, such as the mail apps included in the iOS and Android operating systems, use EAS for basic email connectivity with Exchange Online. Outlook mobile uses Microsoft sync technology to enable many advanced features like delegate access to mailboxes, but other clients, such as the mail apps included in the iOS and Android operating systems, use EAS for basic email connectivity with Exchange Online. If you don’t disable both, a user will still be able to log in to their email using a separate app. In fact, you should disable the IMAP4 and POP3 protocols as well to eliminate any possibility of a mobile device connecting to a mailbox.
Restrict unmanaged device access
Users with administrator positions can limit access on unmanaged devices by following the methods outlined below. If these devices are totally prohibited, they will have no access to the app or the web app; if the “Allow limited web-only access” option is enabled, they will have extremely limited access. Both of the choices below will limit downloads as part of the restricted functions’ goal responsibilities on unmanaged devices.
- First, sign in to your Office 365 account.
- Use the app launcher and navigate to admin.
- Click on “Show All” to reveal “Admin centers”.
- Here click on “SharePoint”.
- Under “Policies” click on “Access control”.
- Click on “Unmanaged devices”.
- Click “block access” or “Allow limited web-only access”, both will restrict downloads.
- Then click on “Save”.
Step by step process – How to stop users accessing Microsoft 365 outside of the office
Step by step breakdown:
- First sign in to your Office 365 account.
Use your account details or if you have a current Skype account with the Office account in question, you can use this.
- Use the application launcher to navigate towards “Admin”.
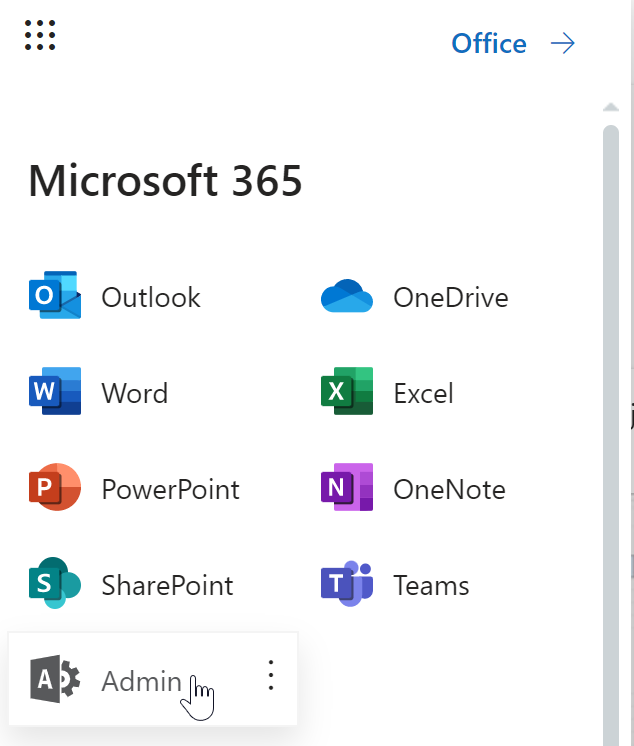
The launcher is illustrated by nine dots in the right corner, click on it and find “Admin” as shown above.
- In the admin dashboard, under “admin center”, click on “Azure Active Directory”(you may need to click “Show all” to access).
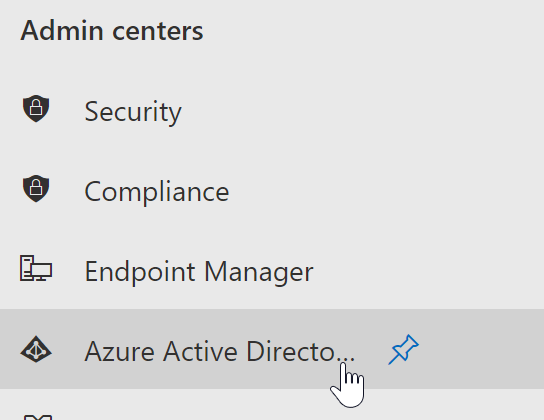
In this example “Azure Active Directory” was pinned to the menu bar, however, in your dashboard you may need to click on “show all” which will bring you to the Azure Active directory panel.
- Click on “All services”.
- Now click on “Azure AD Conditional Access”.
- Click on “New Policy”.
- Name the policy.

- Assign the users you want to block to this policy.
- Now under “Access controls”, the grant should be “Block access”.
- Assign a session, important if you want to schedule the restrictions.
- Set “Enable policy”, report to “On”.
- Finally, click on “Create”.
That’s it for this Blog thank you for taking time out to read our content, please feel free to email our team about how it went if you followed the steps or if you need more help with the questions we answered in this Blog.