If you use SharePoint regularly, you may be familiar with its impressive content management features. One such feature allows users to sync content automatically with their local desktop. However, users want to know how to sync their SharePoint libraries automatically with their local desktop. Please read the guide below, which provides the steps to sync your SharePoint libraries with your local desktop automatically.
Firstly, you need to locate your SharePoint document library and click on the option for sync. The process will allow you to connect your folder with your local desktop. You can go into the OneDrive preferences section and make necessary changes to files and folders. However, any changes you make to those files or folders will reflect automatically between the desktop and your SharePoint account.
- Firstly, open Office 365.
- No need to click on the option for the launcher.
- You need to find the option for “SharePoint.”
- After that, locate your site and then open it.
- Now you need to select the option for “Documents.”
- Open one of your document libraries.
- Click on the option for “Sync.”
- This stage is optional, but I recommend you tick the checkbox.
- Click on “Open Microsoft OneDrive” to complete the process.
Once you have completed the steps, SharePoint will begin automatically syncing your libraries with File Explorer. You must ensure that you have correctly synced the documents with File Explorer by first going into File Explorer and checking if the corresponding folders are there. If there are no folders in File Explorer, there may have been an inaccuracy in trying to sync the folders from the beginning.
It would help if you went back into your SharePoint document library and re-sync the files or folders to connect the content to File Explorer. However, once you have completed the steps, files will automatically sync with your SharePoint account. Any changes you make on either the desktop client or the browser client will automatically reflect between the platforms.
An in-depth guide on how to sync SharePoint libraries to file explorer automatically
If the brief description above is insufficient, we have provided a visual, in-depth guide to help you through the process. Please continue reading for screenshots and additional information.
- Firstly, open Office 365.
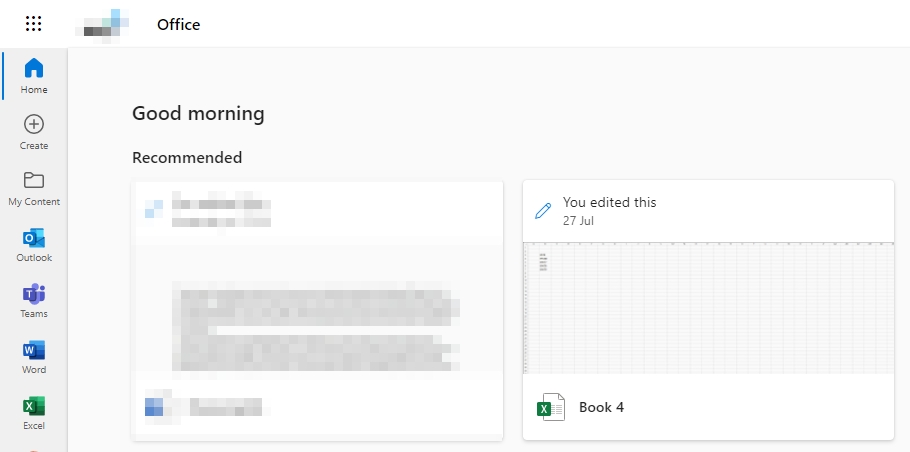
- Now click on the app launcher icon.
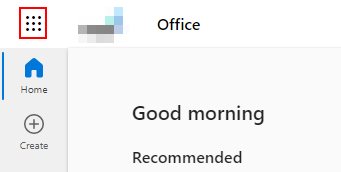
Nine dots illustrate the launcher in your Office 365 dashboard in the top right corner of the display. Click on it to access all the applications provided by the program.
- You need to find the option for “SharePoint.”
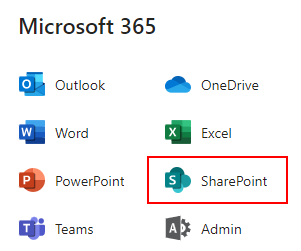
We need to locate the SharePoint option and click on the list of different applications that Microsoft provides.
- After that, locate your site and then open it.
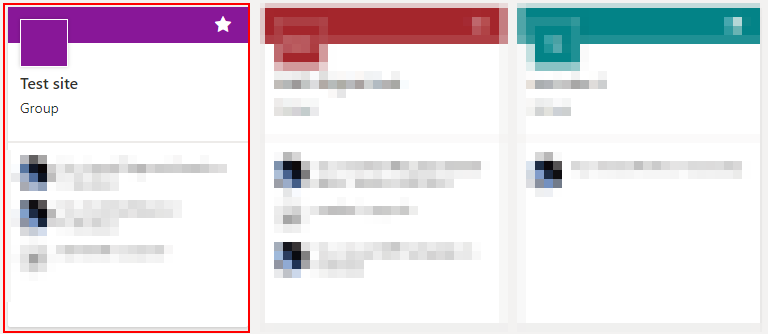
When you open SharePoint, there will be a list of the different sites available. You must choose the one you need for the process, including the document libraries you want to sync with File Explorer.
- Now you need to select the option for “Documents.”
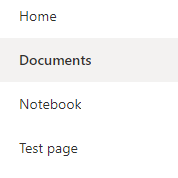
On the left-hand side menu, there will be a list of options you can choose from. There, you need to select the option for Documents.
- Open one of your document libraries.
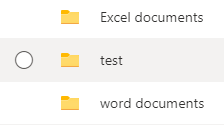
The document library will generate a folder in your document section. Here, you can categorize files and other content into individual folders and make individual document libraries. You can even sync the whole document library or individual folders within the document library. However, in this process, I will sync the entire document library.
- Click on the option for “Sync.”

The top bar will have a list of options you can choose from; you will need to select the option for sync.
- This stage is optional, but I recommend you tick the checkbox.
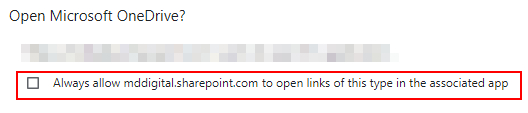
- Click on “Open Microsoft OneDrive” to complete the process.

Files will sync automatically with your desktop, so there are no additional steps you need to take. OneDrive wants to ensure you can sync your document correctly; therefore, they will supply a content ID reference that you may use to sync your desktop client with SharePoint automatically.
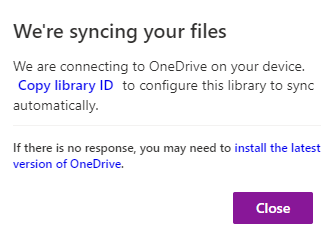
To use the content reference ID, head to the box that will show up towards the end of the process. From there, copy the content ID and paste it into your browser. That will open a tab from where you will be able to verify the sync process, and Microsoft will automatically begin the sync.

Why may you want to sync SharePoint libraries to file explorer automatically?
You may want to automatically sync SharePoint document libraries with File Explorer because you want a locally installed version of all your document libraries. Once the network connection is enabled, the automatic sync will reflect all the changes you made on the desktop onto the whole platform. For instance, if you work without a network connection or locally on your desktop, the files will be stored on your desktop until a proper network connection is enabled.
Conclusion
Thank you for reading our content on how you can automatically sync your SharePoint document libraries with File Explorer. As we have established above, you will need to use the method above manually to sync the content with your local desktop, and then the process is automatic. I have provided the steps to achieve this and an in-depth guide to understand better what you need to do to complete the process.
I have also provided some information on why you may want to sync document libraries with File Explorer. If you encounter any issues following the steps above, drop a comment below, and we will address them.